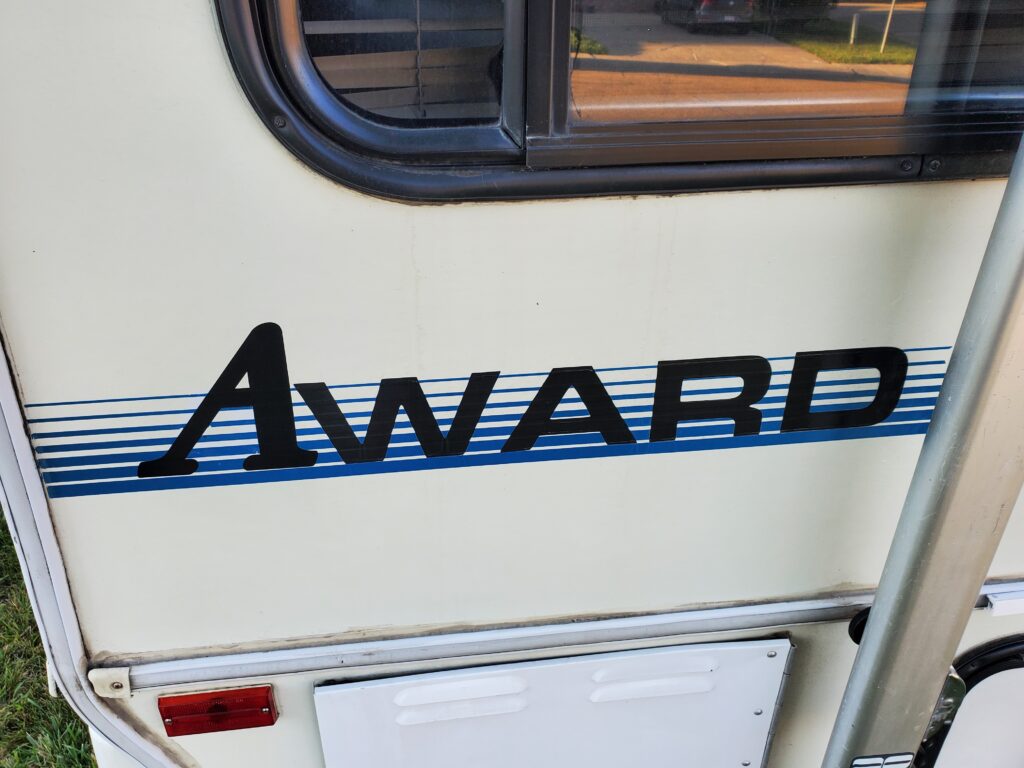
New home … New place to park the Award.. And some work to do.
June 2025 :
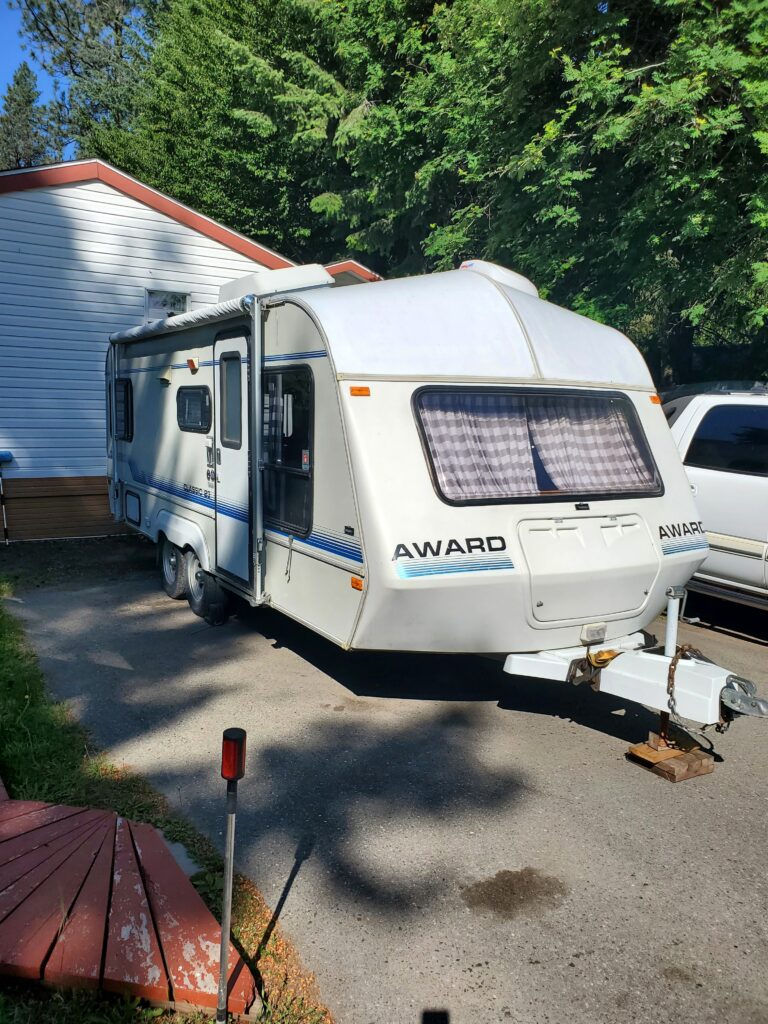
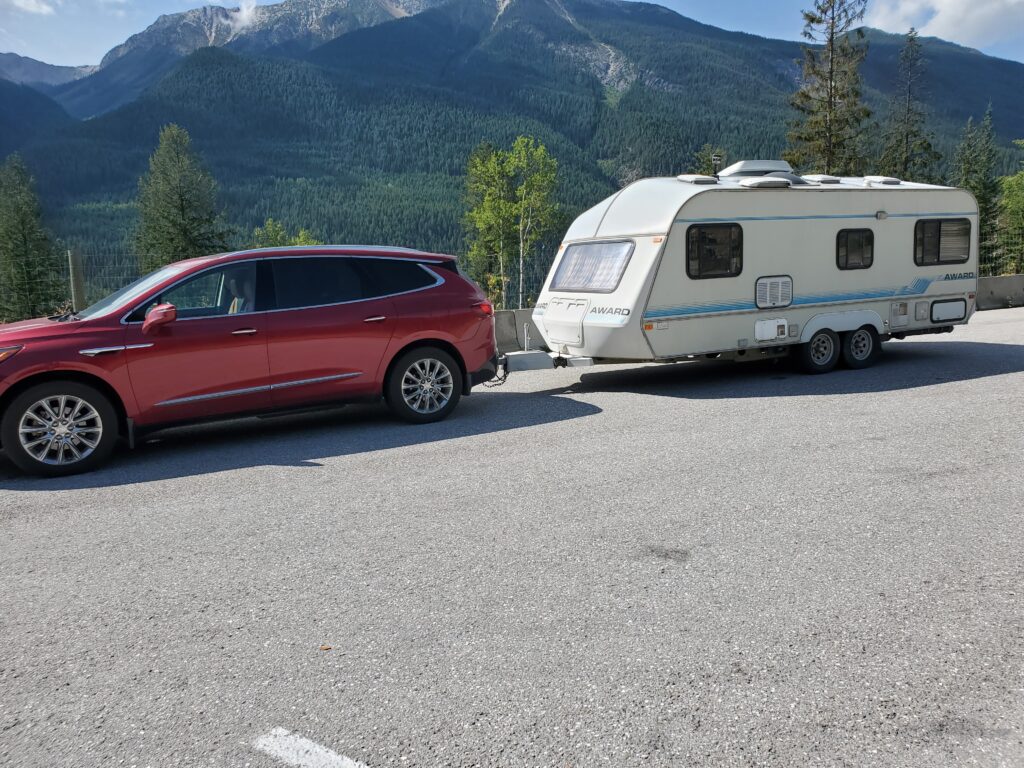
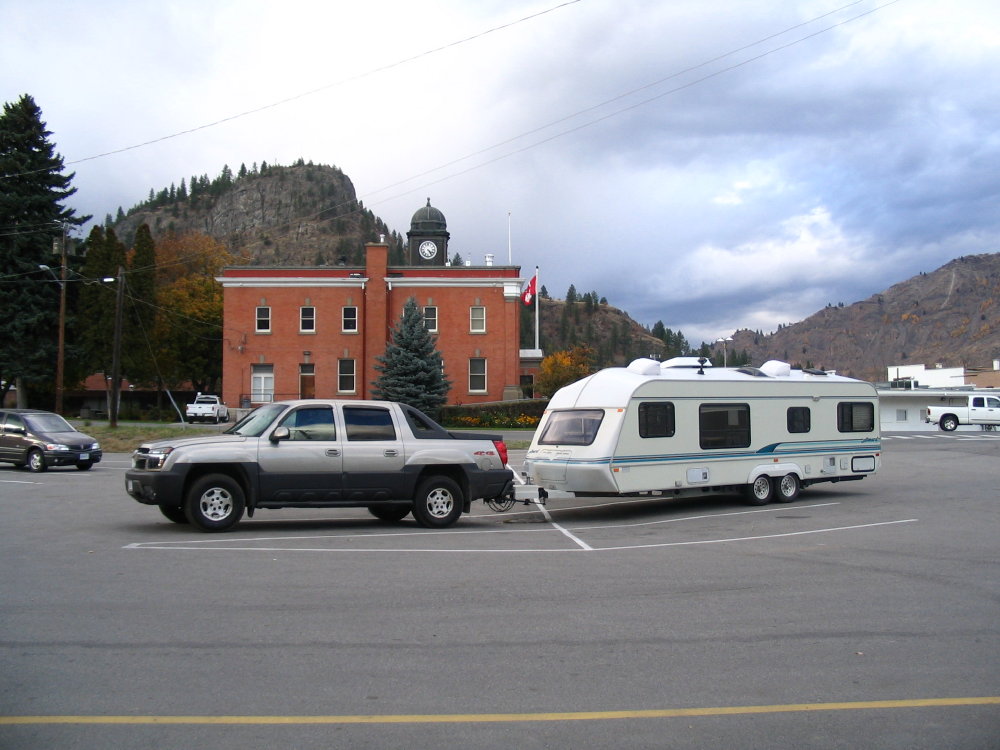
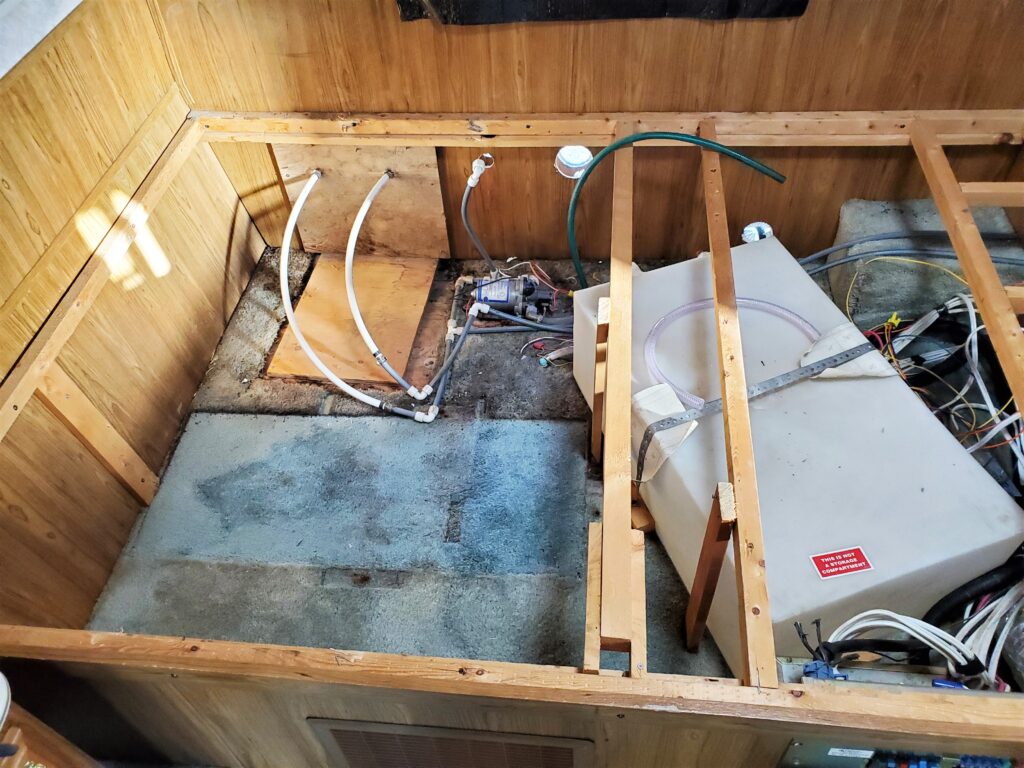
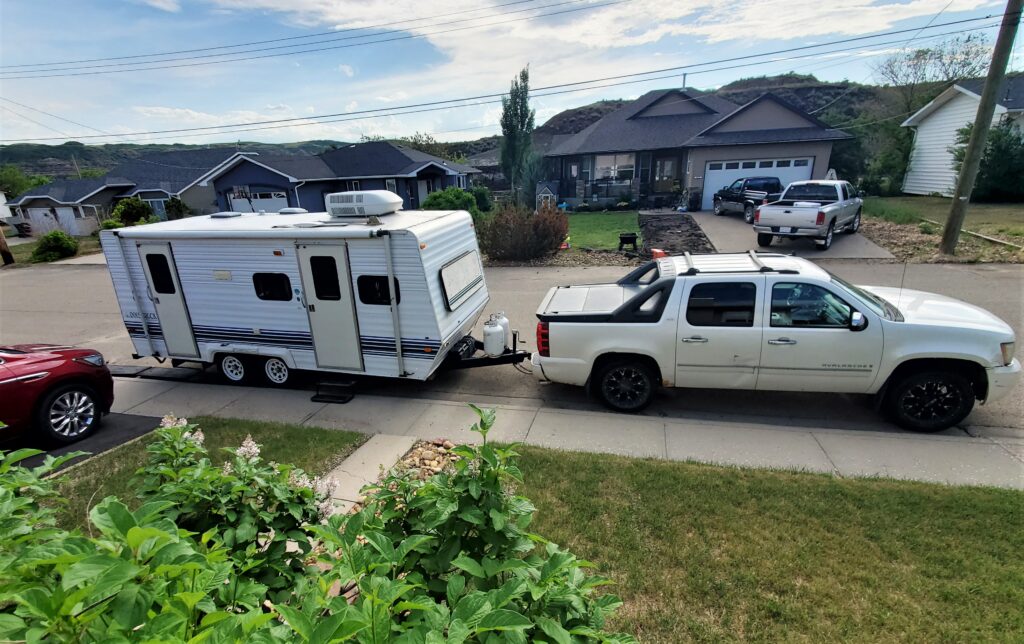
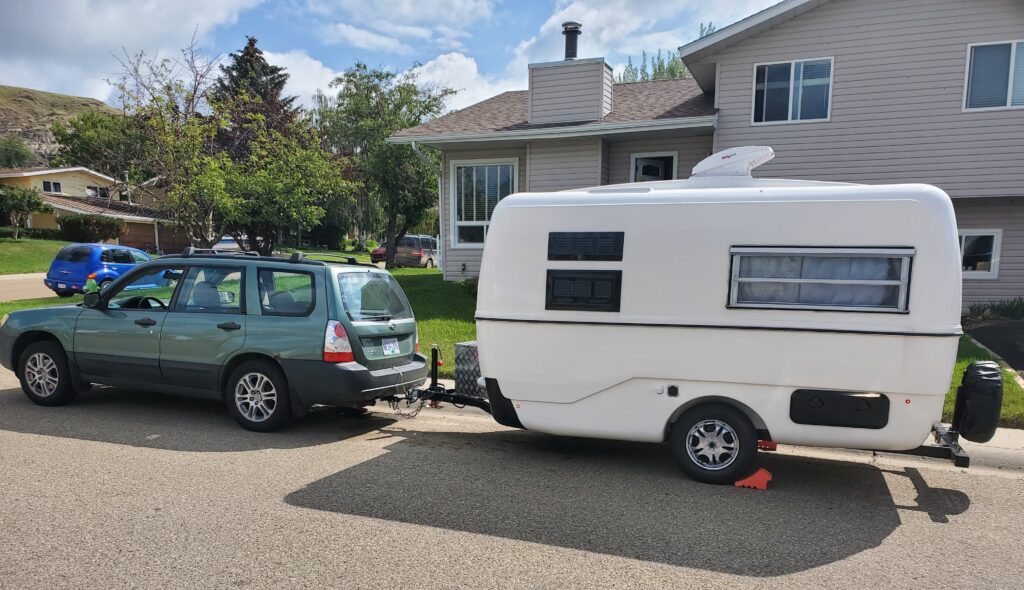
And here we are in the driveway of our new home in Grand Forks. Ready to do some work before “Family Camp”. I have a list of things to do and a month to do them. I’ll start by removing the heavy dinette at the front of the trailer.
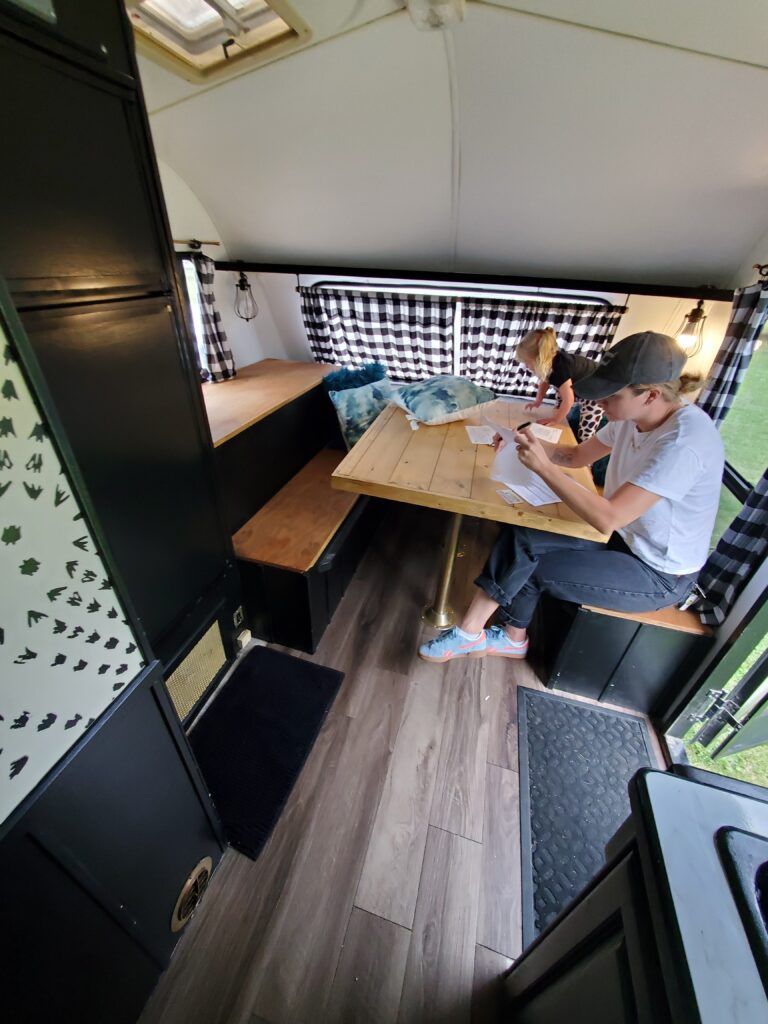
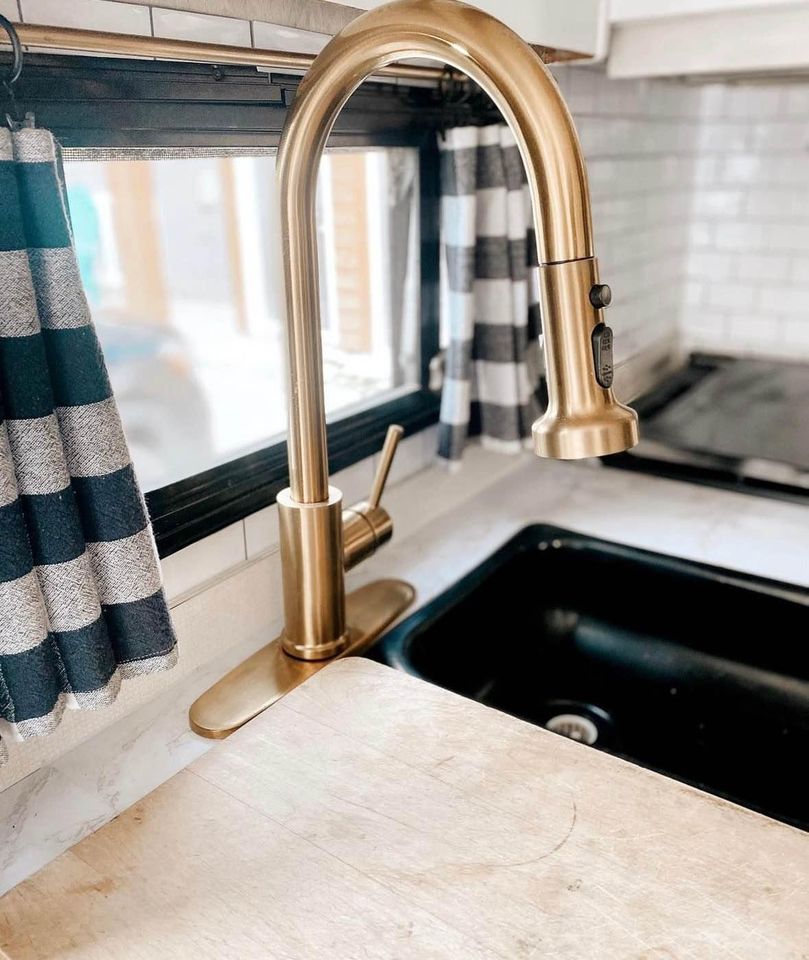
This photo is from when I was buying the Award. That lady is responsible for a black & white decor.. The table was taken out last year… Now to deal with the rest.
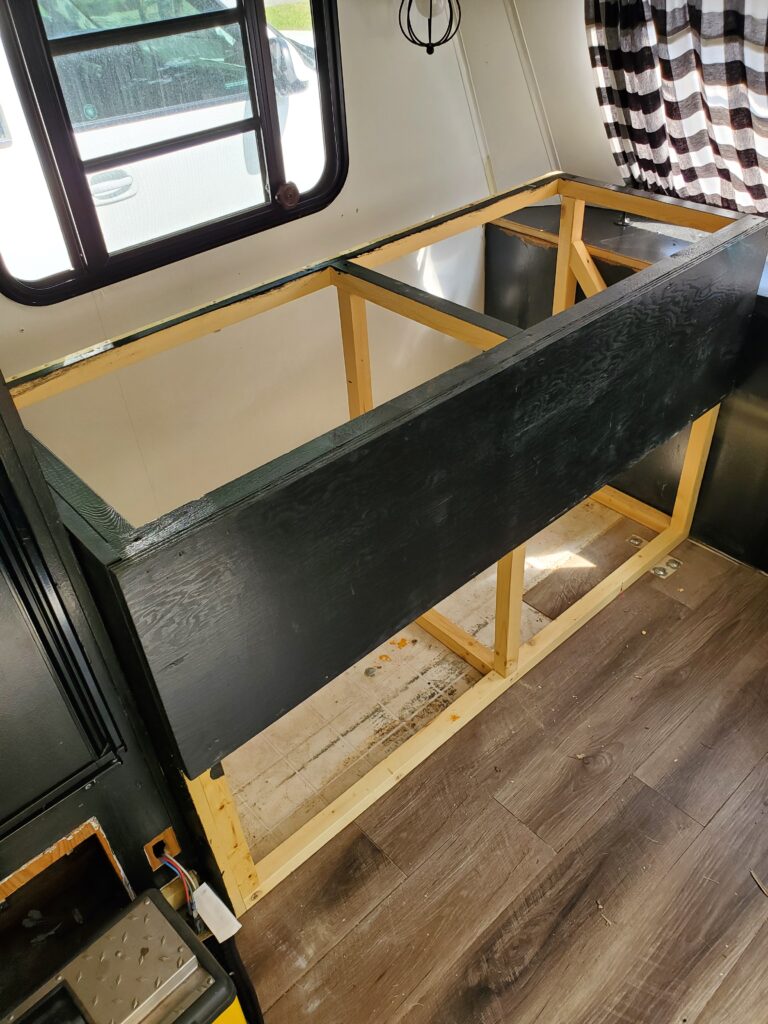
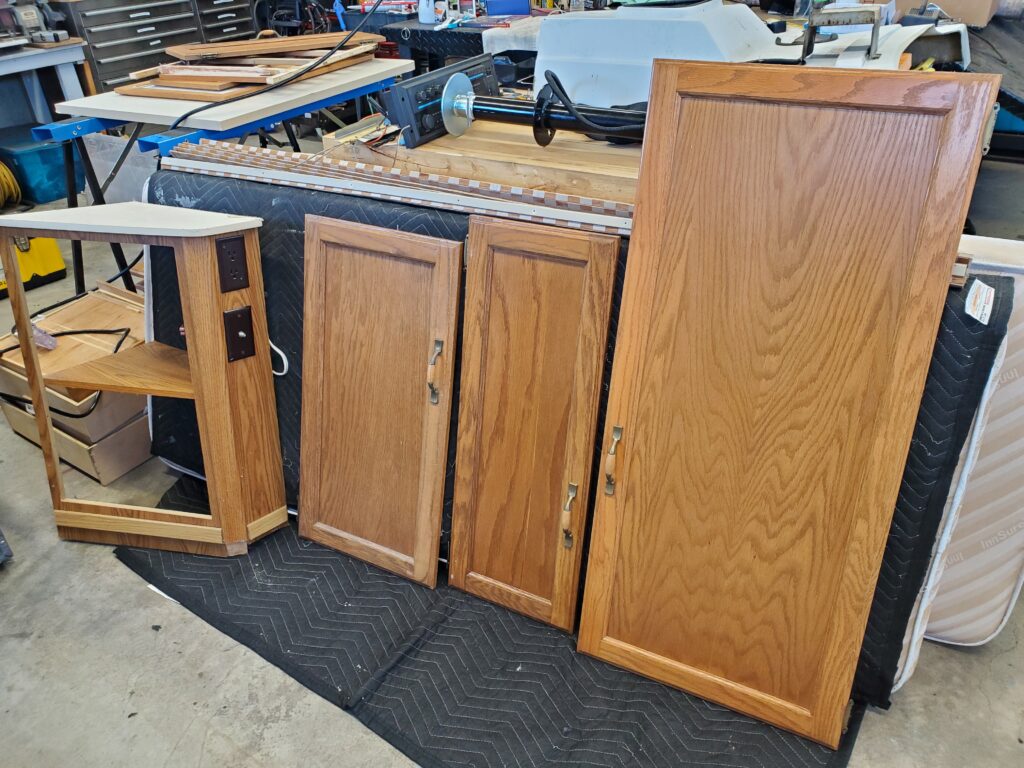
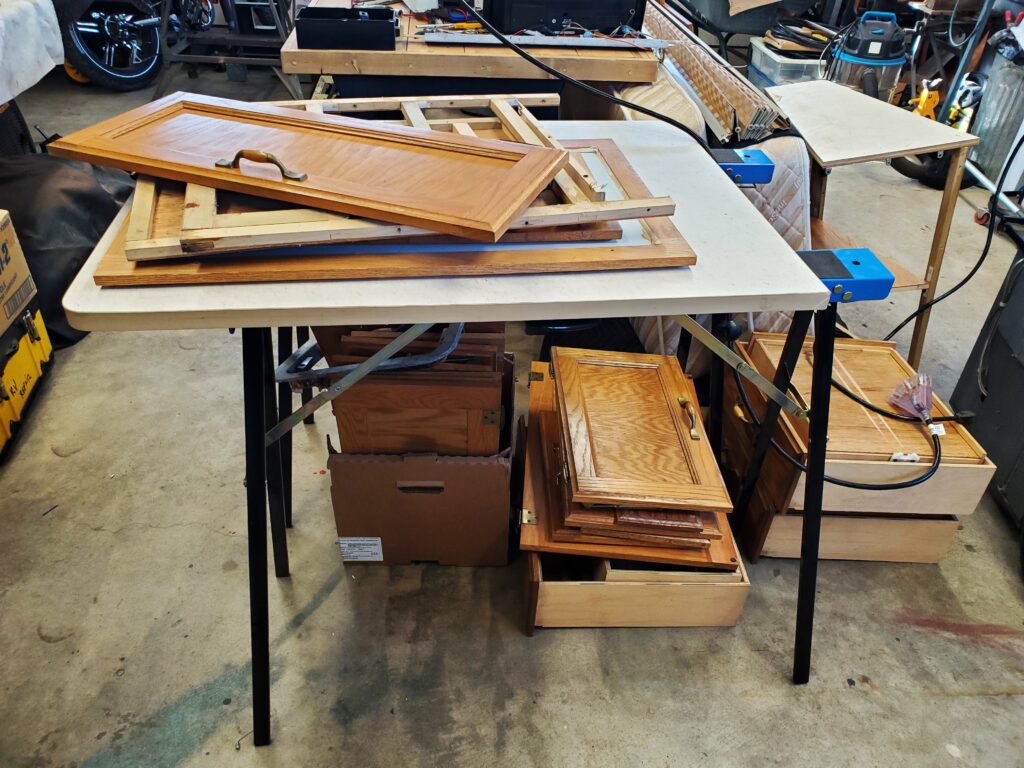
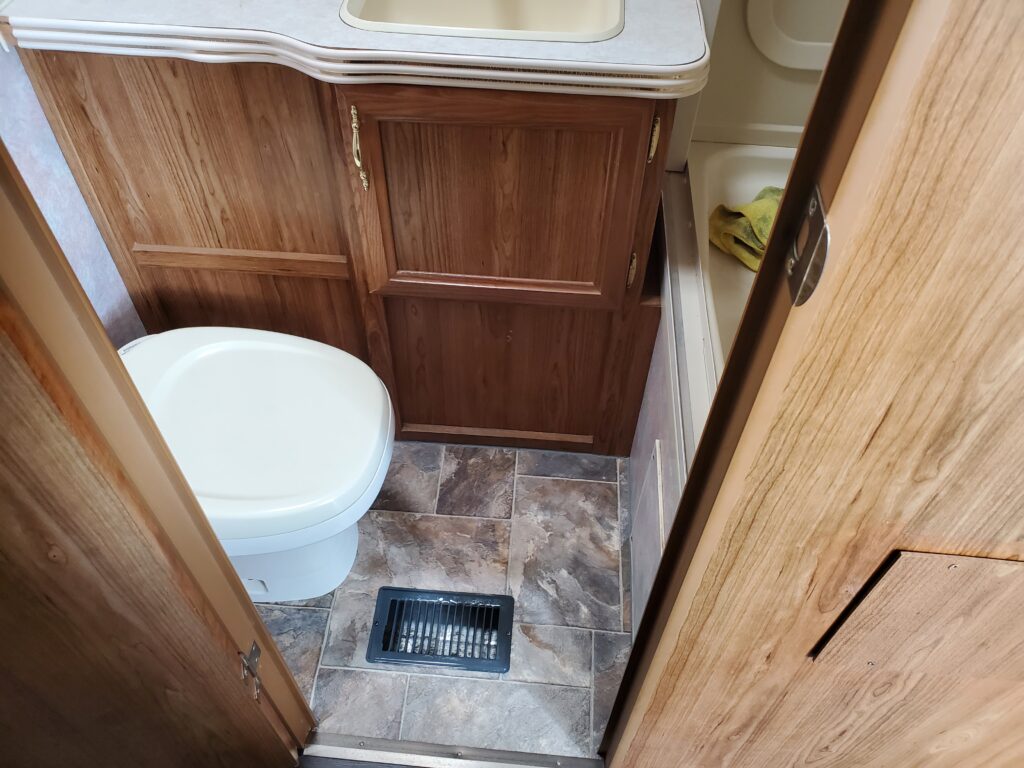
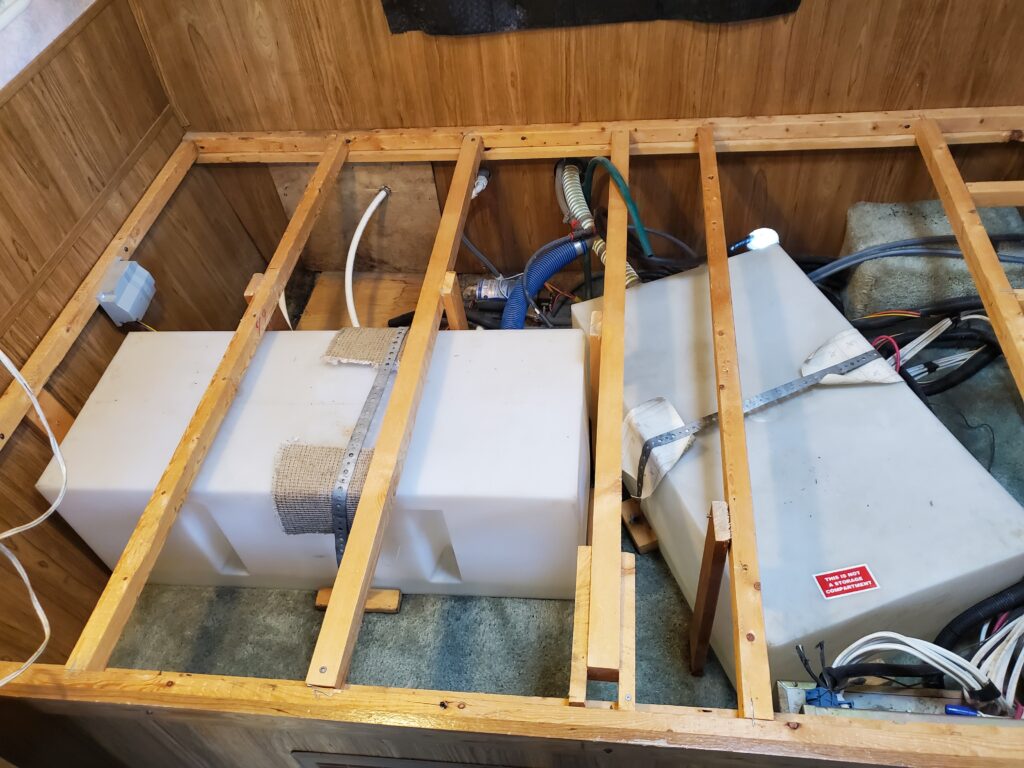
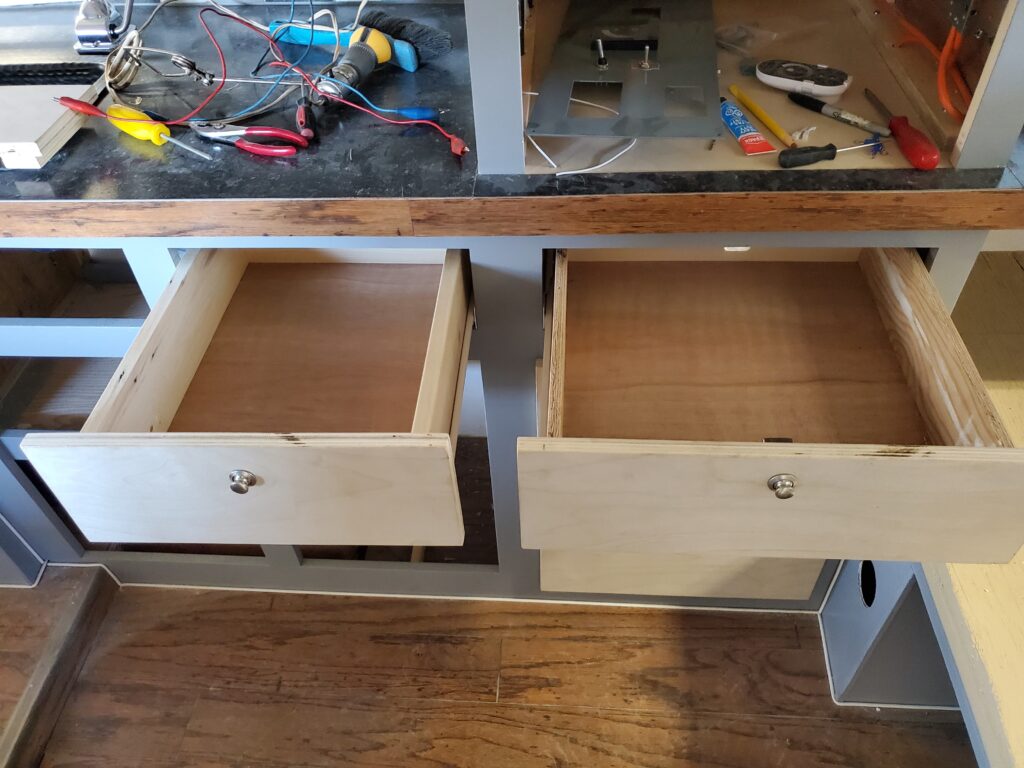
Wasn’t hard to remove the cabinets.. Now we have lots of room . However the flooring did not go under this side of the cabinets.
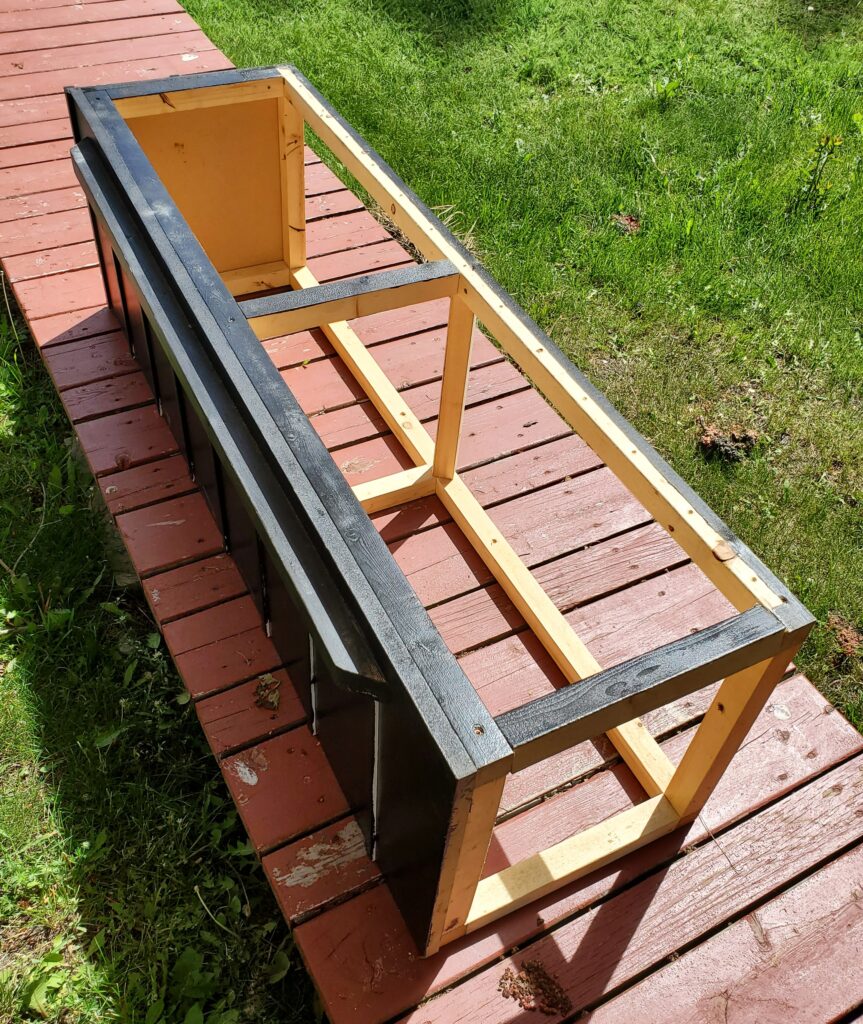
This one of two dinette seats. Well built ..seams a waste.. Maybe I can “re purpose” them.
We will use some carpet that our friends removed from a bedroom to solve the lack of flooring. At least for this summer. Here’s a video I made today…
Ok.. Let’s make a list of the things I will do this month. Outside stuff first:
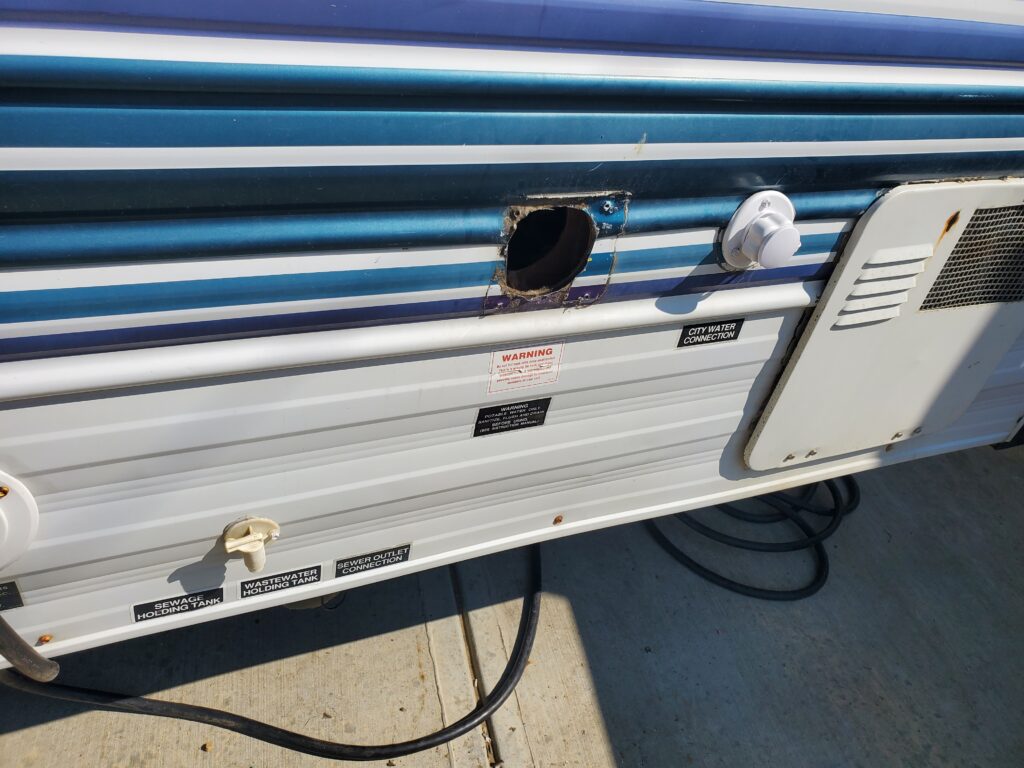
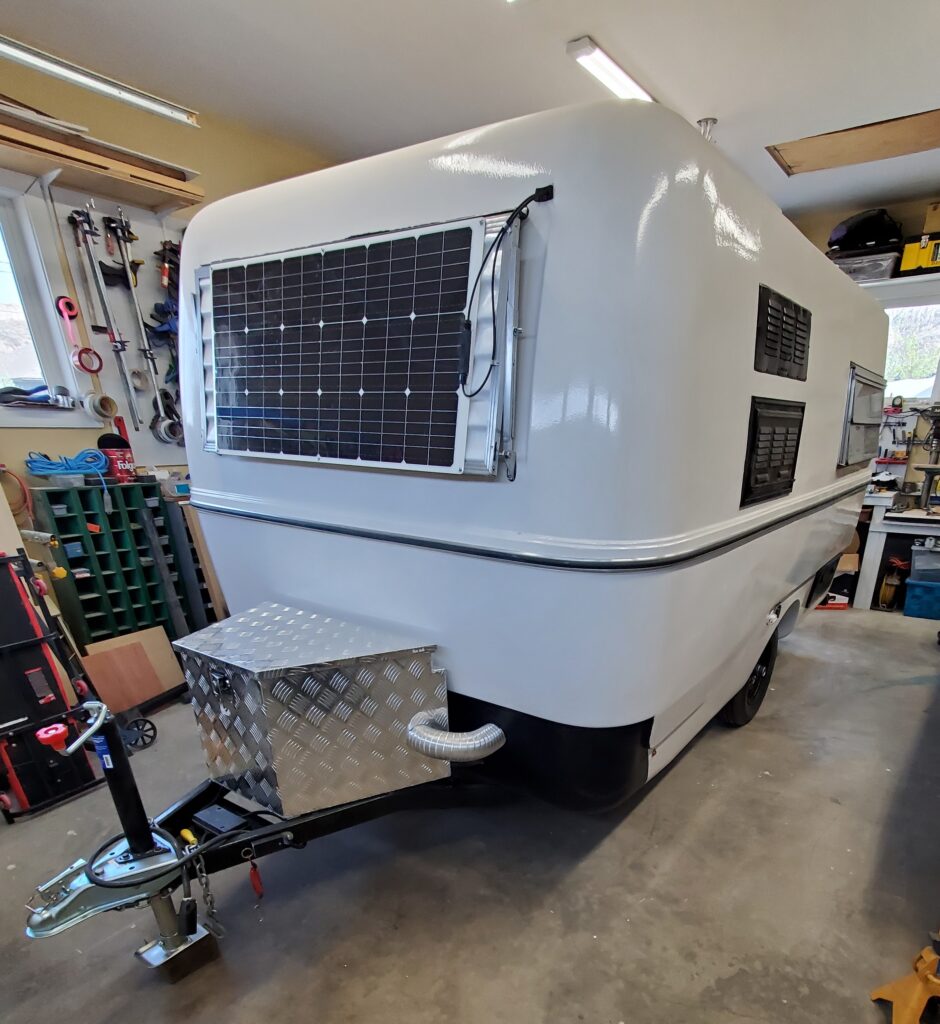
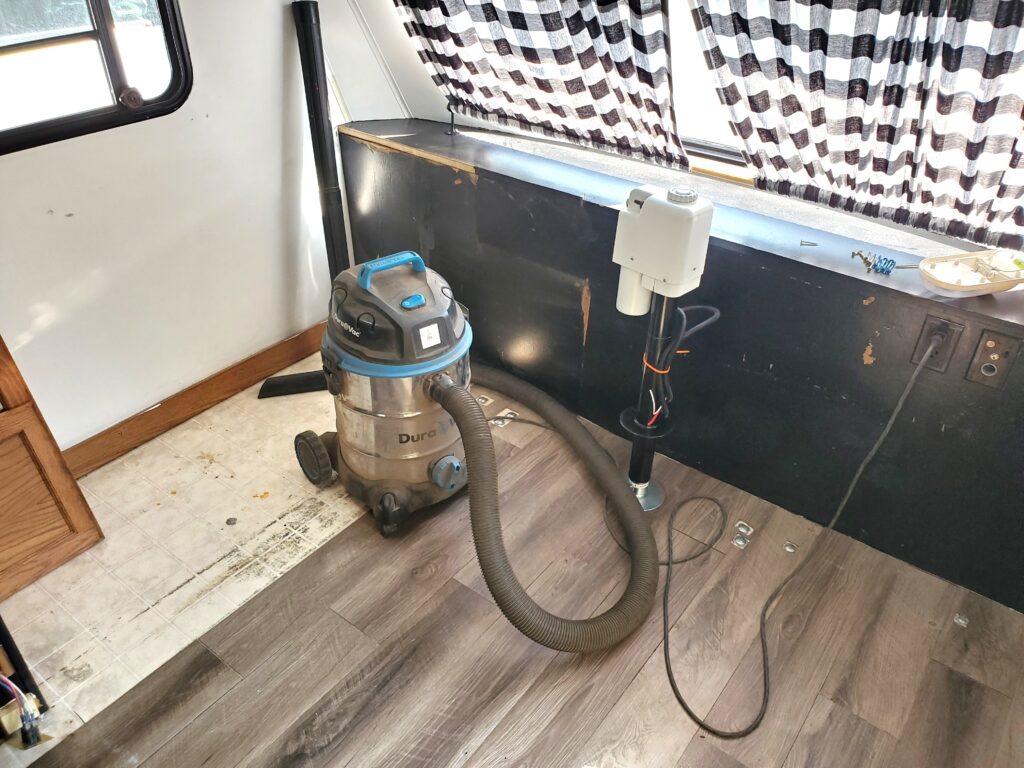
- Install the new power tongue jack.
- Clean and lubricate the stabizers
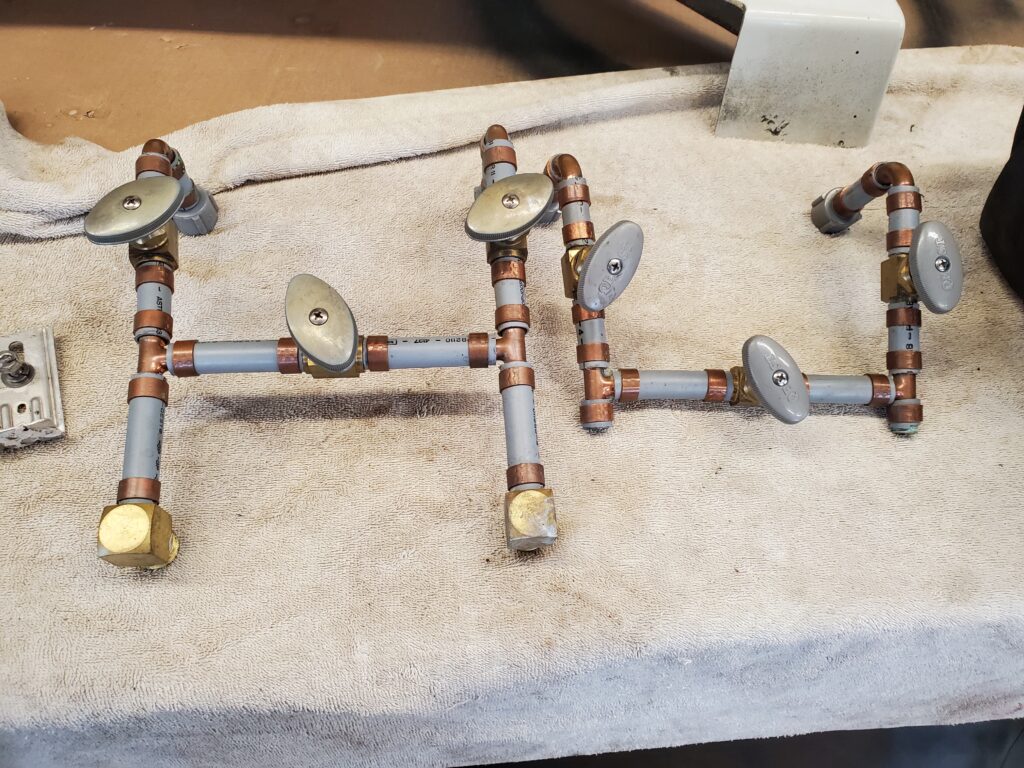
- Replace the drain valves on the grey and black tanks.
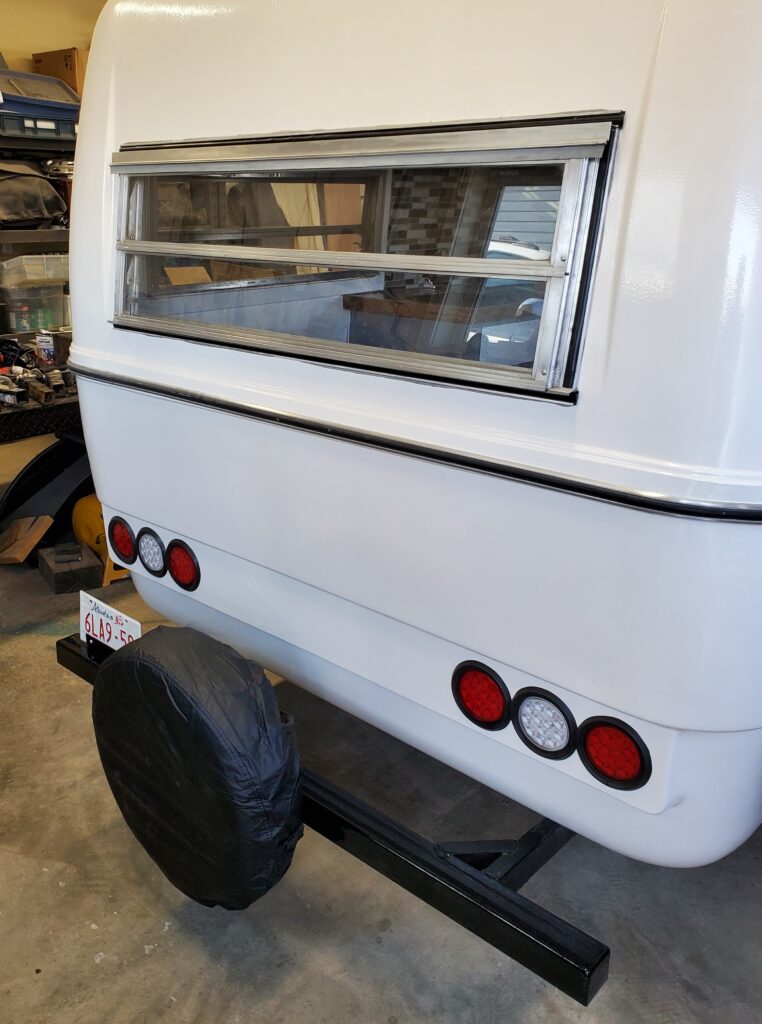
- Replacing some light bulbs.
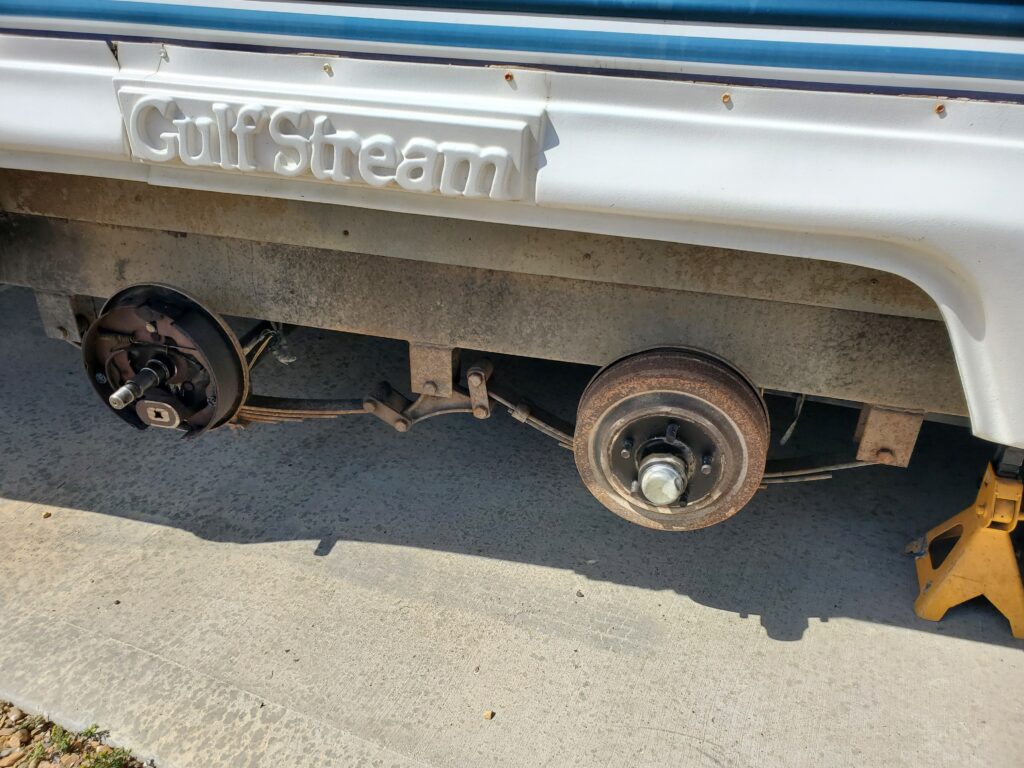
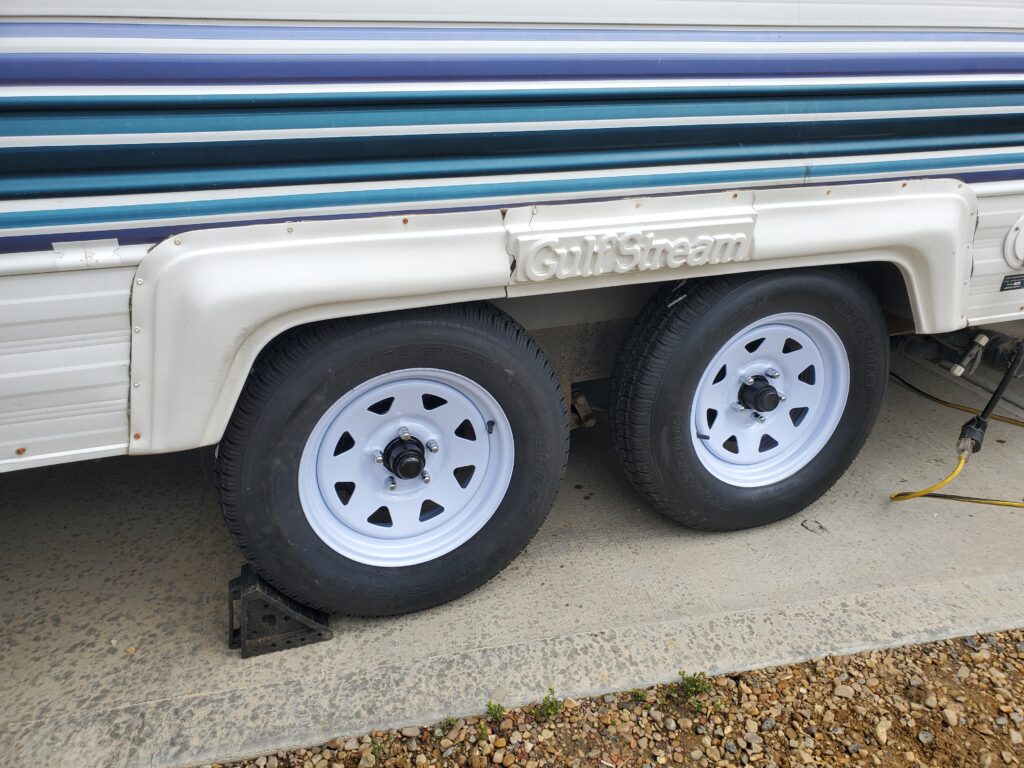
- Lifting the wheels and checking the bearings and brakes
- Lastly a good bath !
And for the interior….
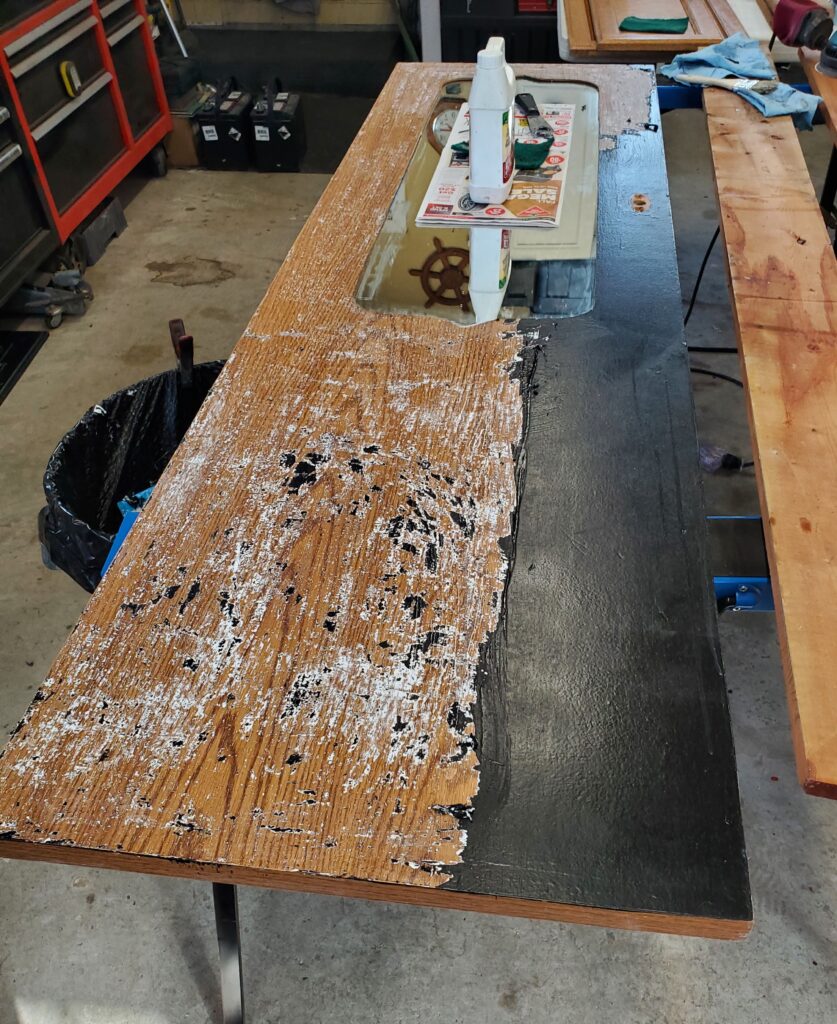
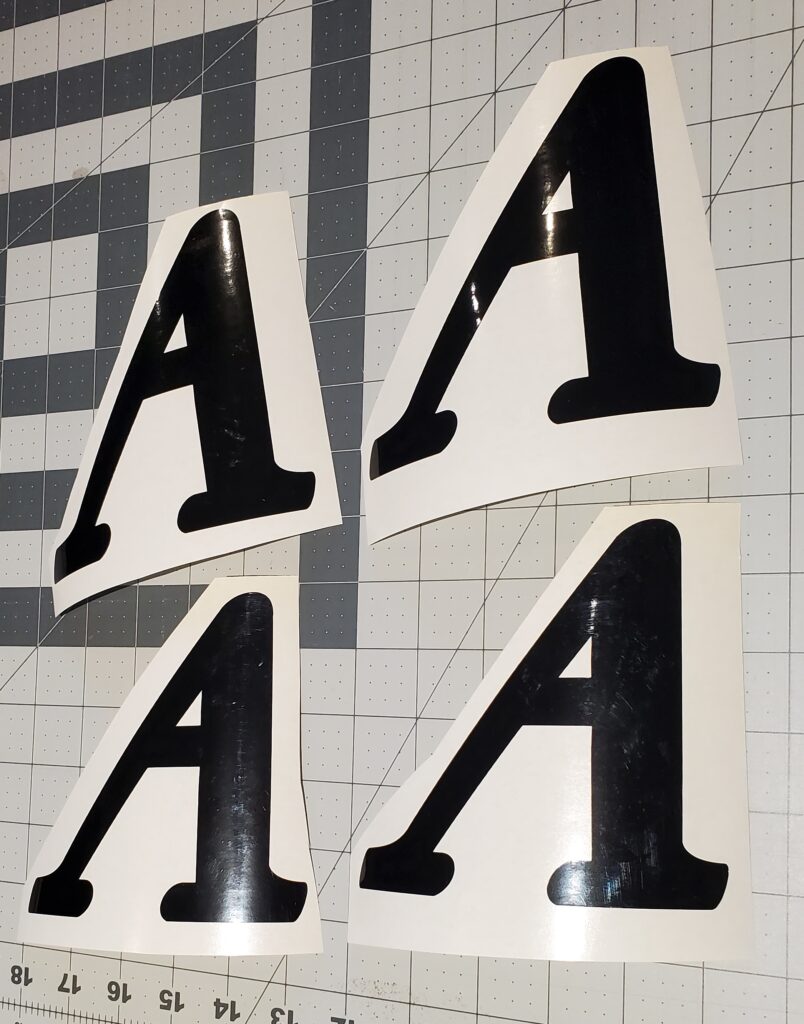
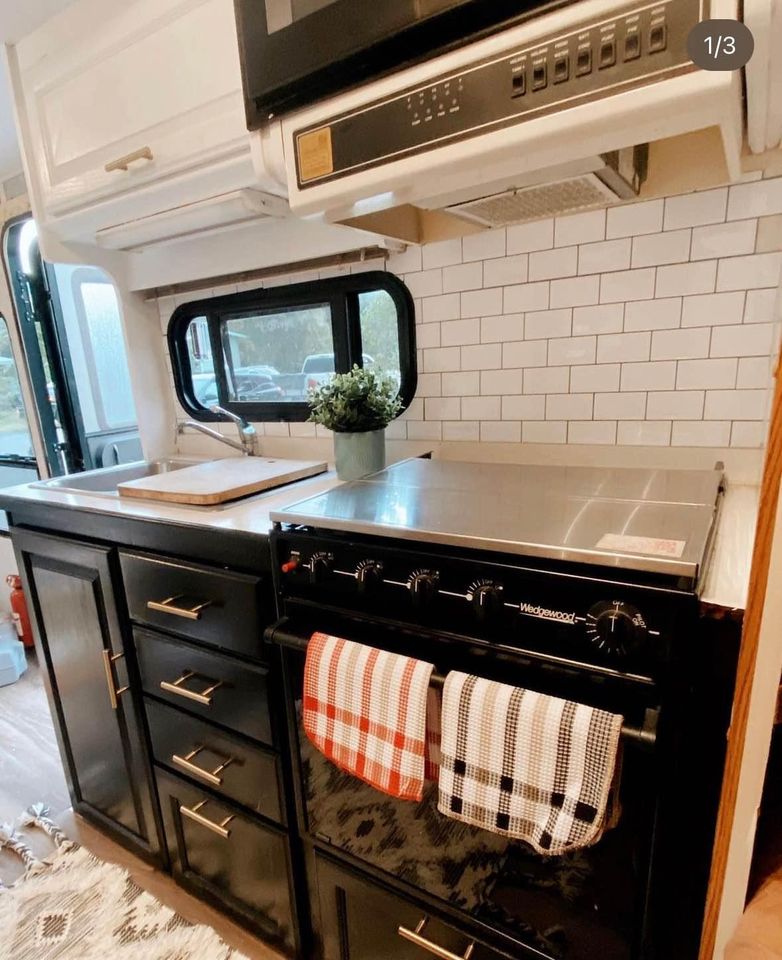
- Touching up the black paint.
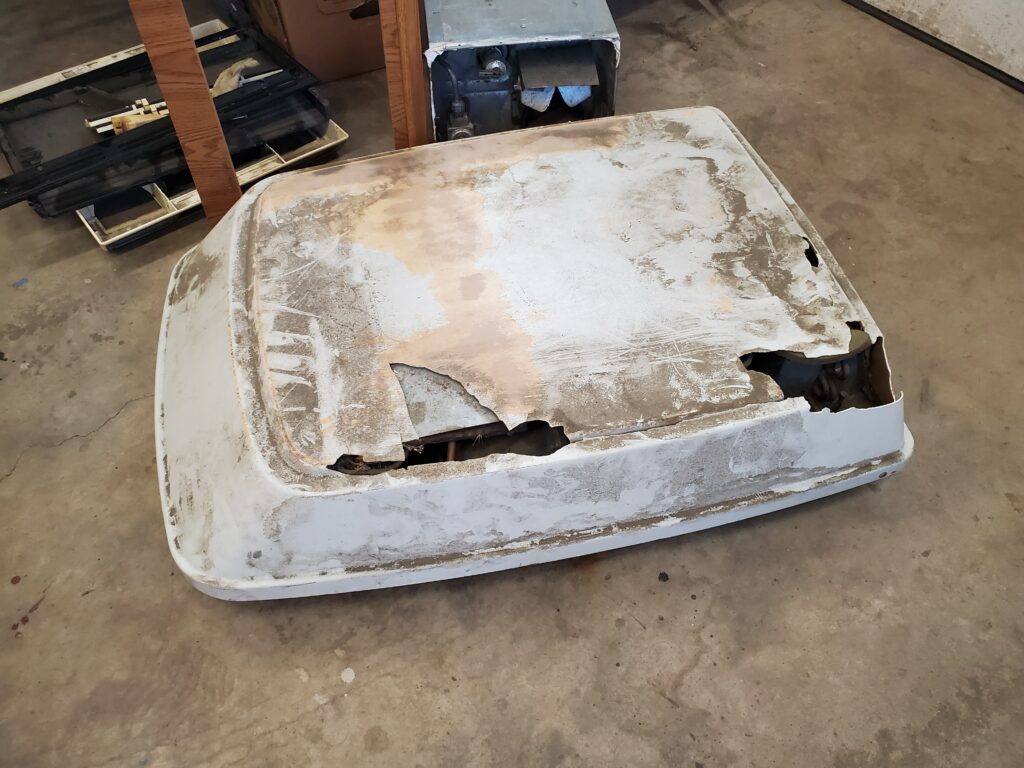
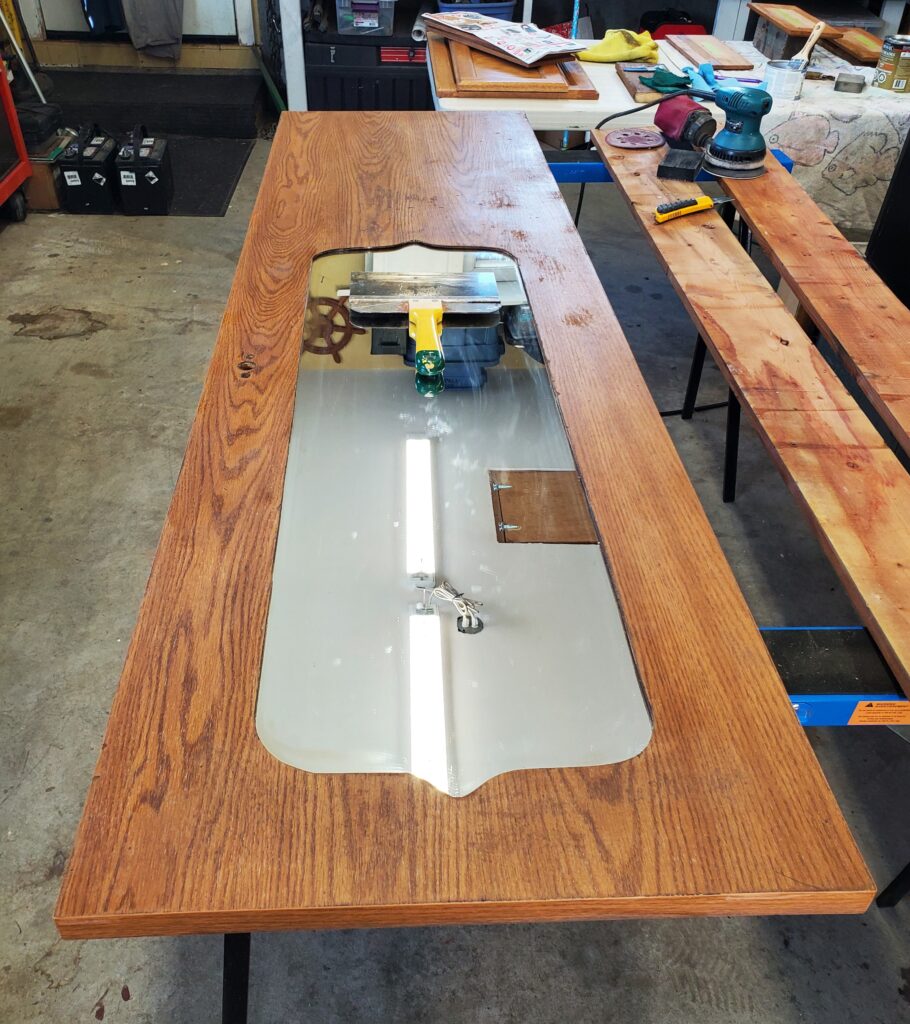
- Replacing the front room light and fixing the ceiling finish.
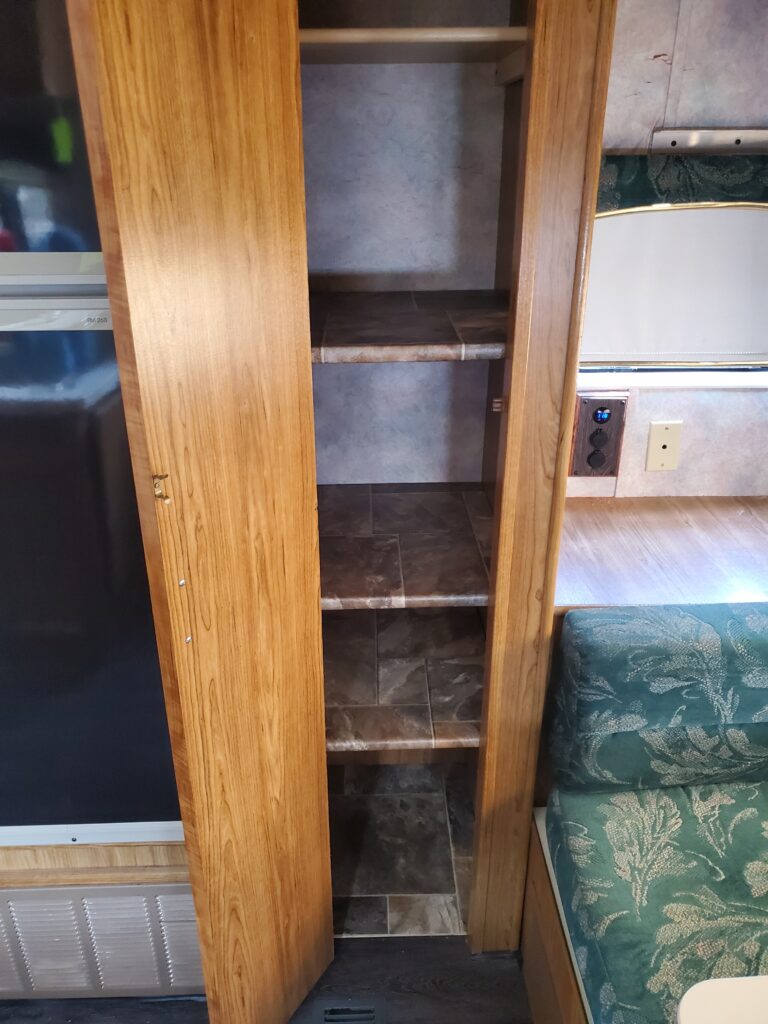
- Installing a new corner cabinet.
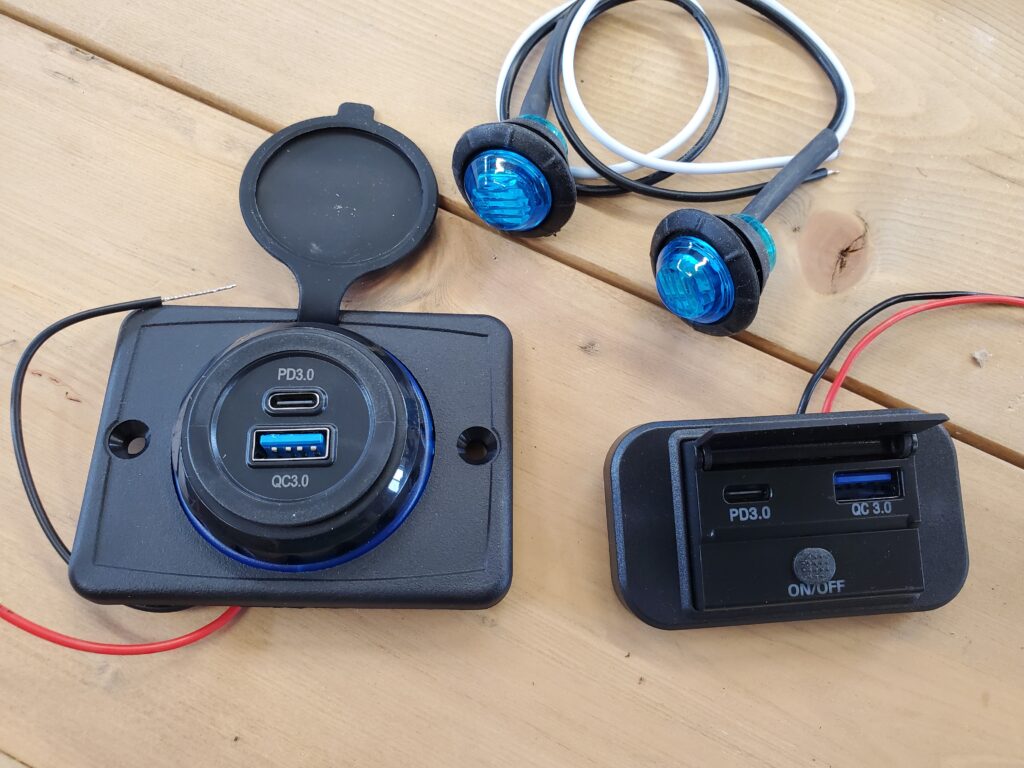
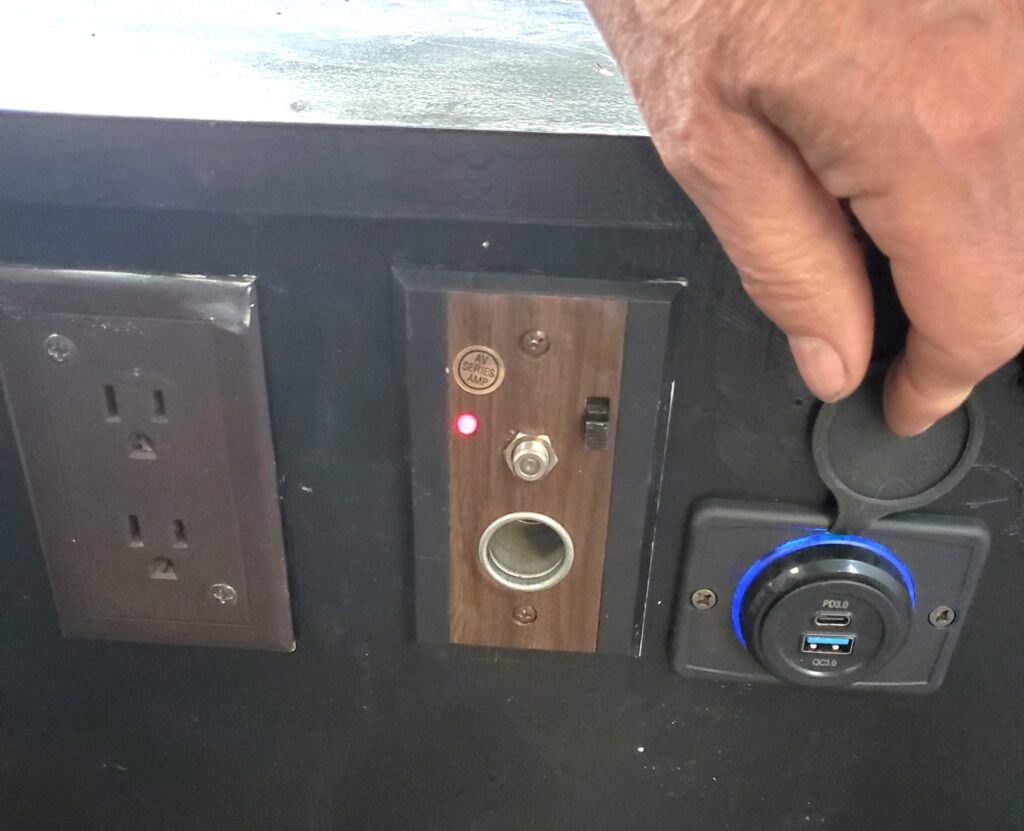
- Replacing the TV hook up with a USB charging plate.
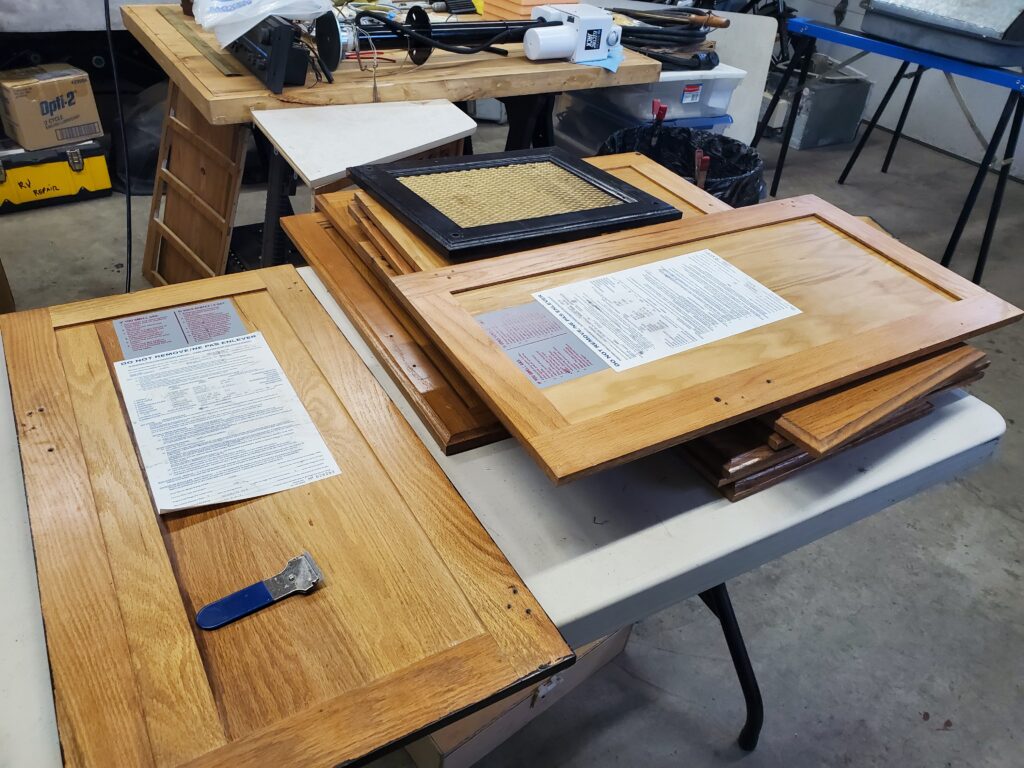
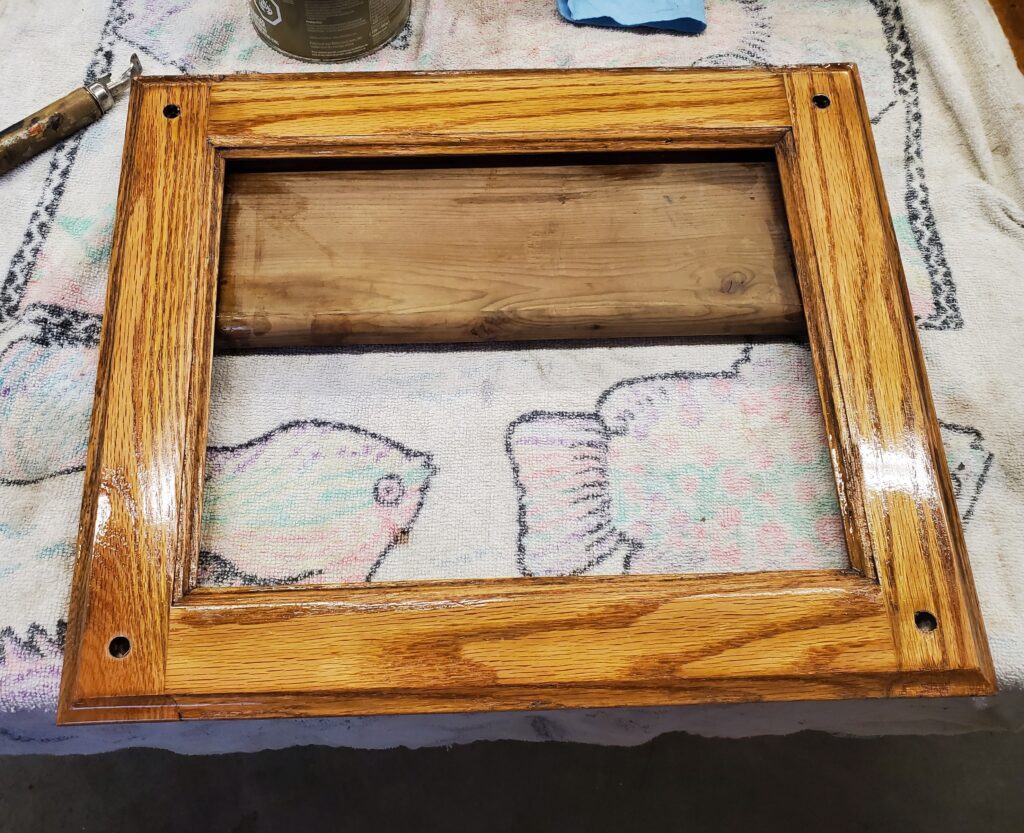
- Replacing the newly finished cabinet doors.
- Removing the bedroom blinds and installing curtains.
- building a night stand.
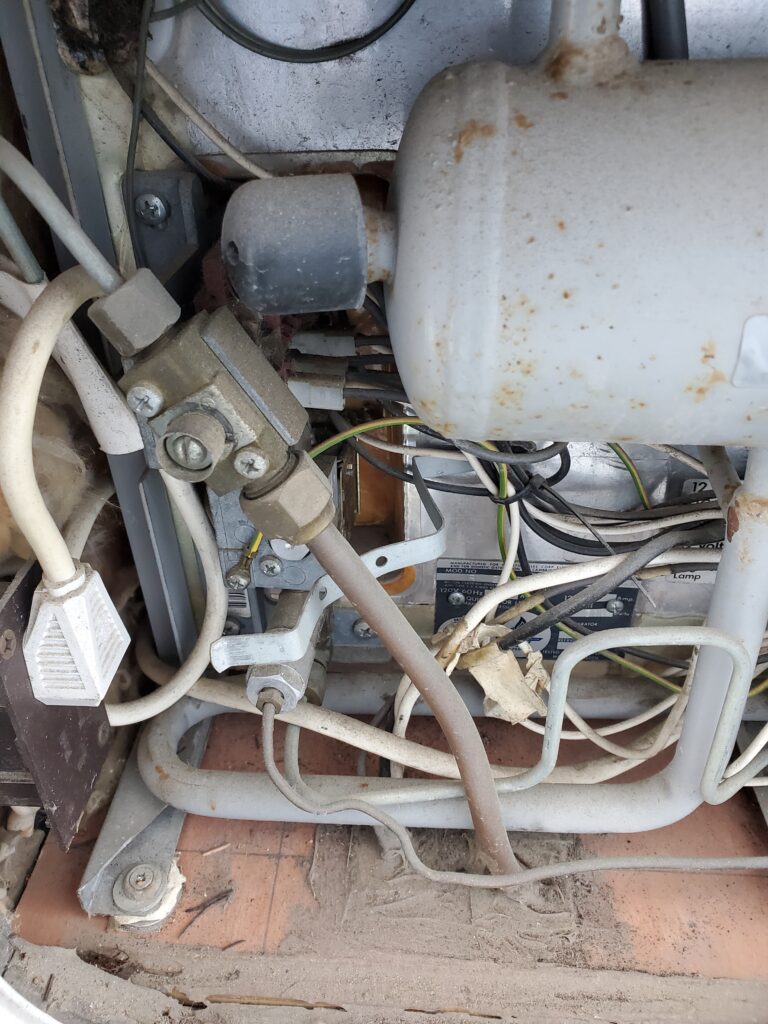
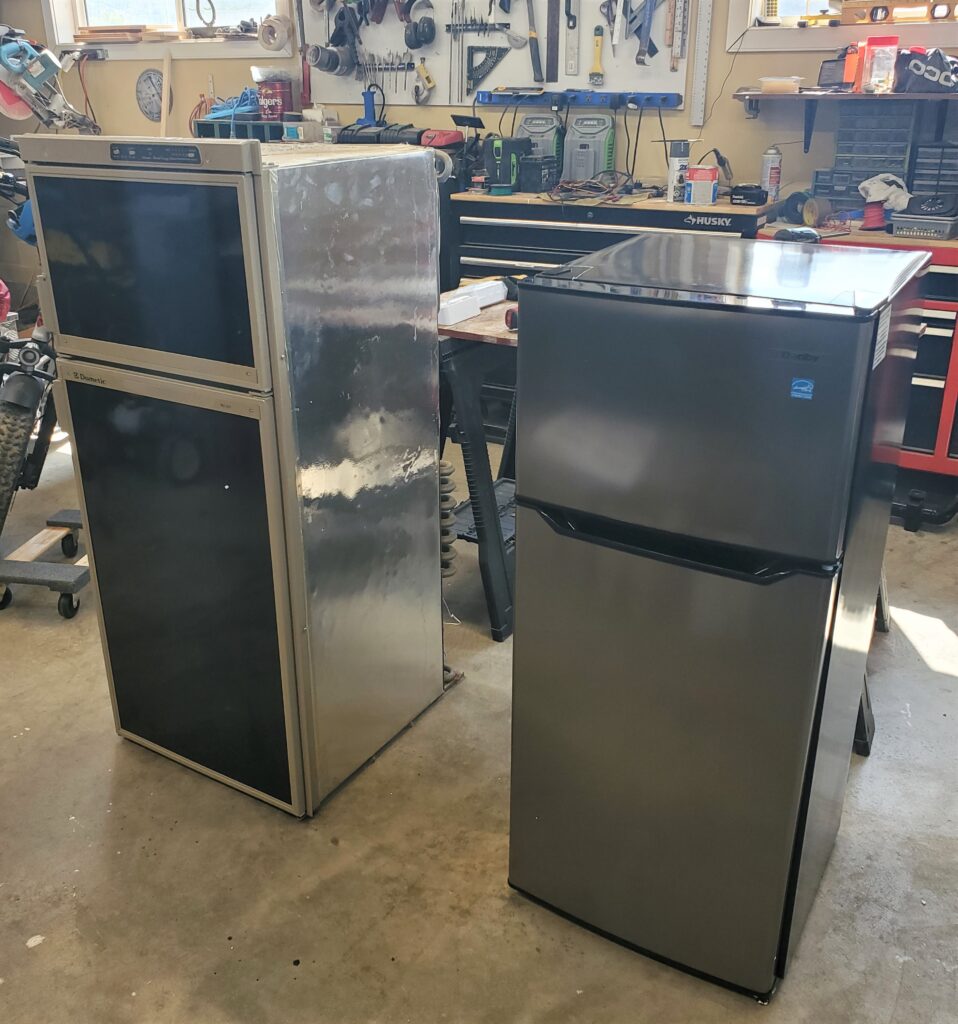
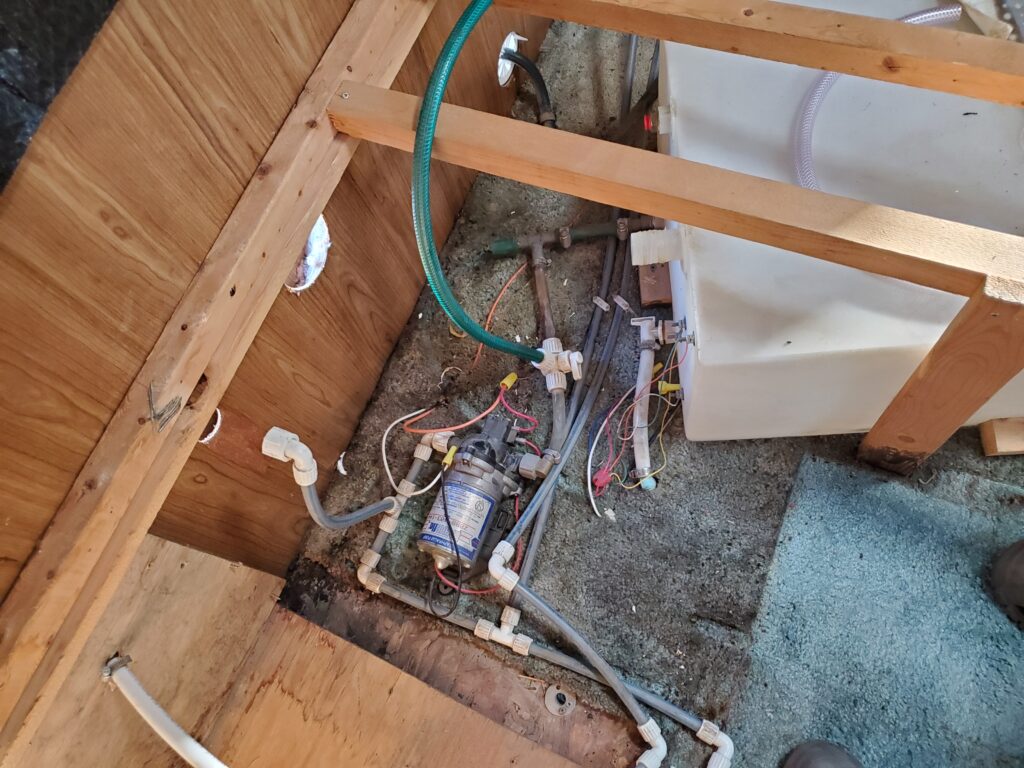
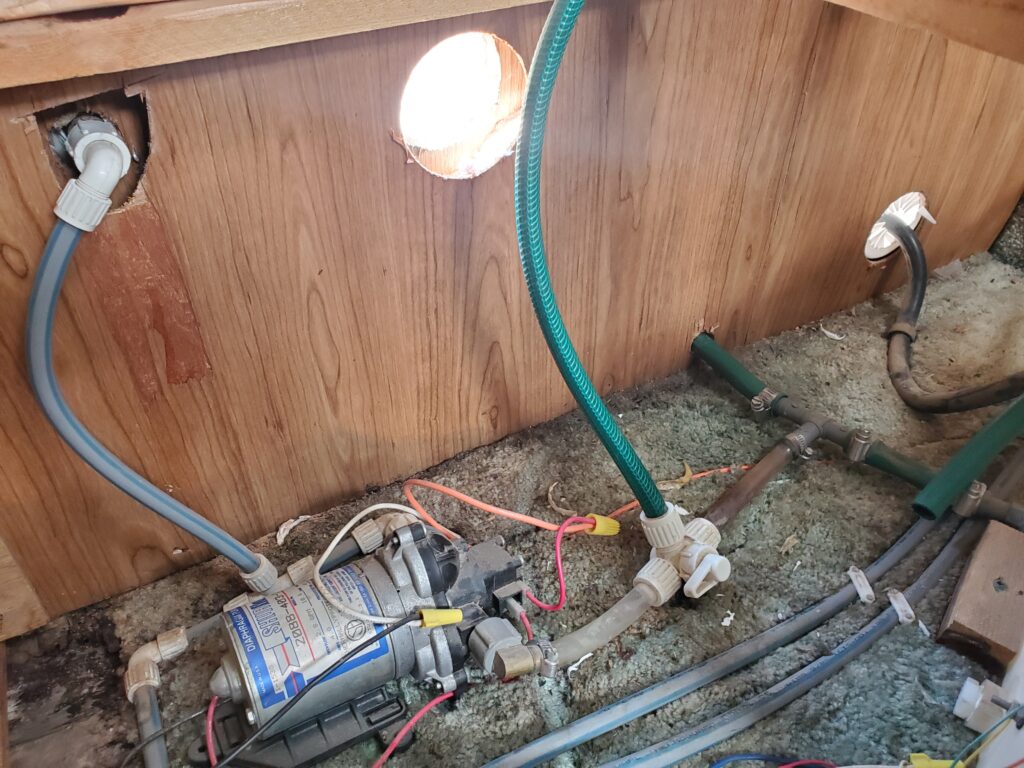
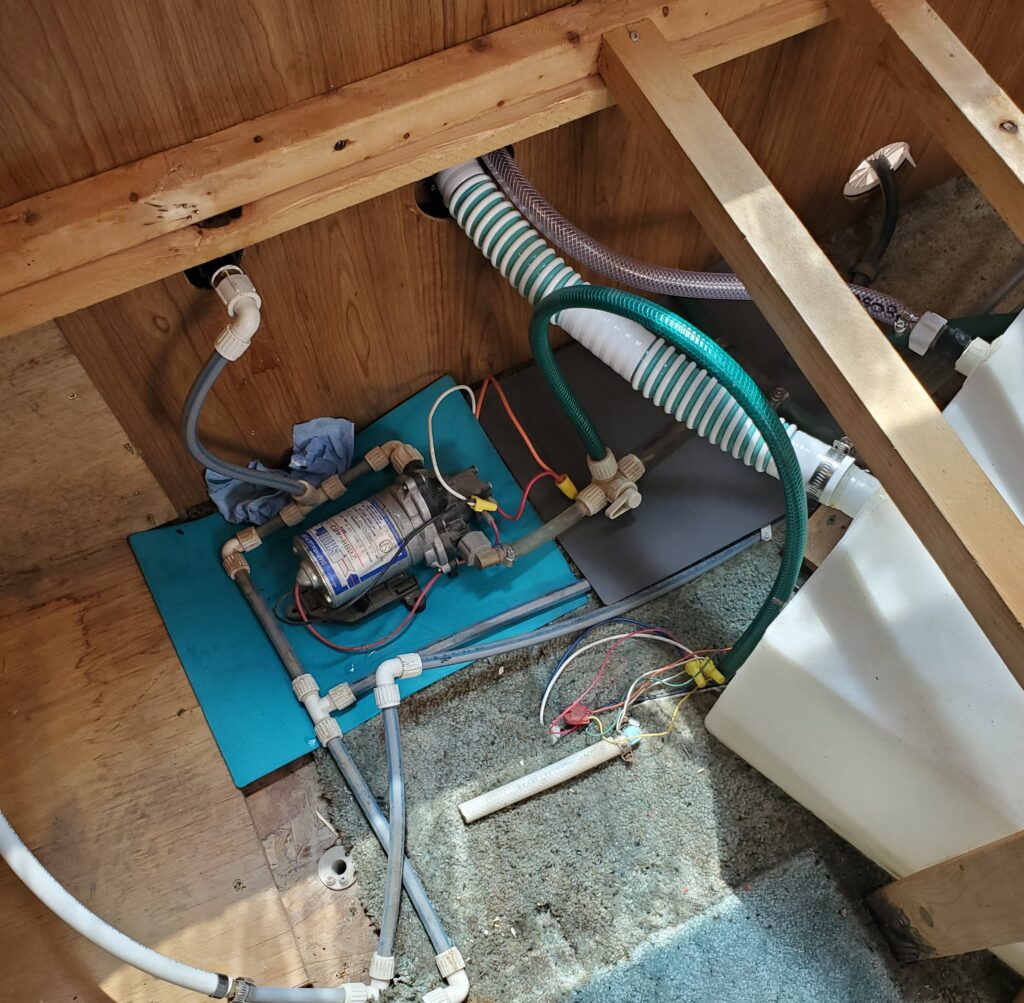
- Install the new hot water tank bypass.
- Water up the plumbing and test for leaks
- Install carpet in the bedroom and front room.
And of coarse there will be other details.
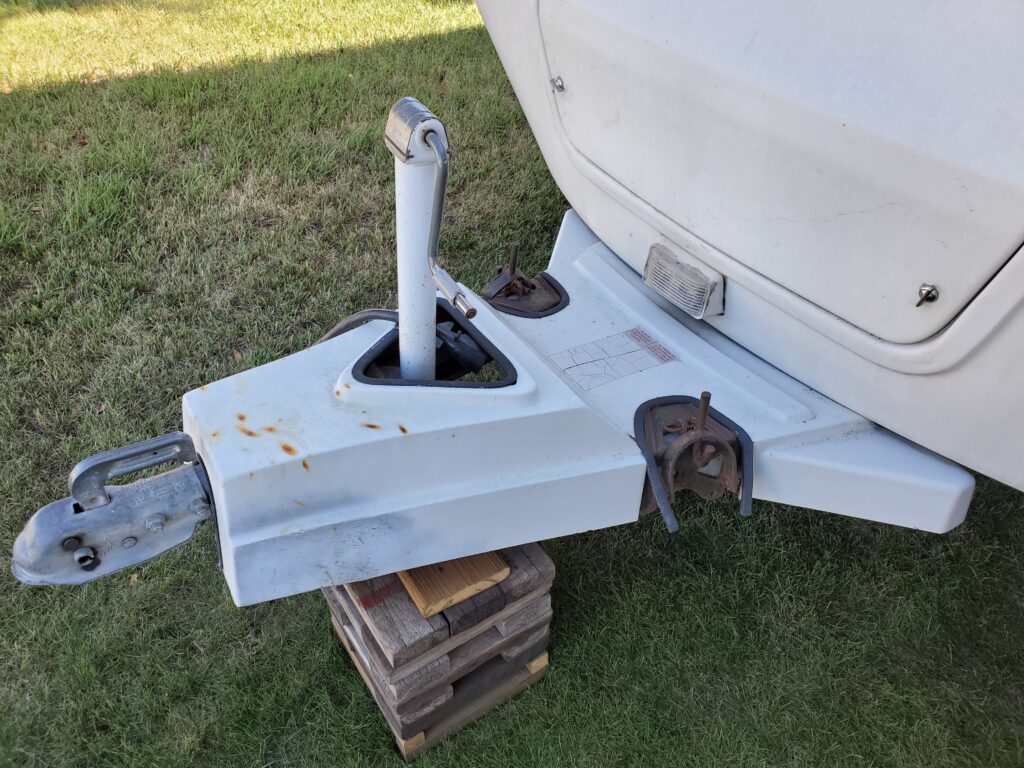
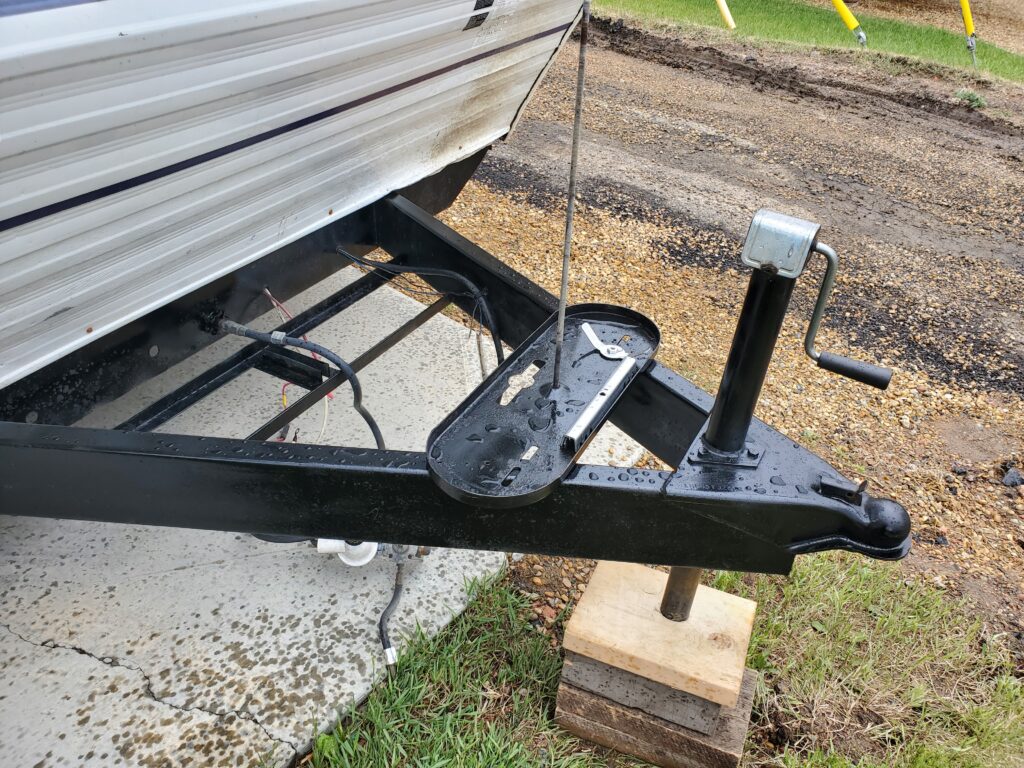
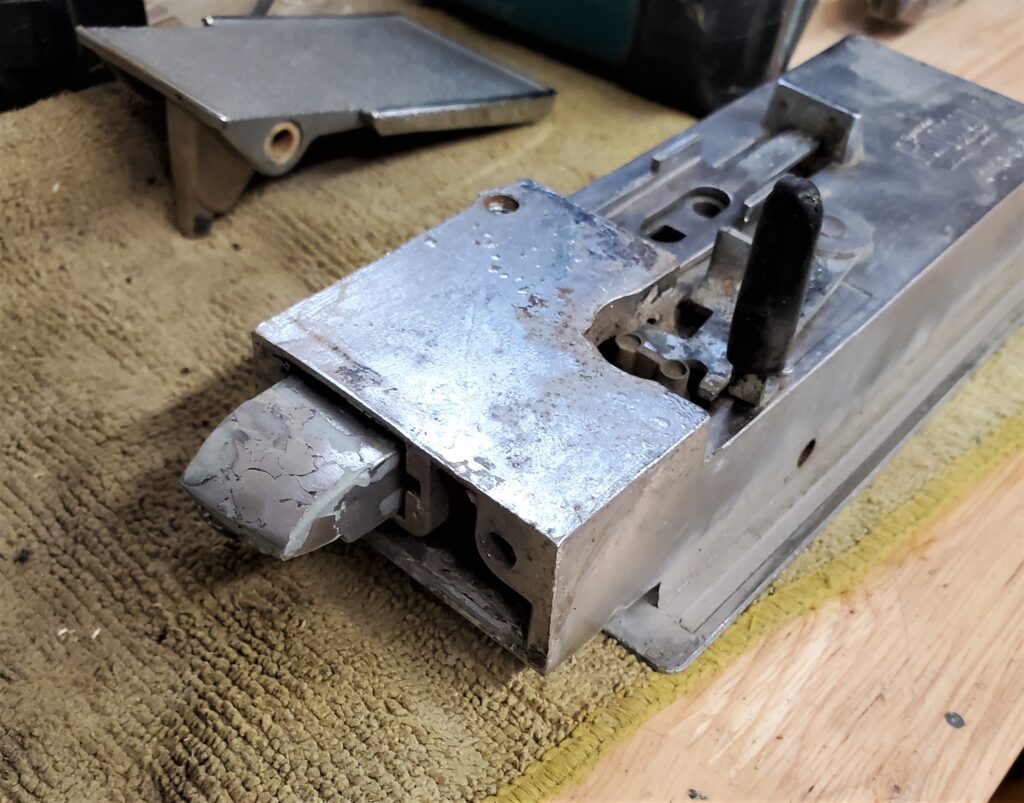
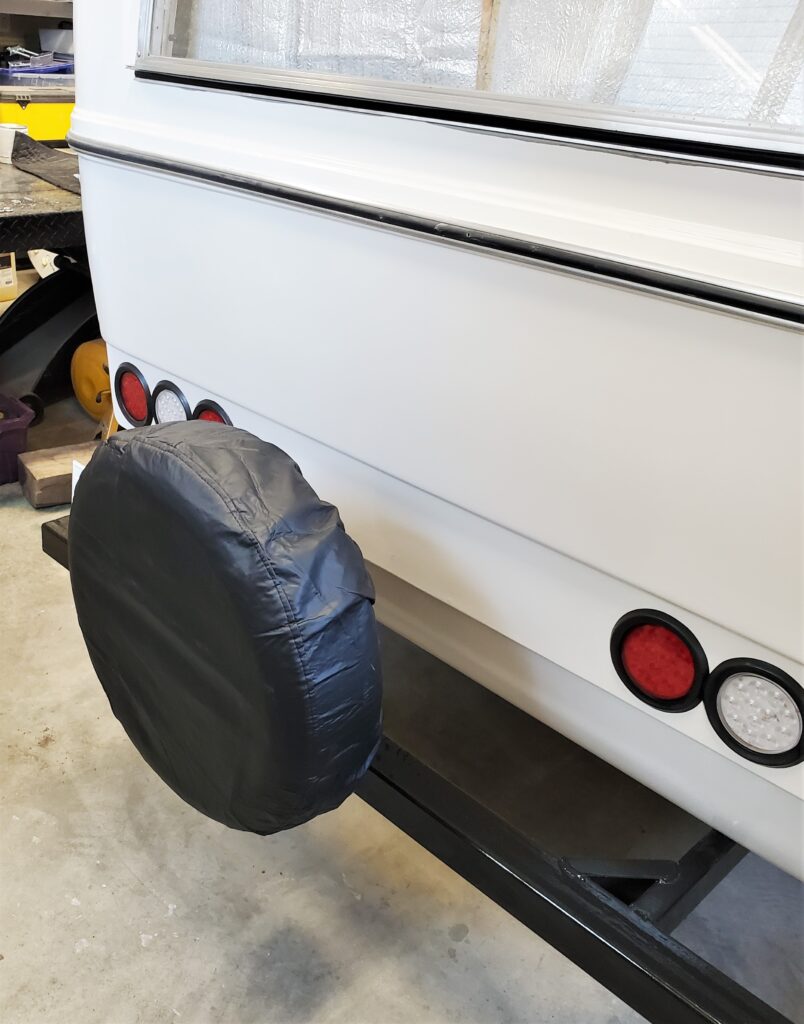
Here’s the first snag.. The jack does not fit the clamp.
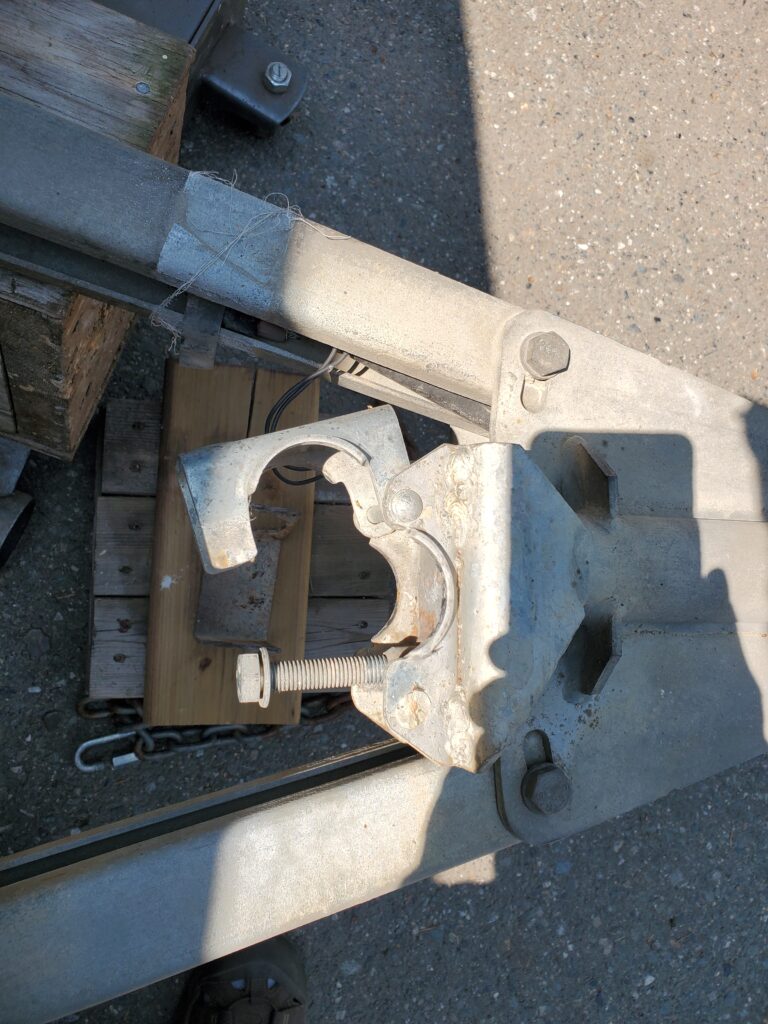
That clamp is for a 2 inch diameter jack and the electric ones are all 2-1/4 ” So this needs to be modified. I removed the clamp and there was four holes which fit a 2-1/4″ muffler clamp. Bolted and welded… Not a problem for a cutoff wheel. So two clamps and that worked great.
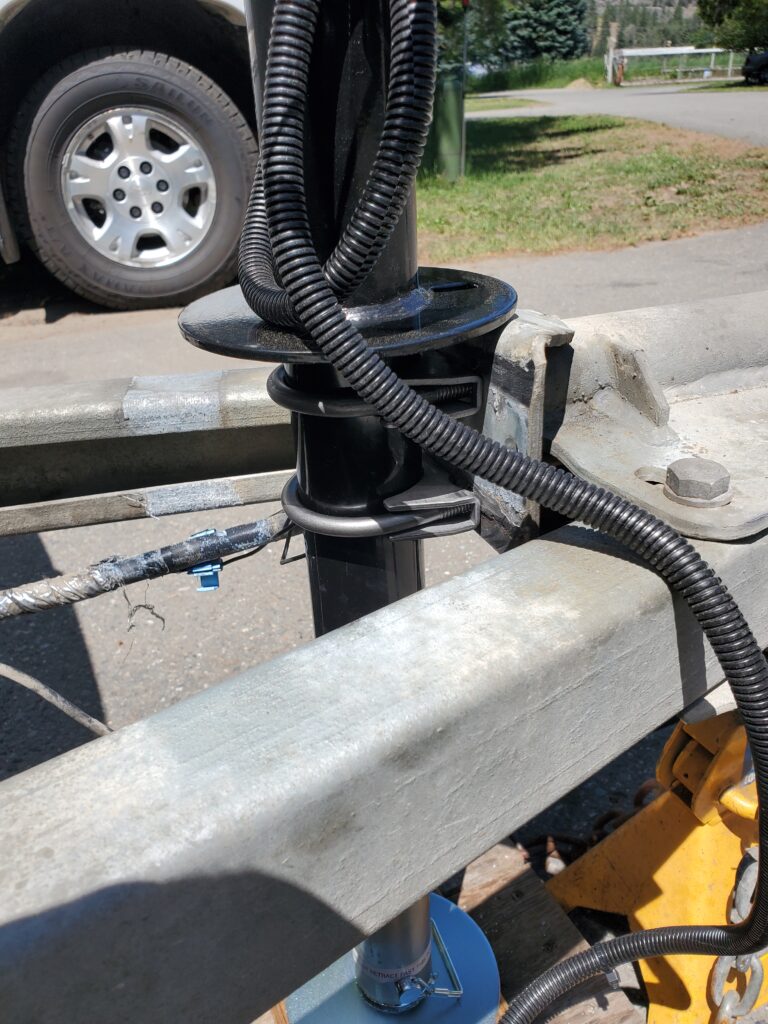
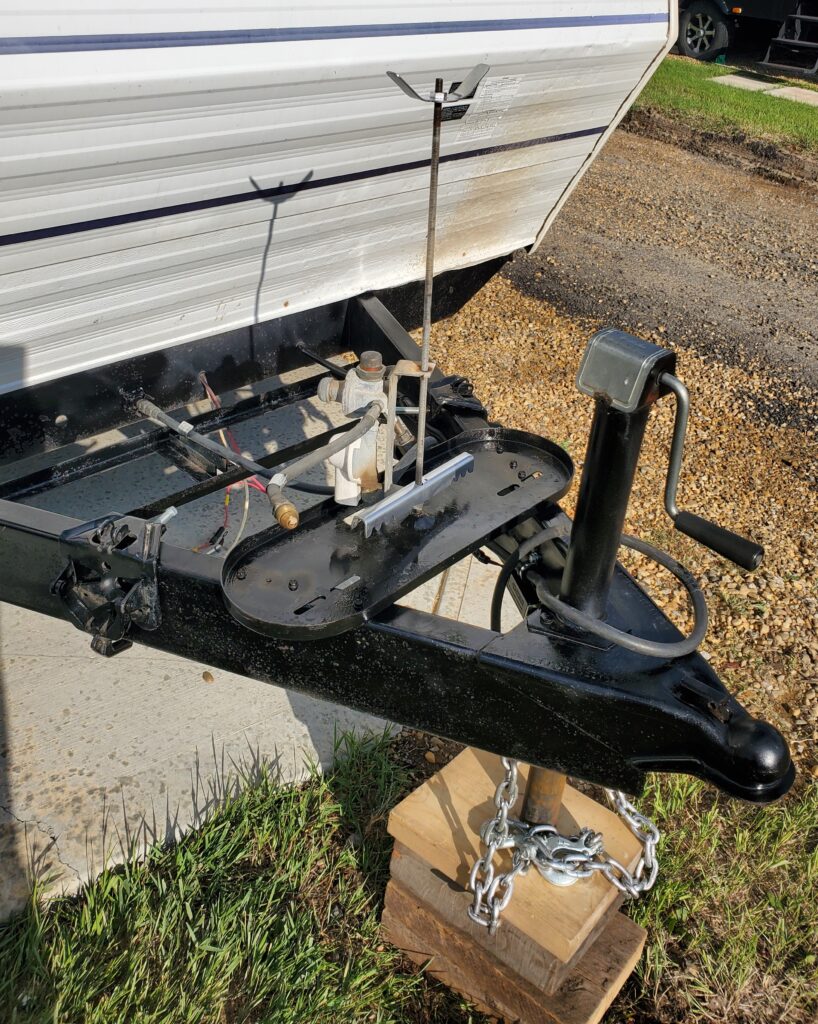
Just need to patch the wires in to the cable (seen on the left) and we are done.
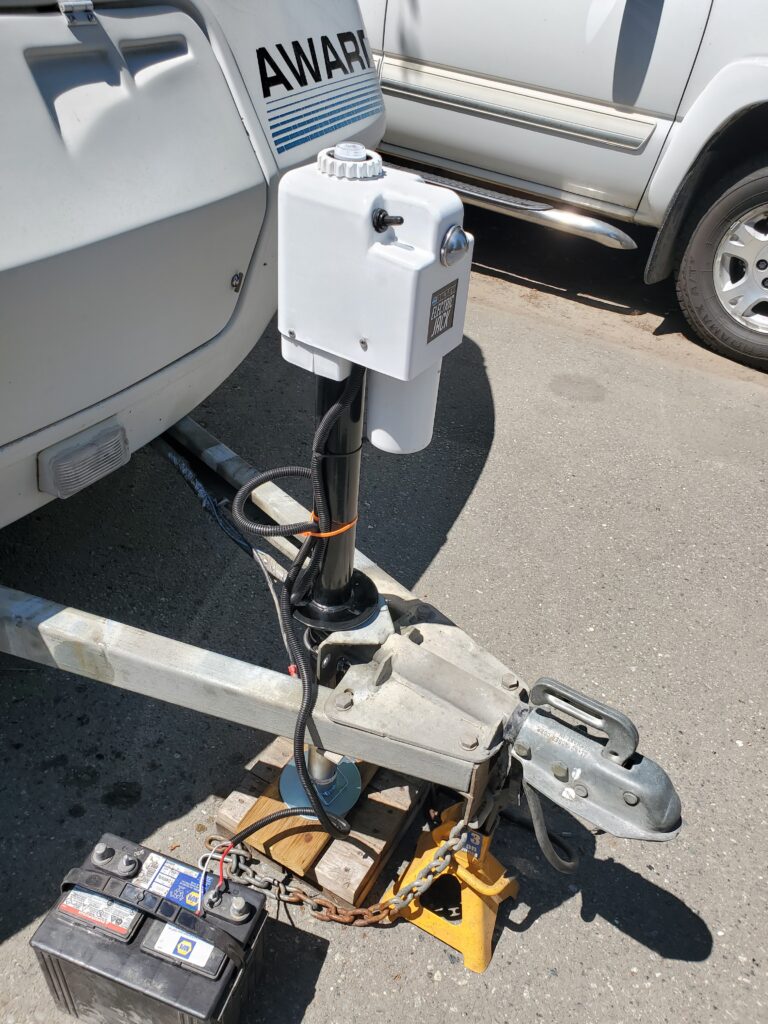
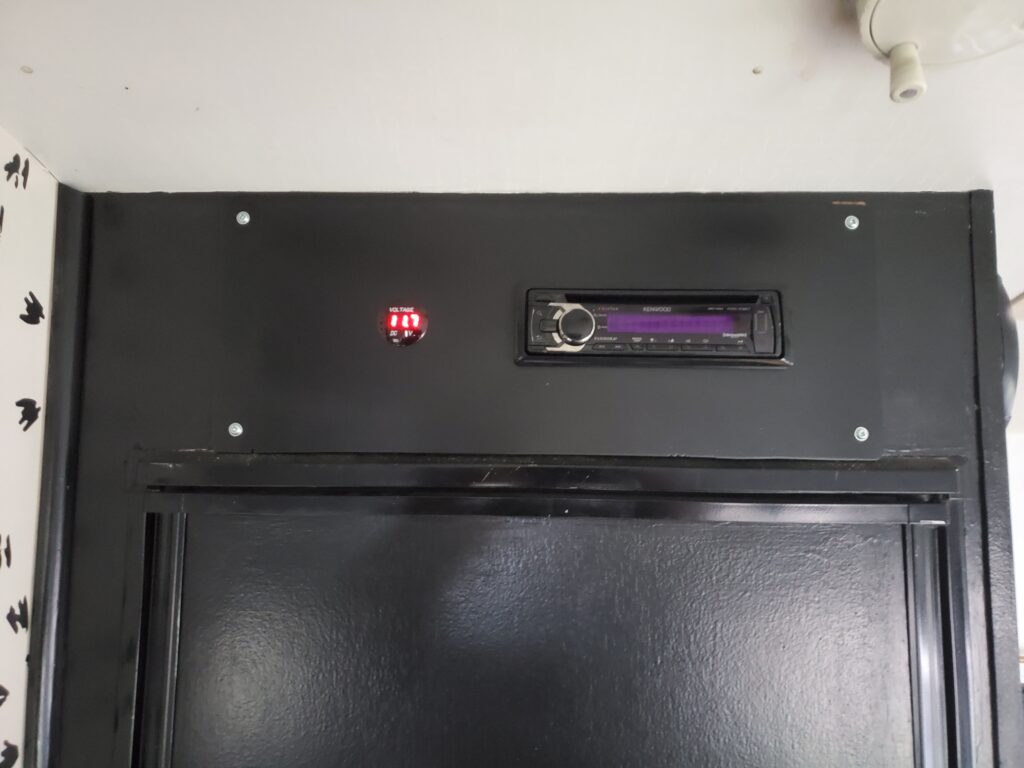
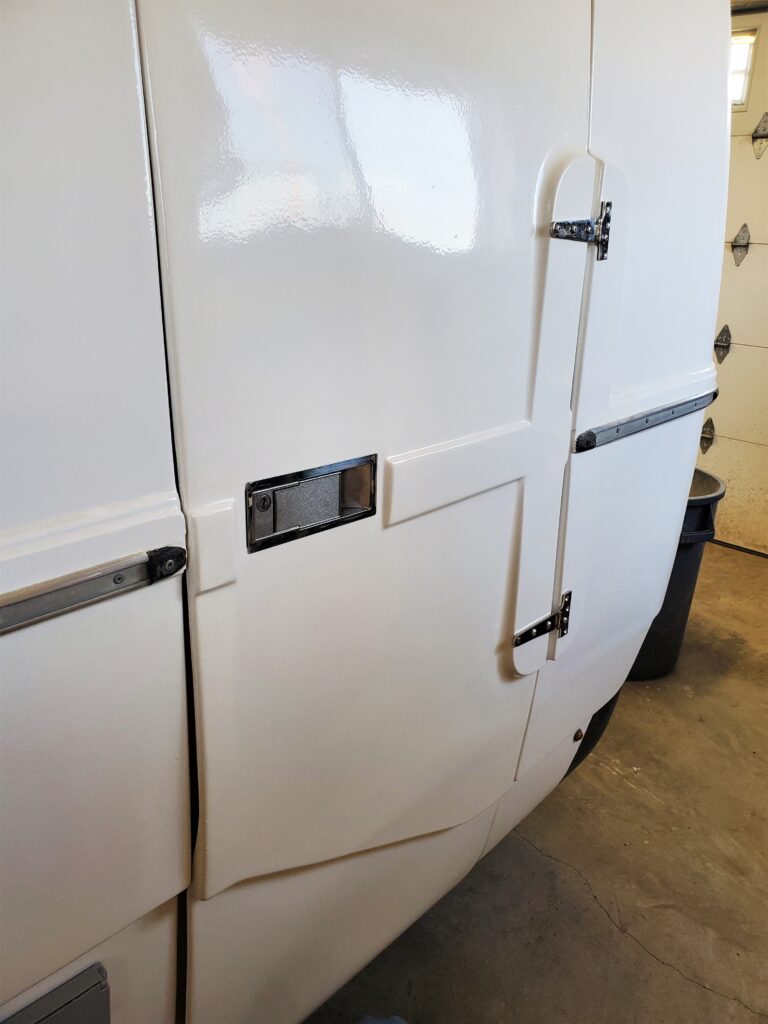
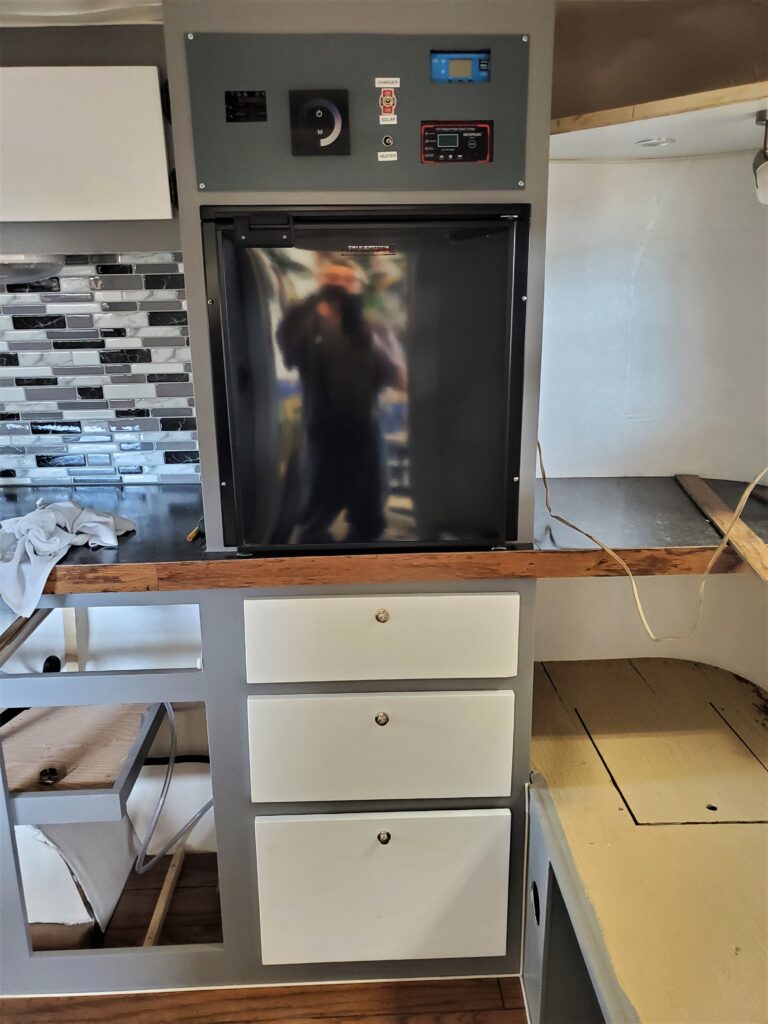
Nice big removable foot and that tucks up high for travel. So with that done I’m going to concentrate on the interior so we can get the out fitting done. The black paint is touched up and cupboard door installed.
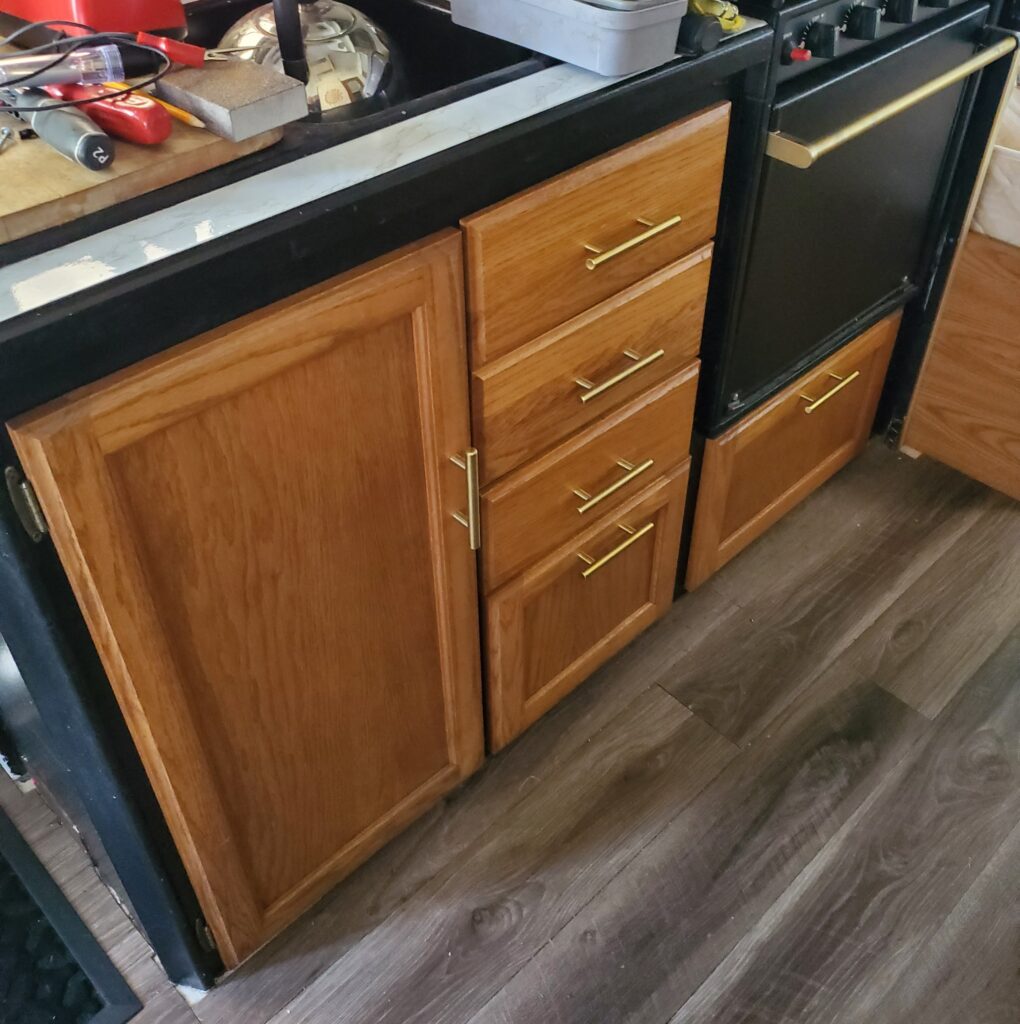
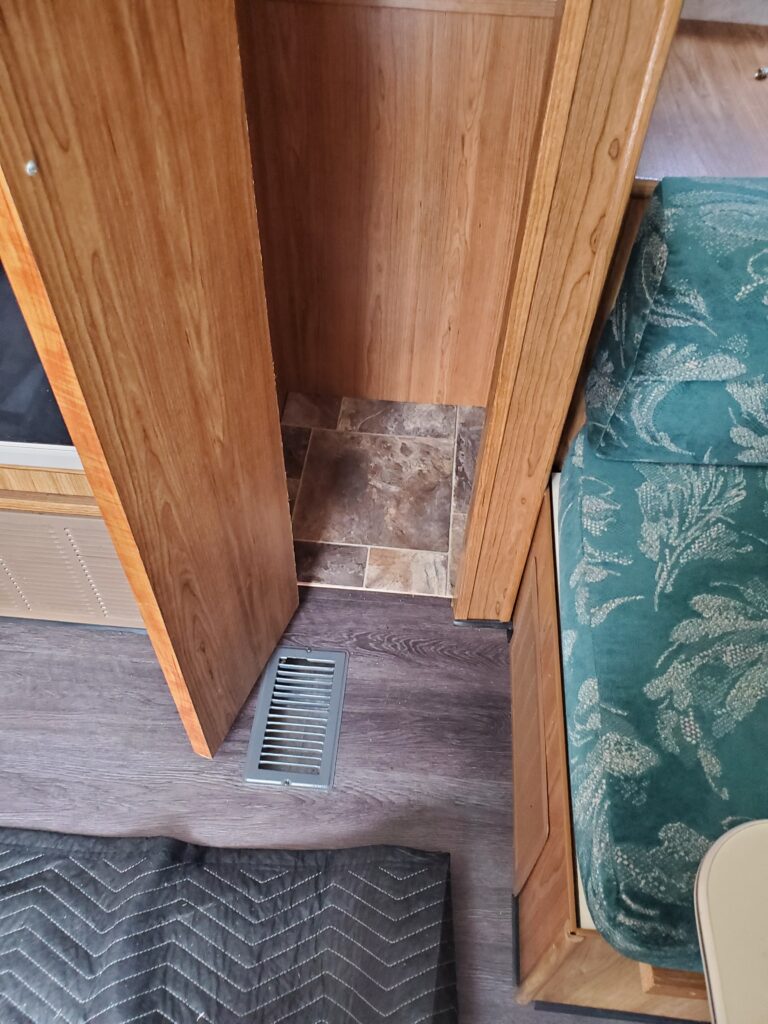
That’s looks better than just black.. I cut a piece of the carpet for the bedroom floor..
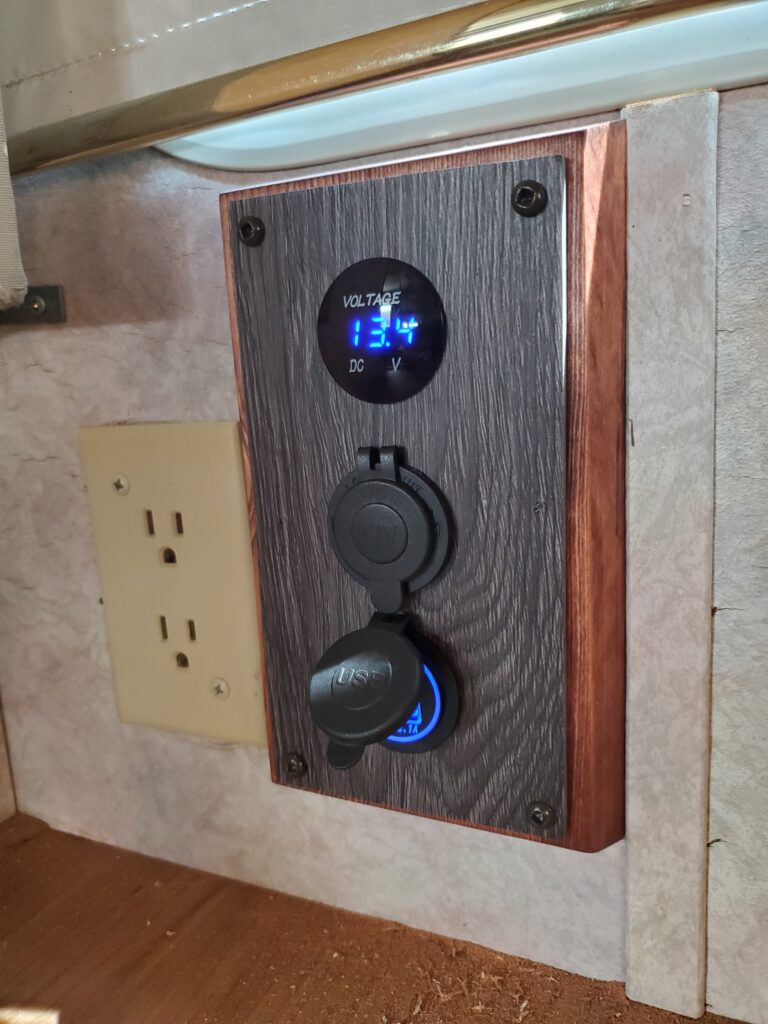
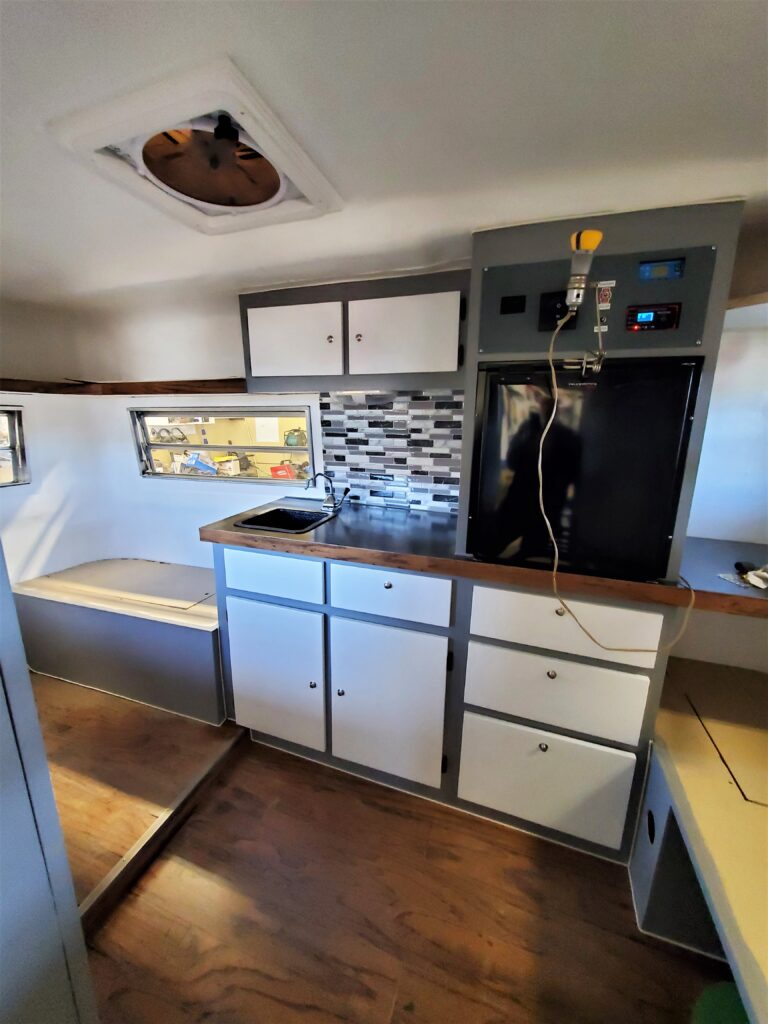
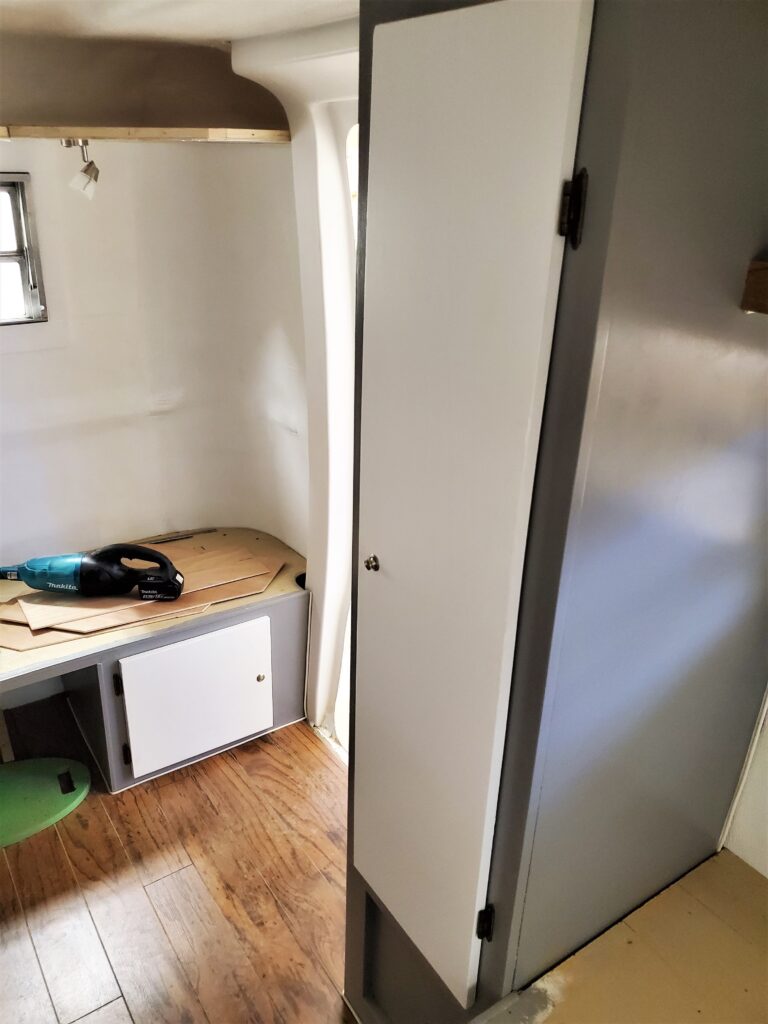
That’s a nice soft place now. The accordion door is back too.. Then I did take time to install a USB charging port on the front wall where we will sit..
That will be handy. Next will be the carpet for the front space in the trailer. And the bedroom curtains.
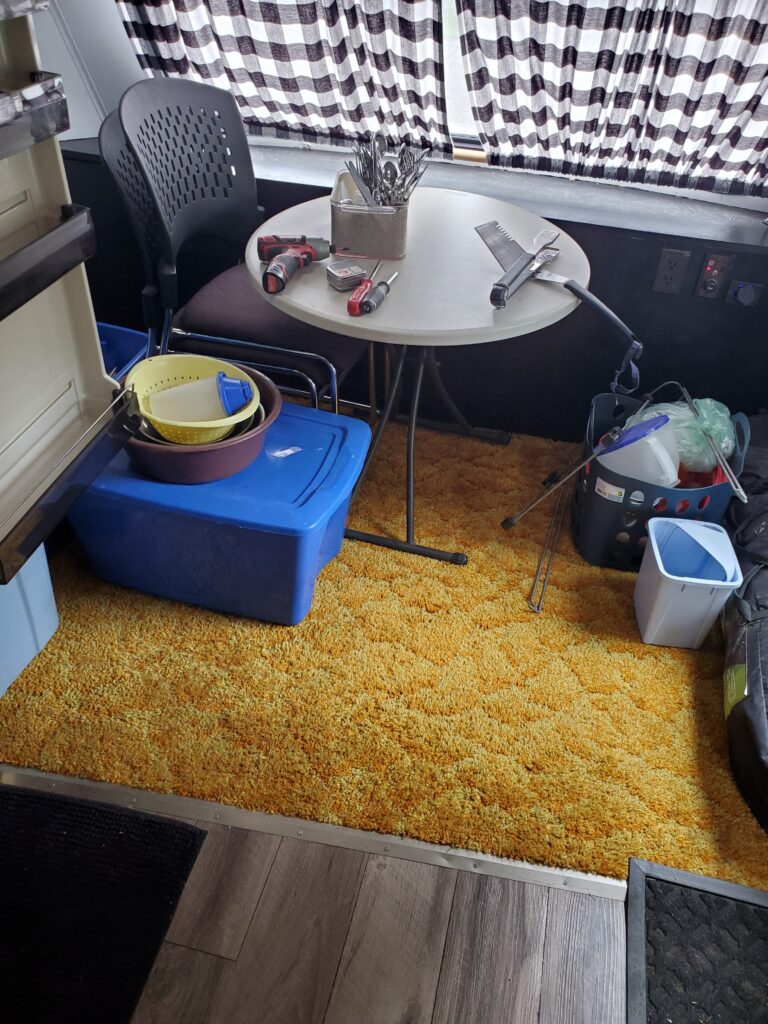
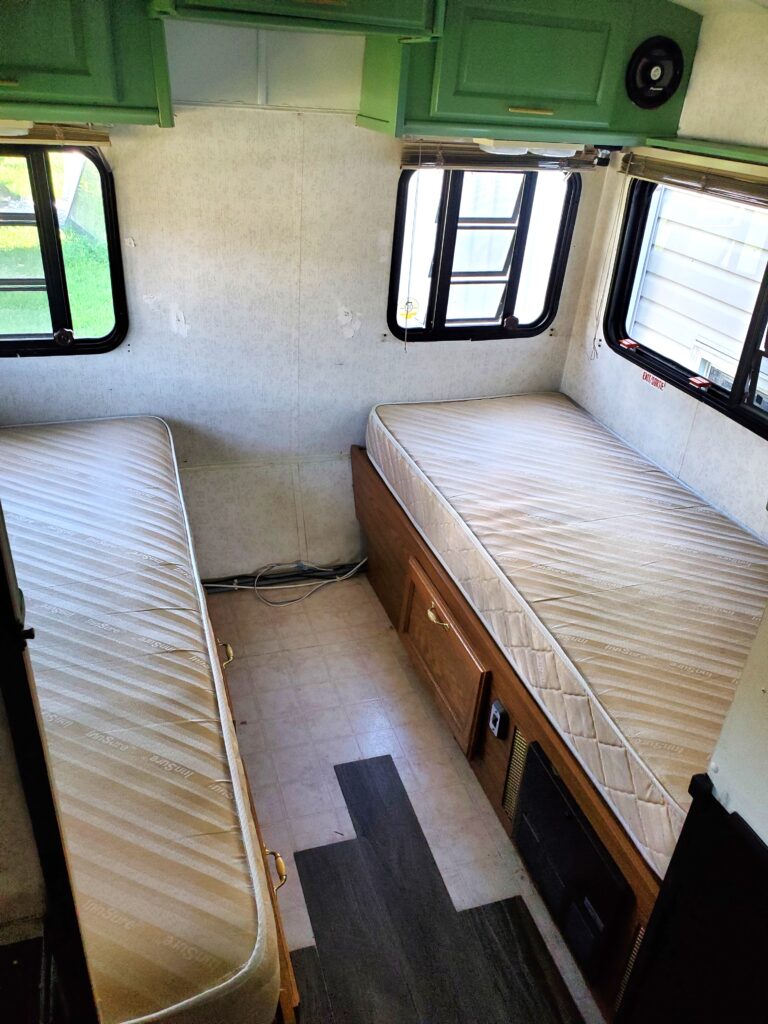
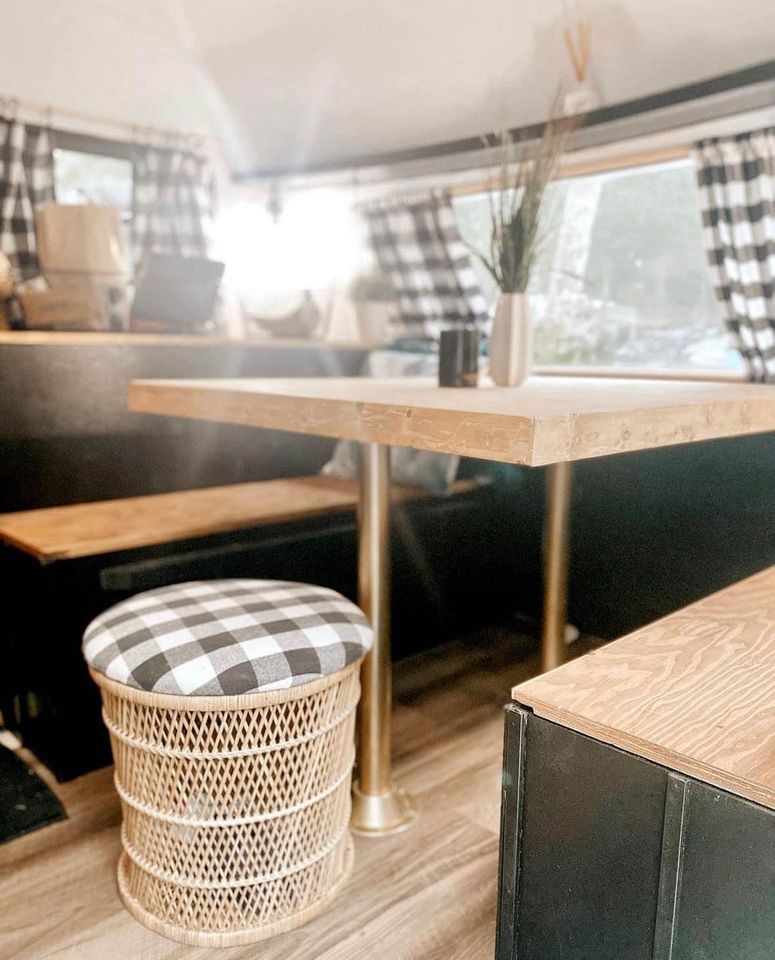
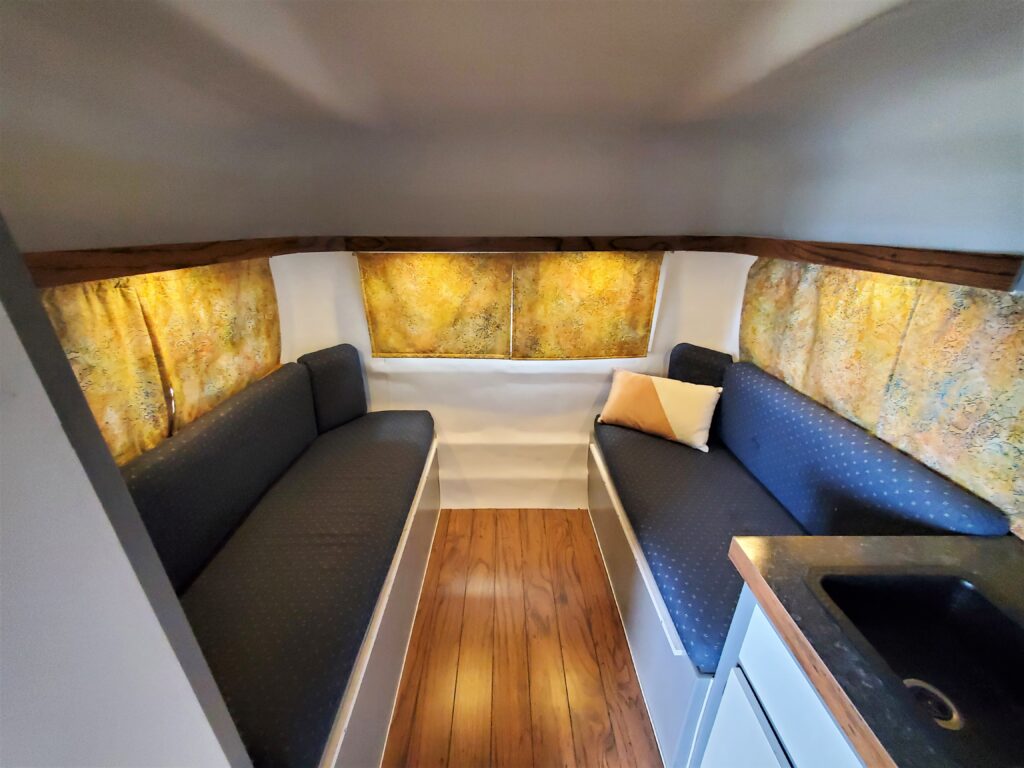
The new carpet.. Hey it’s what we have.. Only for this year.. The table and the two chairs you see are what we will use. Tubs will work as storage for this year too.
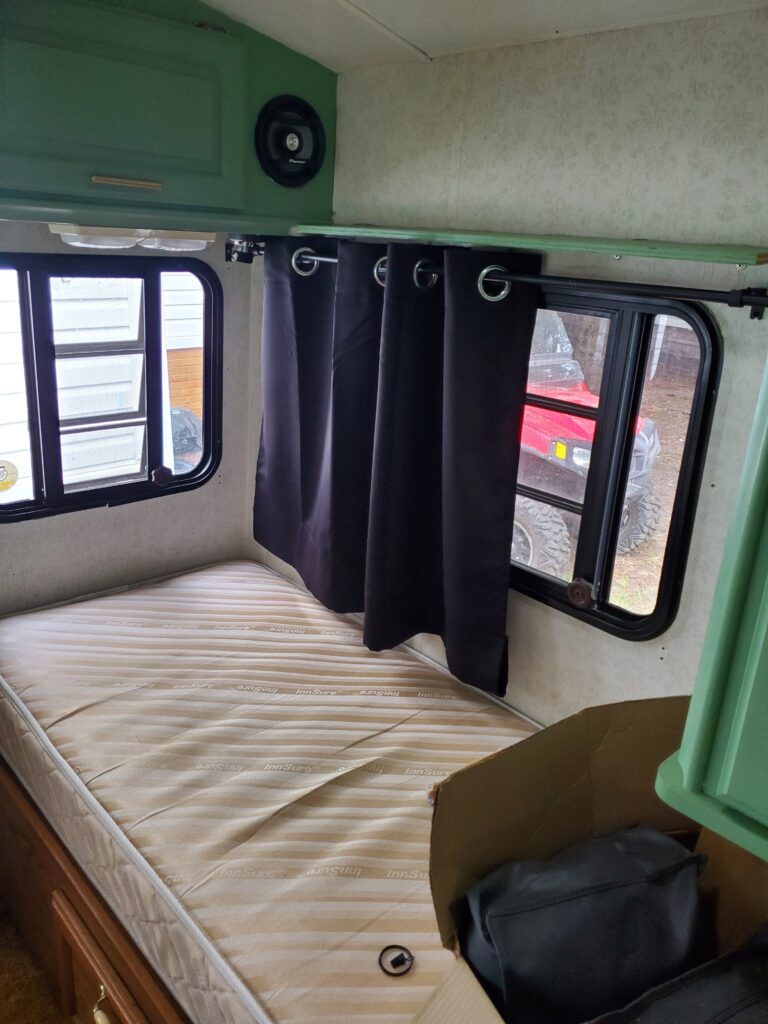
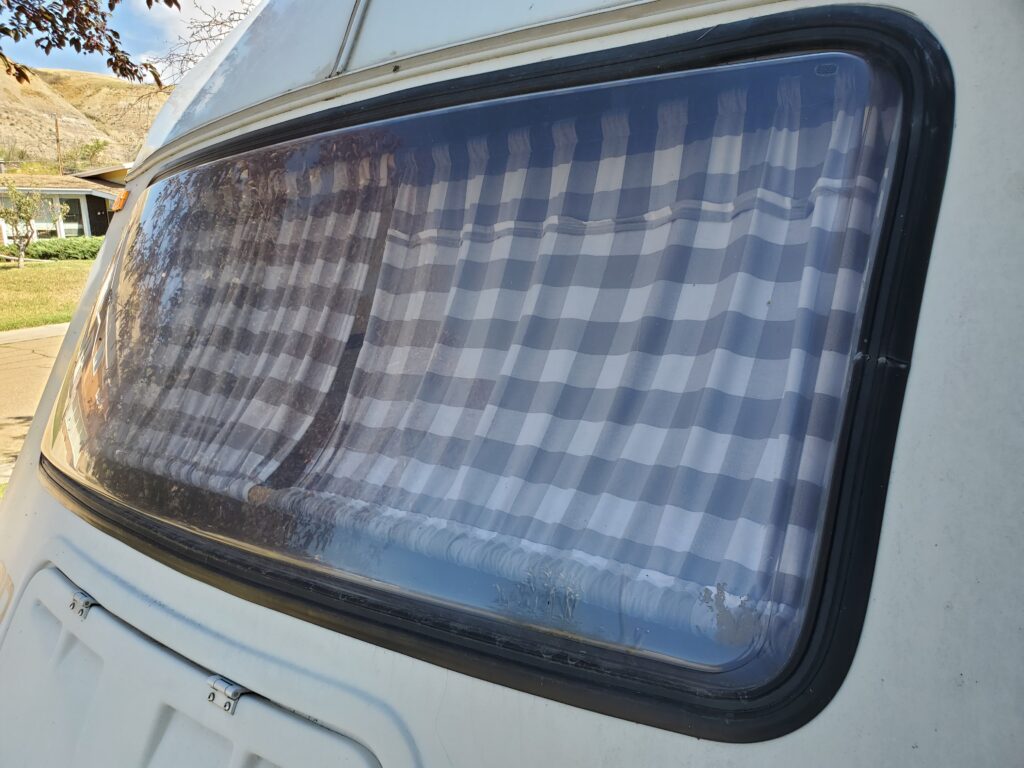
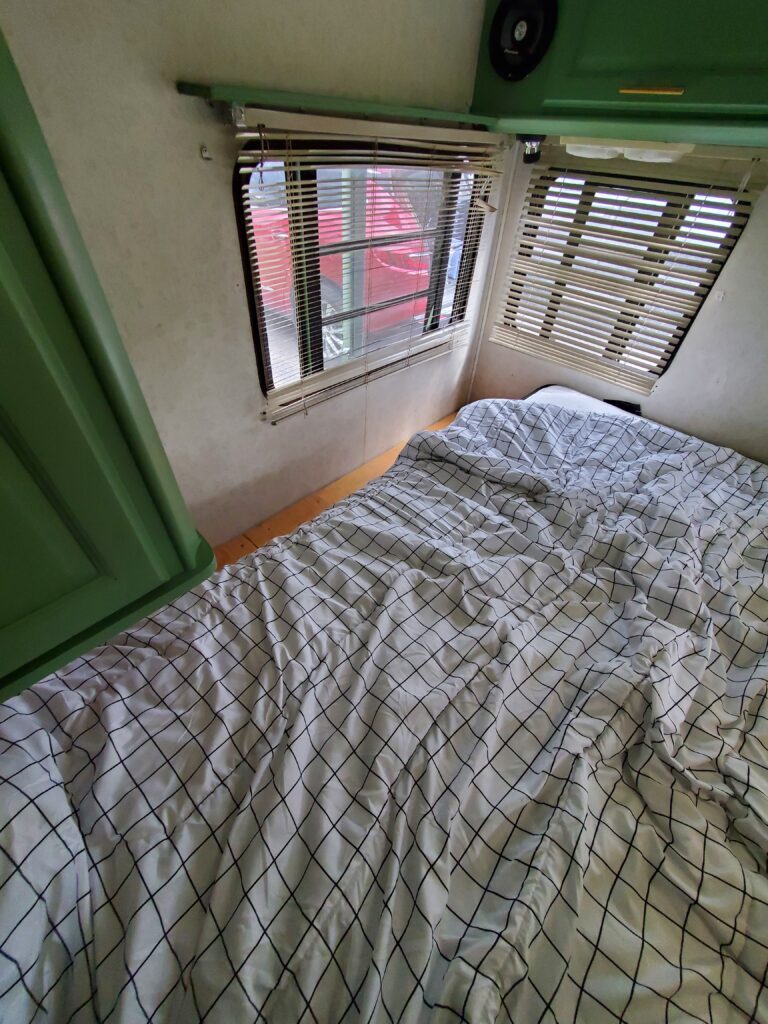
Here’s what the blackout curtains look like. The mini blinds went to the dumpster.
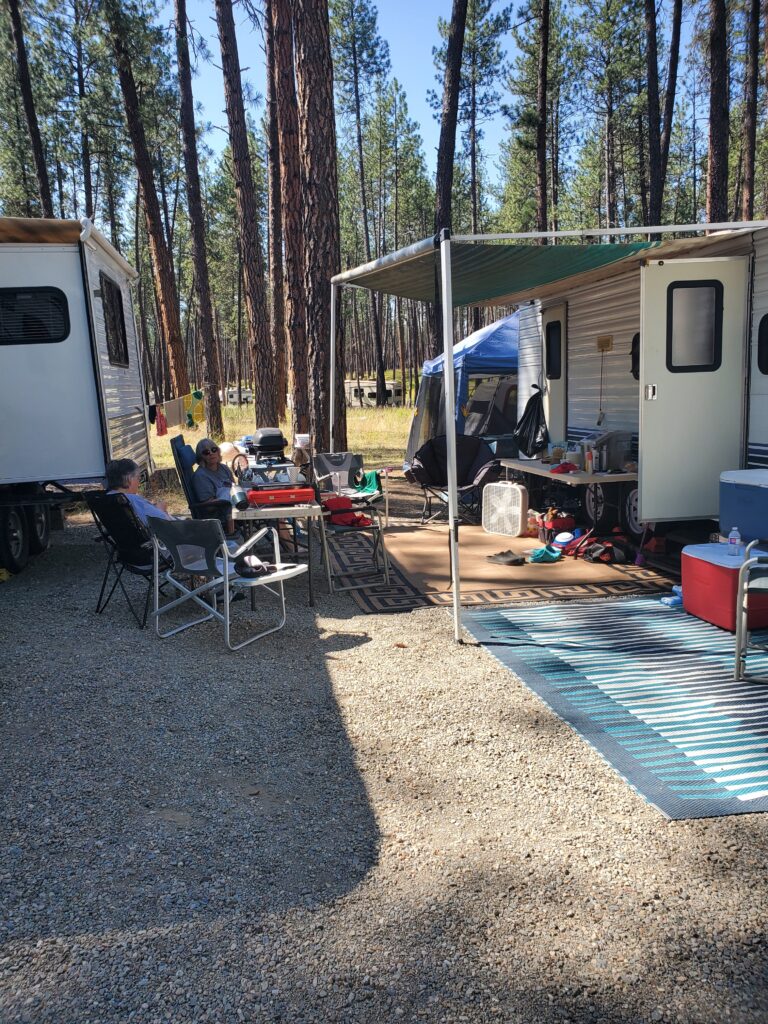
Camping July 2025:
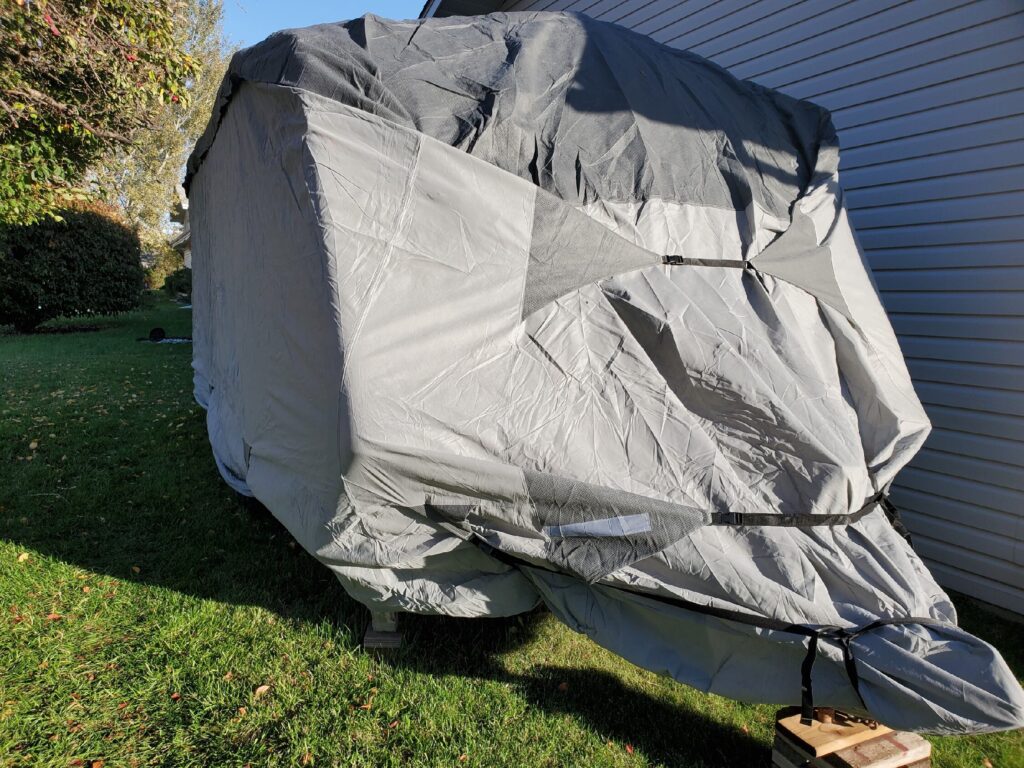
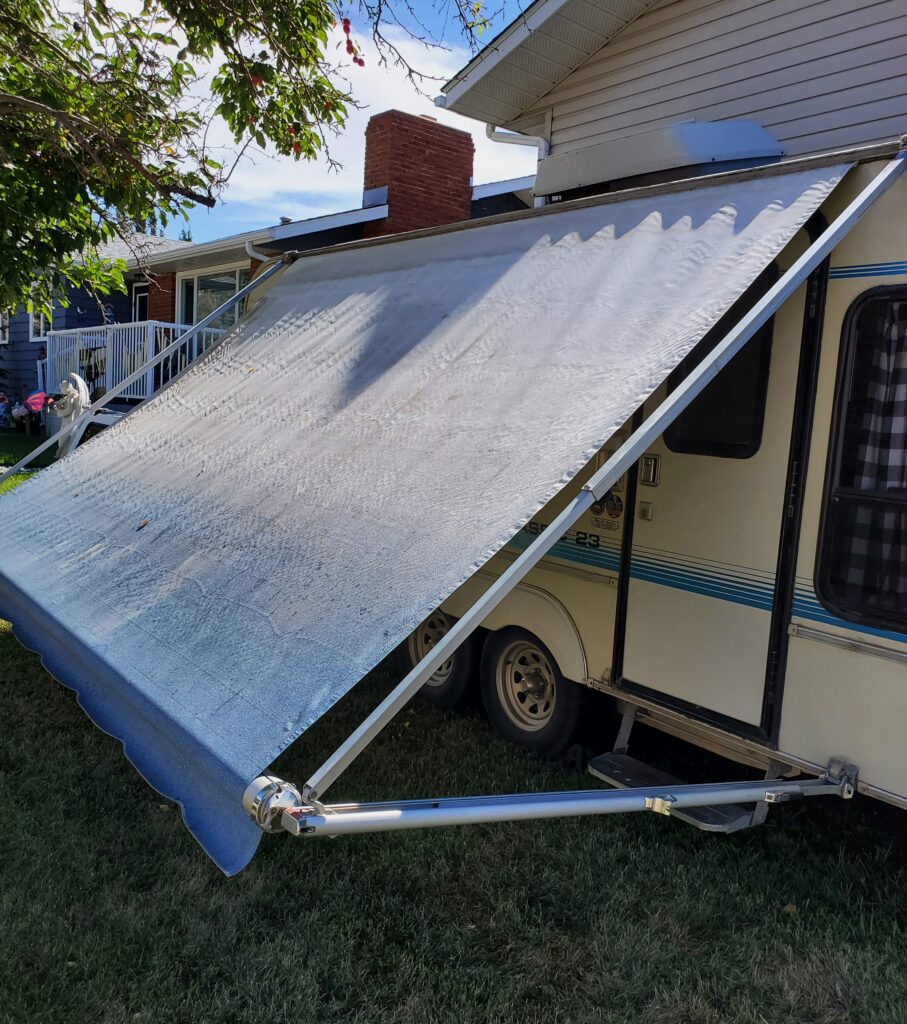
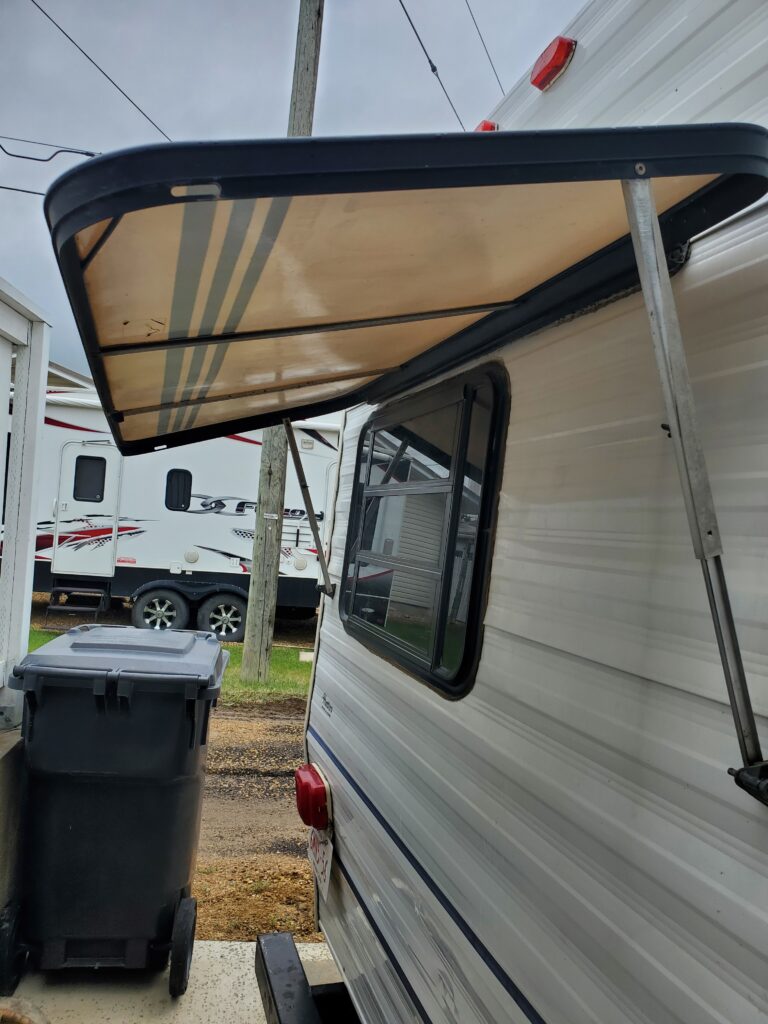
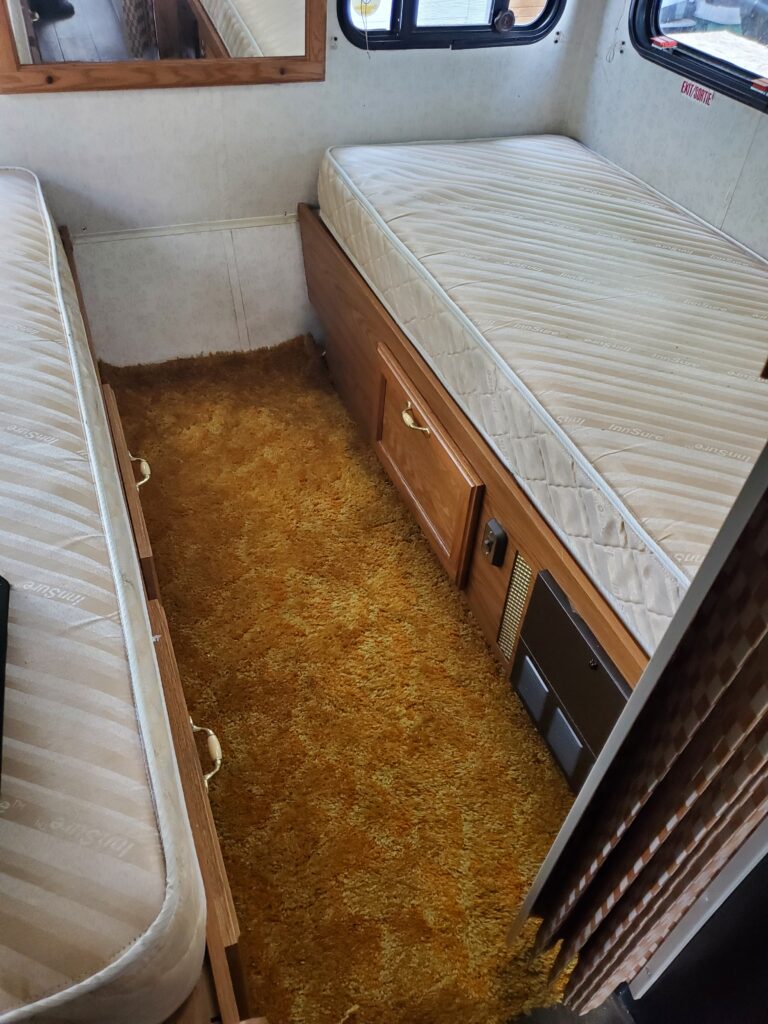
The Award was great . The twin beds worked good for us as well. What did not work was the AC.. Fortunately the weather was not super hot. In fact it was great! We set up our usual cabana with the awnings. I was able to pull out Award in and then jack-knife it into position and get my truck out without leaving the gravel pad. Try that with any other trailer.

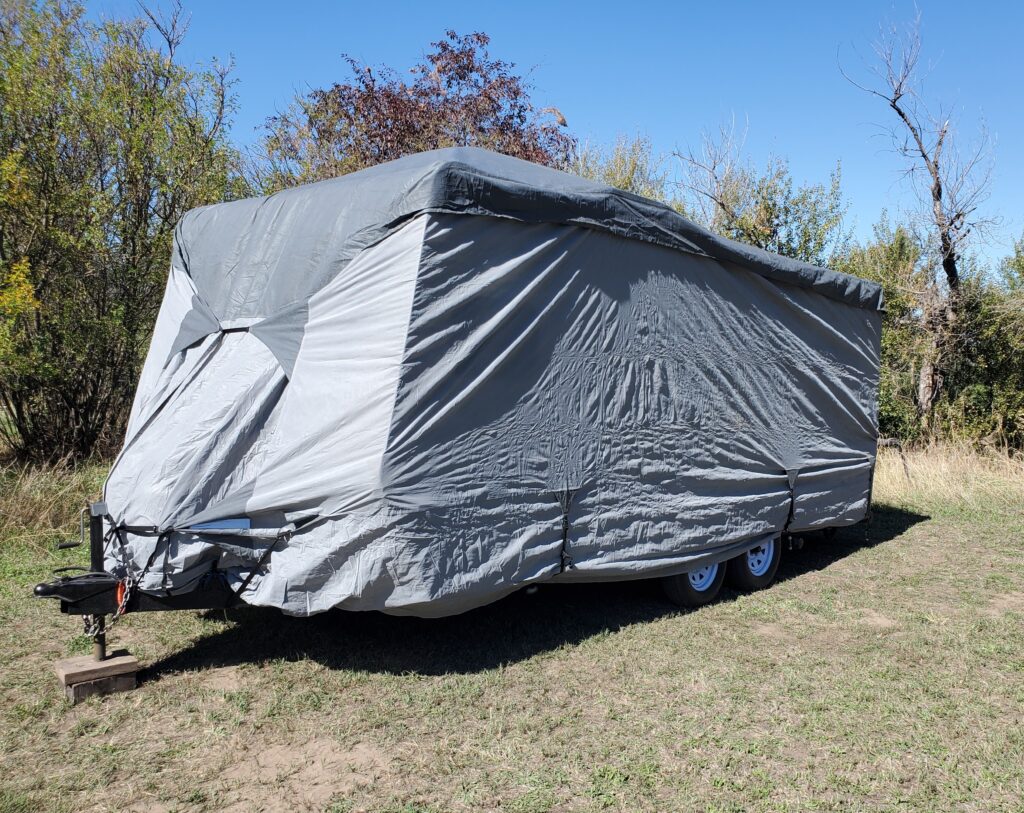
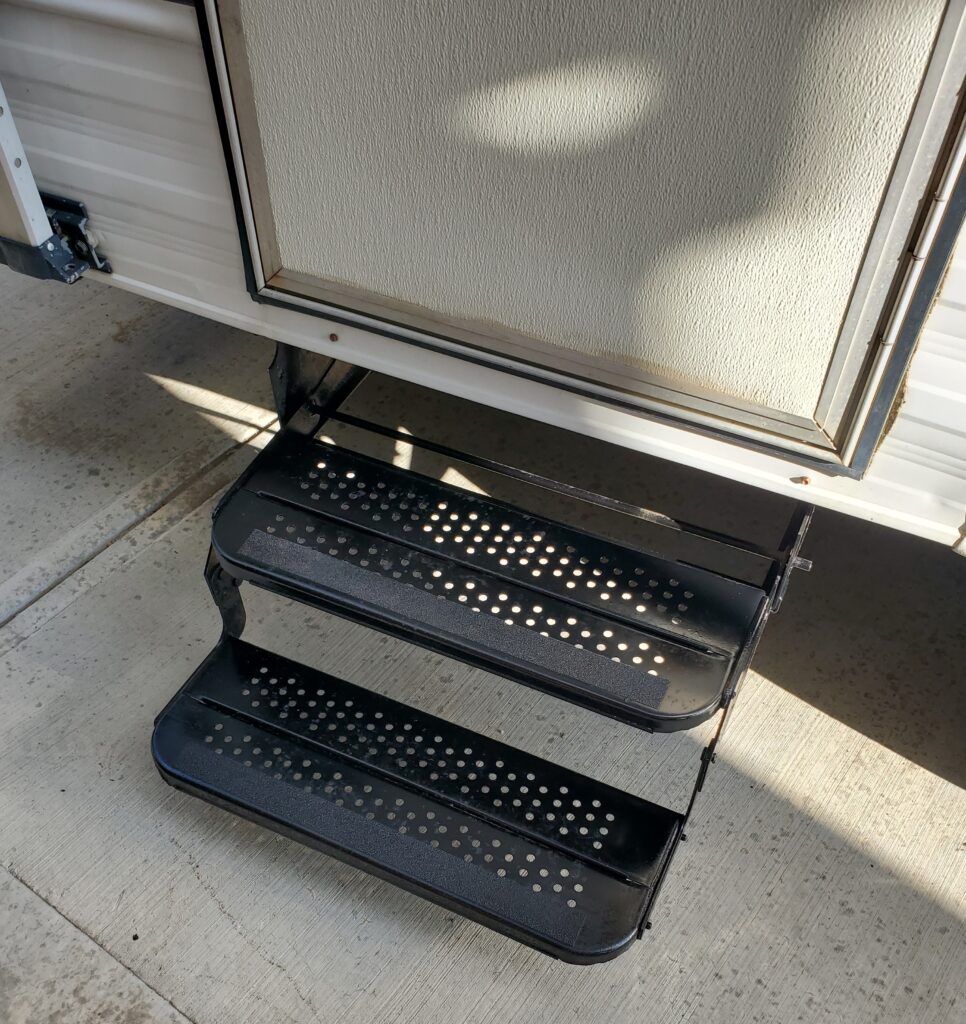
It’s nice to have a door that works and only one step up on a new bigger step. Dumping the tanks was super easy, and I have already winterized the Award trailer. And it’s tucked away in the storage yard at the end of our street..