May 2026:
It’s convertible weather now !
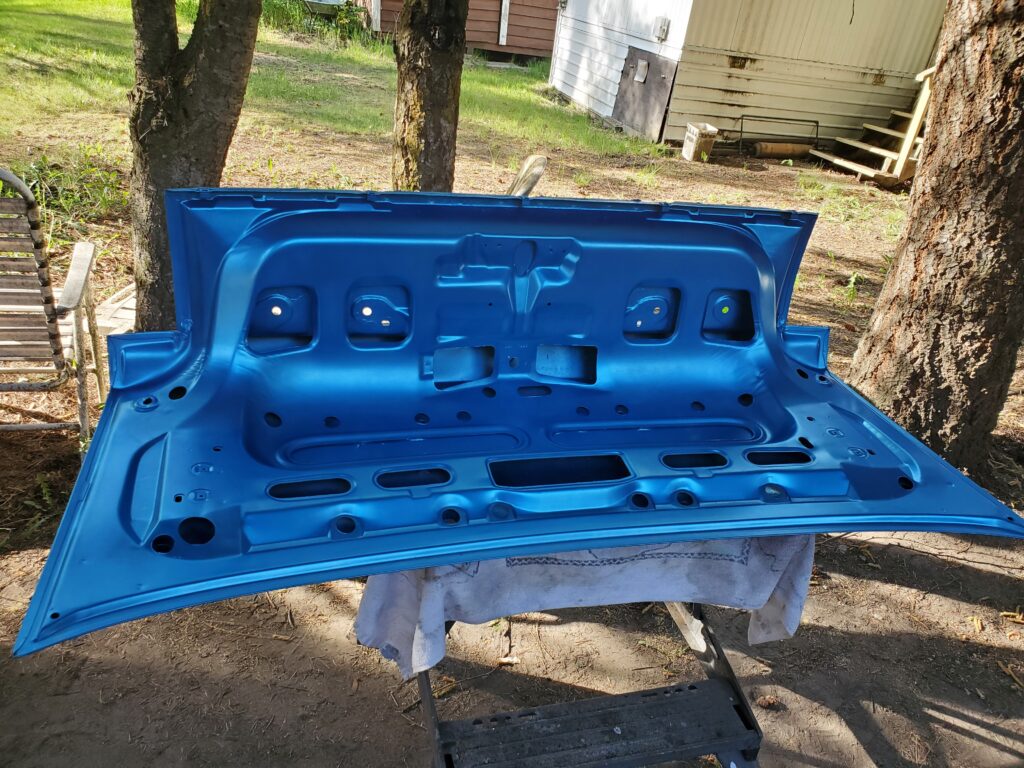
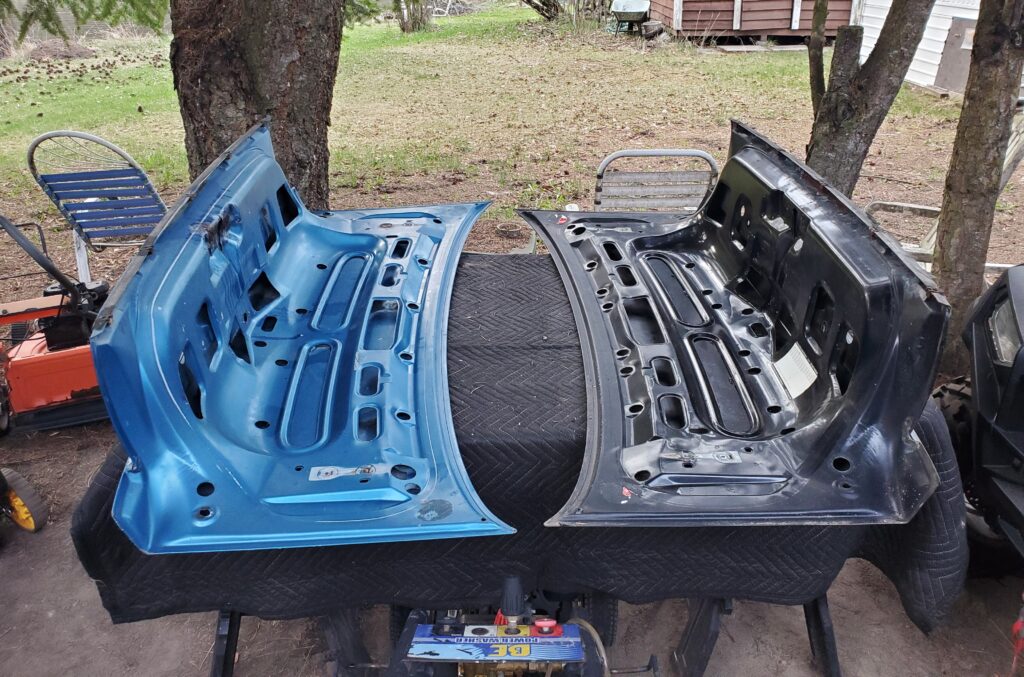
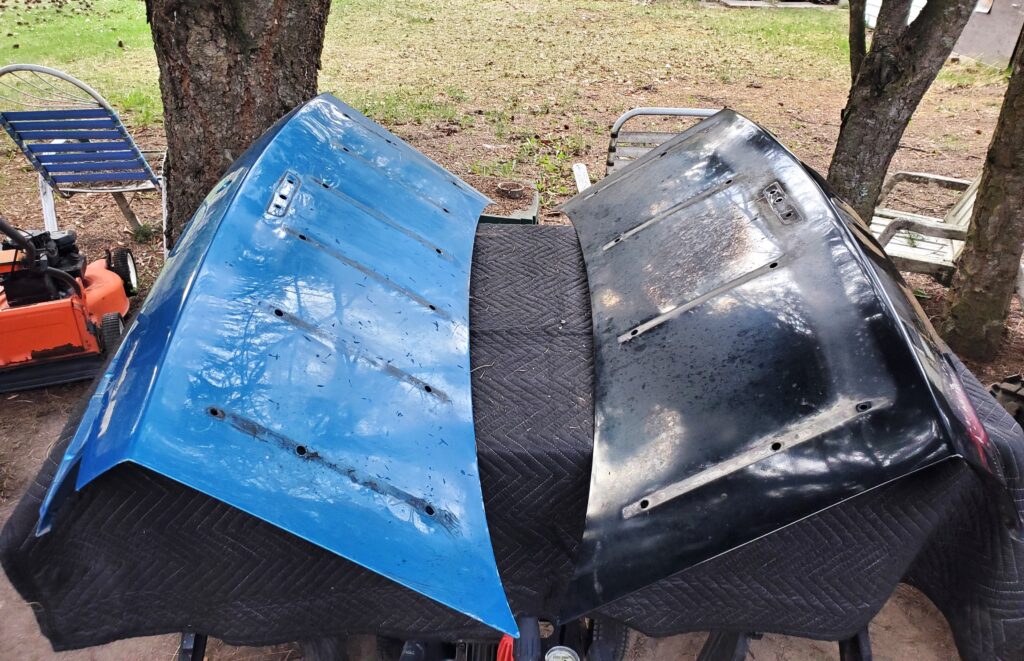
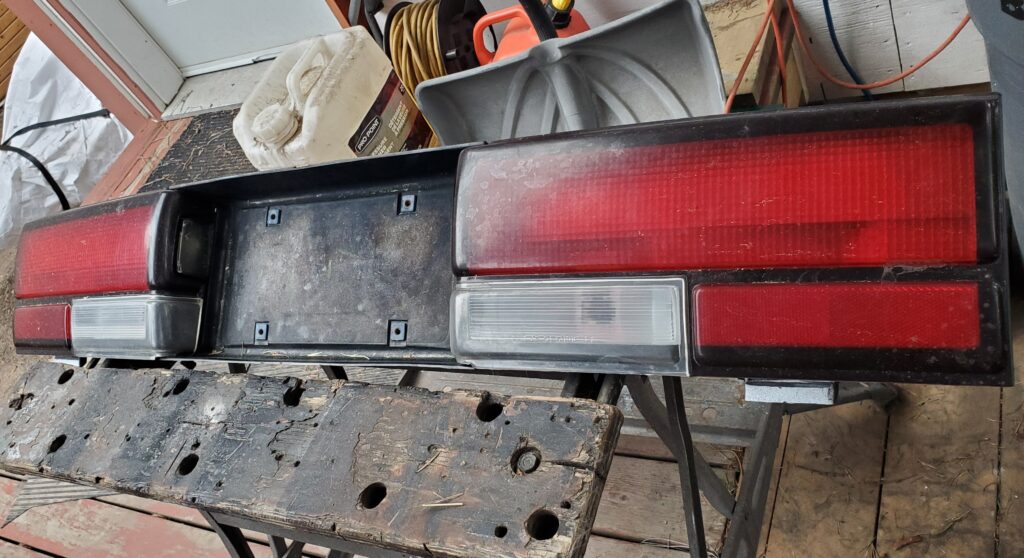
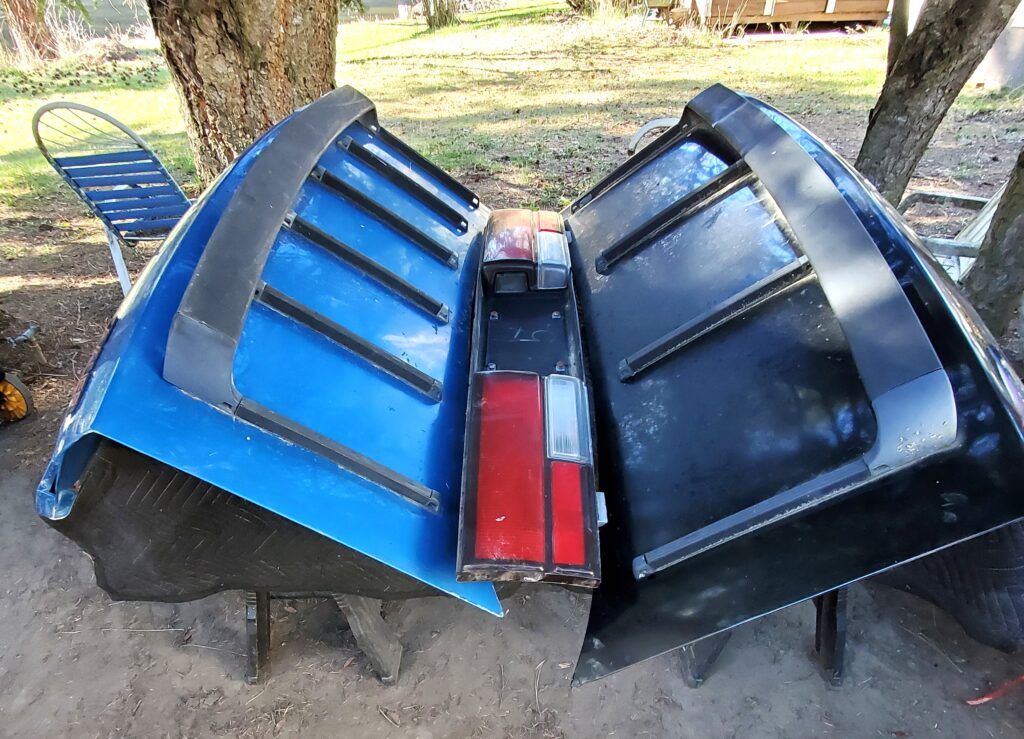
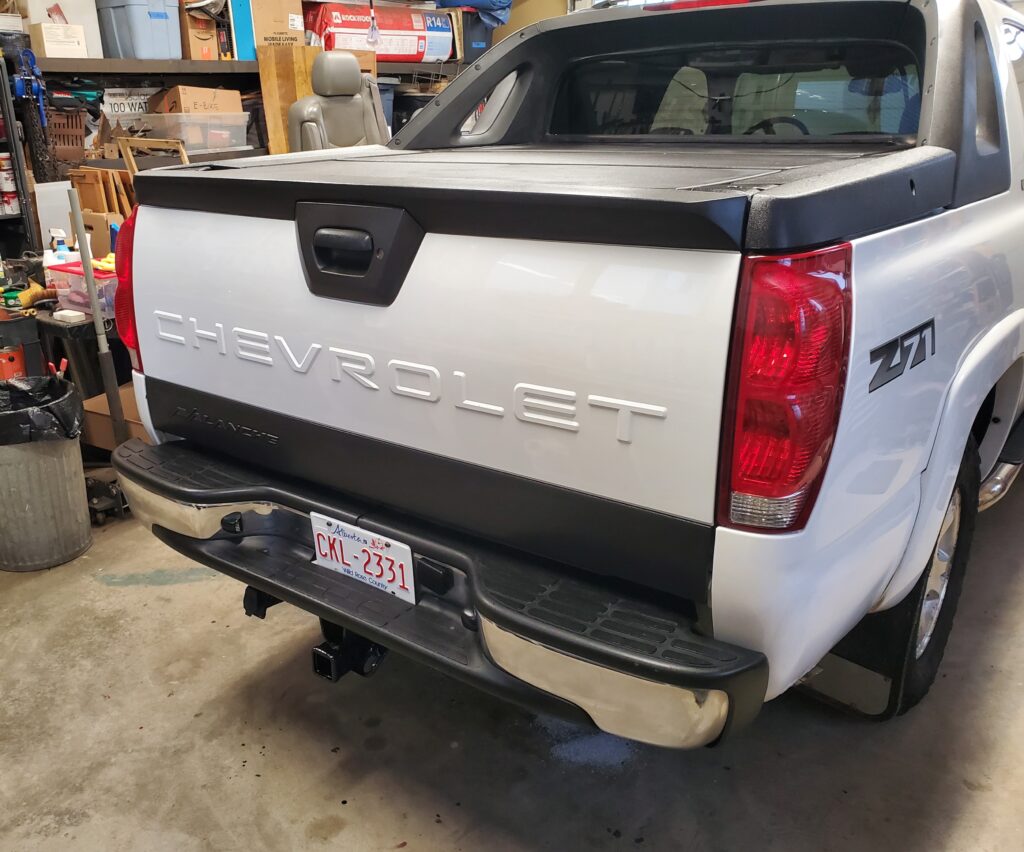
But I’m waiting for the new top to be installed… So I keep busy with other stuff. I’m also waiting for some supplies to finish under the dash. So I hop back and forth from the shop to my home work area. That’s were the trunk lid is. The Black one… The winner of the three. I put the primed bottom trim piece back on and used a bit of the glassing putty to fill some scratches from removing the emblems.
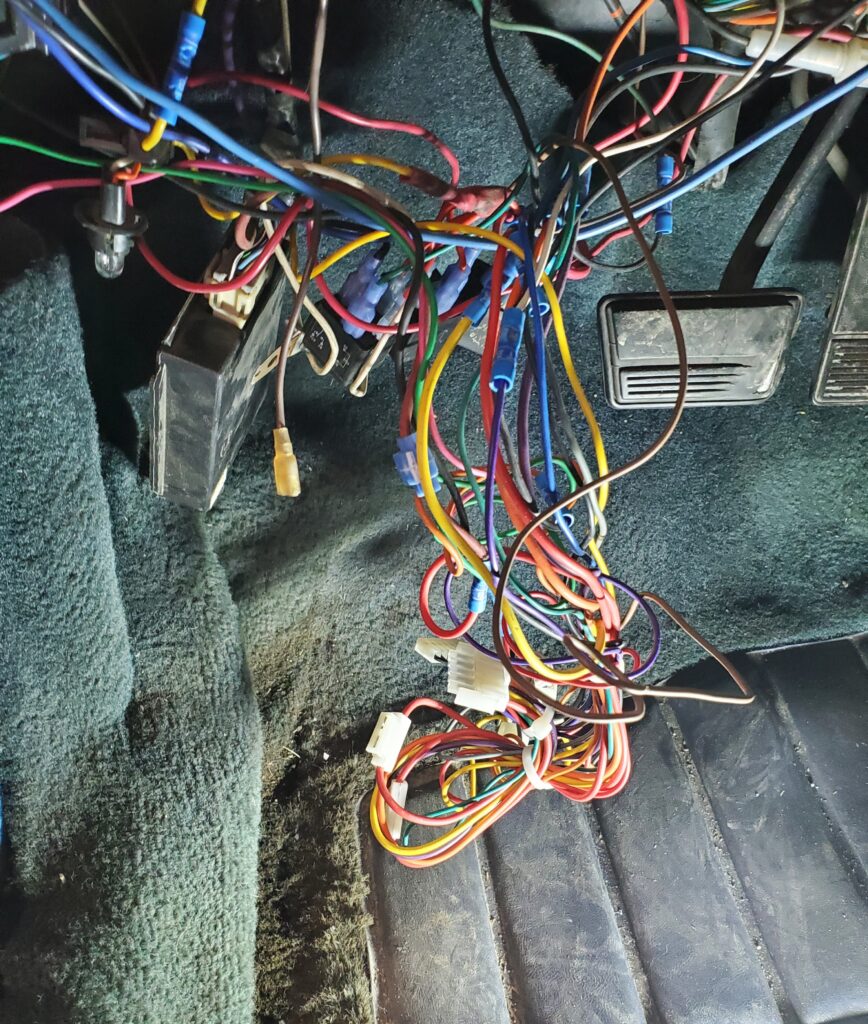
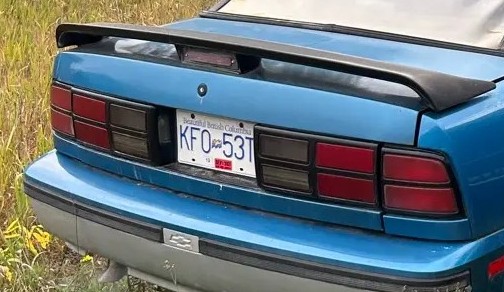
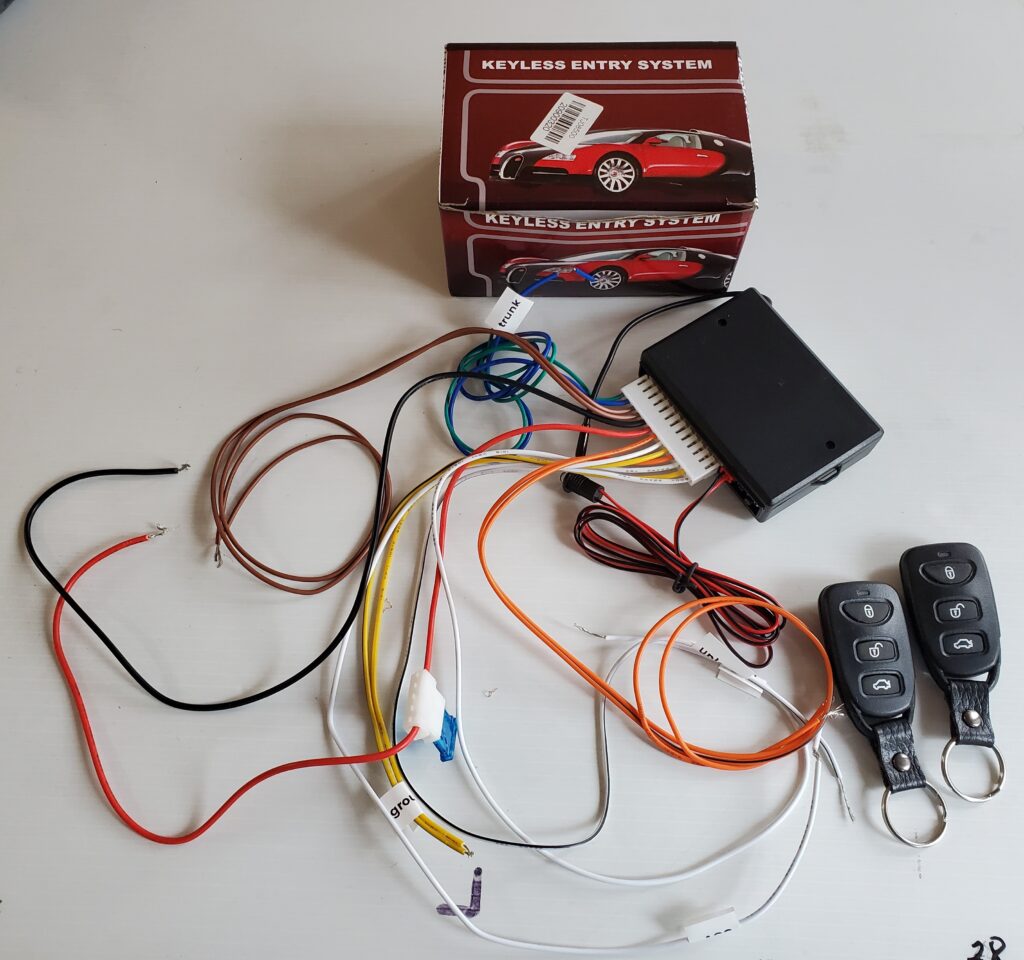
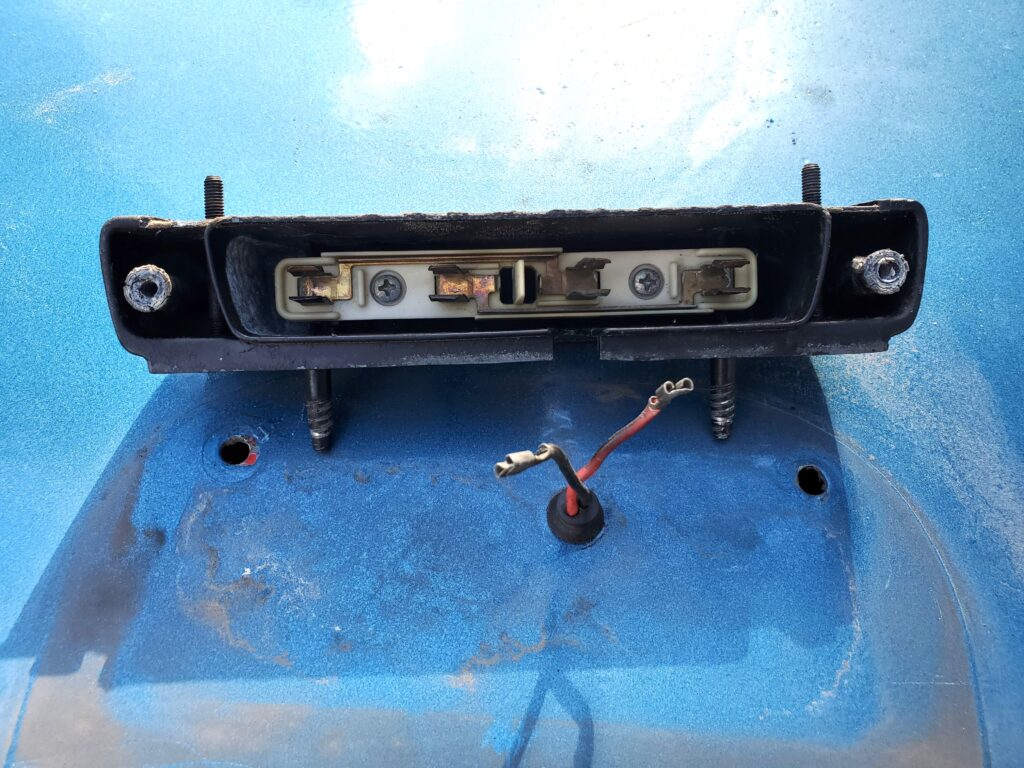
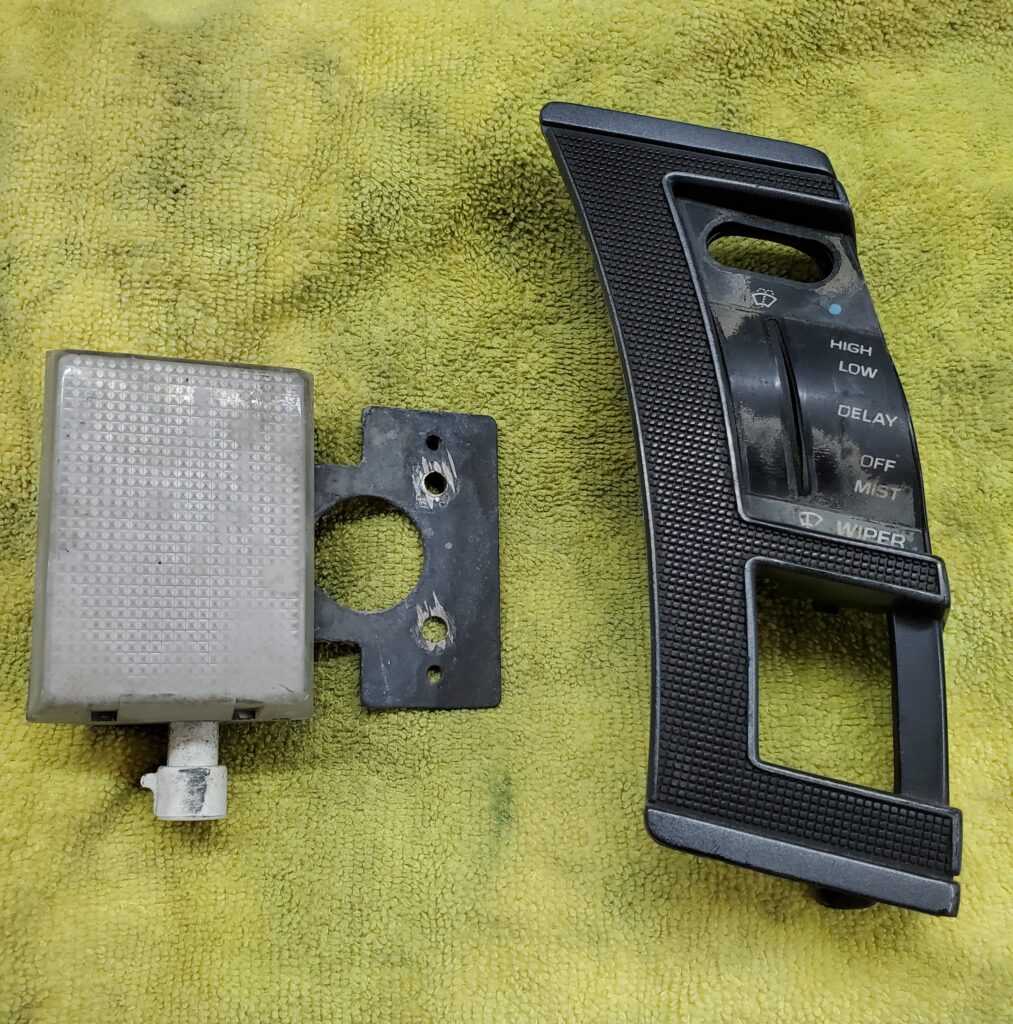
And there you have it.. The lights cover the middle so no need to paint that. Since the inside is all painted I want to clean up the wiring so it’s ready to just plug in.. Part of my plan with that is replacing the mercury switch / light with two LED penny lights.
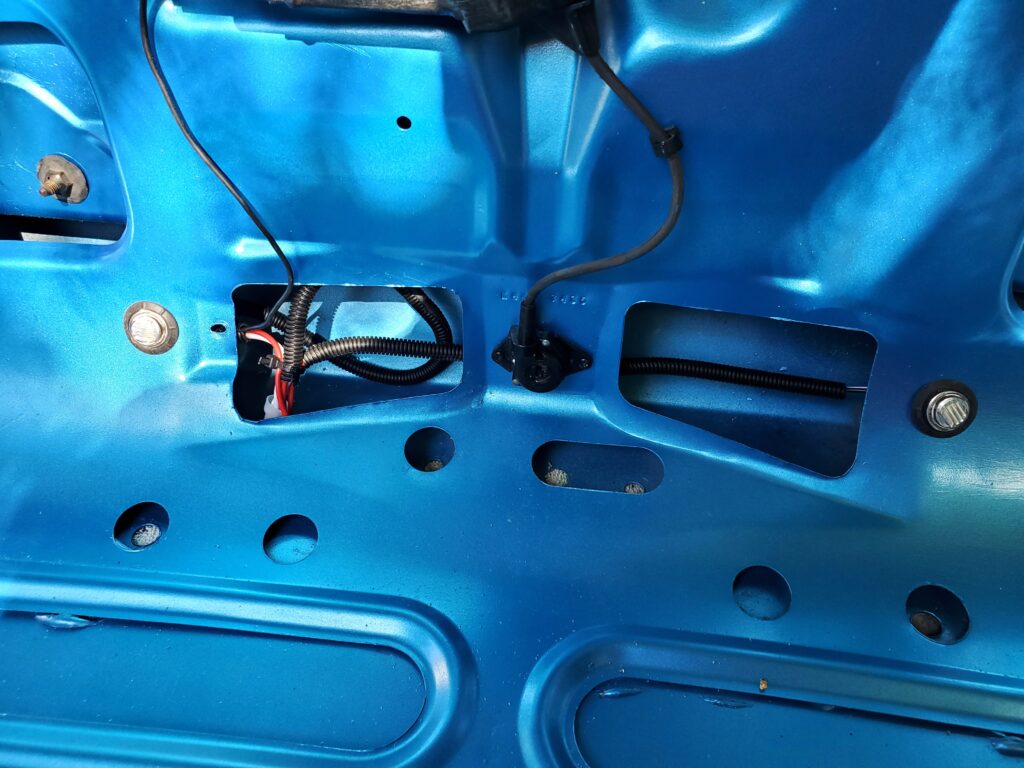
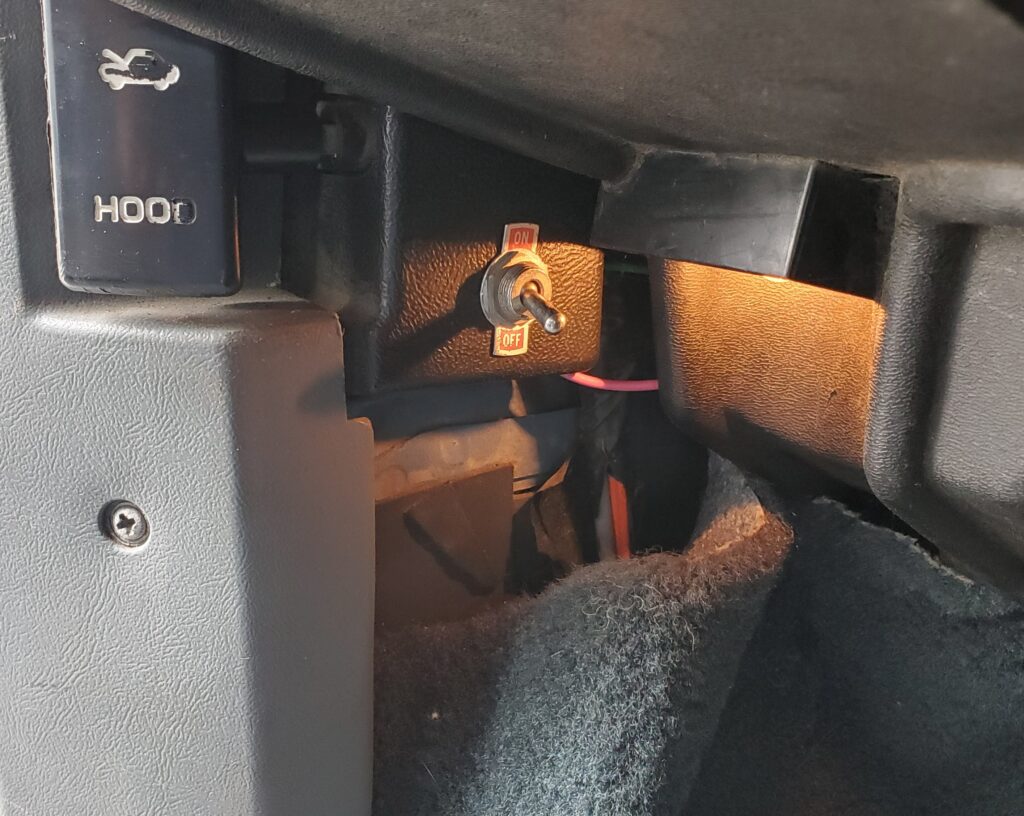
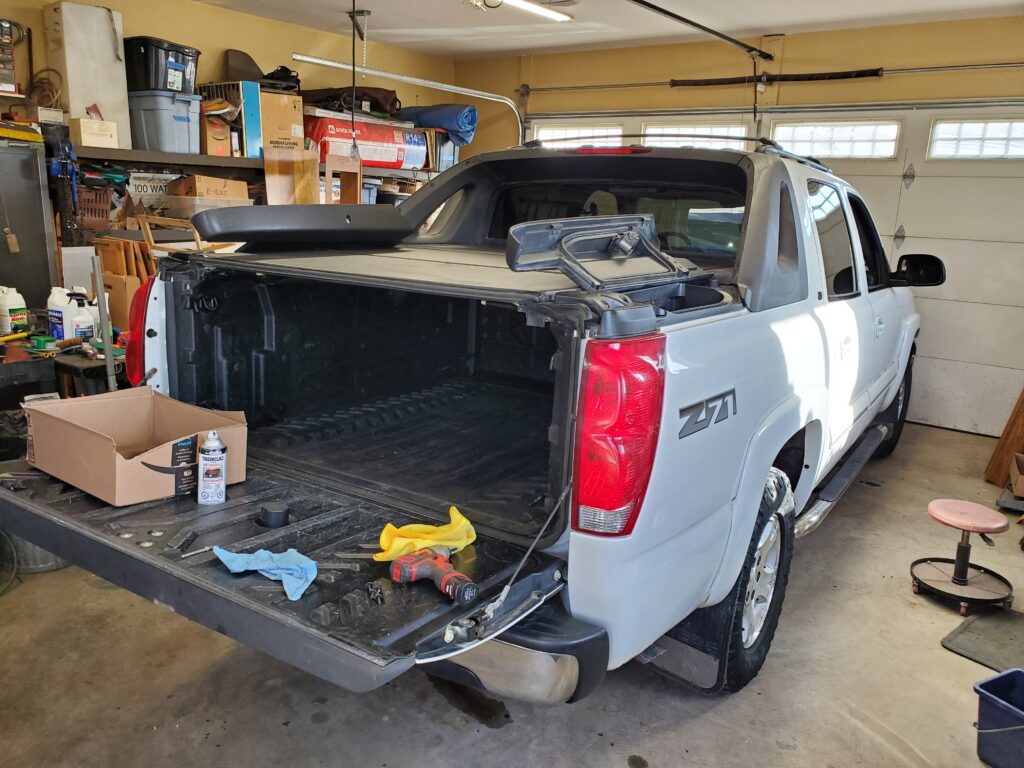
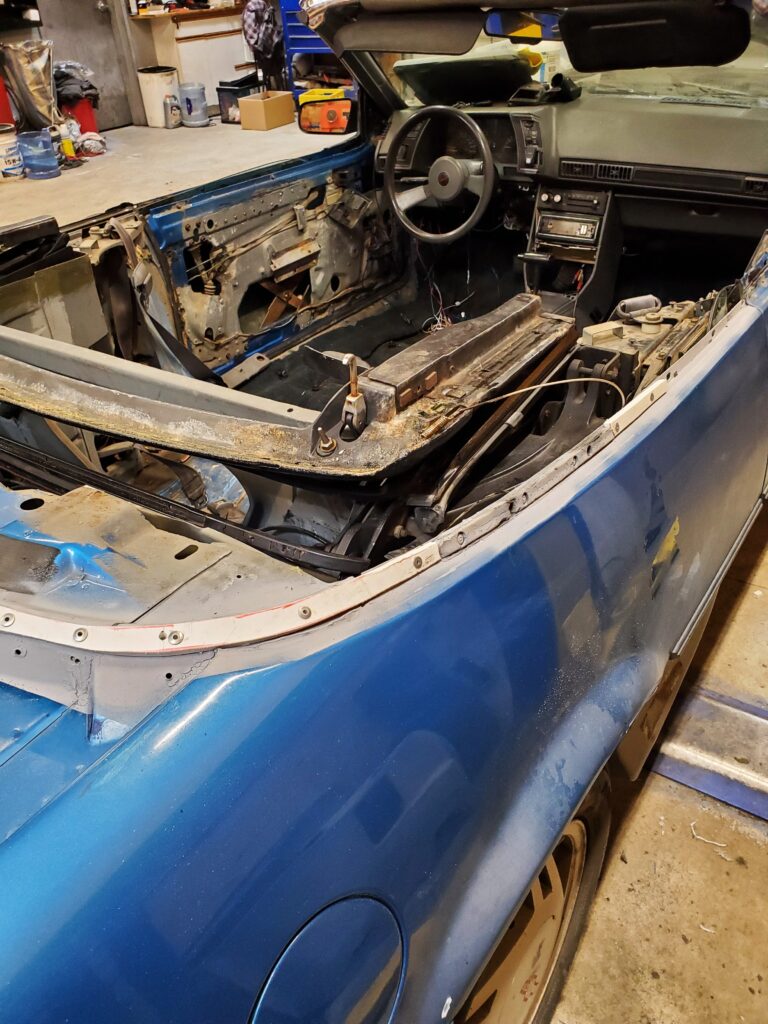
These will be a bit brighter and less likely to get damaged. They will be turned off when the trunk is closed by a push button switch. This lid is now with the car but not installed till after the top is completed. And speaking of that… The old top is now off the car !
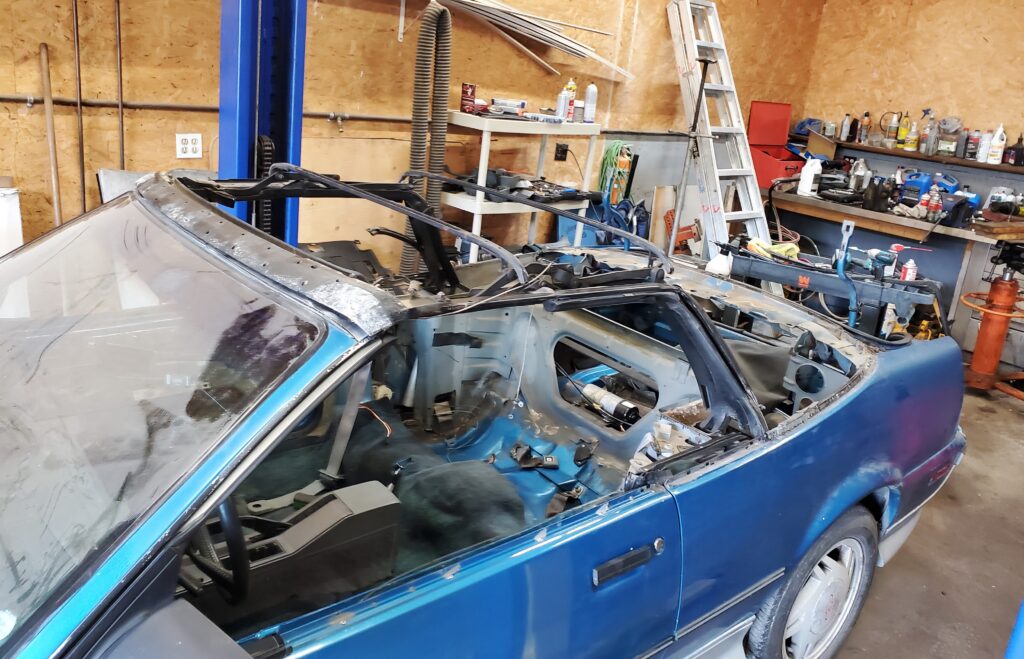
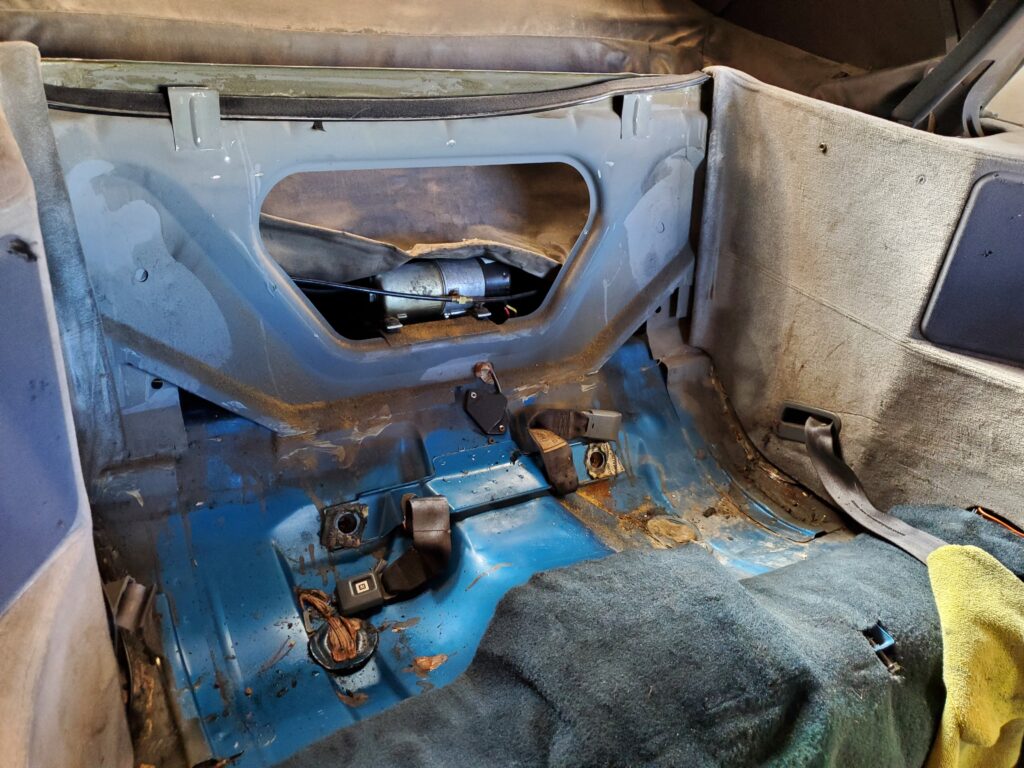
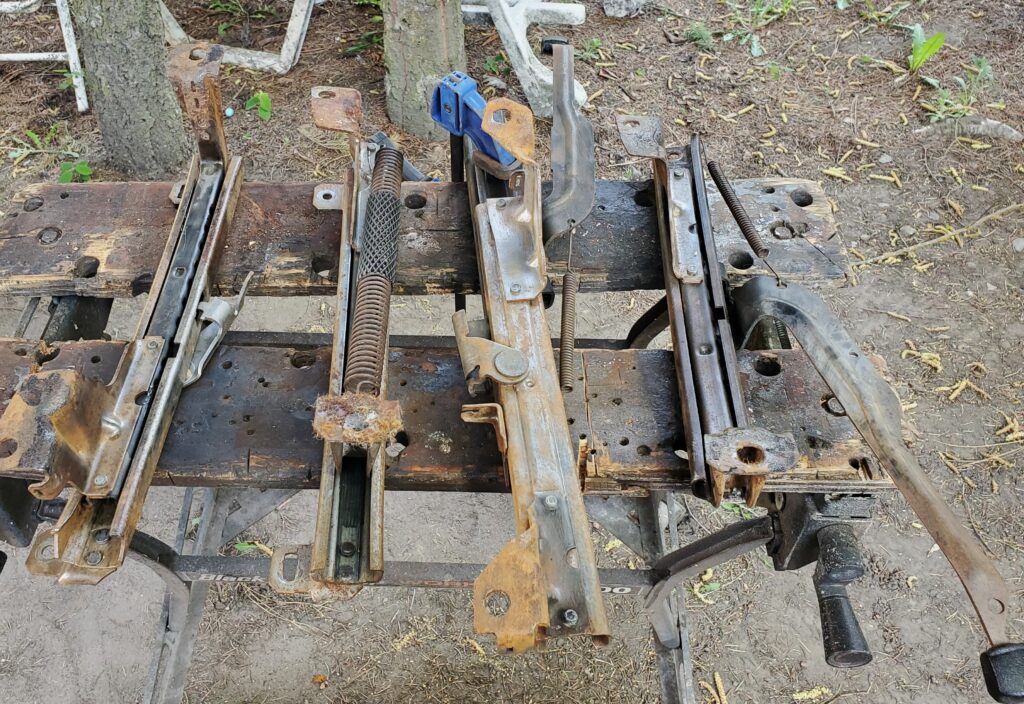
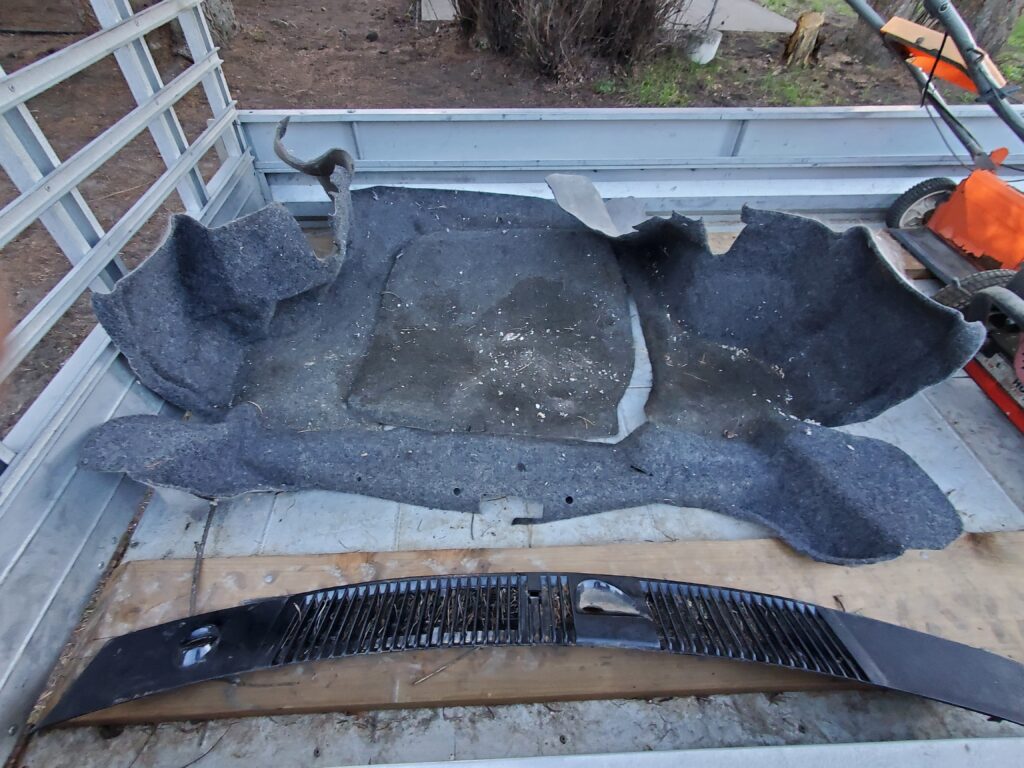
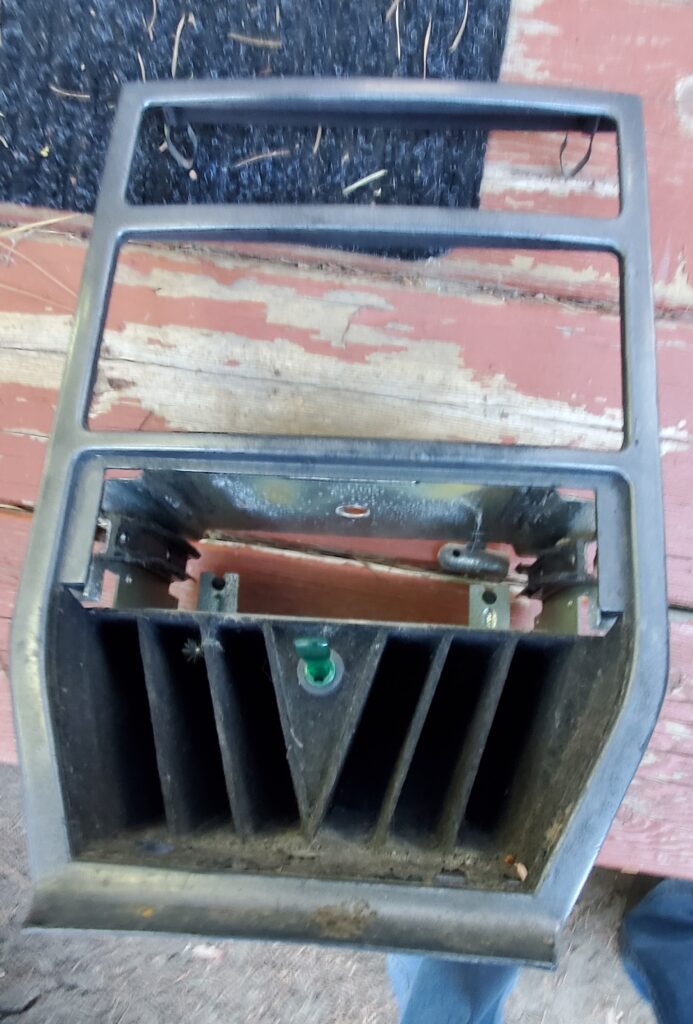
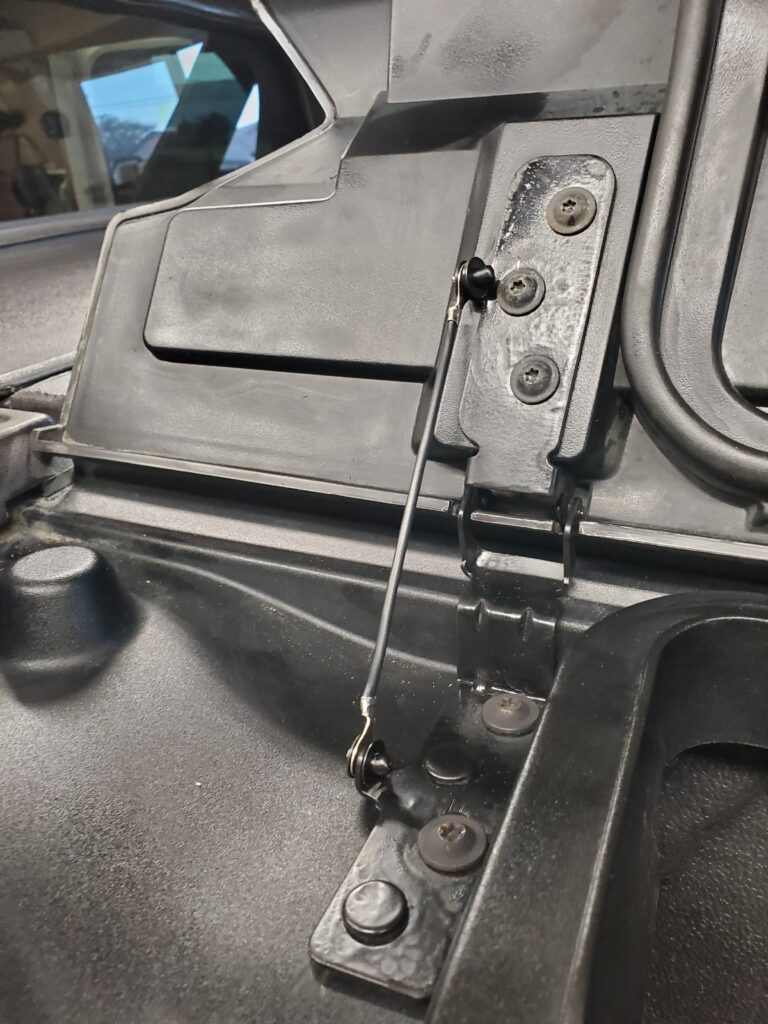
Good thing it’s inside out of the weather .. Now I have a lot more work to do. Cleaning, oiling and repairing the mechanism. All the belt line trim is removed around where the top and the windows meet the body .. And that needs to be painted. This small shelf at the back had a plastic cover.
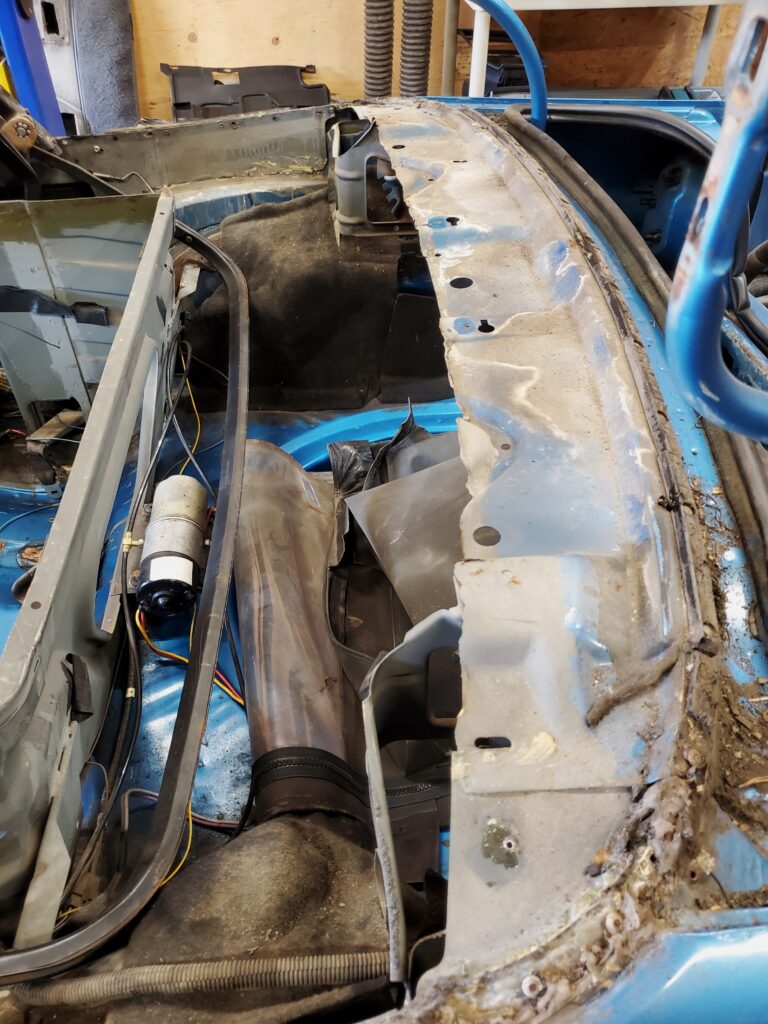
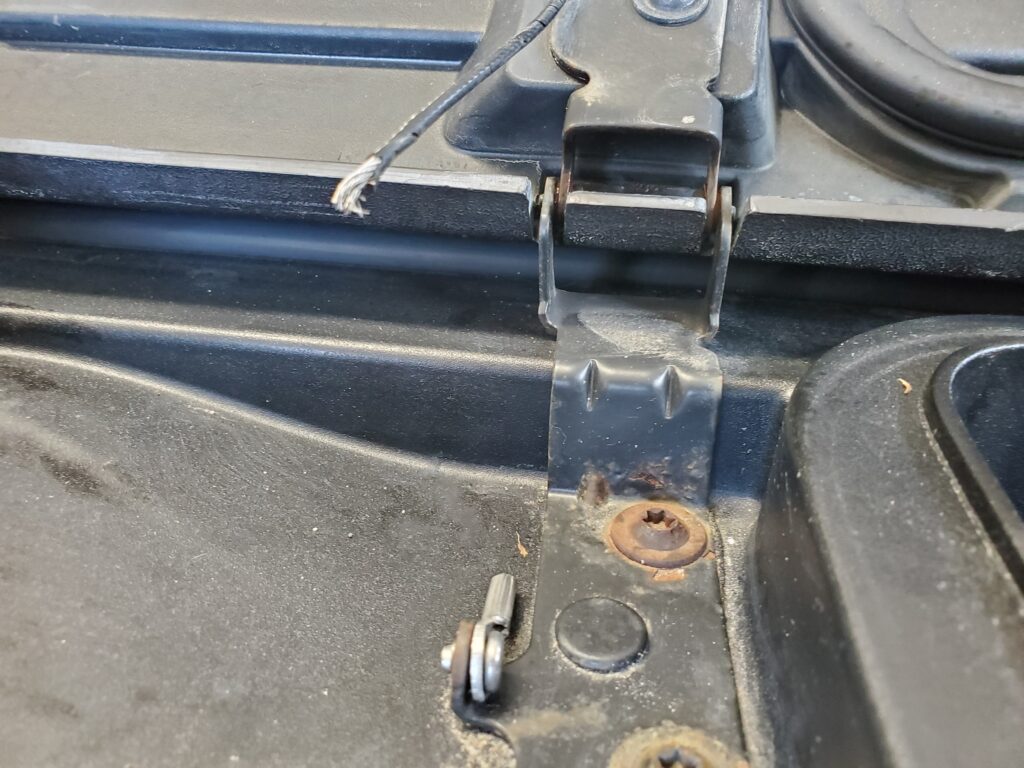
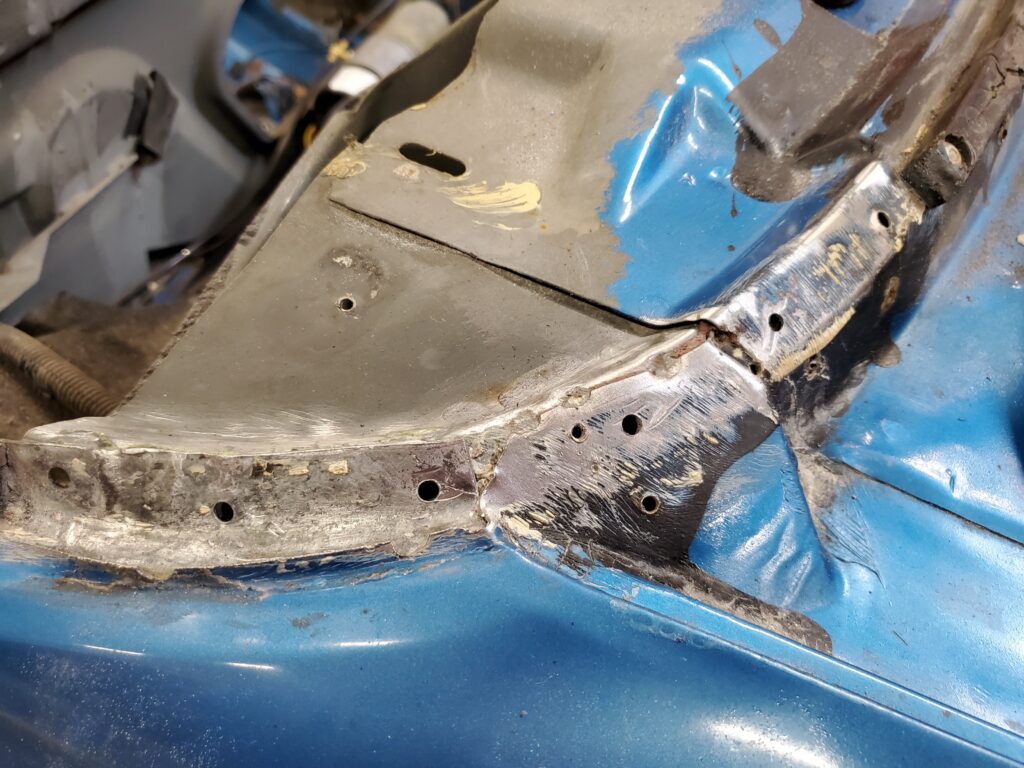
Mostly to cover that butcher job .. cutting it back to fit the top when retracted. That plastic cover was brittle, cracked and can’t be fixed.. This requires a creative solution ! This is the kind of thing I like.. It is hidden under the well cover being made for where the top goes. Hard to explain… better to show you later. The back part of the top is stapled to HDPU strips , which are riveted to the body. The strip in the middle is still there.. (barely) But the corners are gone. My job is to remove the rivets clean the area and make new strips.
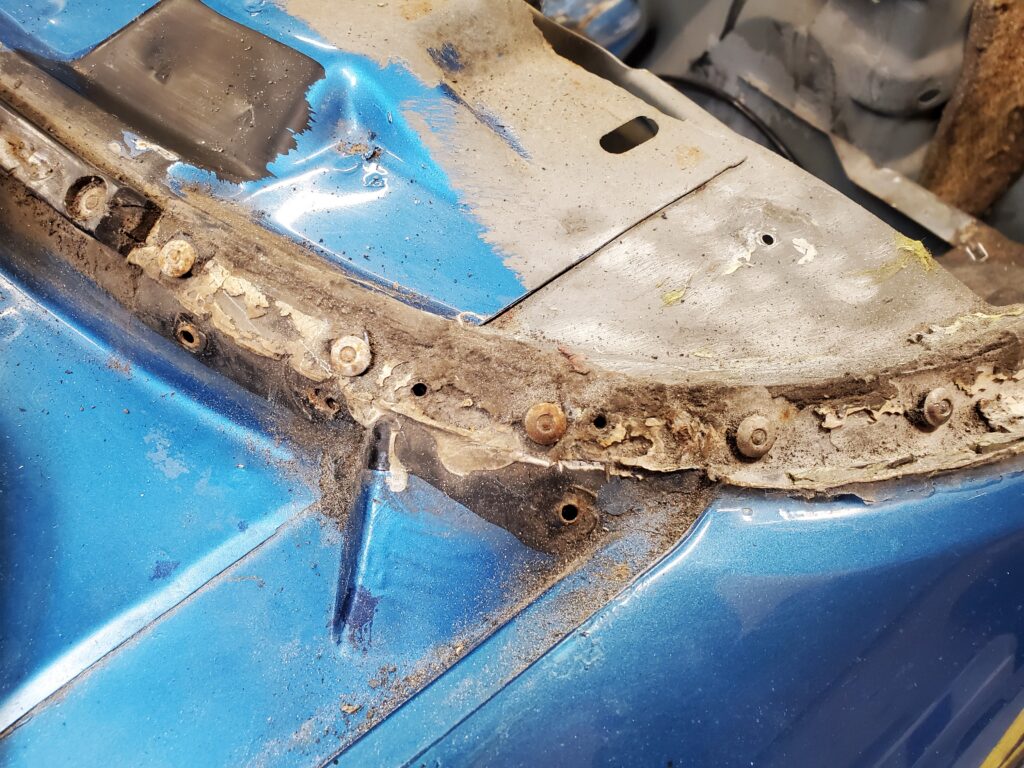
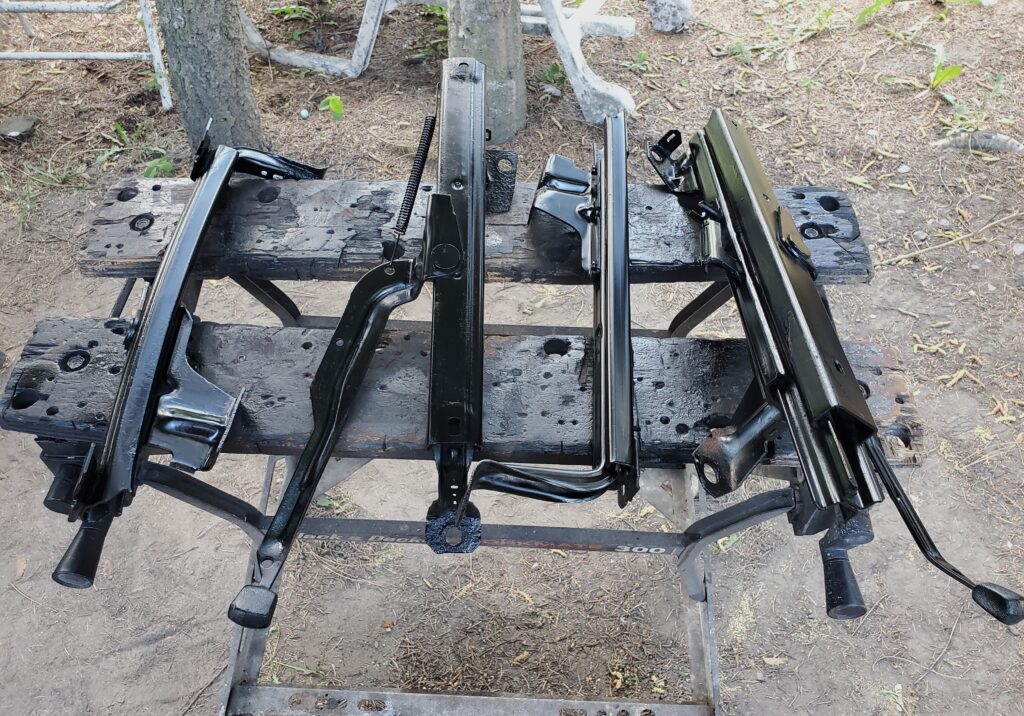
It’s a mess ! So I set to work.. and Cleaned things up… a lot ! Going to need primer on these places.
Once the top is stapled to the HDPU strips there is cover pieces that screw on to finish things off. I’m repainting those. And here they are with a new paint job…
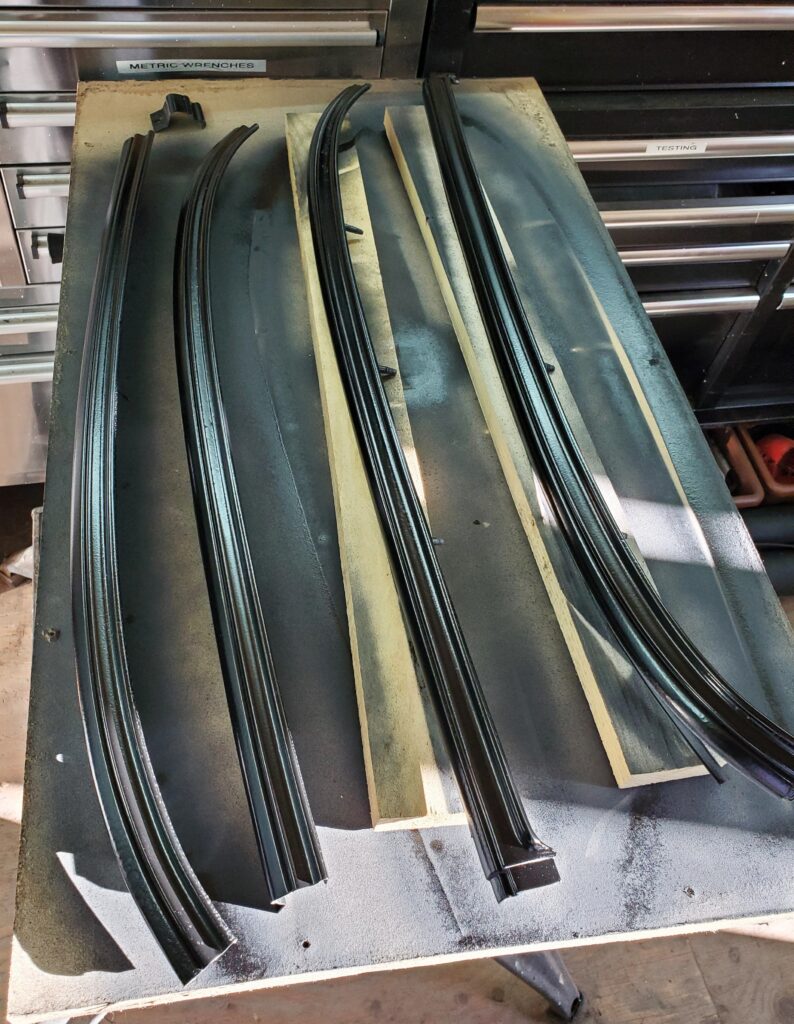
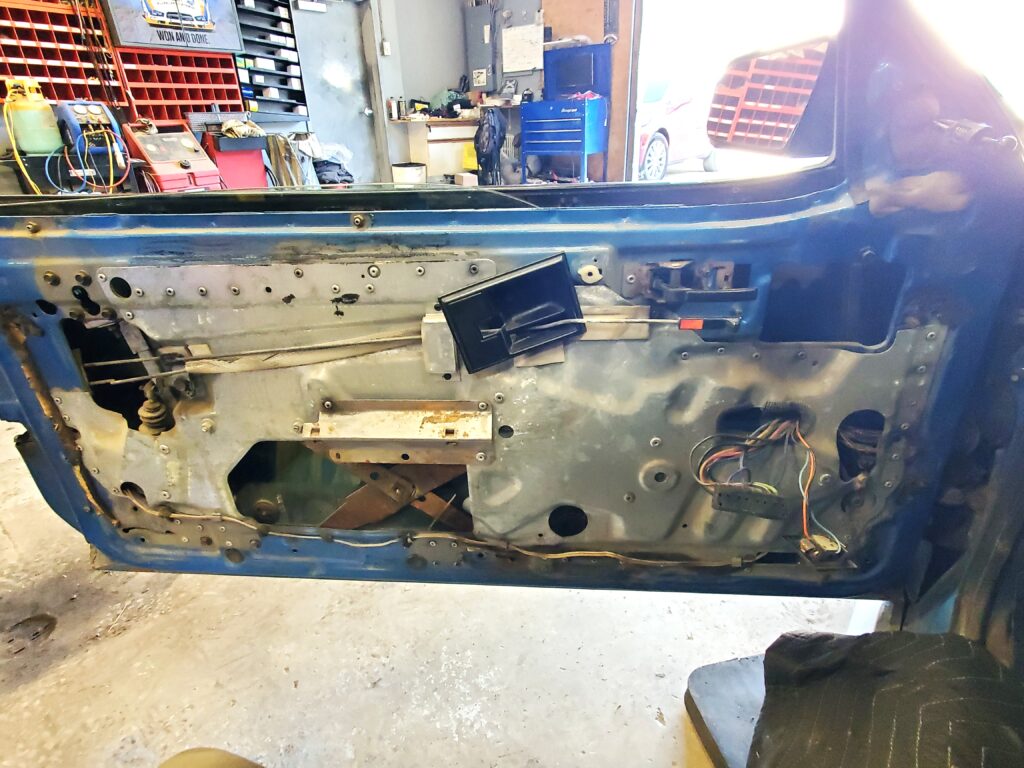
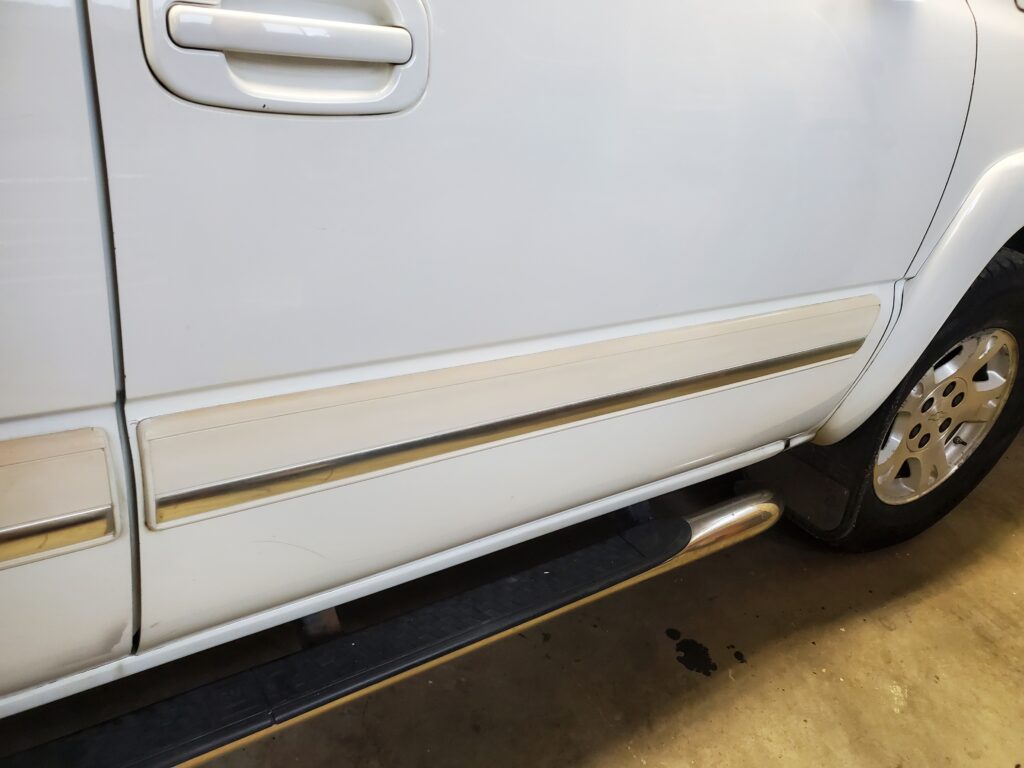
They are aluminum so no rust.. But some of the old paint was missing, so these got primed and painted with the satin black. All part of installing the new roof. And now for the other part to keeping mother nature out of my car… The outer window gaskets.. Going to be a lot of work to remove the old ( glued on) gaskets…or what’s left.
Anyway lets get back to the convertible top.. So I needed to replace some of the HDPU stapling strips. I had a sheet of that, and just the right thickness too. Made some pieces to fit the curves and the straights.
These corner pieces were totally missing ! Noticed I primed the bare metal first before fitting the strips on. Heating them up allowed for bending and twisting the pieces. Quite pleased with how this worked out.. The roof needs to be continuously stapled around and across the back. Here’s a look at the roof fully retracted..
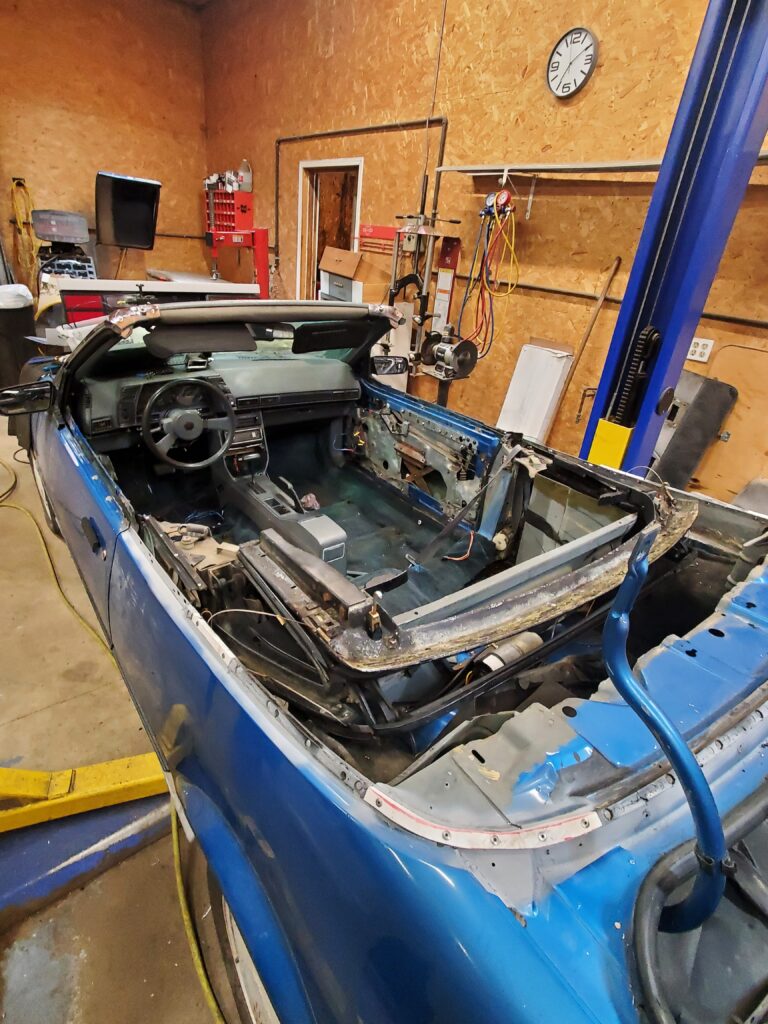
Before the roof goes on I need to lube up all joints and the rear windows. Also cover that shelf.