March 2025
Welcome to the second page of my moving post. The packing up phase !

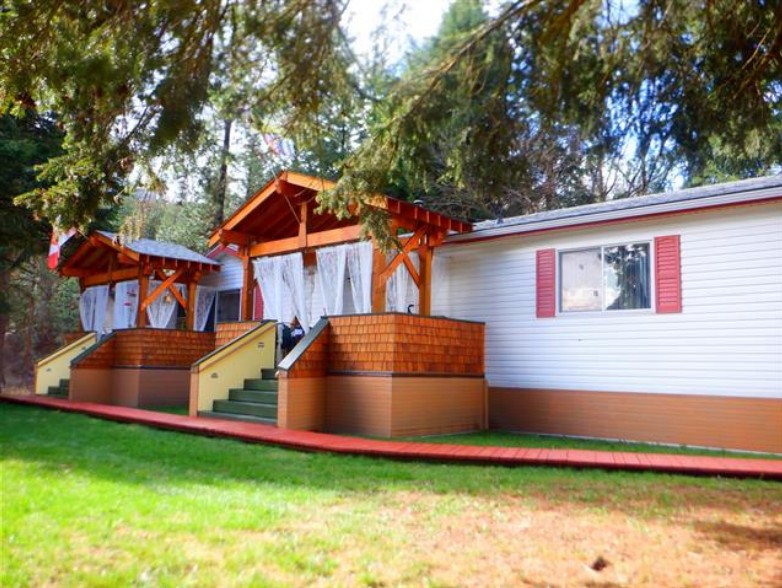
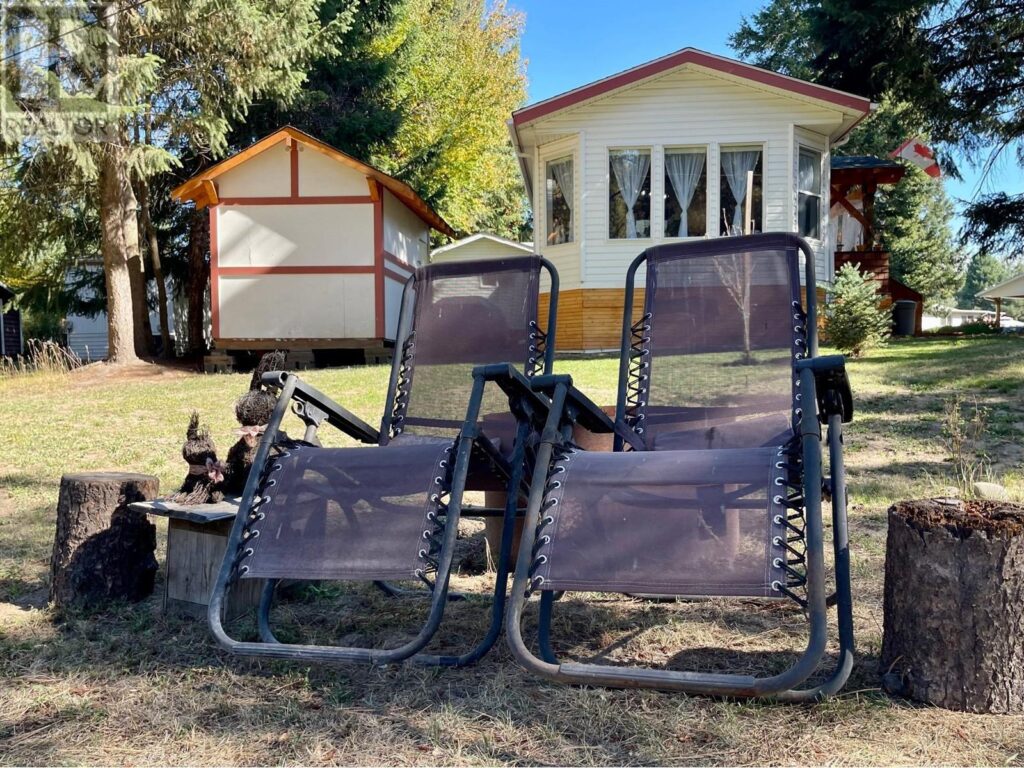
Our agent took this photo when she came to take the sign away.
Lots has been discussed and pondered and decisions made about this whole process. And even then plans can change quickly. It’s all normal for something like this big move. We’ve set up the utilities, House insurance, the park permission ( ya that’s something) , The movers are booked, The Uhaul trailer is booked for the first trip of shop stuff at the end of March. We’ve been selling and giving away truck loads of stuff. We’ve got a new doctor waiting for us in Grand Forks… Feeling lucky on that one ! Lawyers are set up for the selling and buying. The weather is getting better too ! My next step is to load up the two small utility trailers so they are ready to park on the big car hauling trailer for the free ride to Grand Forks ..again at the end of March. But I’m waiting for a warmer day..
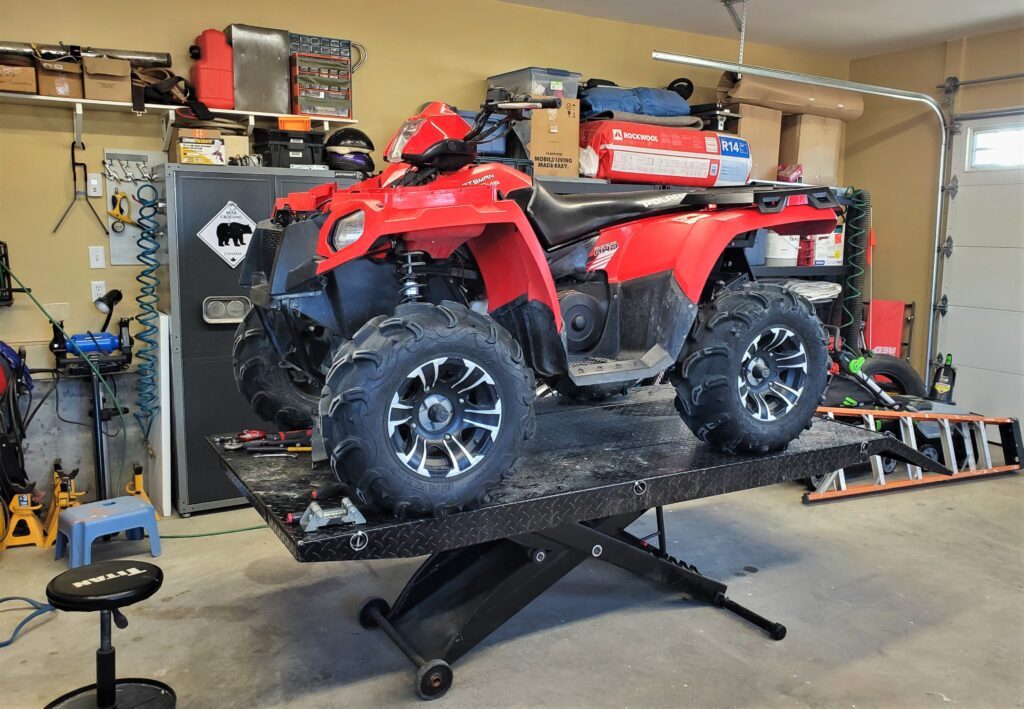
That day has come! The snow is all gone and it was a day of washing dirty things and building the puzzle of stuff in the utility trailer. Here’s my bundle of joy…
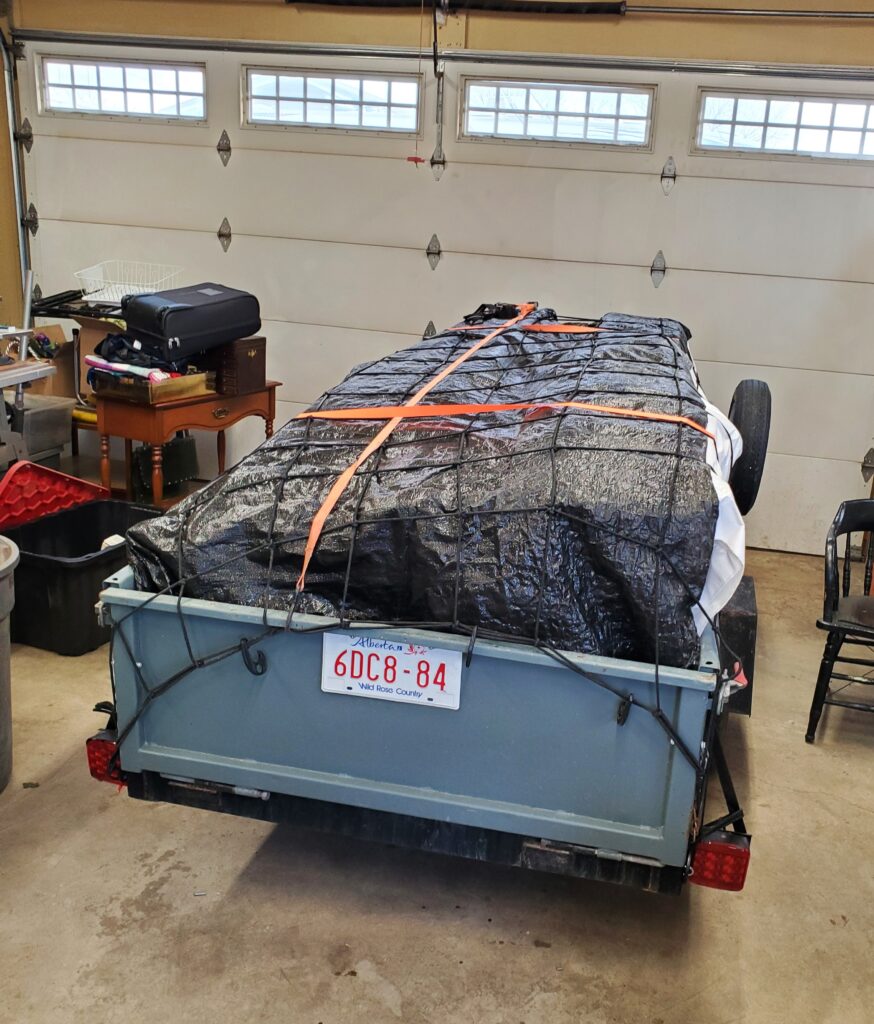
So that’s 3 bikes. Mower , Snowblower, small tiller. Some yard tools , loading rams… It will be topped off with the wheelbarrow. And more straps ! The stretchy net really works great to keep the tarps from flapping . And I topped off the enclosed trailer with more stuff too…
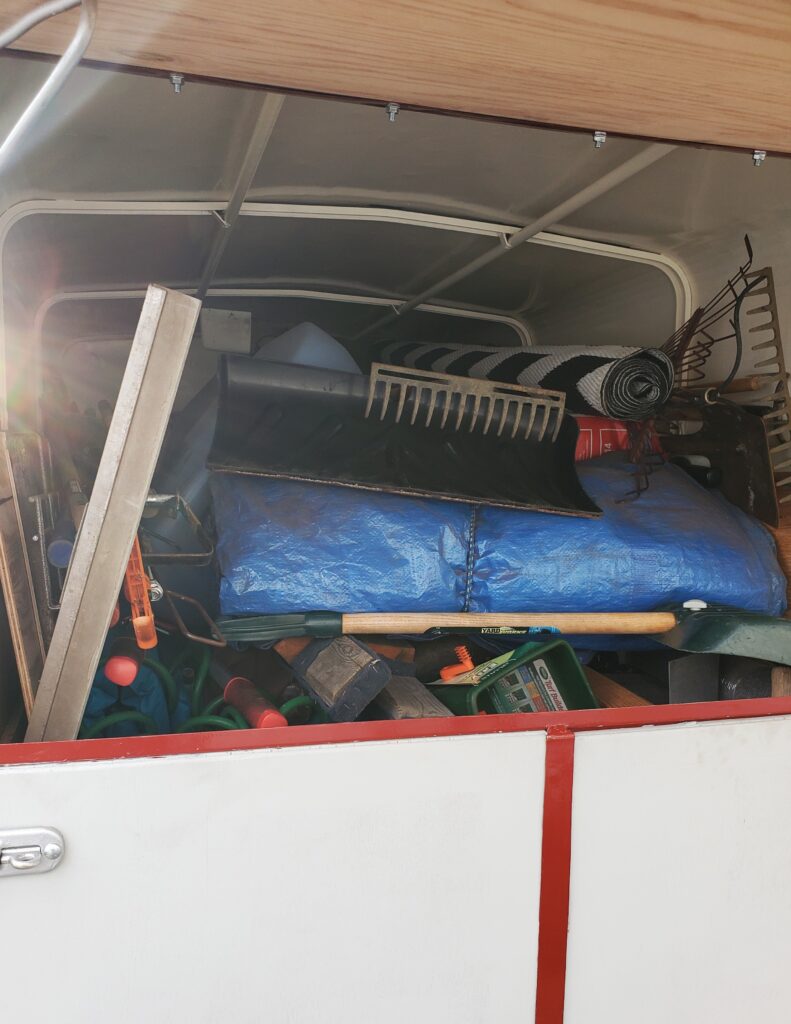
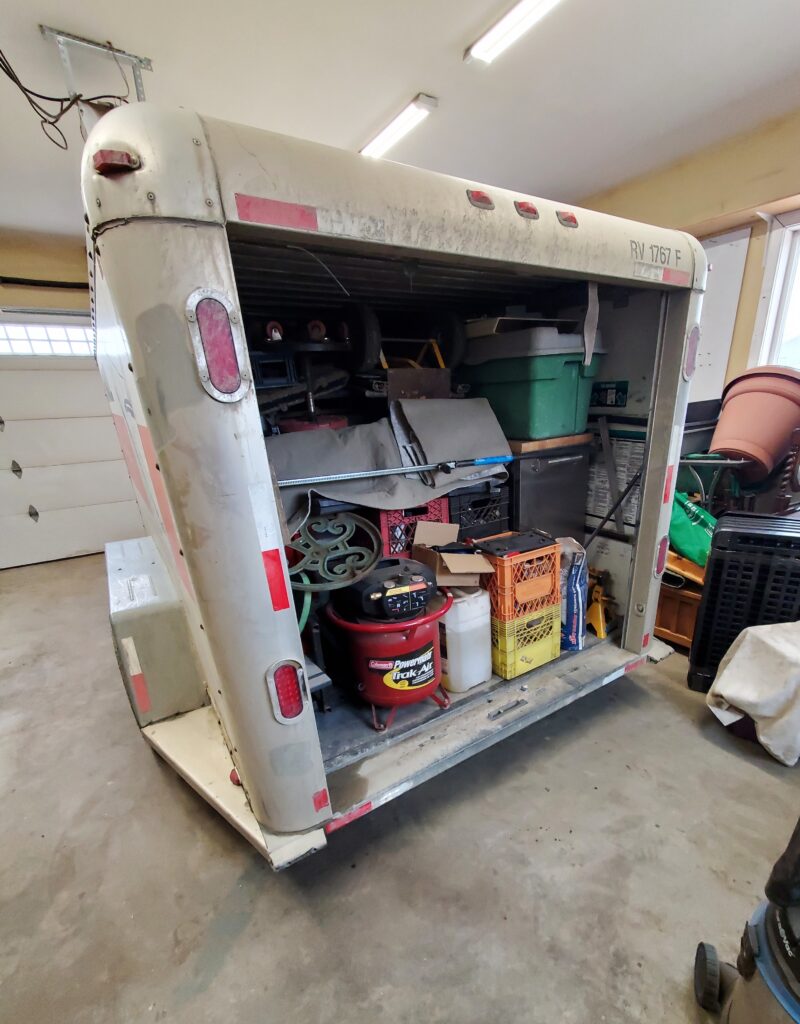
Don’t need to worry about this stuff …Just close the door. And then open it carefully later..
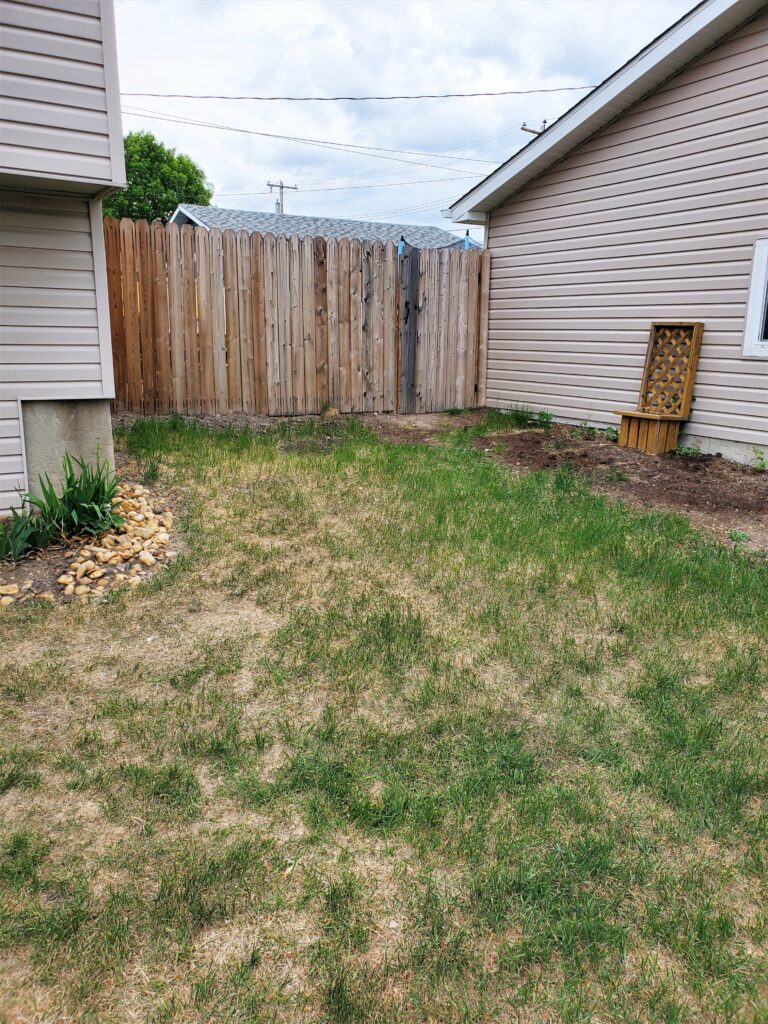
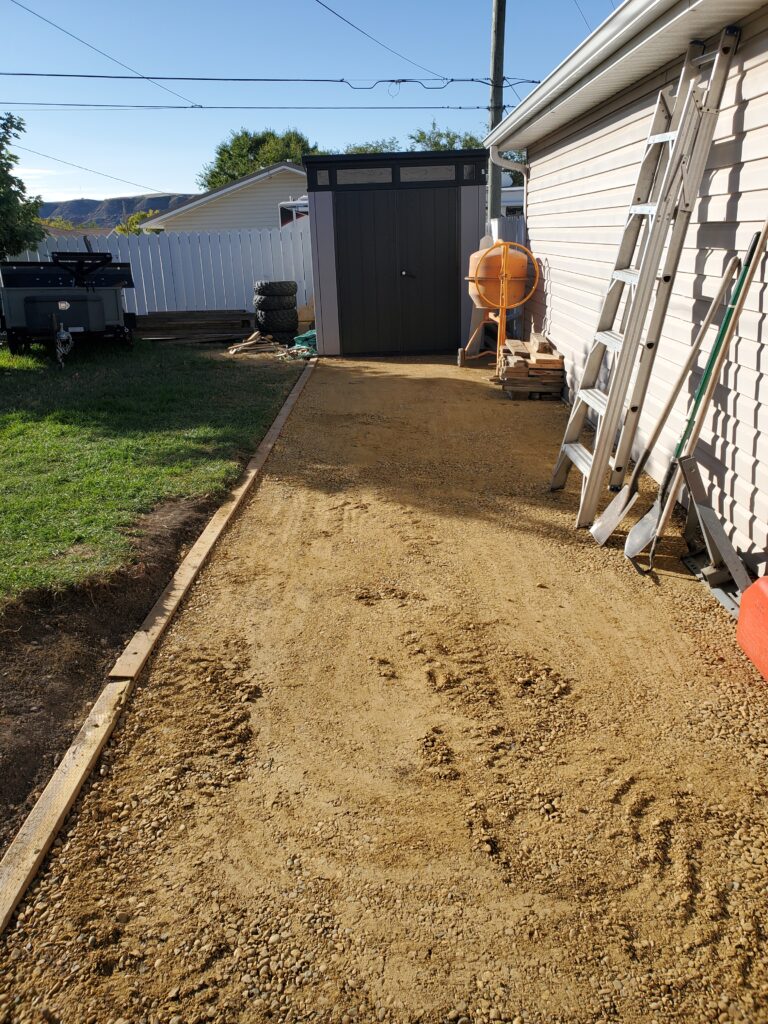
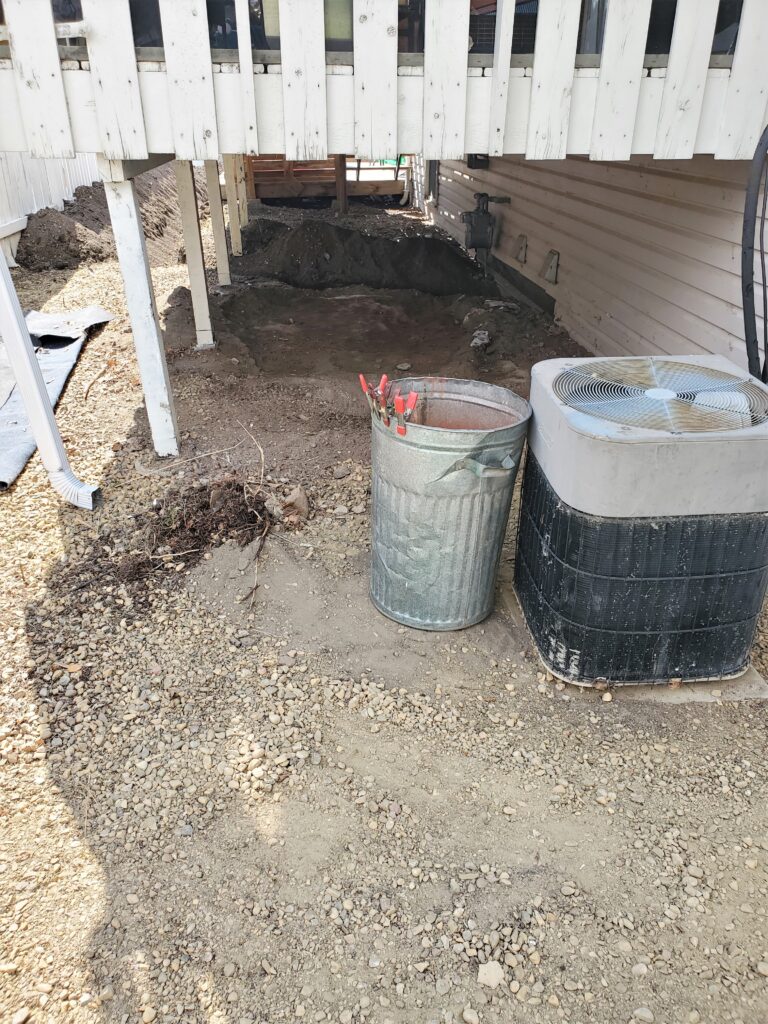
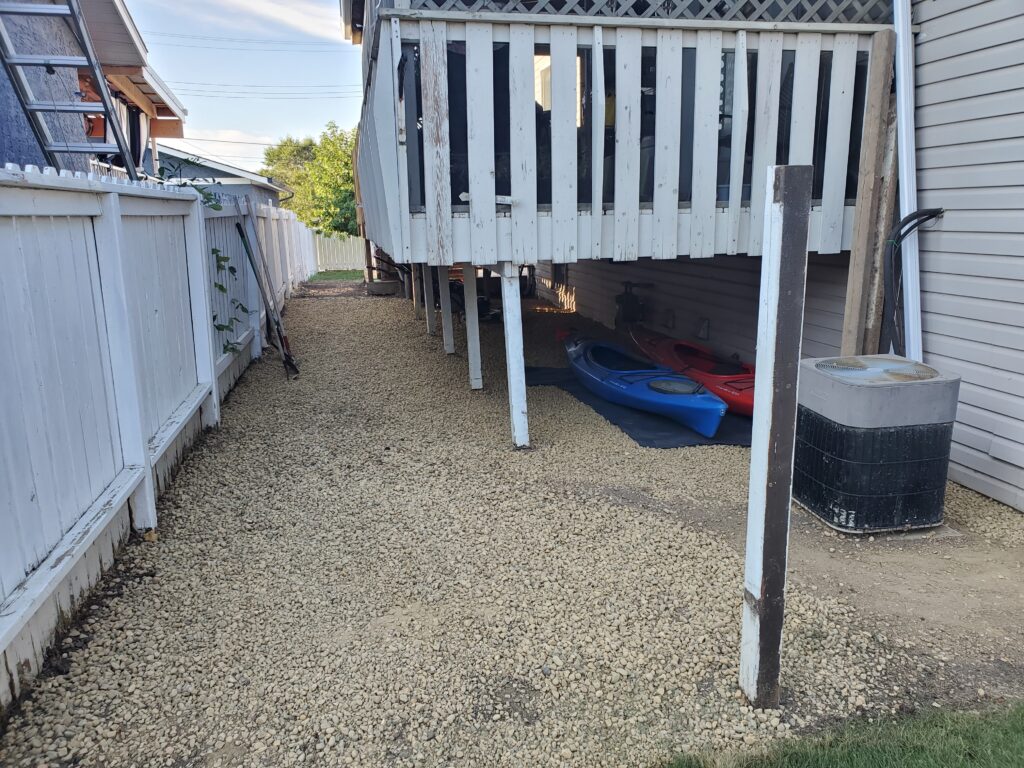
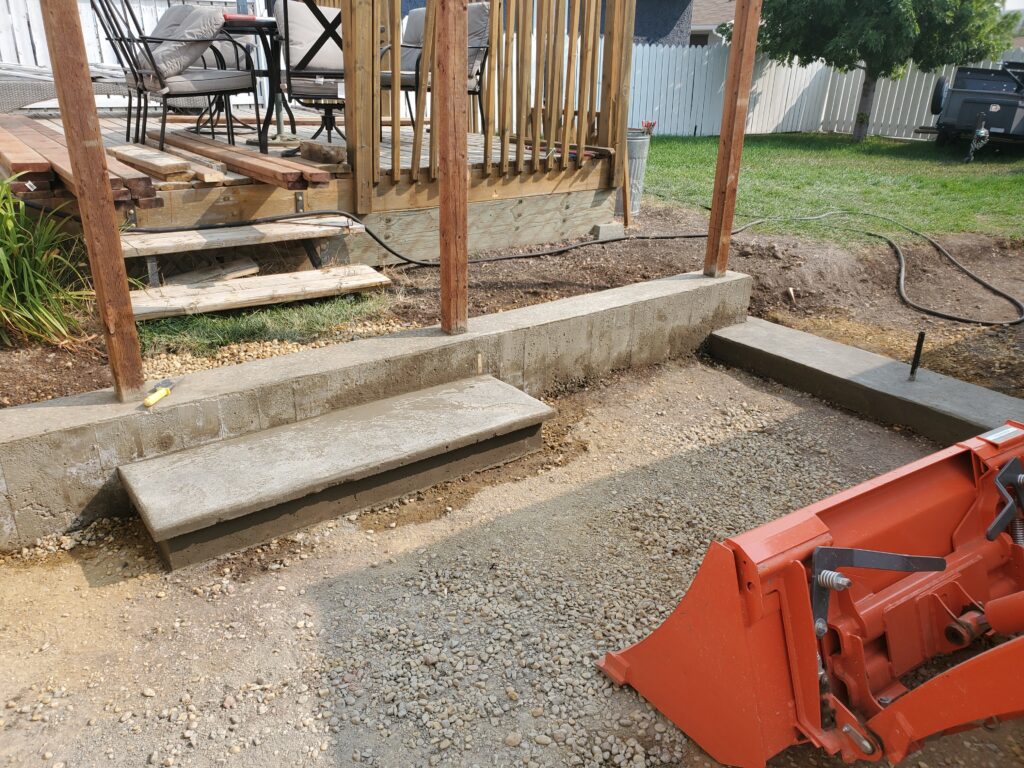
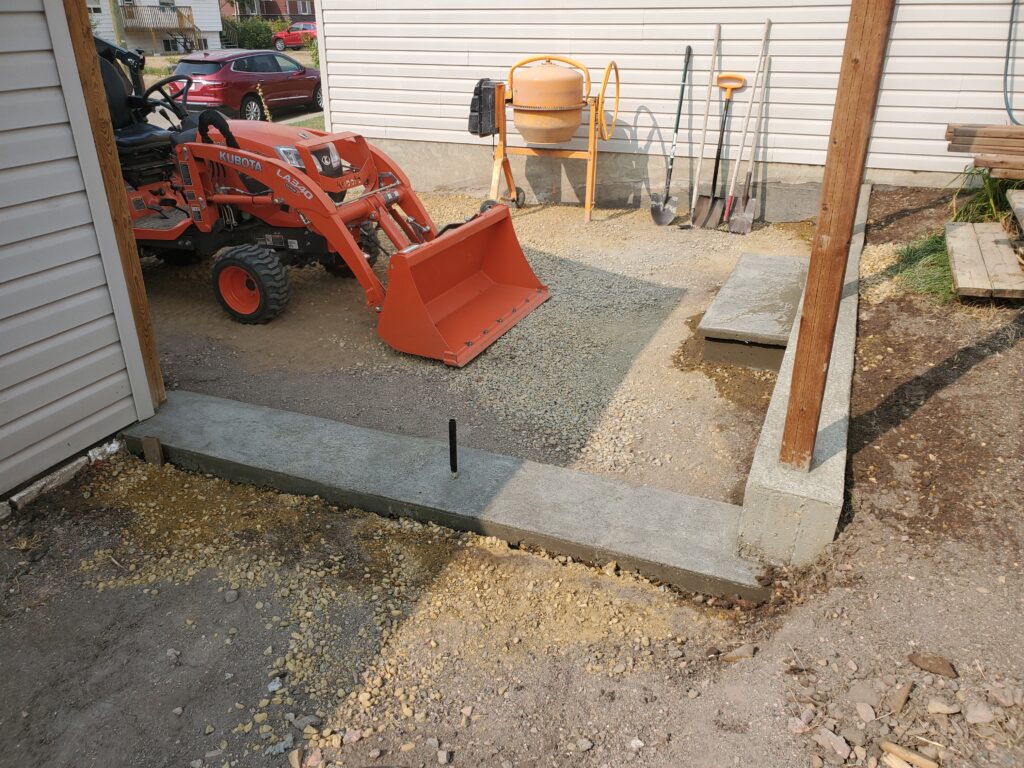
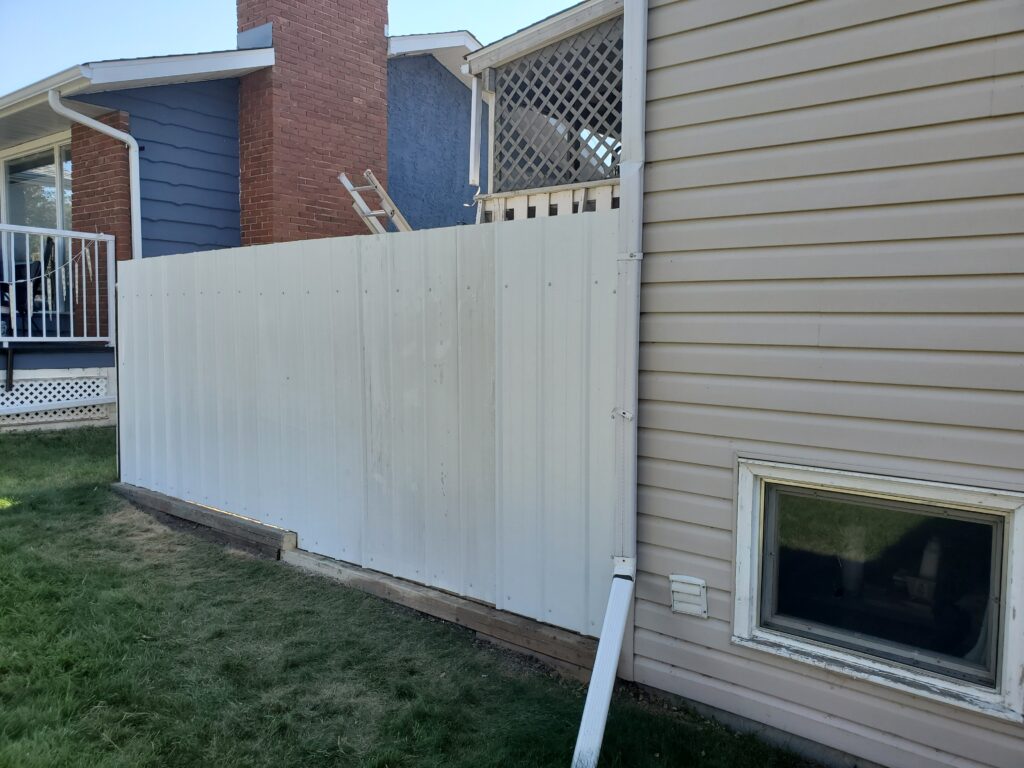
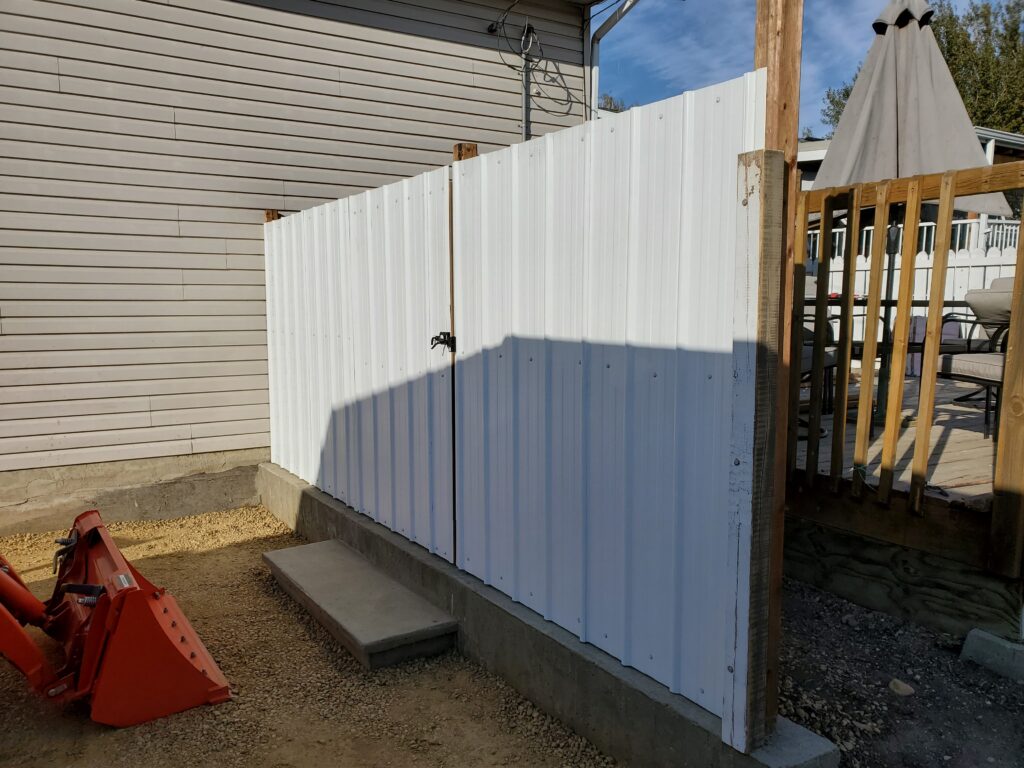
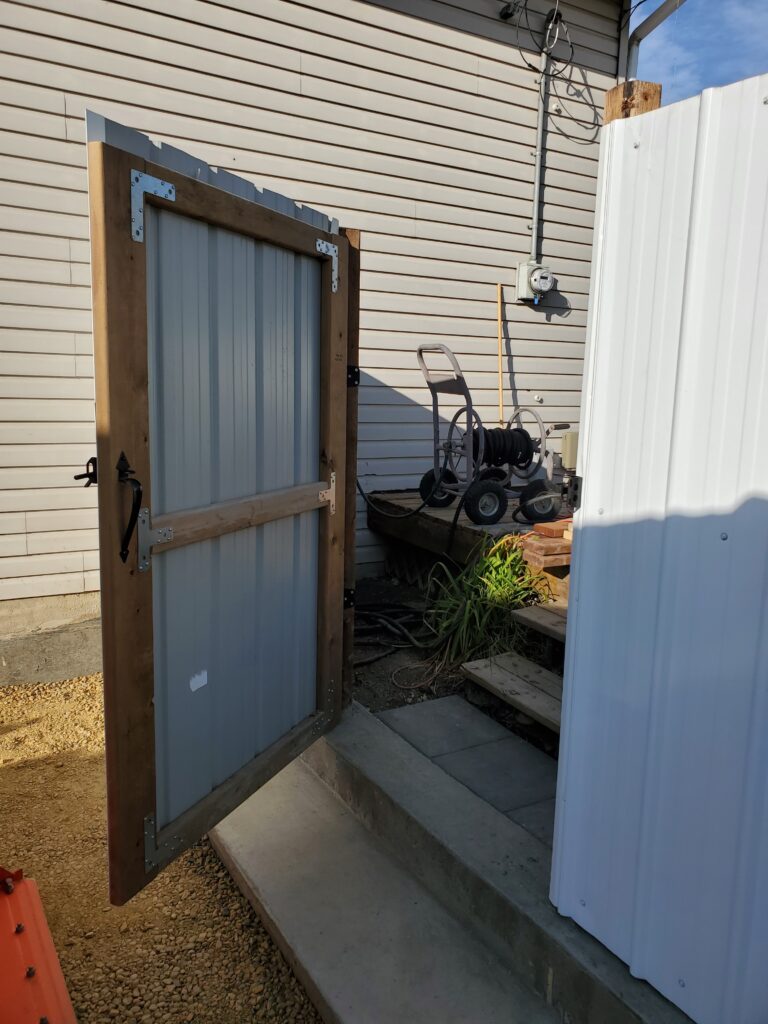
It’s great to have this done a week before we load them up for the free ride to Grand Forks…….. I have emptied the shed and gathered up the hoses. Cleaning up under the deck and getting things through the gate and out of the yard.
Next : It’s Friday and we picked up the Uhaul trailer for the shop stuff. It only took us just 2 hours to load the trailer…
Looks like we could have fit more in there.. But we ran out of stuff ! I allowed two days to load the trailer. There is a few things for the Avalanche to carry like the ladders, pressure washer, Shop vac and the trailer mover… No big deal.. Got all day Saturday to do that.

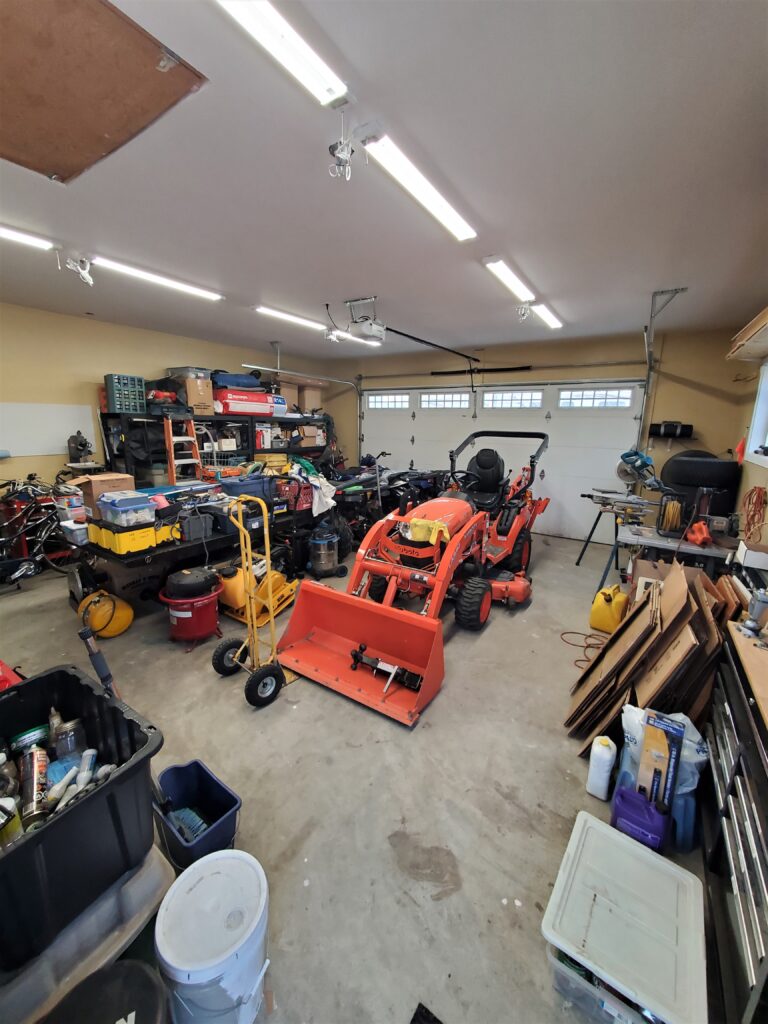
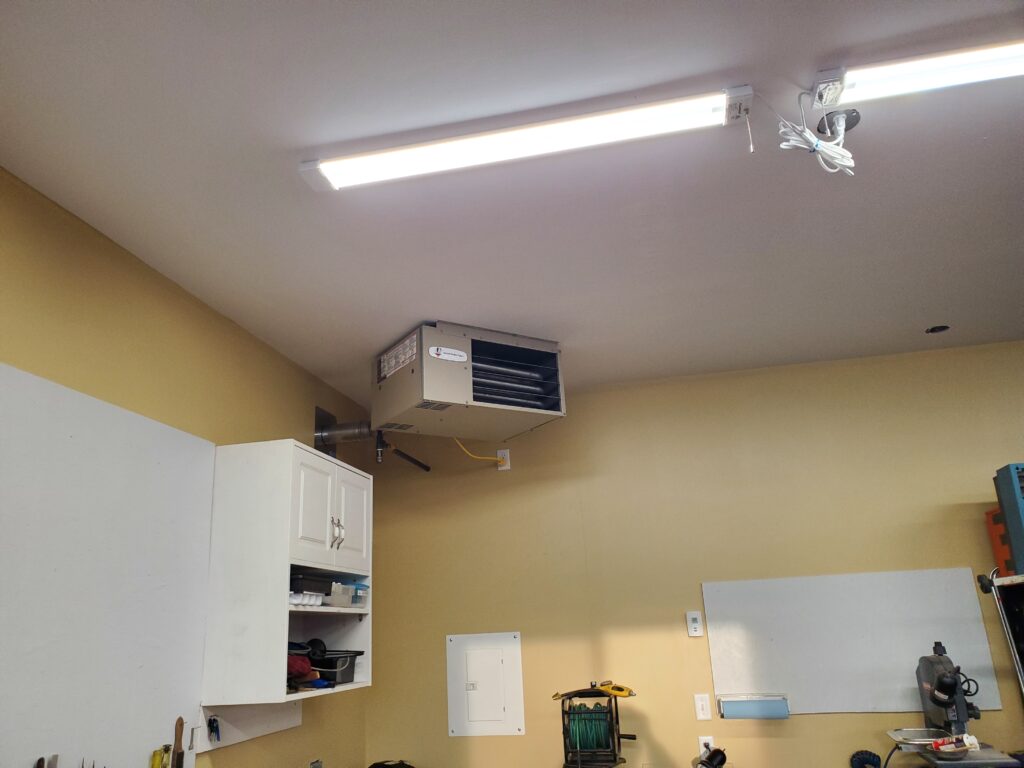
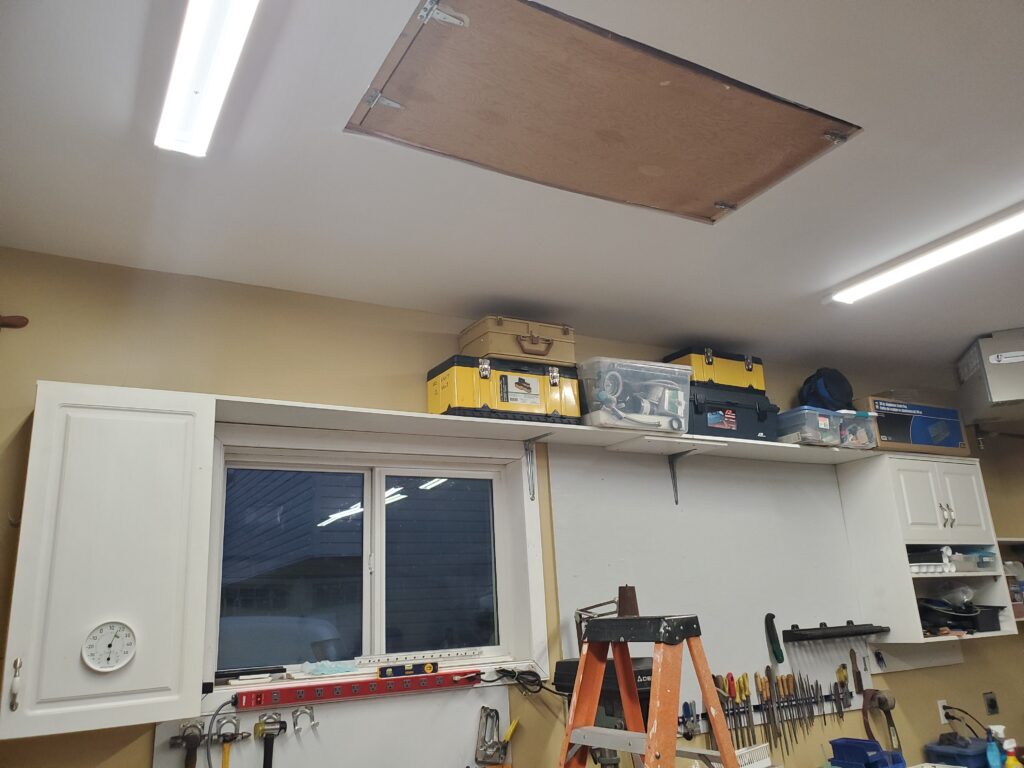
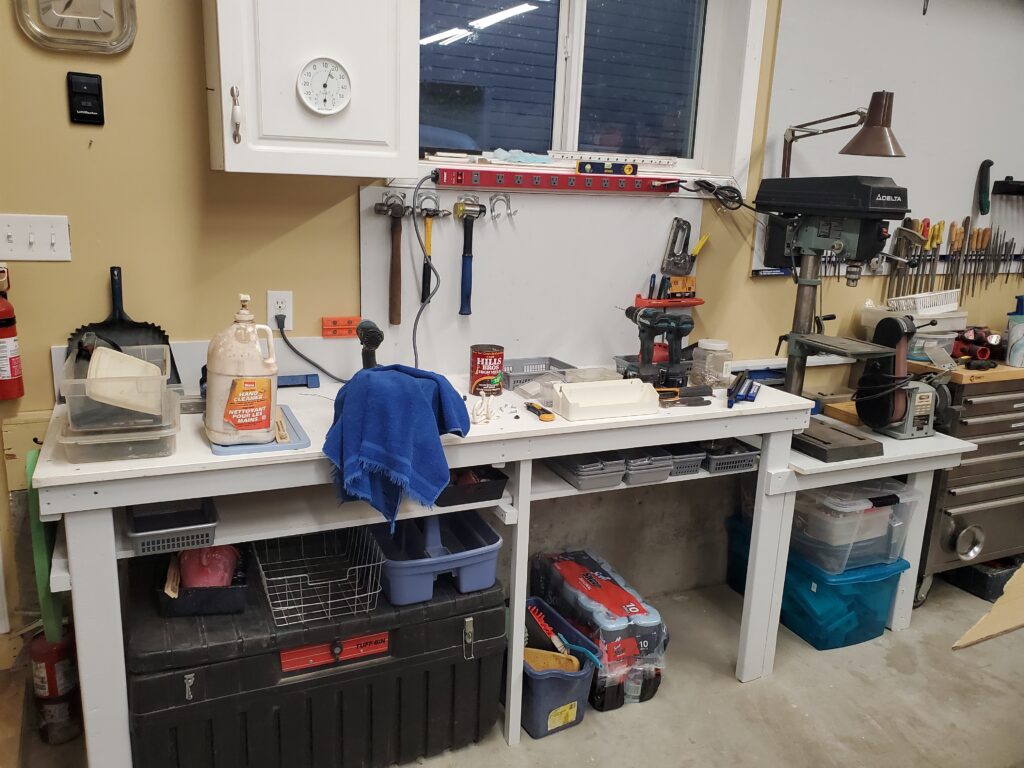
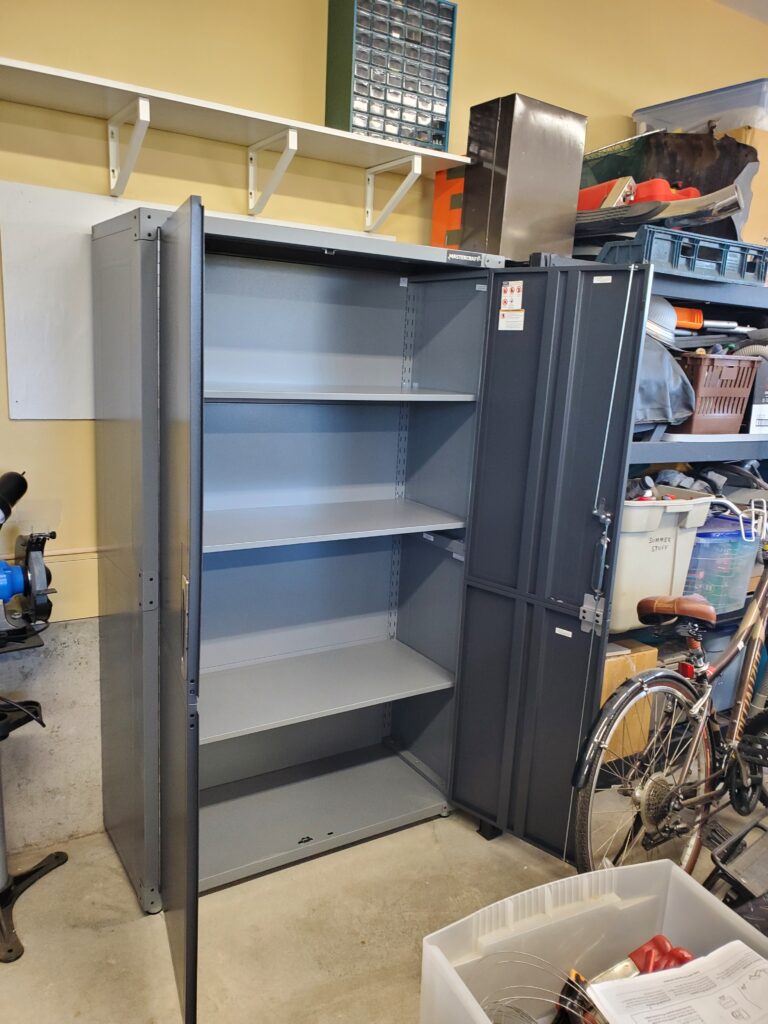
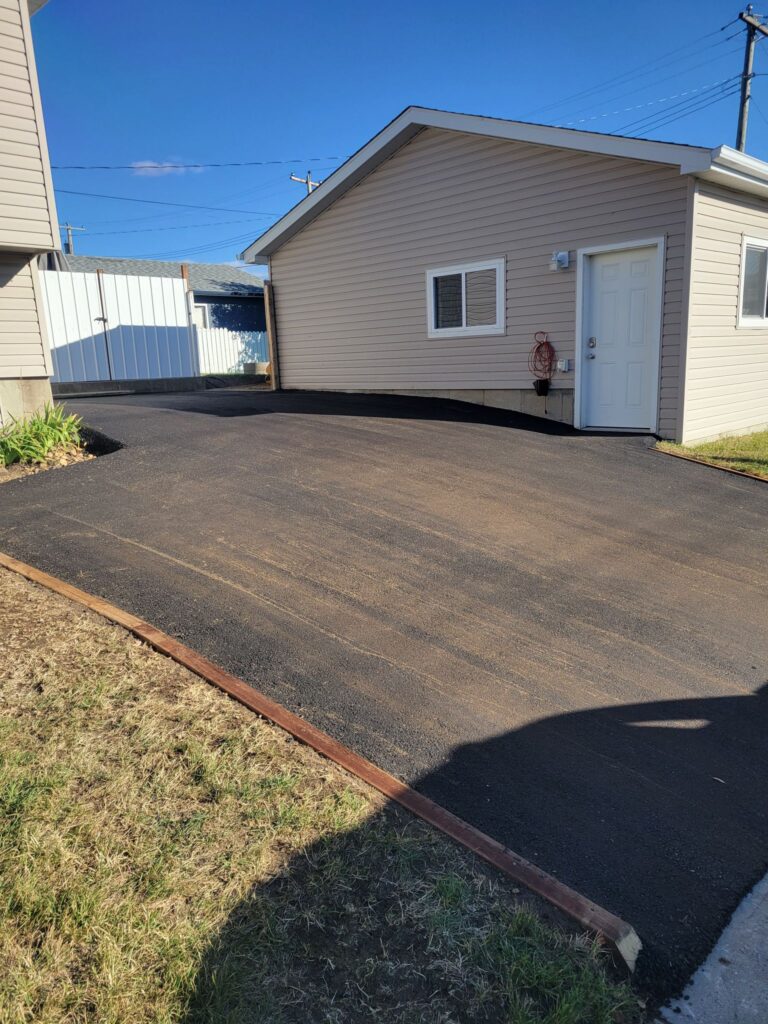
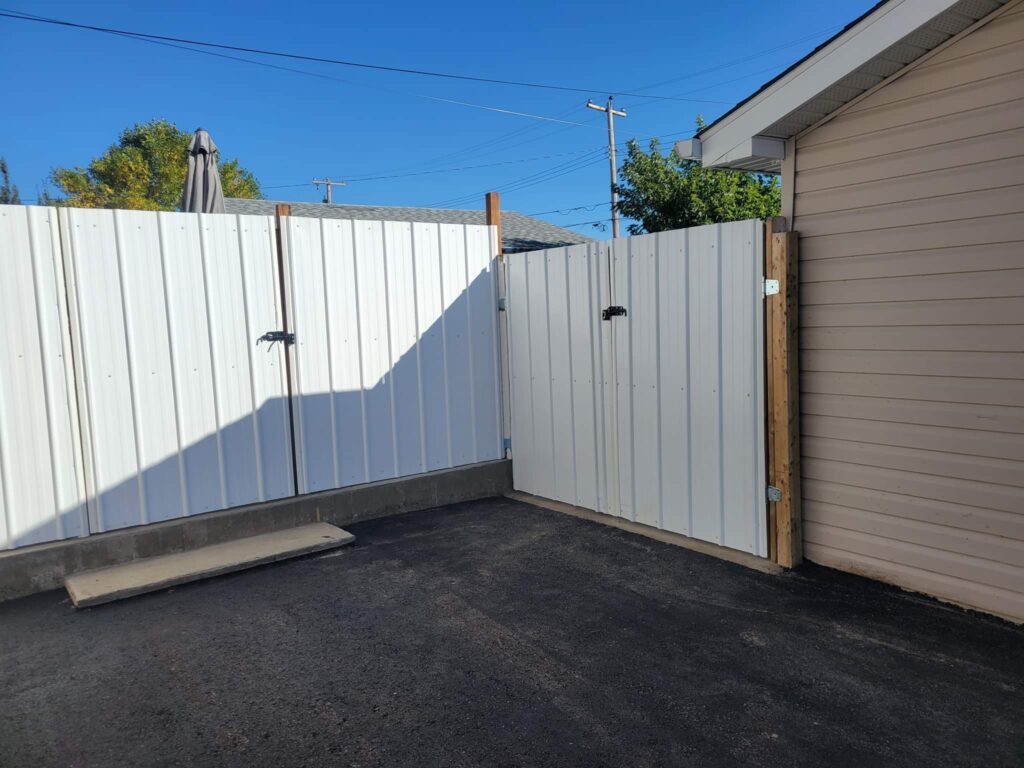
Look how empty the garage is…
March 29 2025:
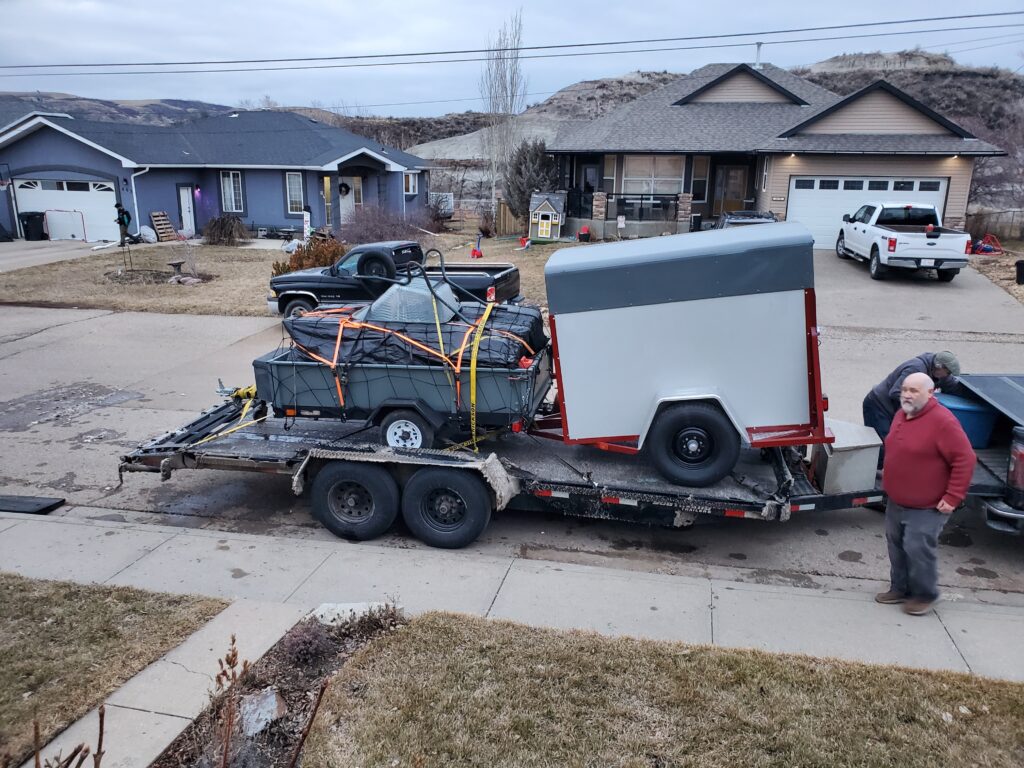
Tomorrow is driving day ! Trip # 1 to Grand Forks. I was planning to take more photos and maybe a video.. But we were busy and the drive was through the snowy , slushy foothills of southern Alberta. But sunny when we got to BC. Here’s the car trailer with the two utility trailers loaded on and ready for the trip. Notice the caked on ice and snow from the trip here.
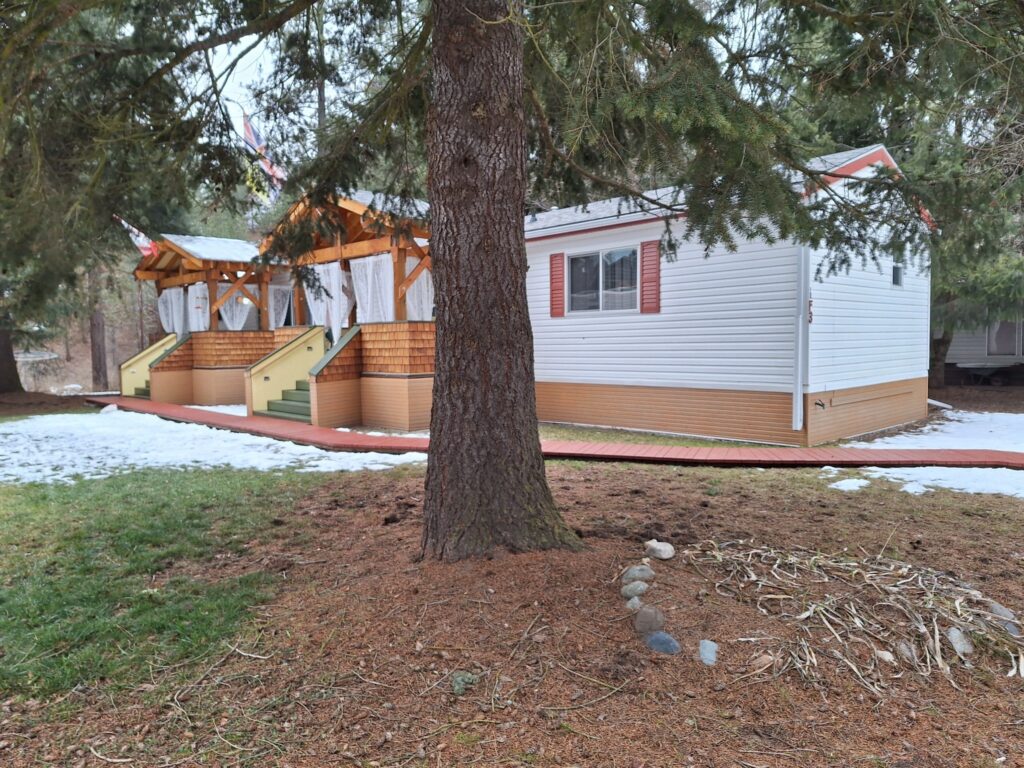
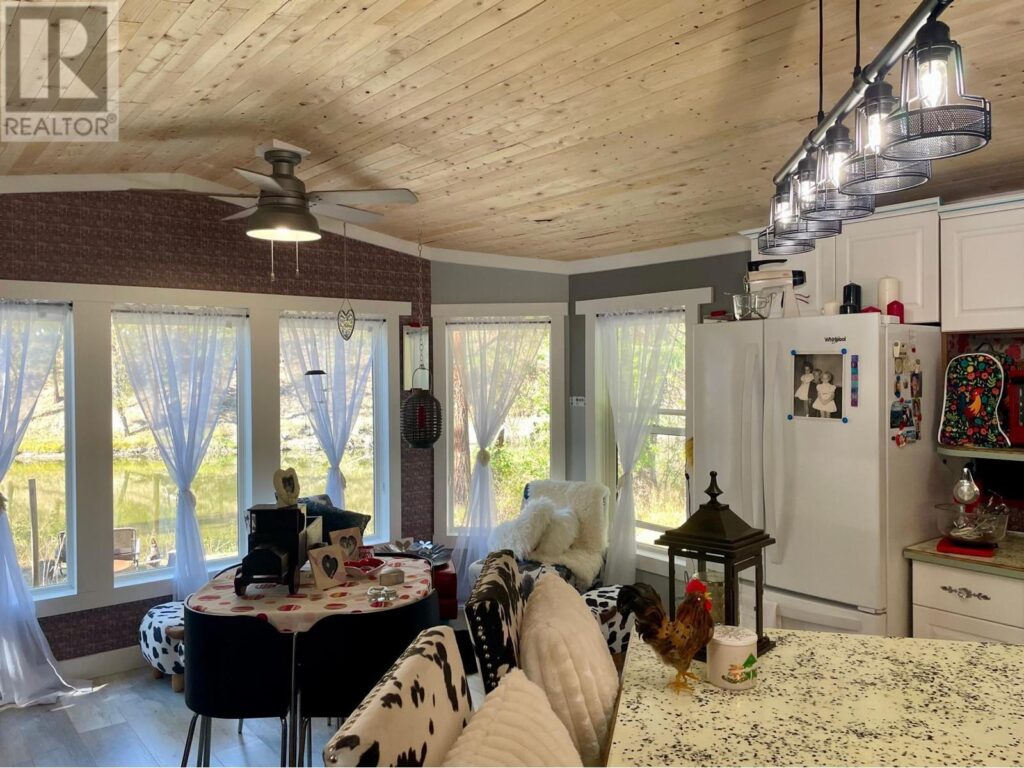
Both loads were heavy… But we got them there and unloaded and the rental trailer returned the next day. Did some running around on the Tuesday and back to Drum on Wednesday. We visited the trailer park twice because I had things to go there for our room mate. That was the first time I got to see our new home. It looks exactly like this photo…
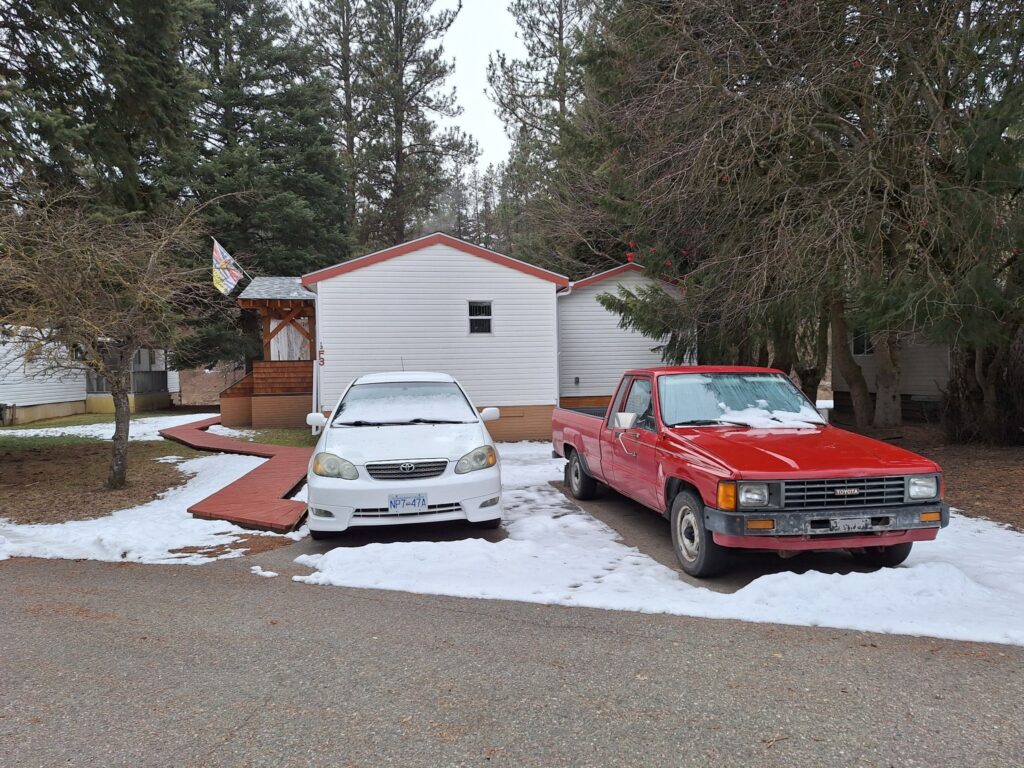
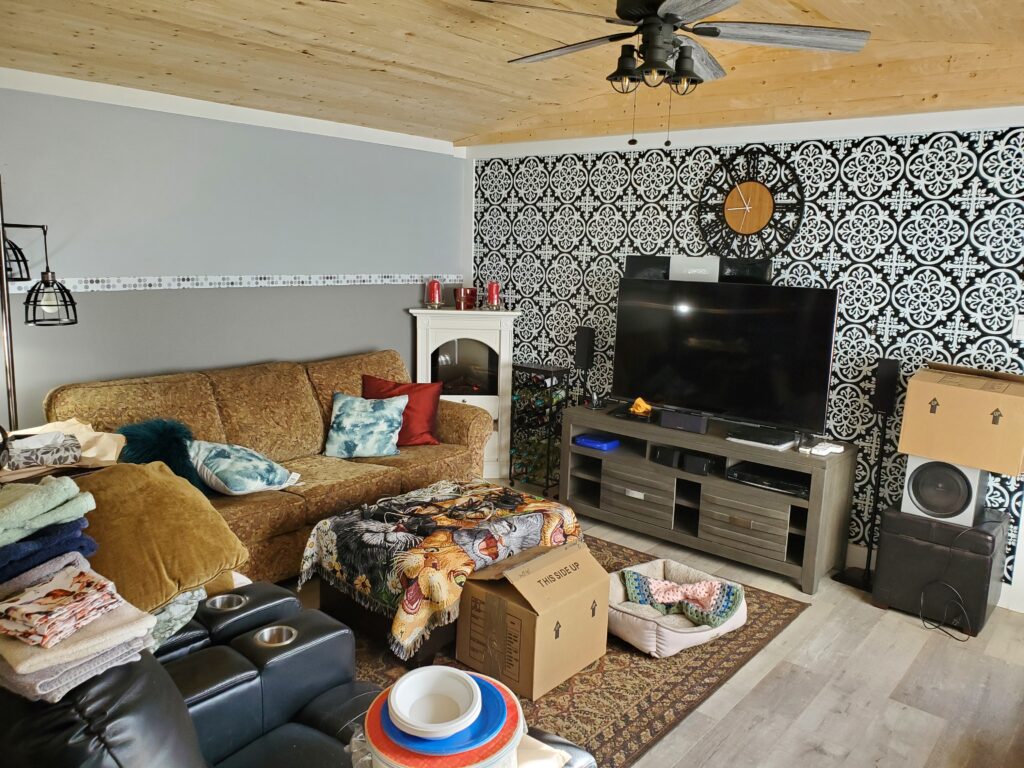
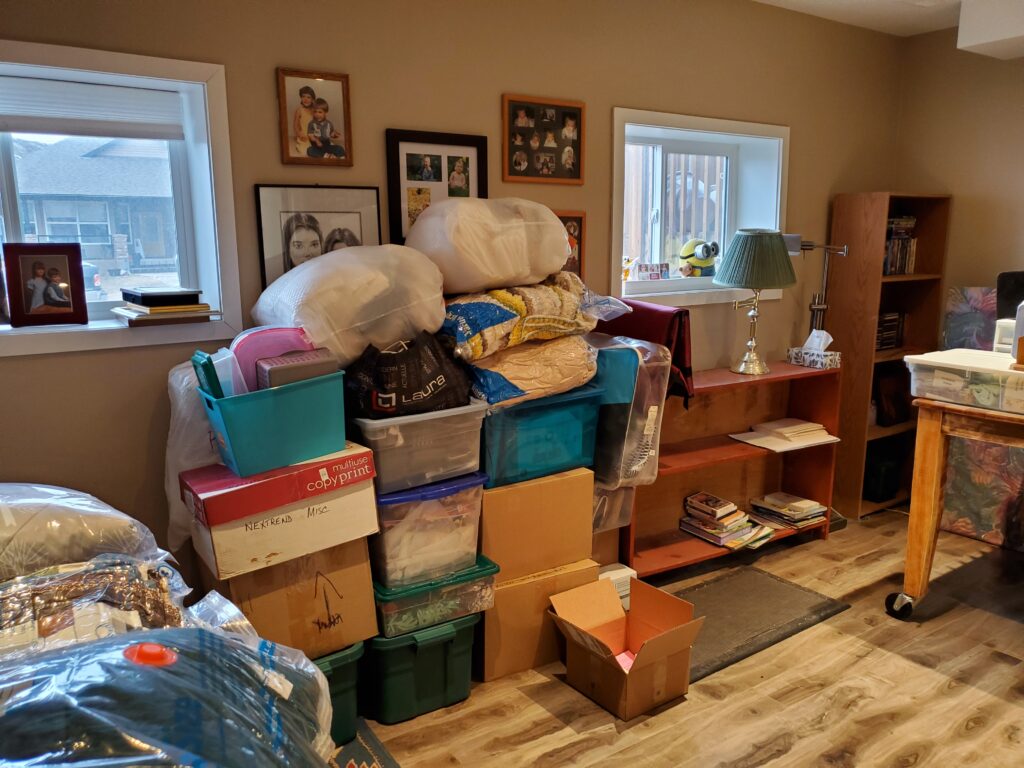
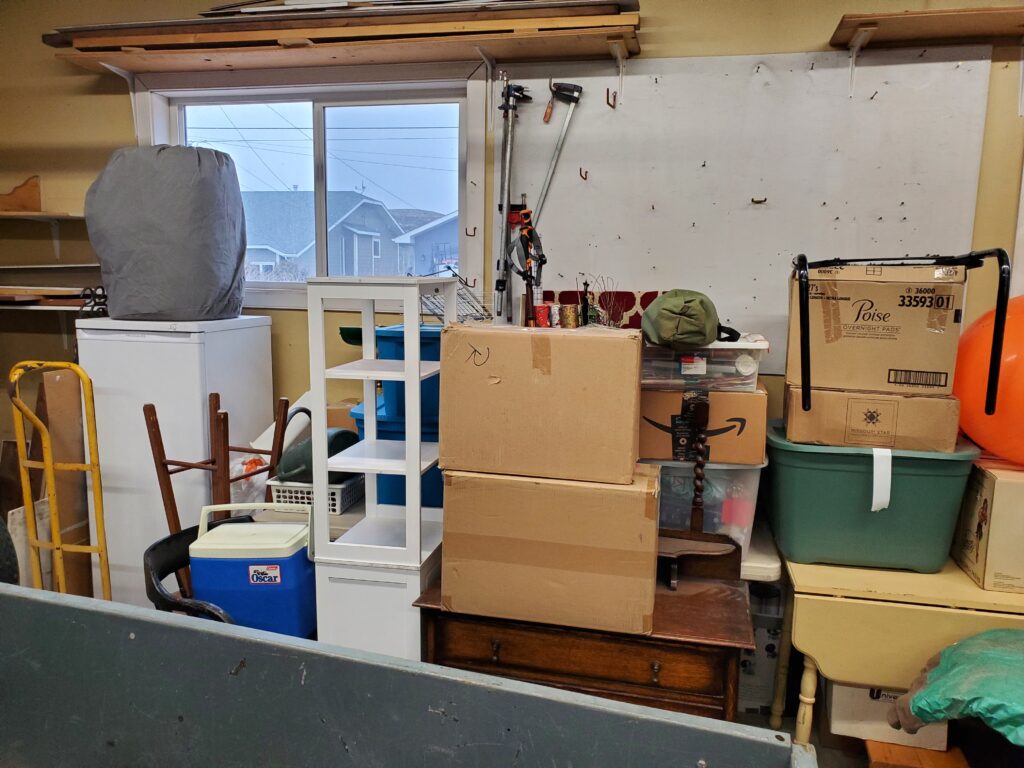
Without the snow.. Even the two vehicles are there. So now we continue packing sorting and tossing stuff with help from Maureen’s Brother & Sister. Even though the movers are going to do the packing …we have to sort through and decide what to let them pack.. The result is a big pile in the family room.
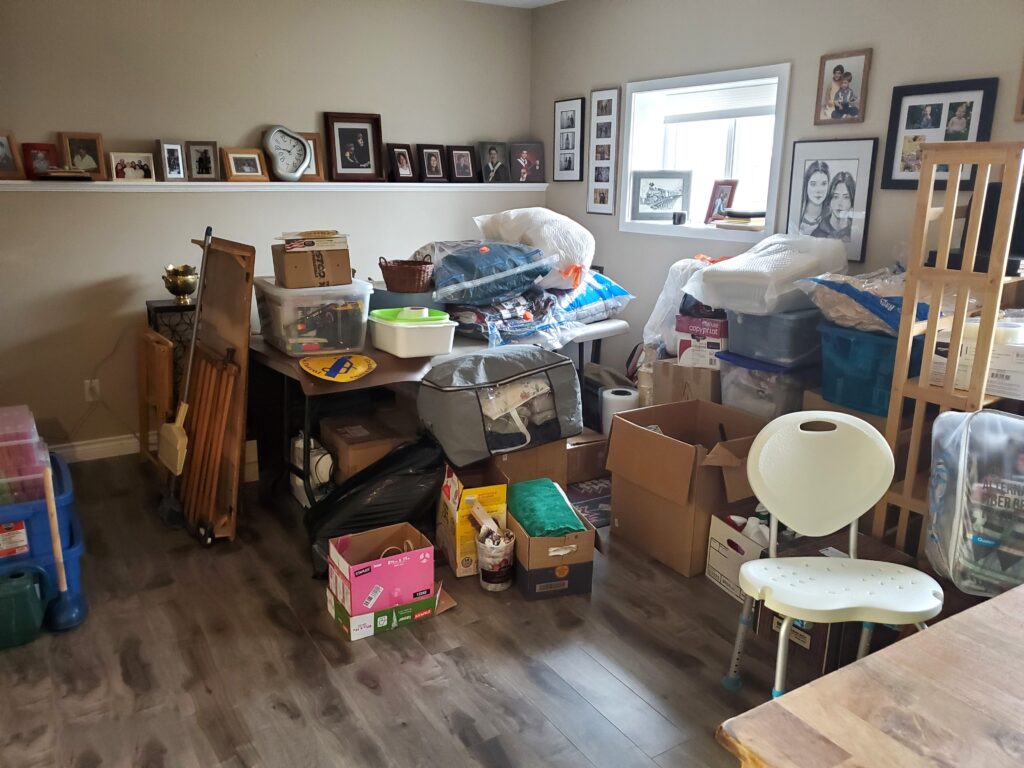
And this is just some of the stuff. However the crawl space storage is empty ! In a few days the movers are coming to do the packing and load the truck ( or trucks) the next day. That leaves us here for two days with an empty house to finish the cleaning .. And that won’t take two days because we have done most of that already. And a big truck showed up to pack the house and the truck..
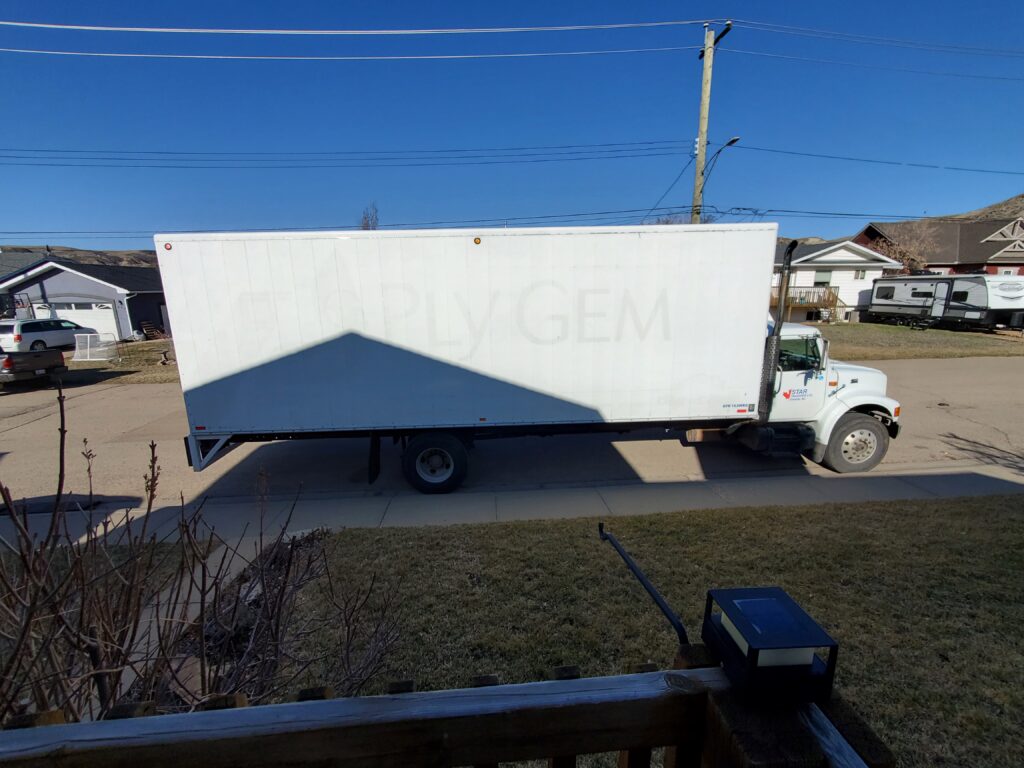
That should work.. and when it left it was 90% full. And on the 15 th we were ready to roll early in the morning..

Award trailer all hooked up and we just left.. not looking back.. Ten plus hour drive back to Grand forks.. Time to start a new chapter and a new page in this post..