Dec 11 2020
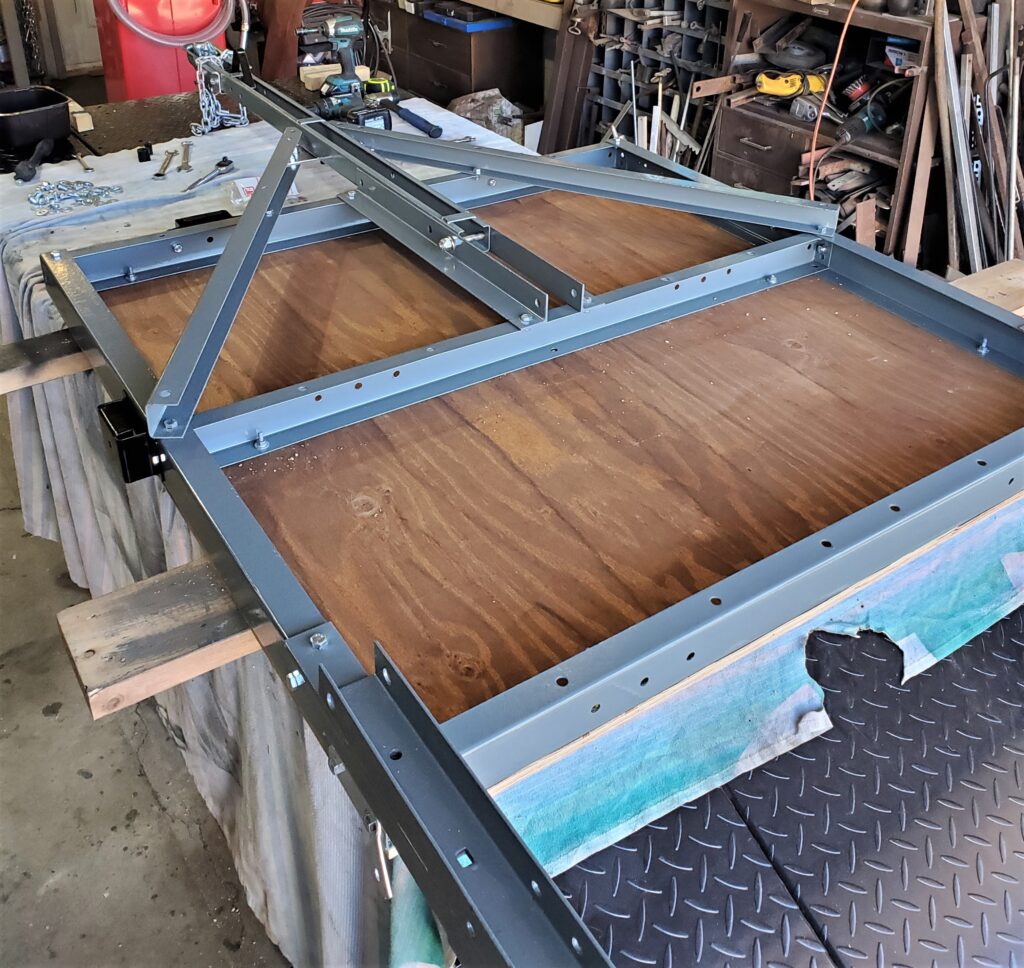
There’s lots to do:
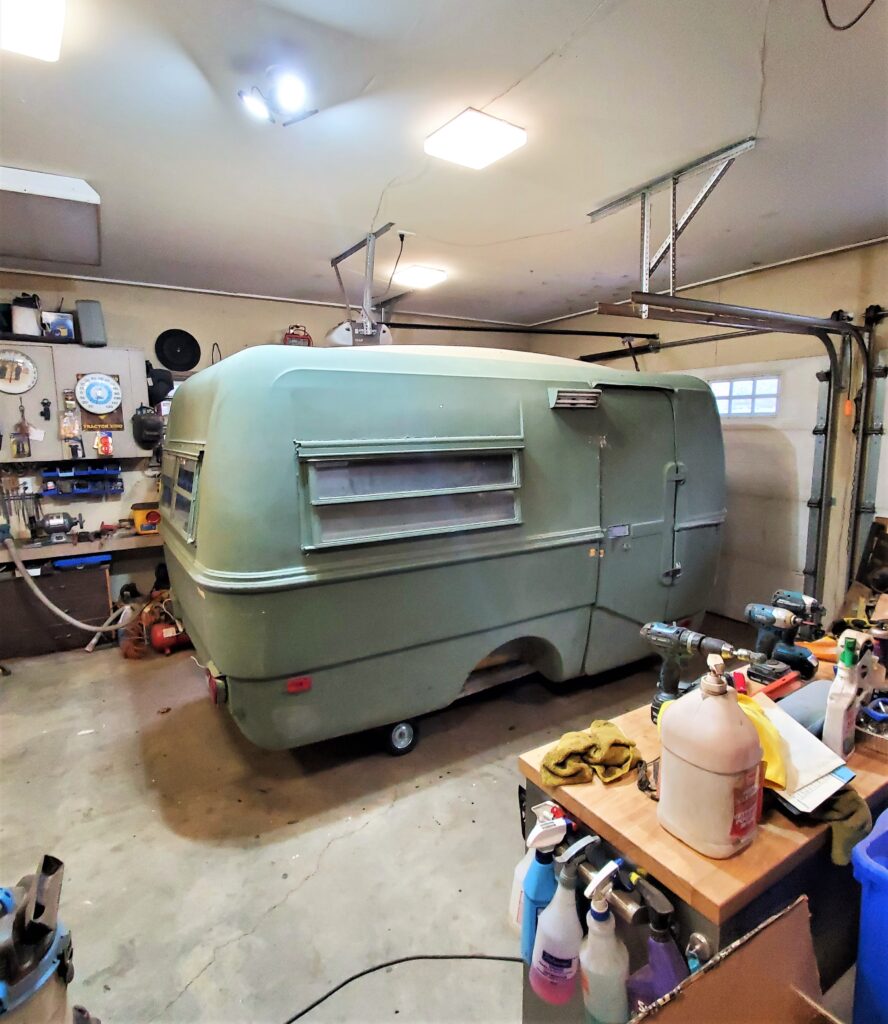
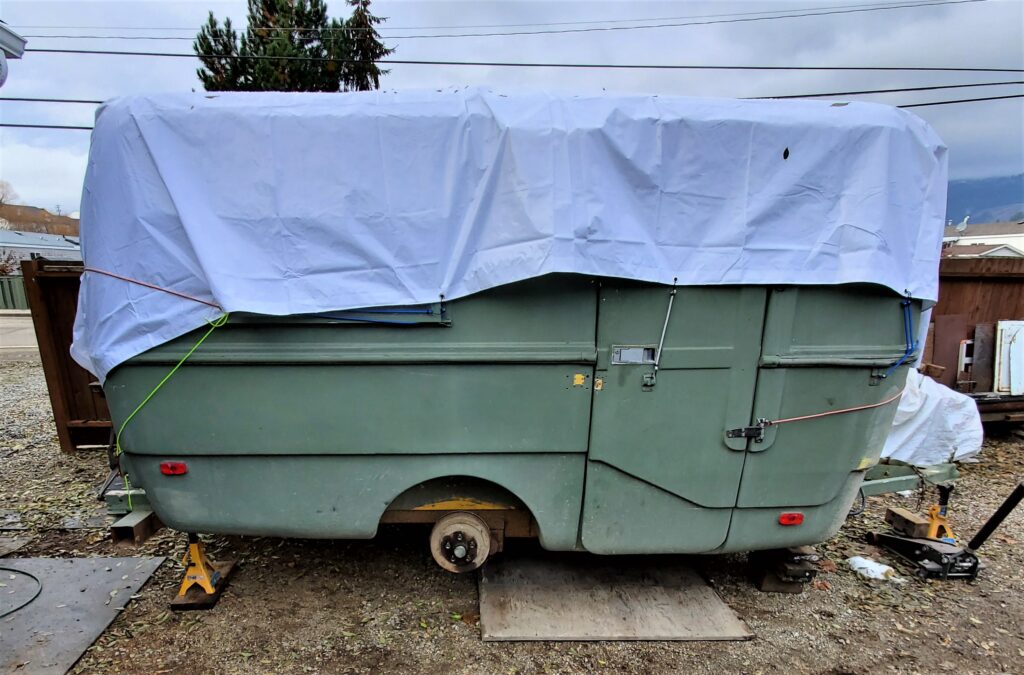
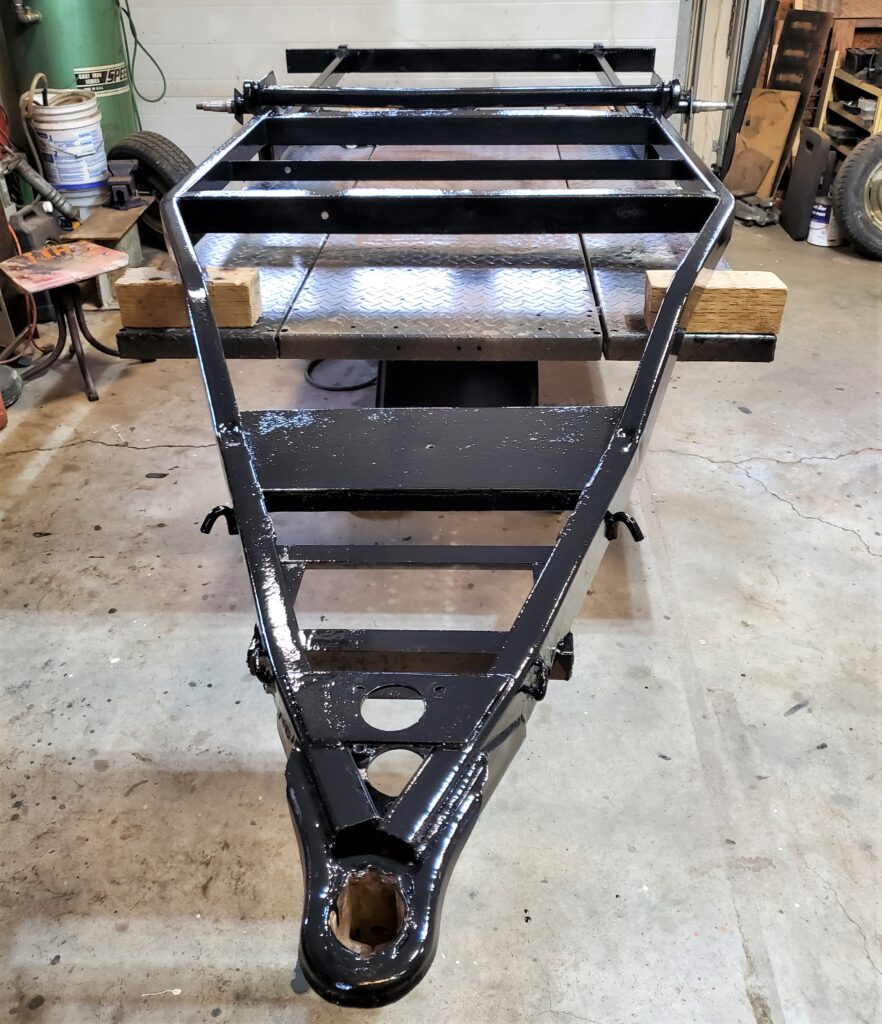
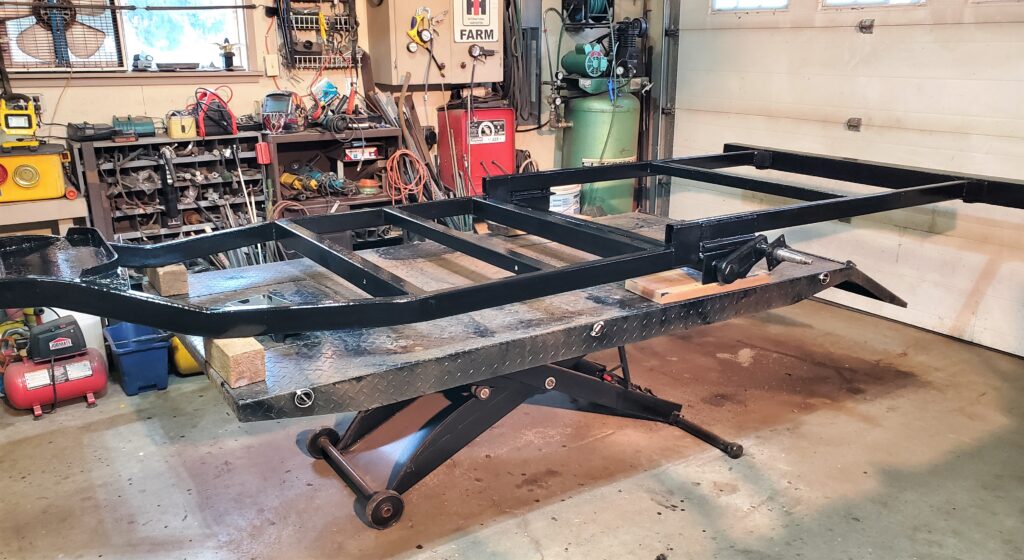
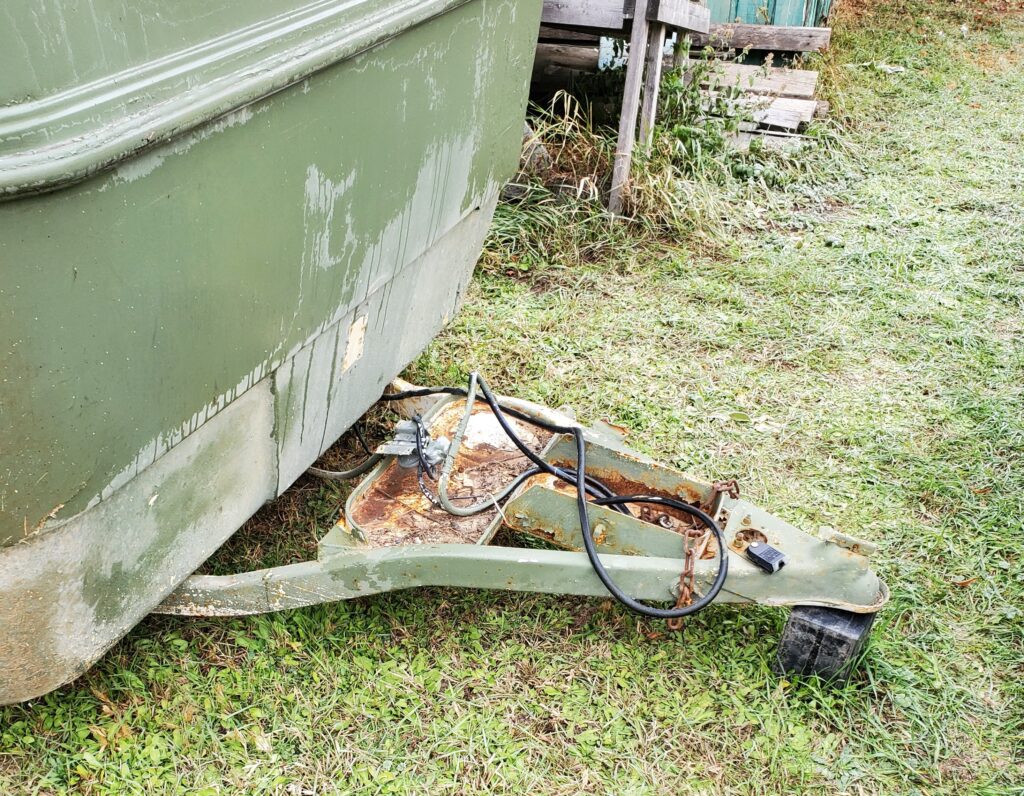
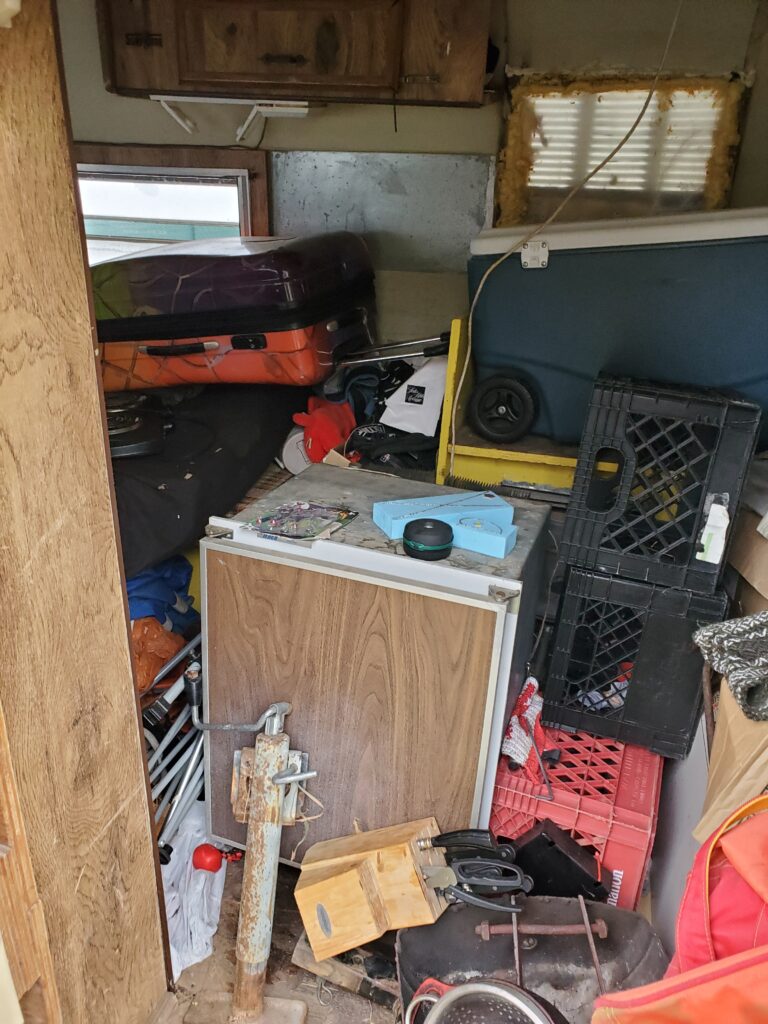
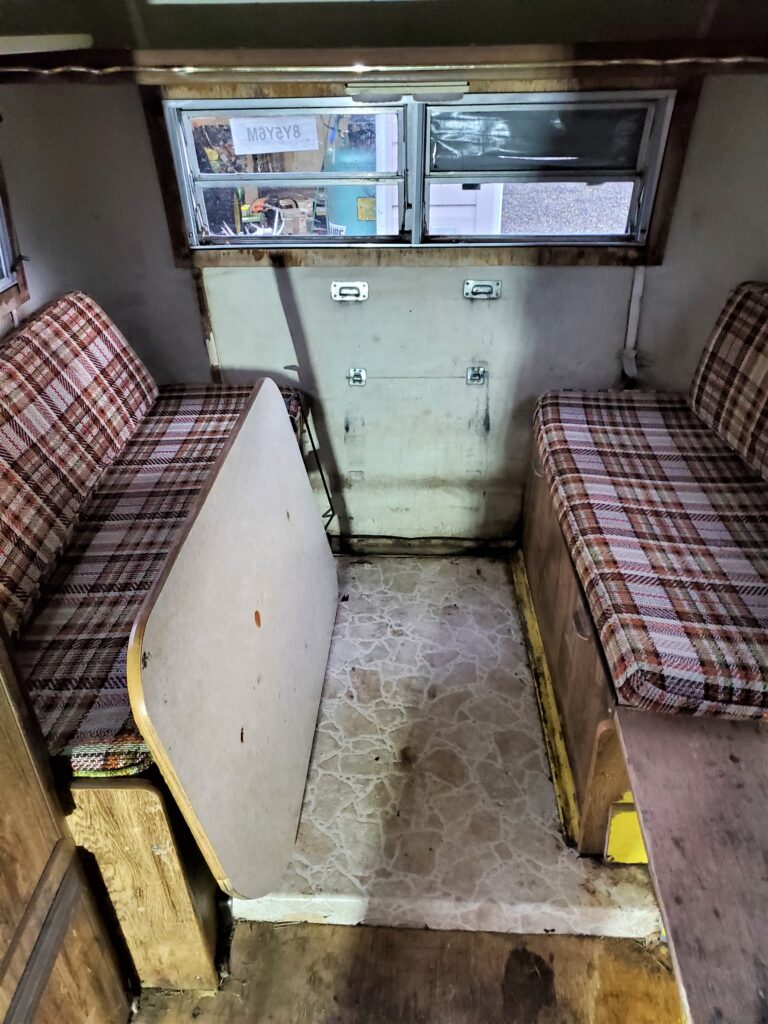
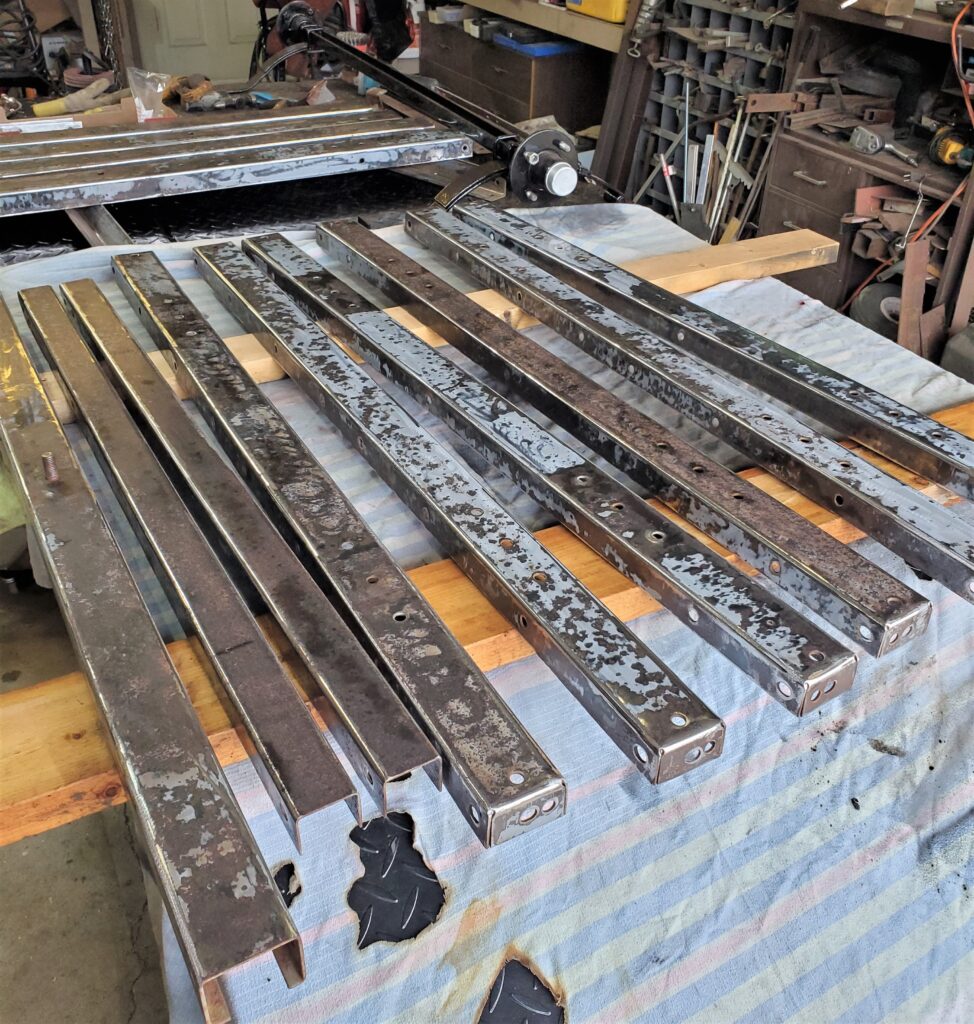
The bottom half of the trailer is where most of the bad stuff is. Makes sense I suppose.
Some schooling and some thoughts:
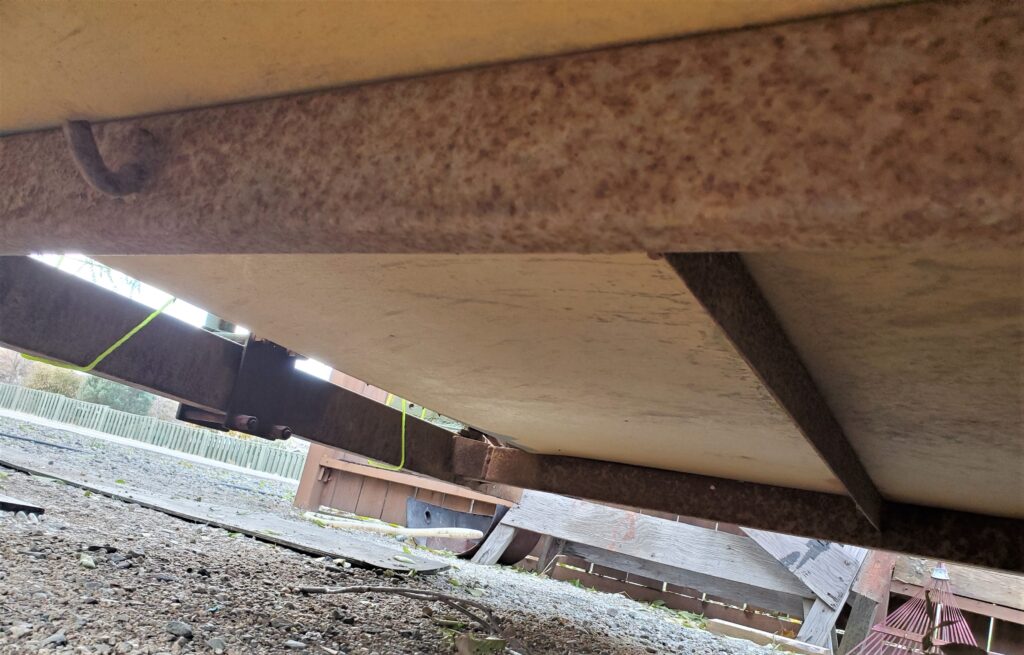
The Surf Side is very different than a Boler. Not just the over all shape but that it’s just two molded pieces instead of three. Boler’s and their cousins Scamp’s have floors that are formed separate from the bottom half ..then glassed into place. Even the wheel wells are made separate then glassed in. This is ok.. They are still strong. However this gives them a “skirt” hanging below the floor. This skirt is easily damaged. I know I’ve had to repair them on both the boler and the Scamp.
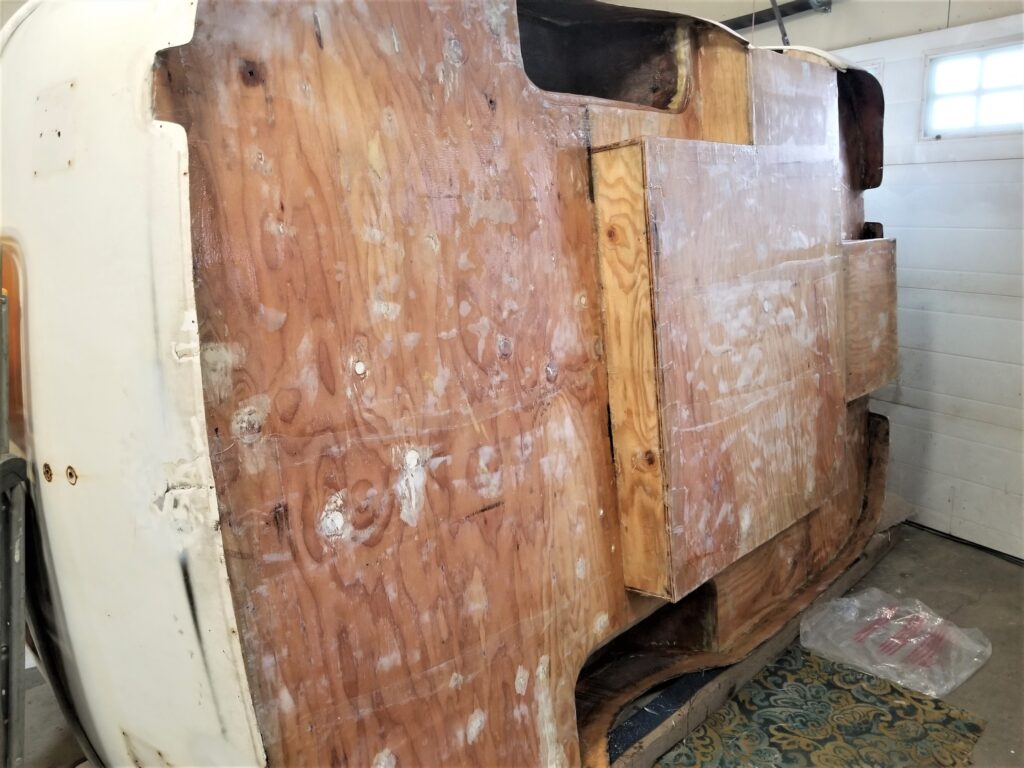
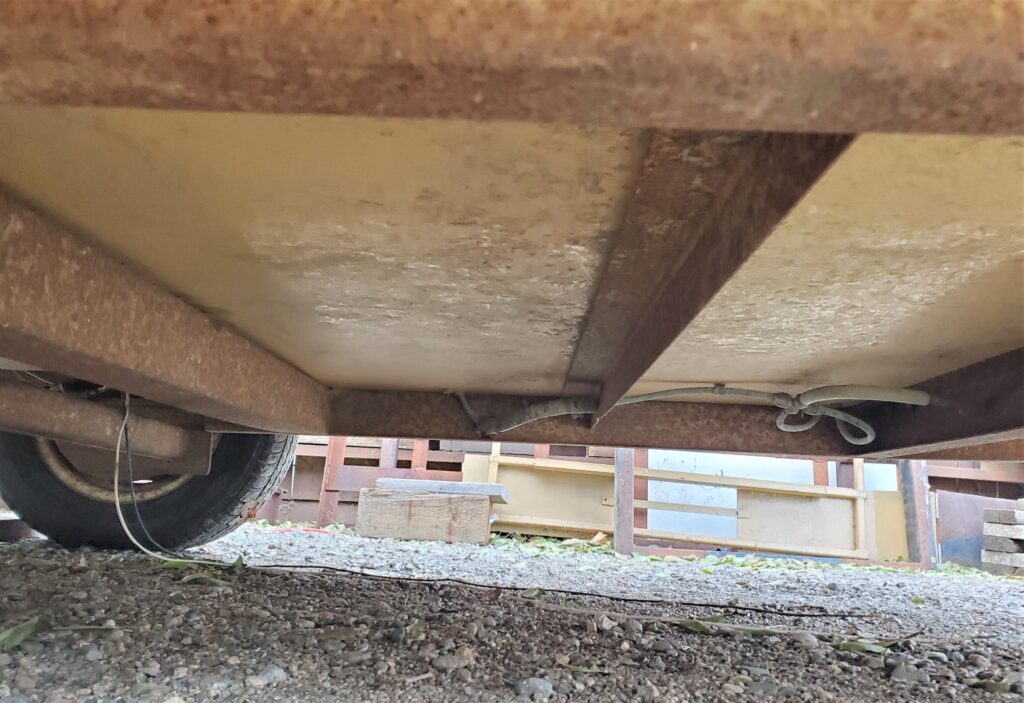
Here you can see some of the repairs done to the skirt of the Scamp. Not so on the Surf Side …the body just curves under, and so does the painting. And so it seems to me that the NEW fiberglass Escape trailers are copying something from 45 years ago.. They call it a “pontoon” or low spot molded into the bottom half. This “pontoon” is under the cabinets and the floor stops short of going out to the body.. Thus allowing any moisture to go there. And yes there is drain holes under these. Here’s a better way for me to show what I mean…
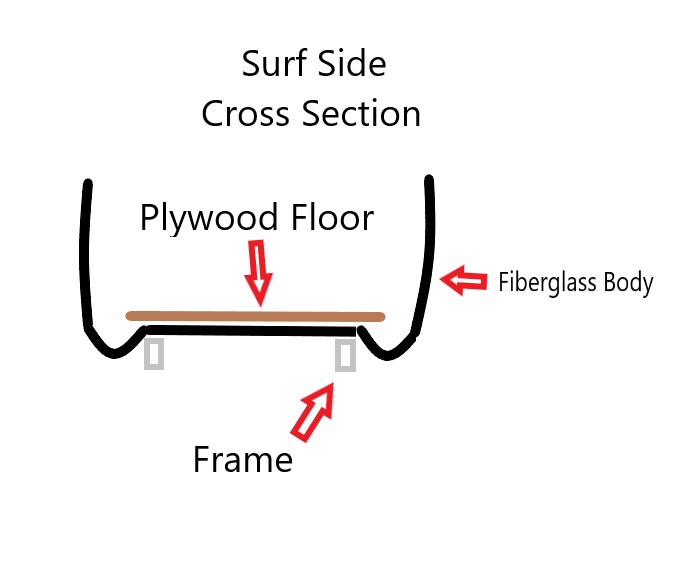
This also could be a cross section for the NEW Escape trailer. Things that make you go HMMM . But it’s a good design why not use it.. And I would choose this over the Boler skirted underside. Well better get back to the job at hand. I started at the door and working my way clockwise around to the bad stuff.. Bad stuff is the two front corners.
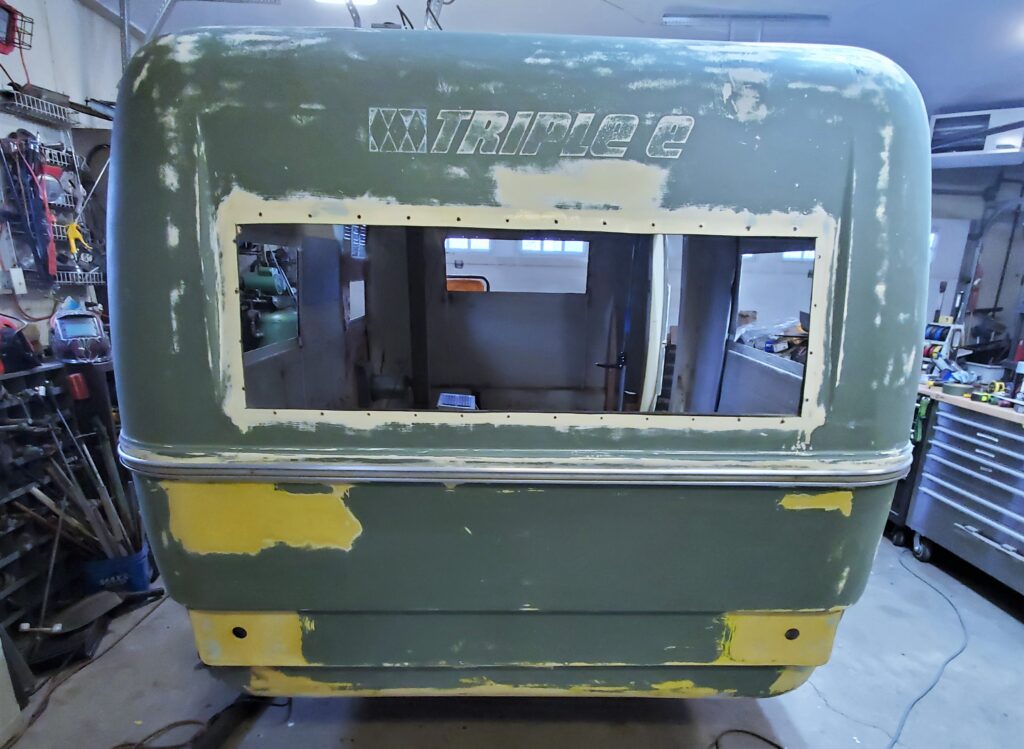
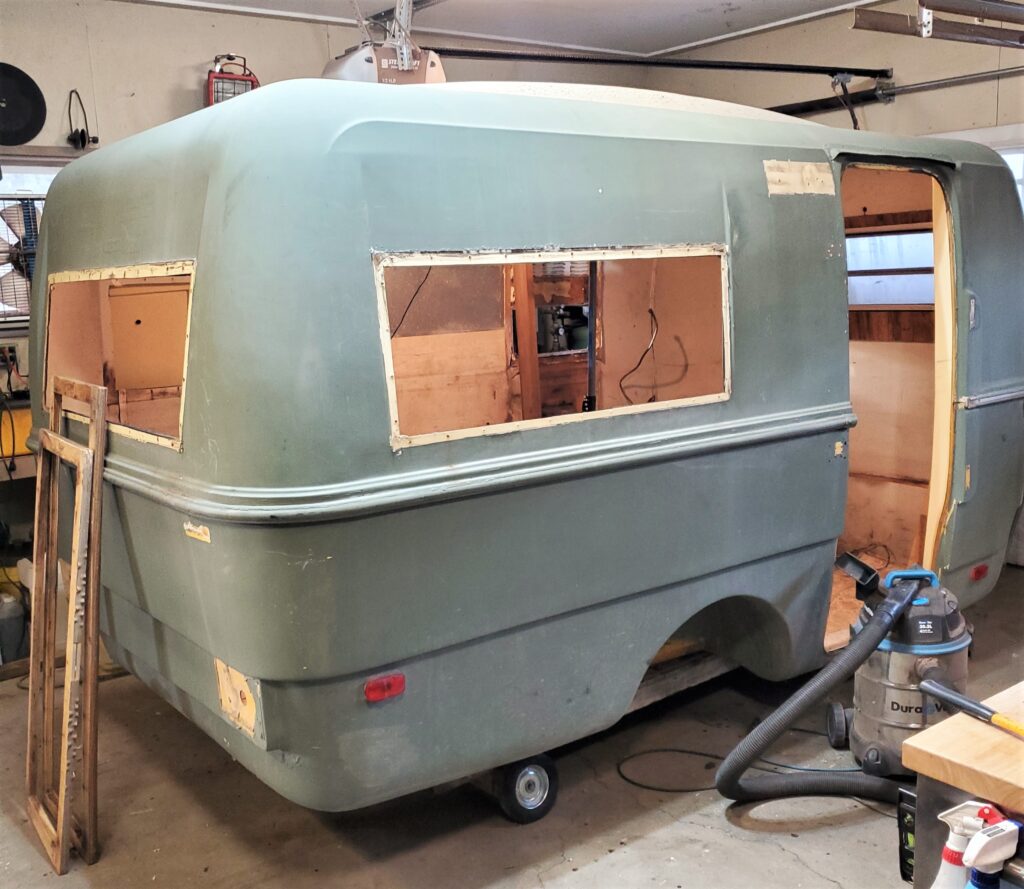
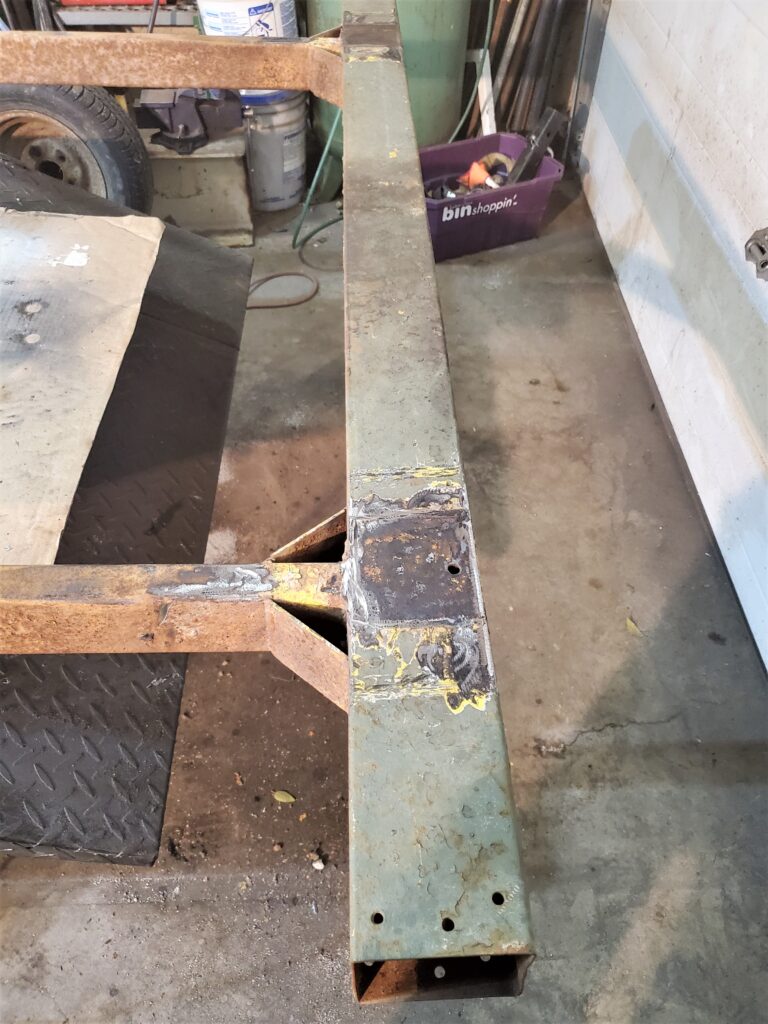
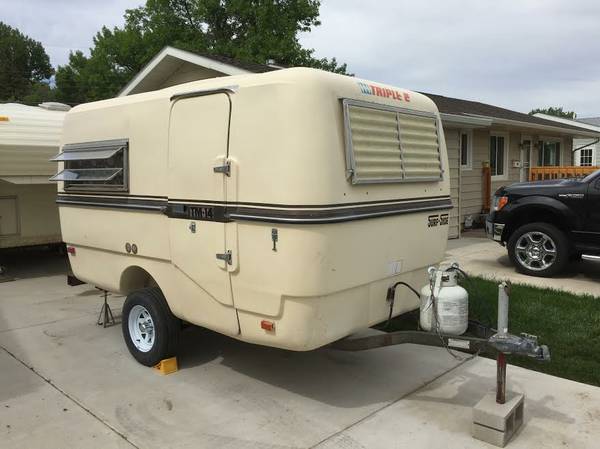
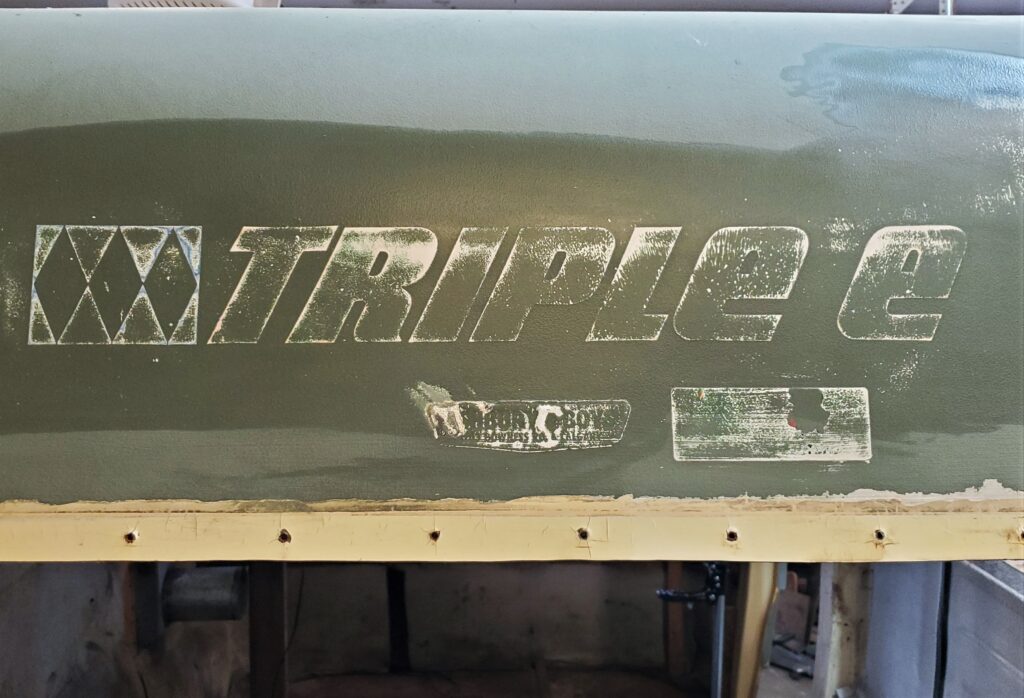
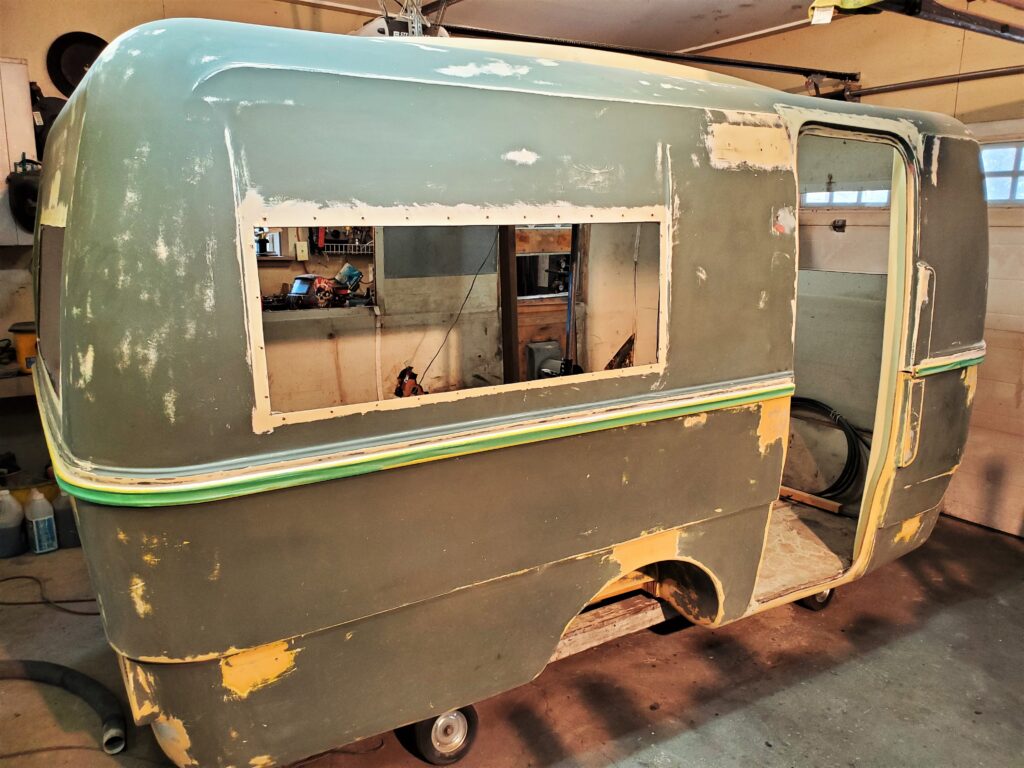
Here’s the rear of the trailer all prepped, Yes I didn’t totally sand the Triple E logo off. I’m hoping to be able to see it enough to apply the new graphics over the old.
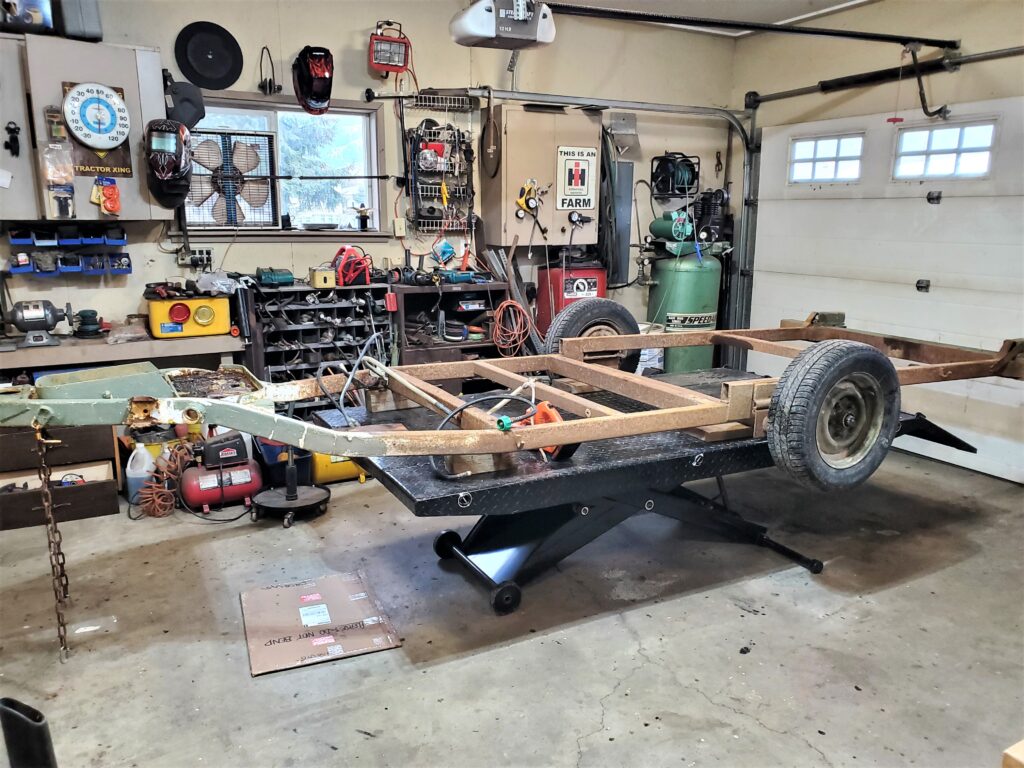
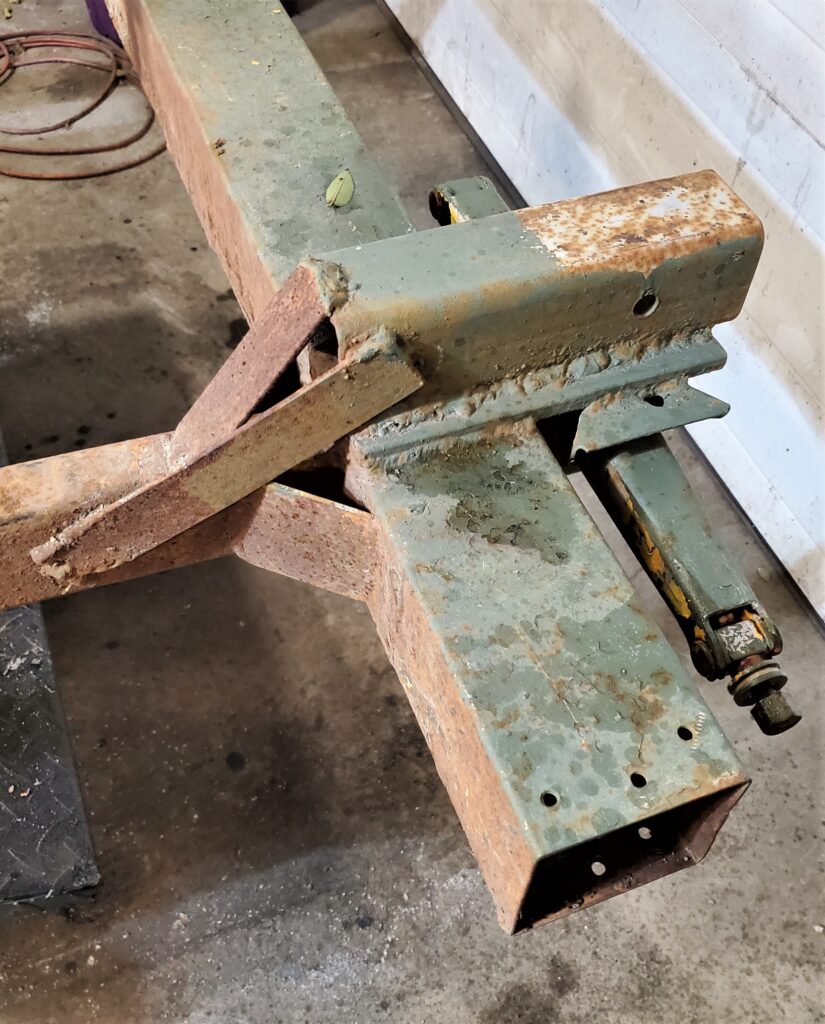
Jack the Knife !
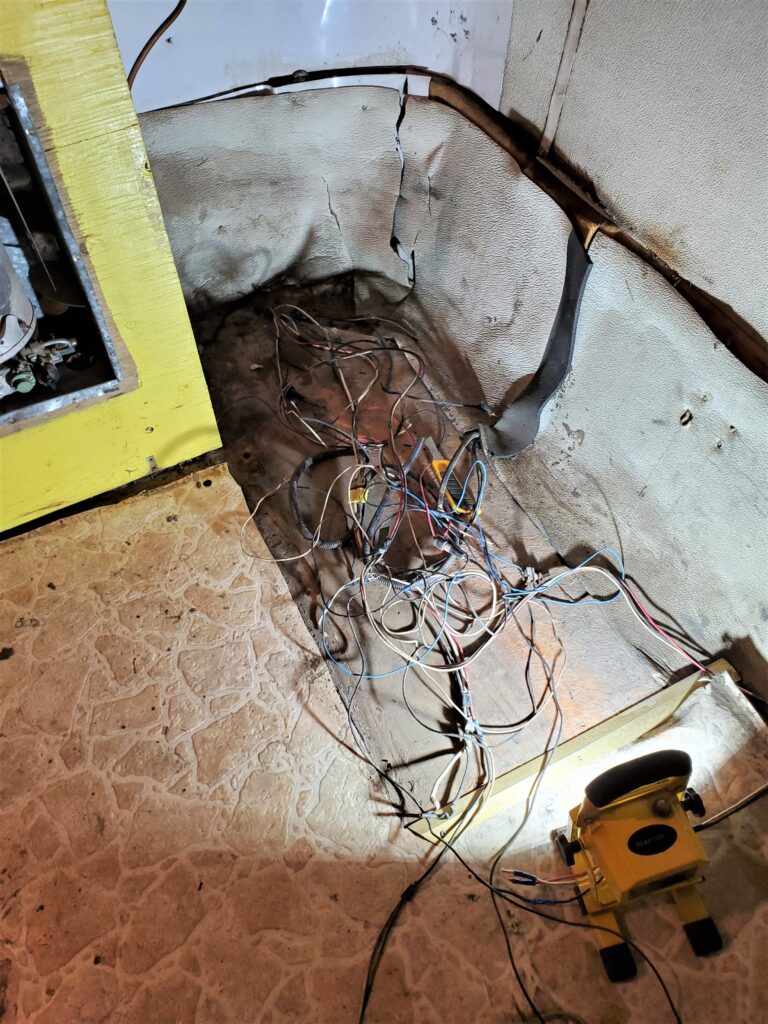
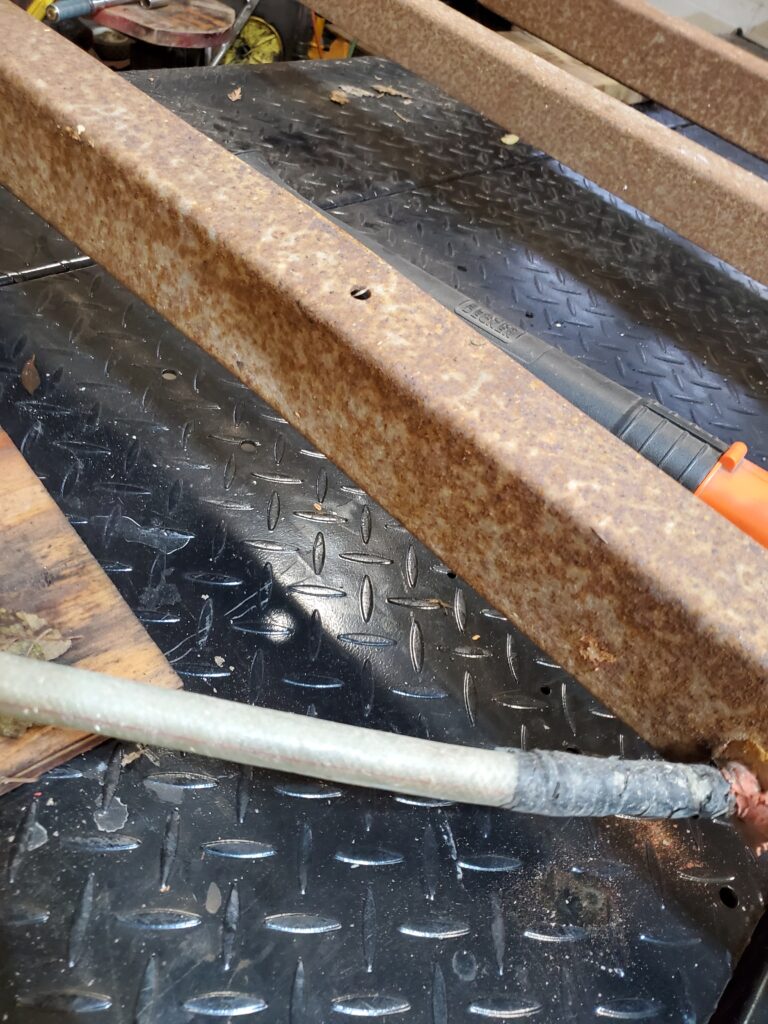
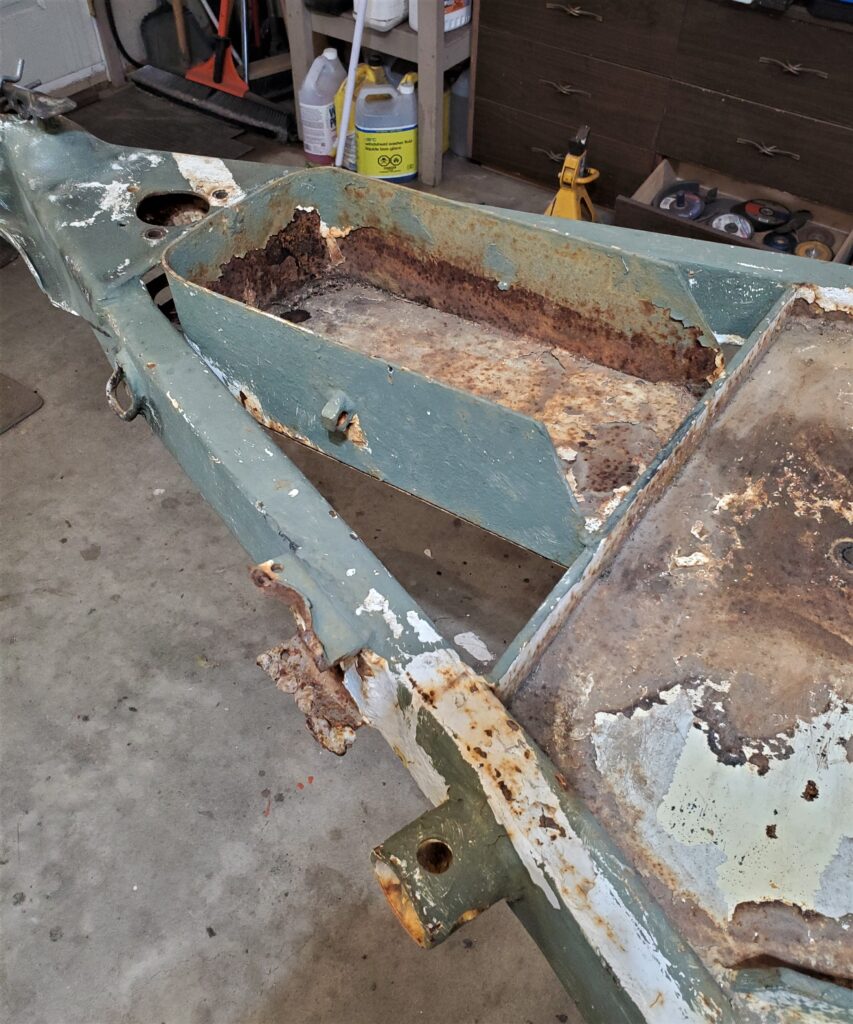
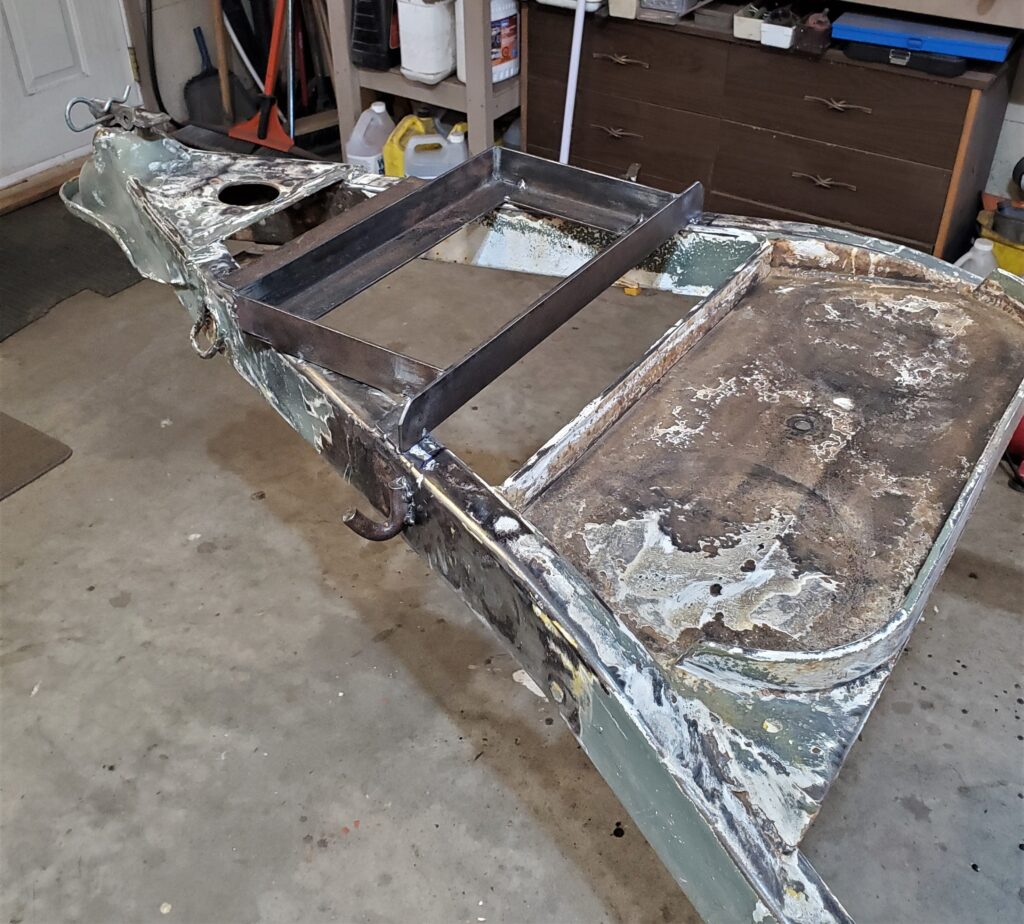
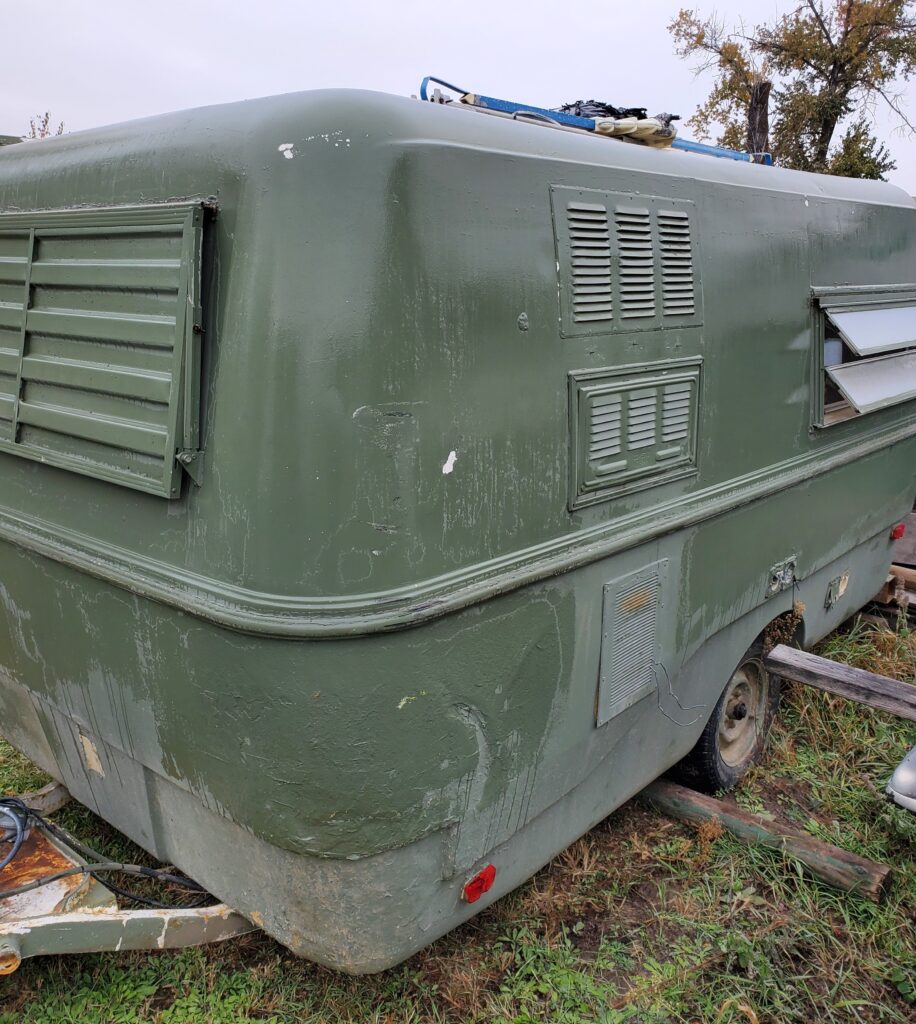
This is where the real work starts. A very messy patch job. At least it’s not silicone.. Out comes the big sander ! Well I guess they tried to fix it…but I wish they didn’t. Would have been easier for me … When I see lower corner damage I presume it’s from lack of trailer backing skills. Or they tried to drive around a stump ? Take a guess.

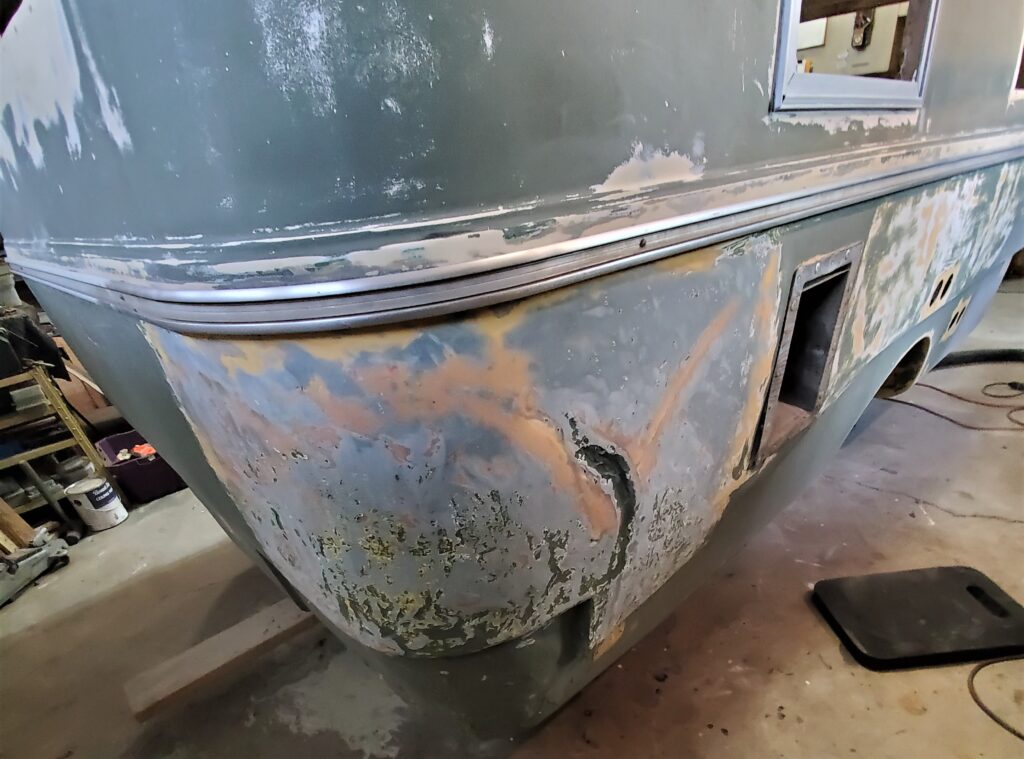
Wow it’s bad ! And thin in spots so I have to be careful. I’m going to skim coat this with filler.. And maybe an extra layer of resin & mat inside. I’ll need another can of body filler for sure.
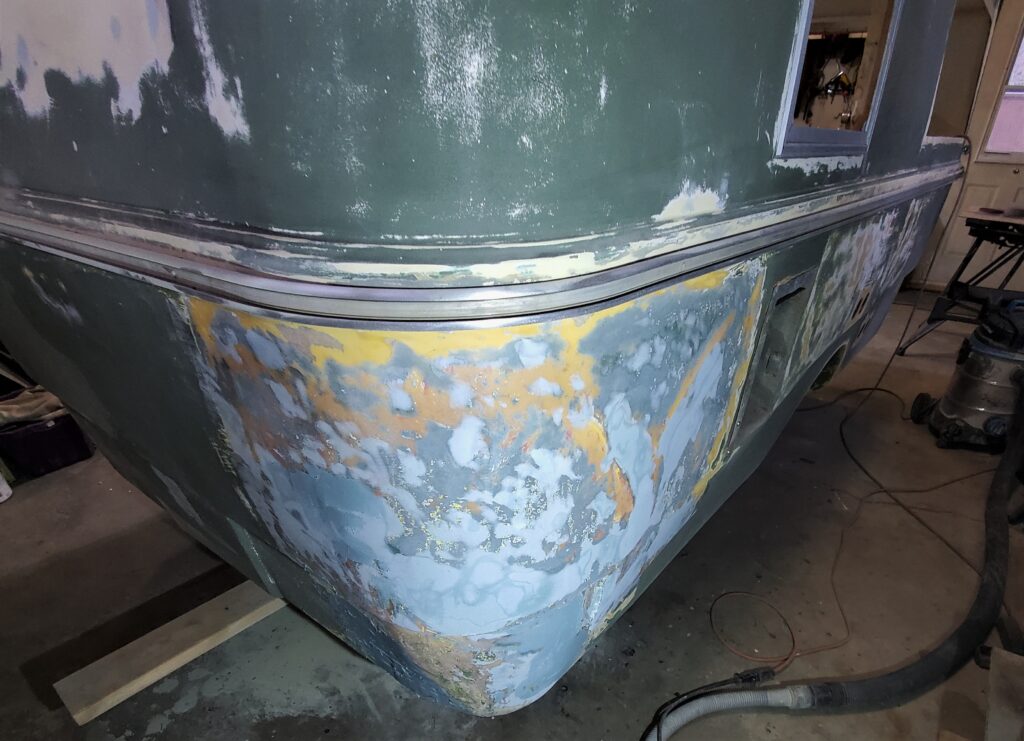
Oh ya.. over 7 applications of filler to get the curves right, and that was just the top half. I knew this was going to be the most work.. But it’s turning out great.
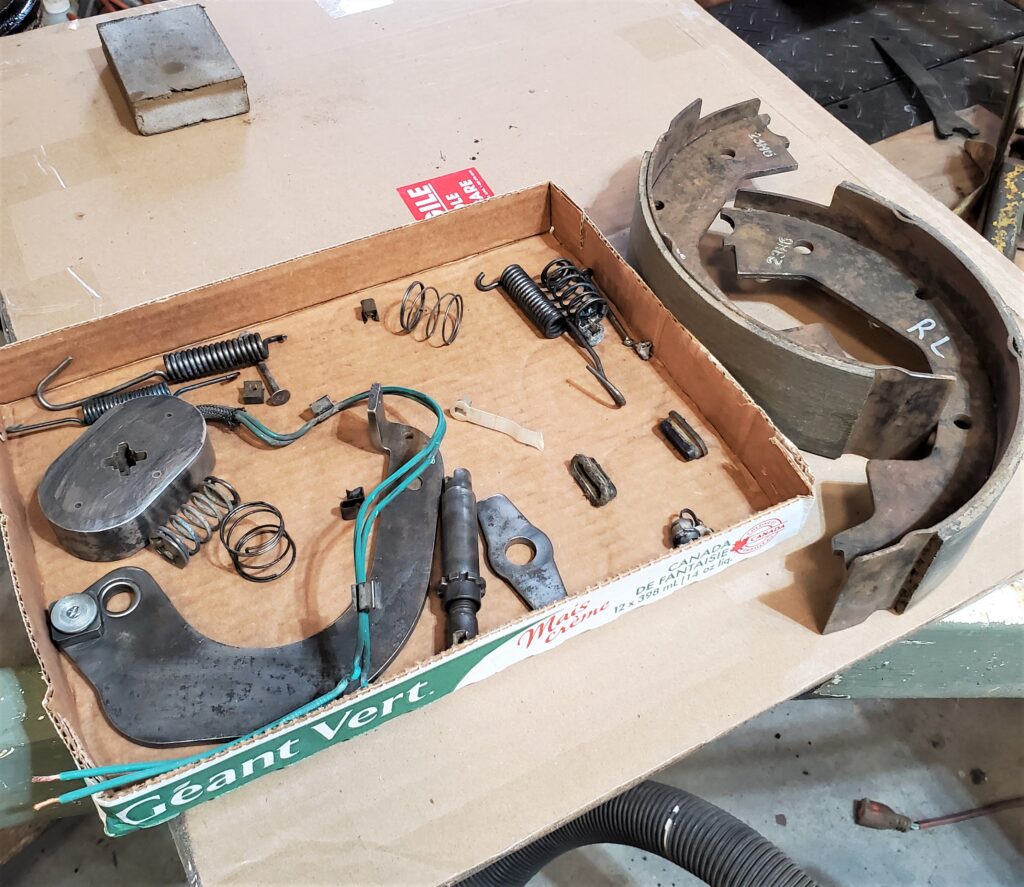
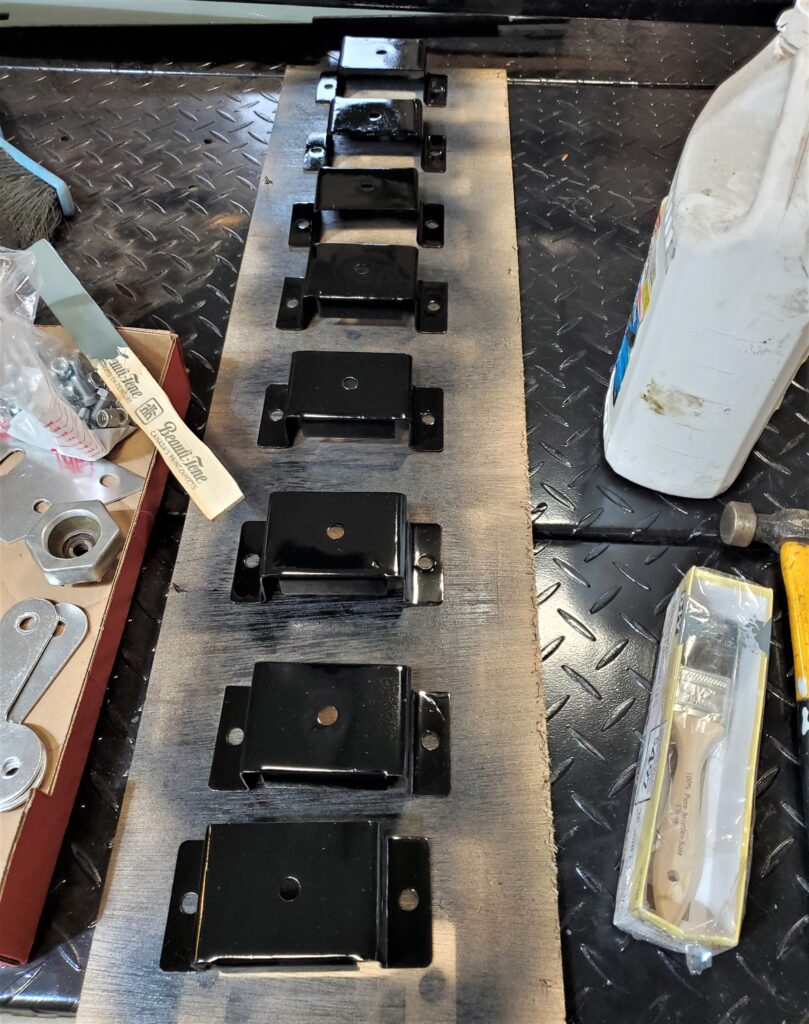
Parts & Pieces:
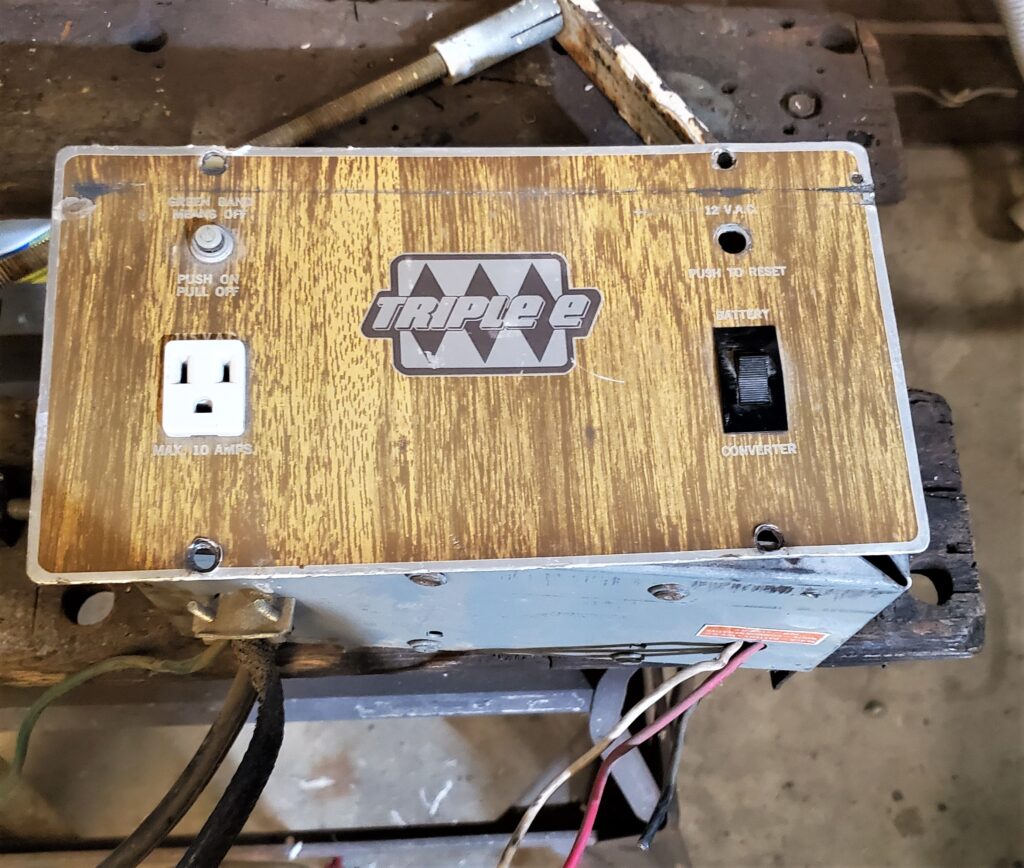
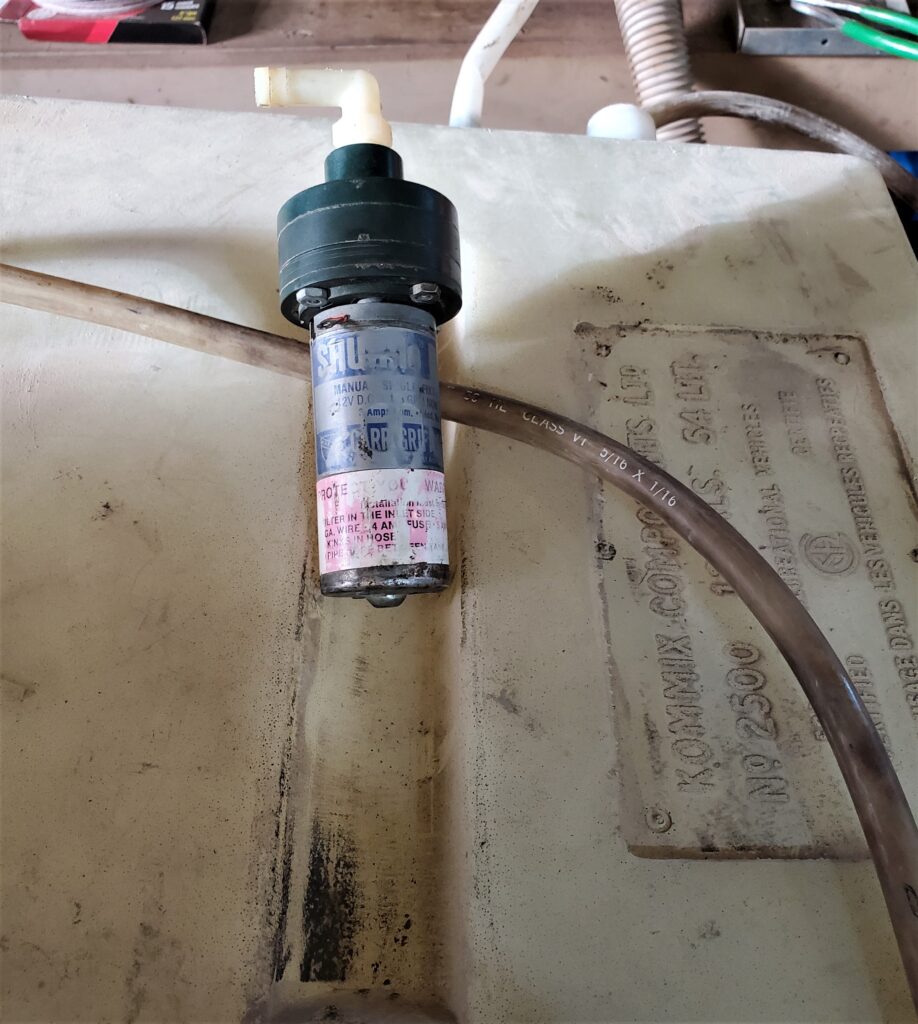
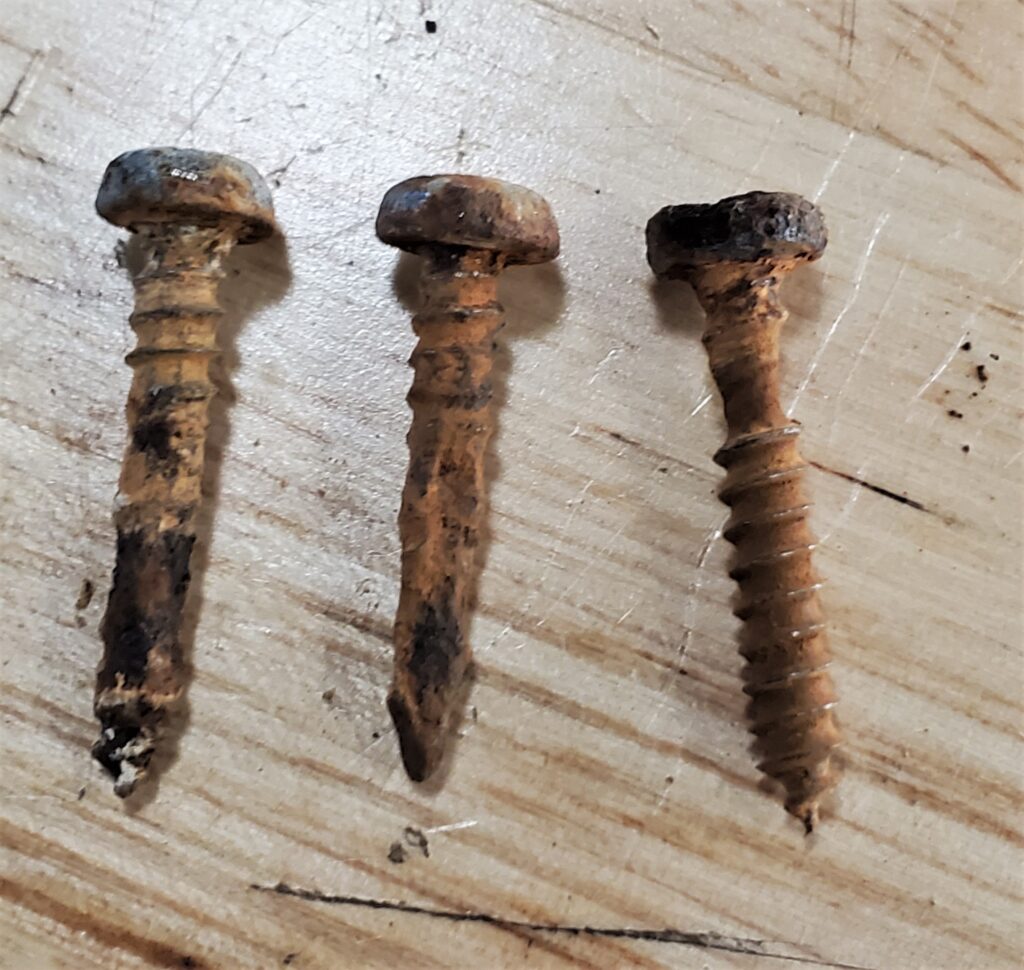
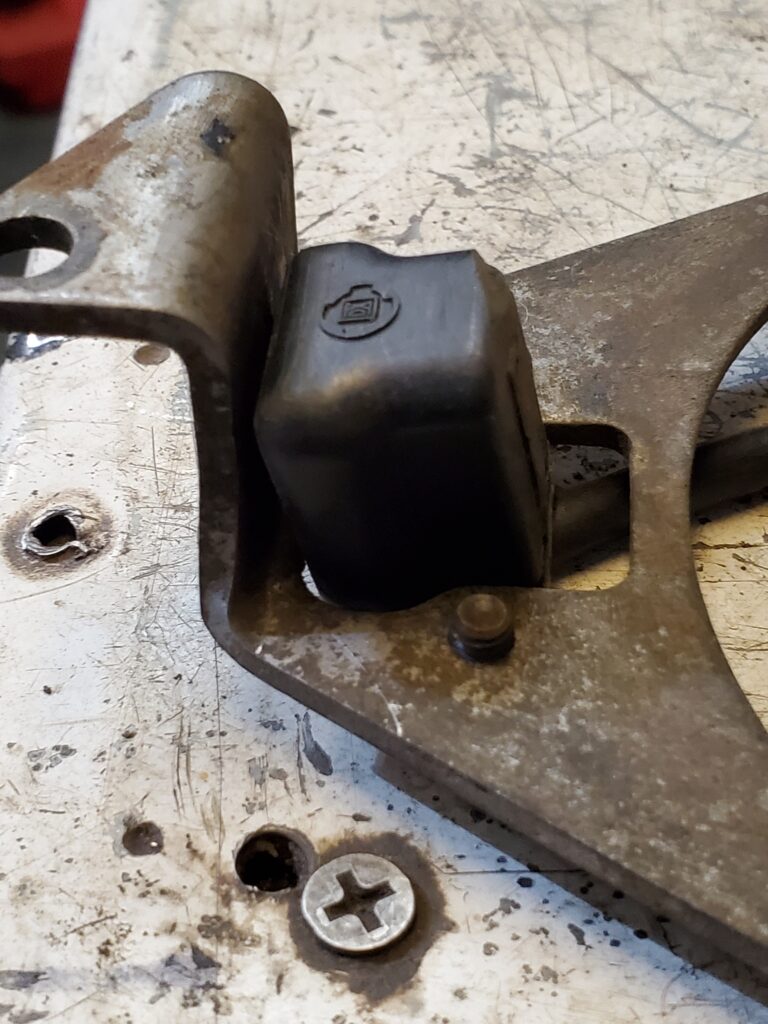
Let’s take a small break from sanding and filling.. I’ve been collecting lots of stuff for this project.. like new stove , door seals, plumbing bits and electrical bits. One of the “not new” but reconditioned things is the factory door latch.. it works great but the keys were lost sometime ago and judging from the multiple holes …many hasps for padlocks were installed.
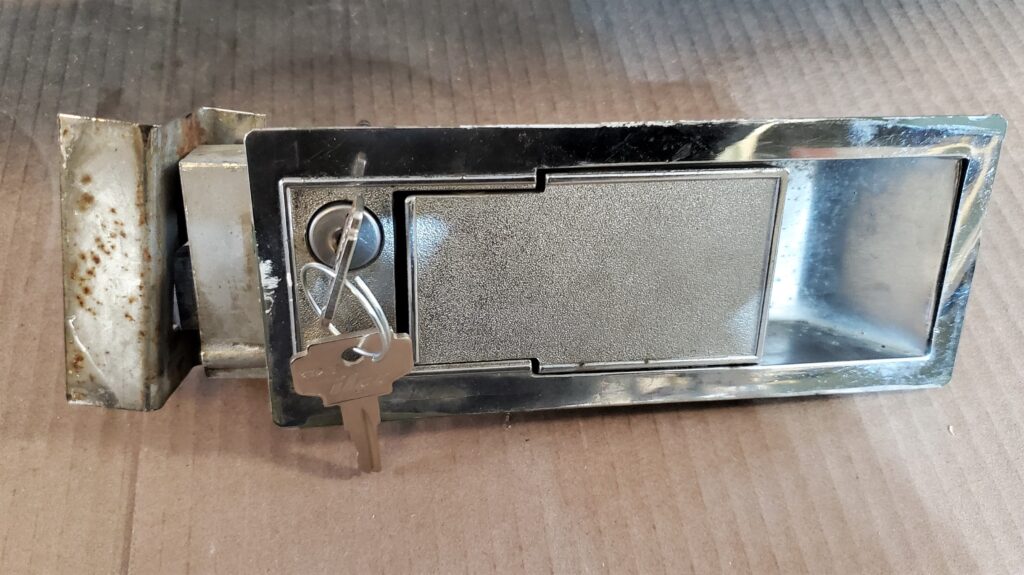
Well for thirty backs ( possibly the same price as all those locks and hardware) I had new keys made. There is three screws holding the latch on the door.. Just too easy I guess. One of the things I ordered thinking it’s easier to replace than take the paint off.. The drip cap over the door.
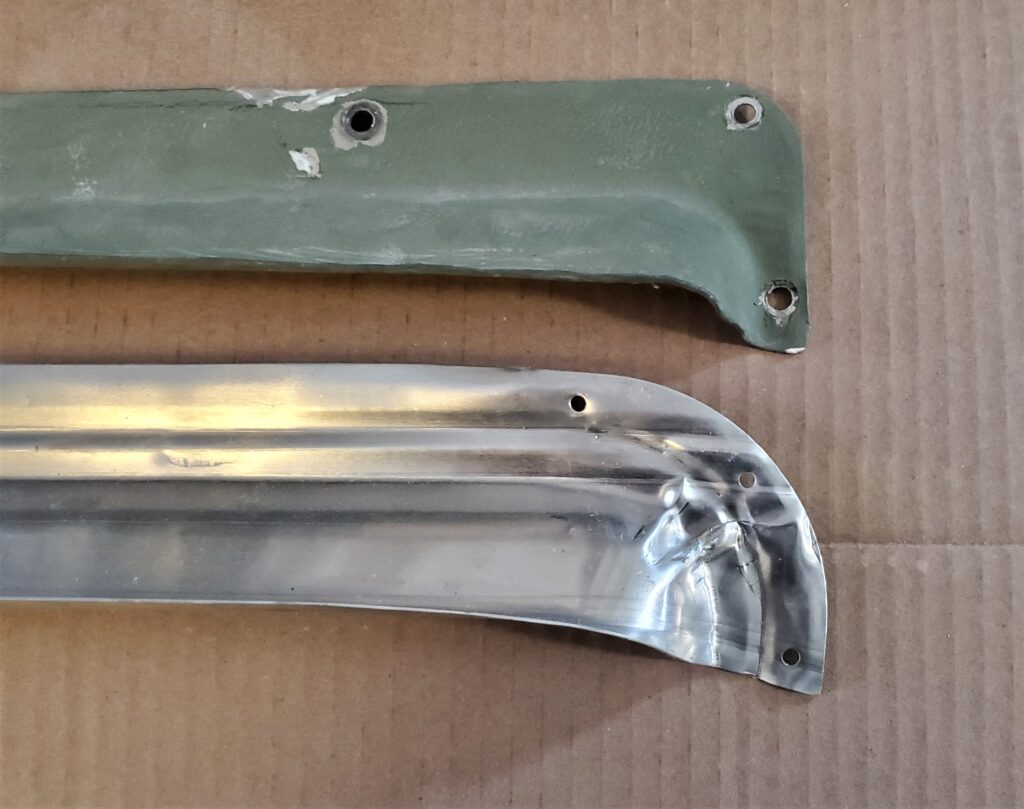
There’s no way I want this on the trailer.. It’s too long and it looks like someone formed it with a hammer ! I’m cleaning the paint off the top one..
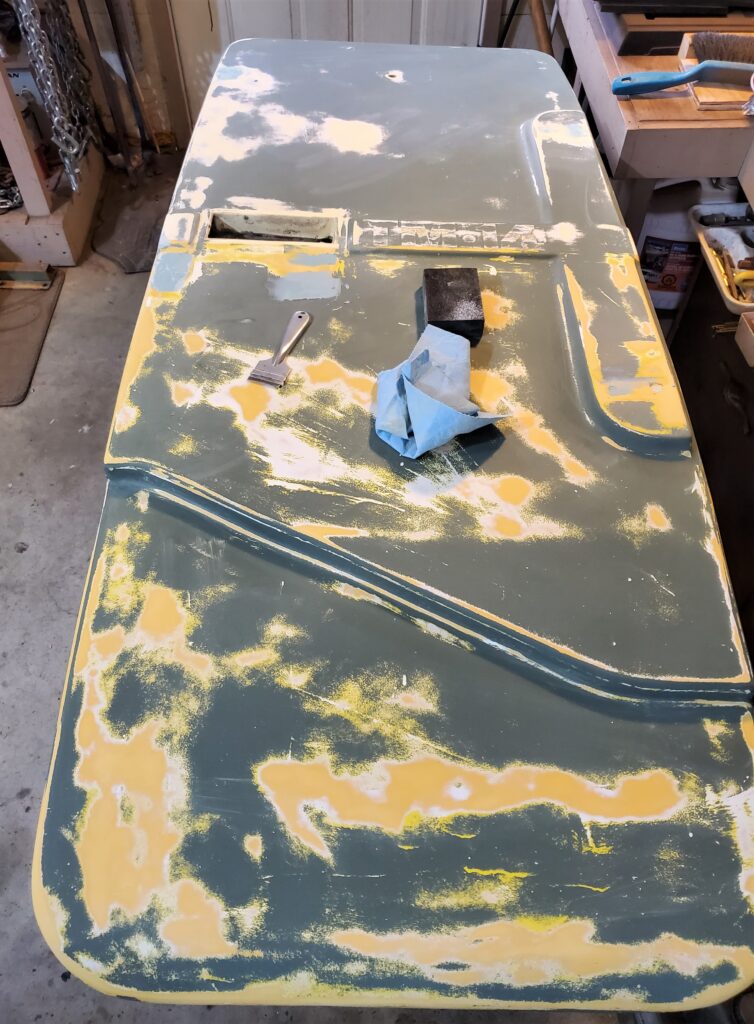
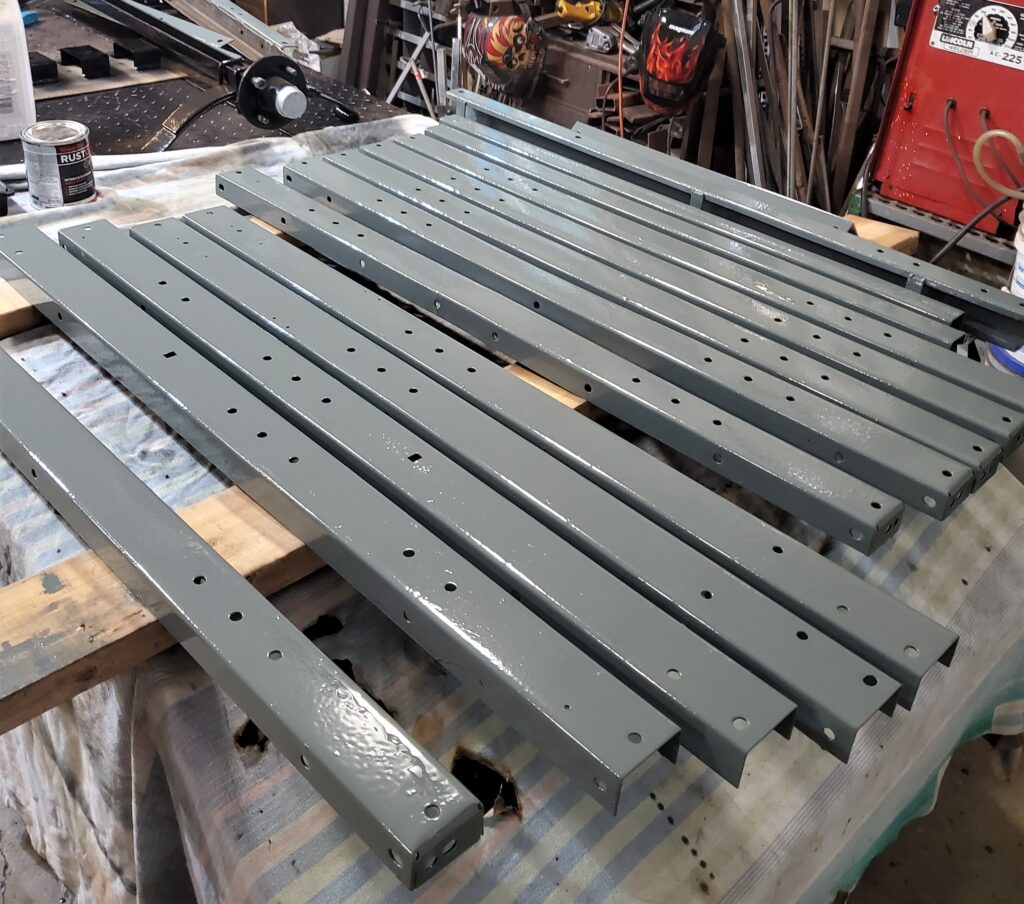
The final prep work.. Say goodbye to the green !
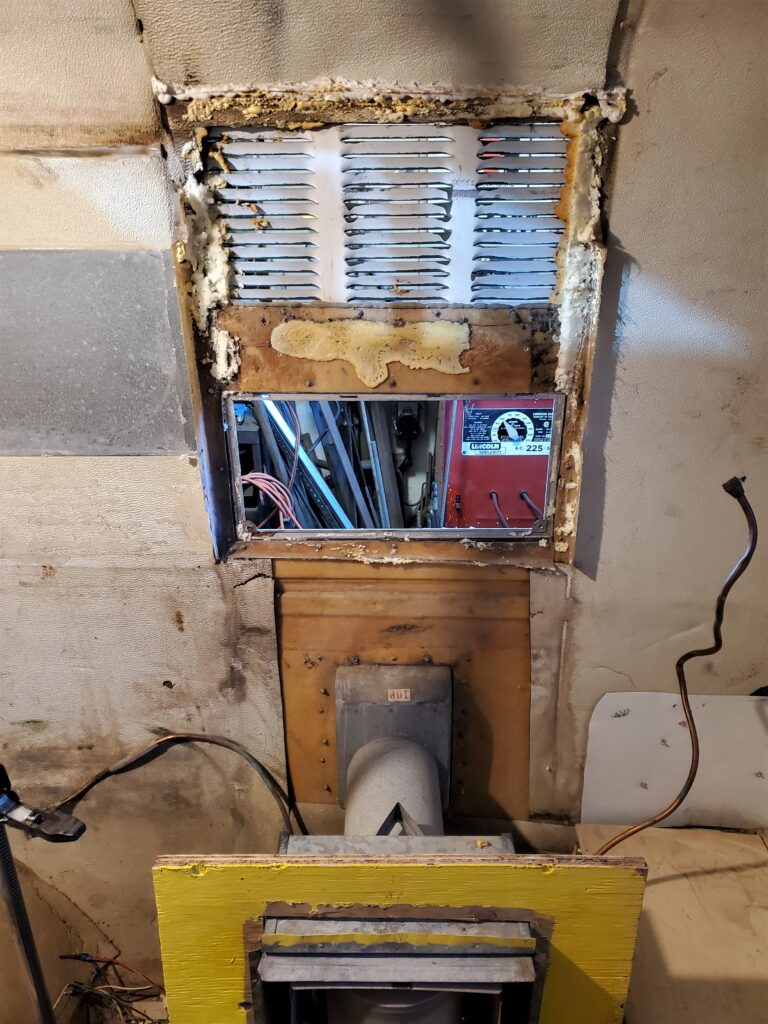
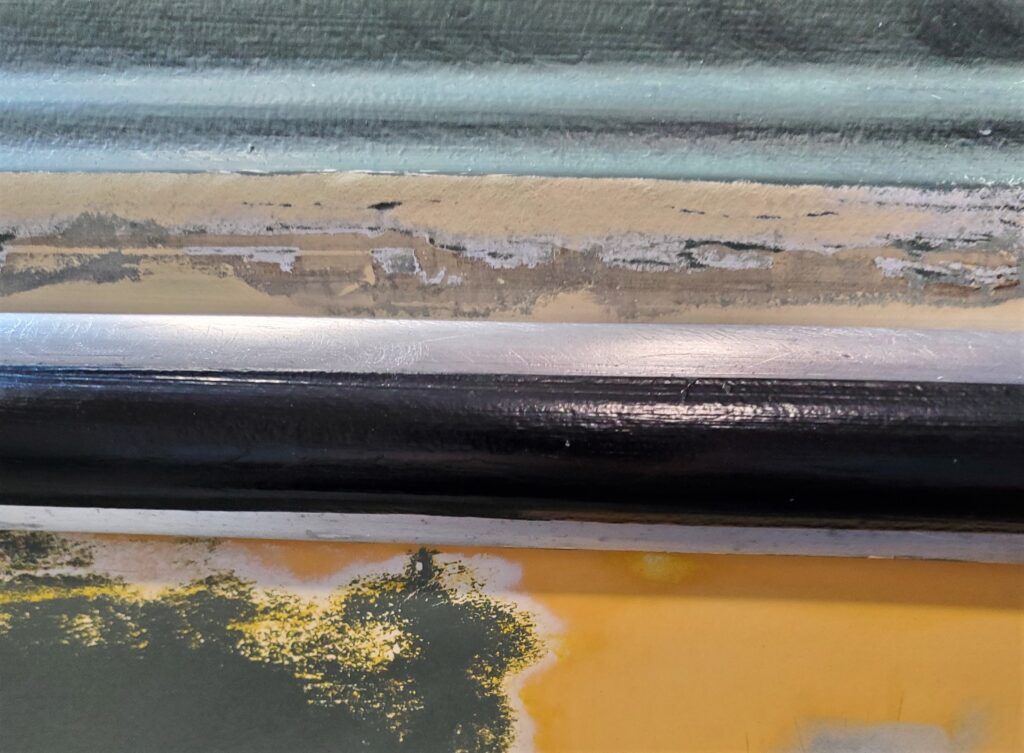
All patching is done.. all sanding is done.. And the masking too. Plus I used an automotive product from Pro-Form , a paint-able rubber flex sealer ( off white) to fill the gap where I removed the silicone on top of the aluminum rub rail ( band around center of trailer ) I also used this product around the fridge and furnace vents.
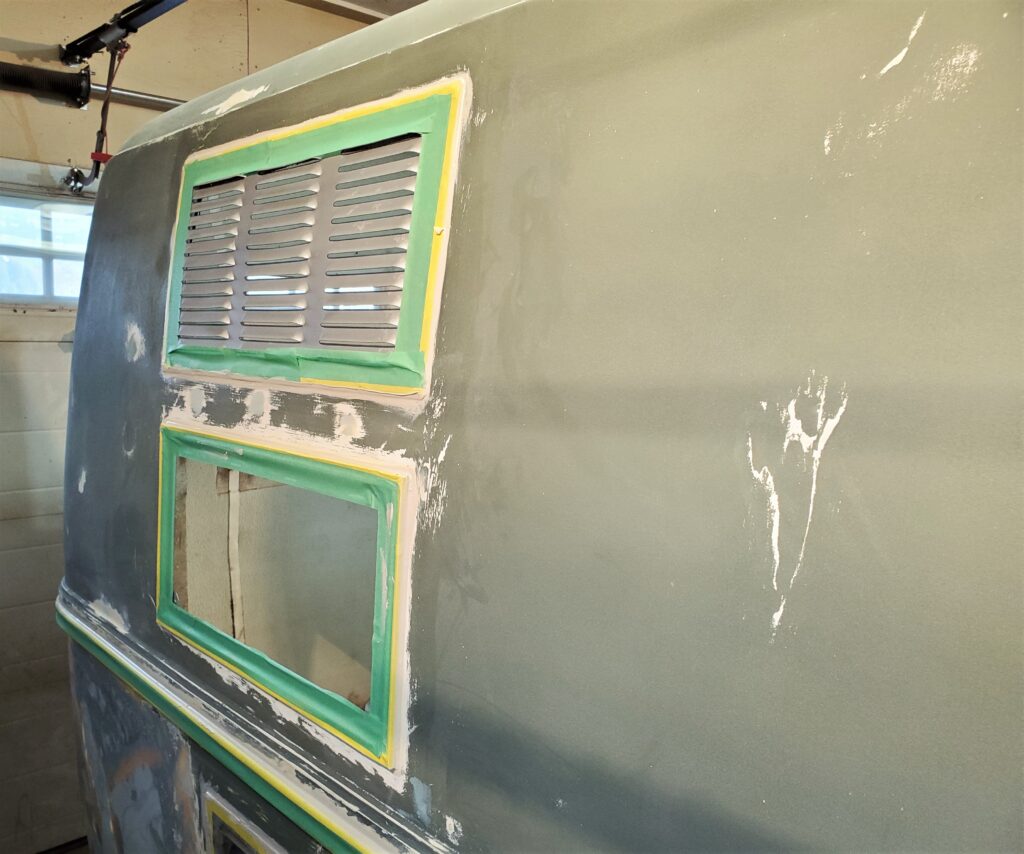
Now for a good cleaning of the shop and the trailer. We’ll start a new page for the painting.. Bye Bye Green !