Category Archives: Utility Trailers

1988 12 ft Flatdeck Trailer P7

Feb 16 2024

Time for the Axles

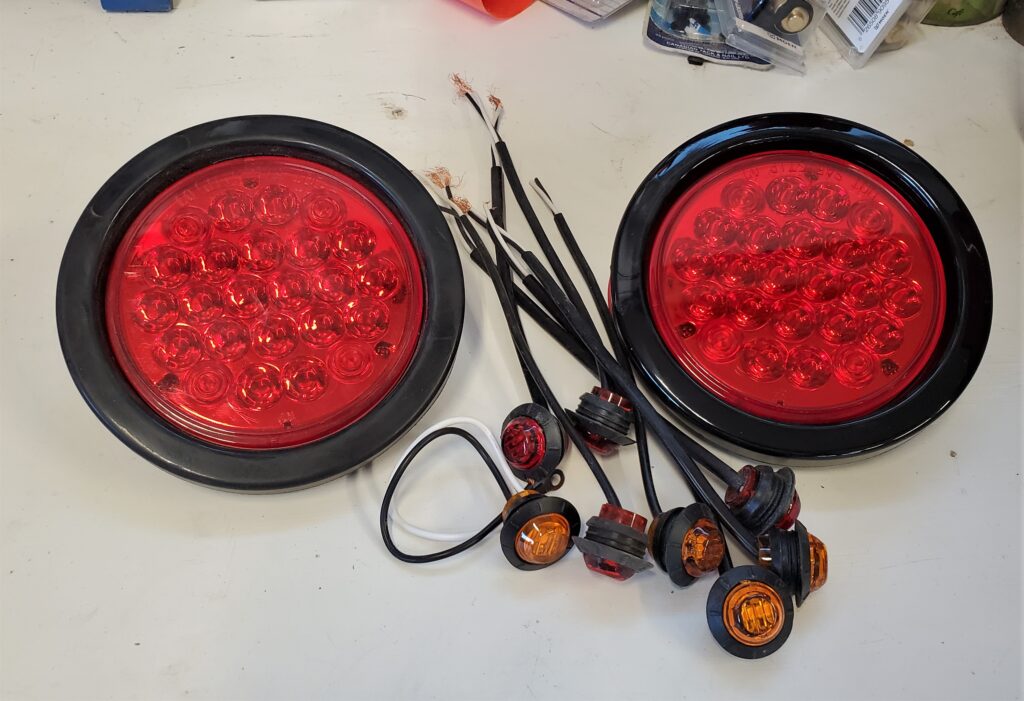
But first proof I know what I’m doing when wiring a trailer!

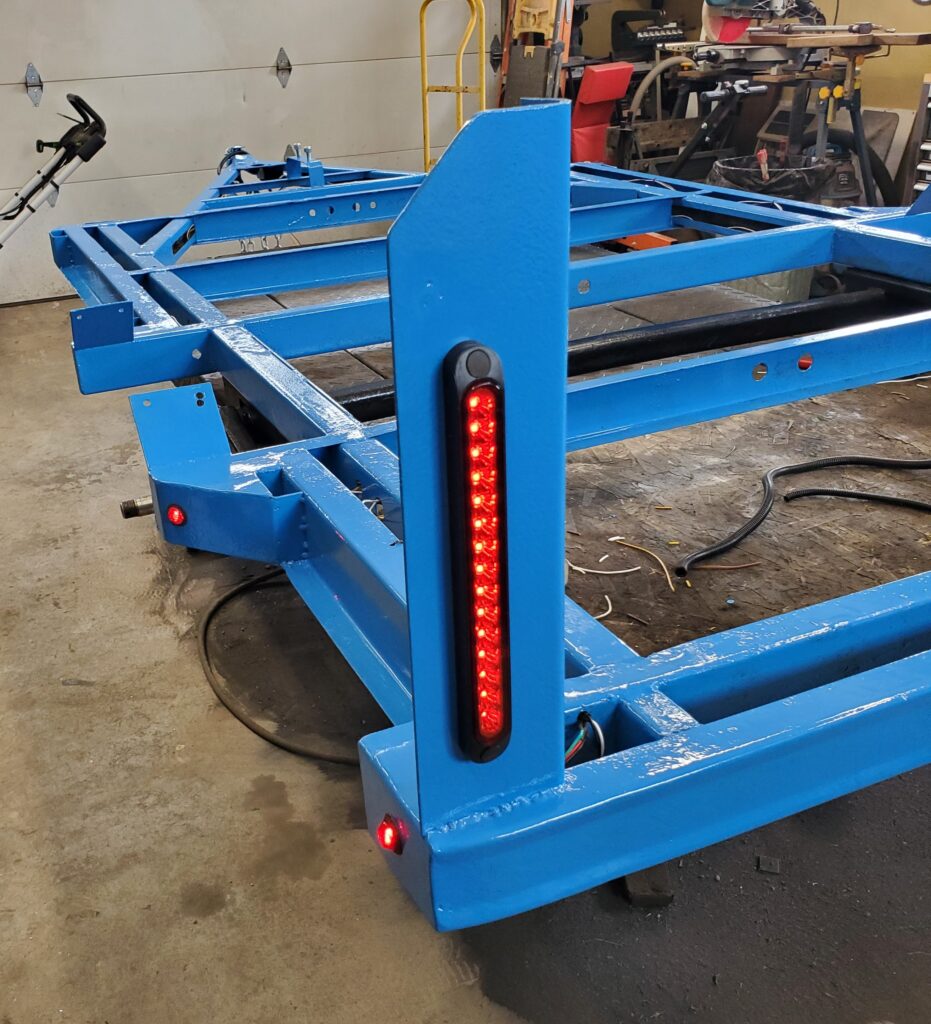
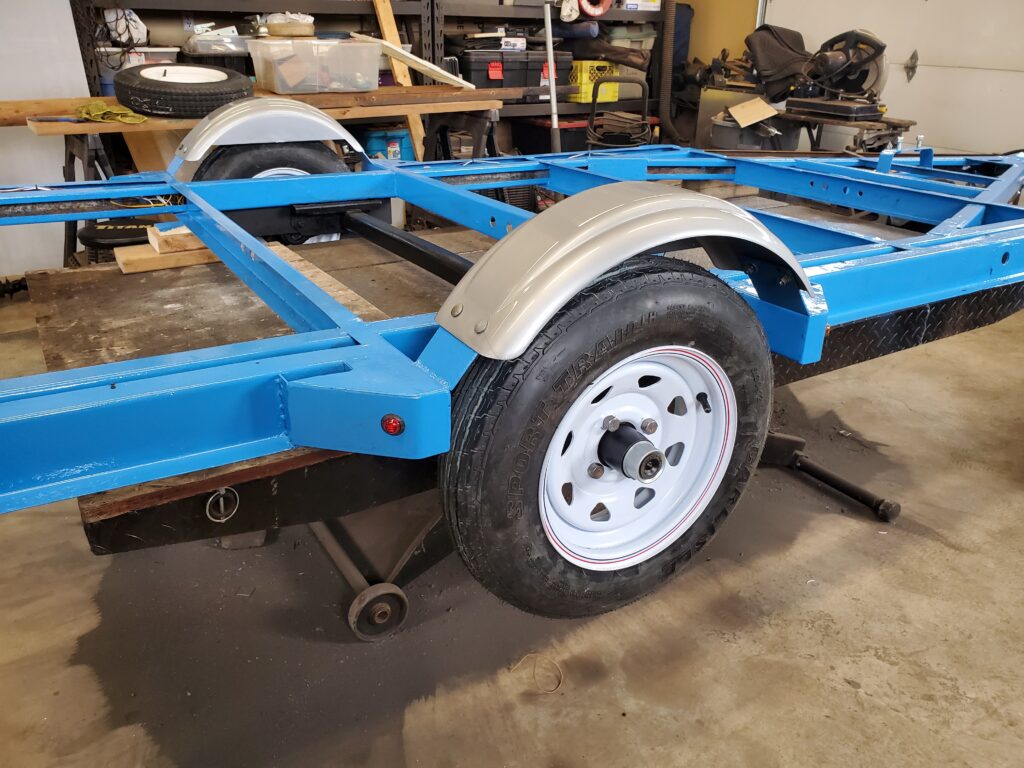
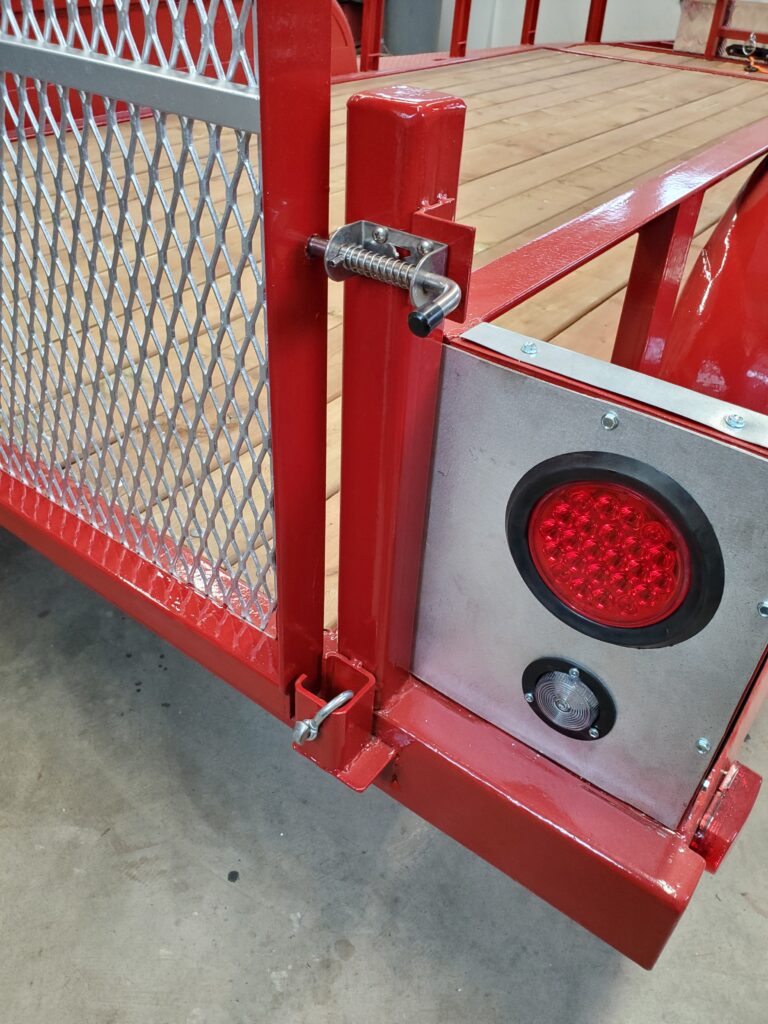
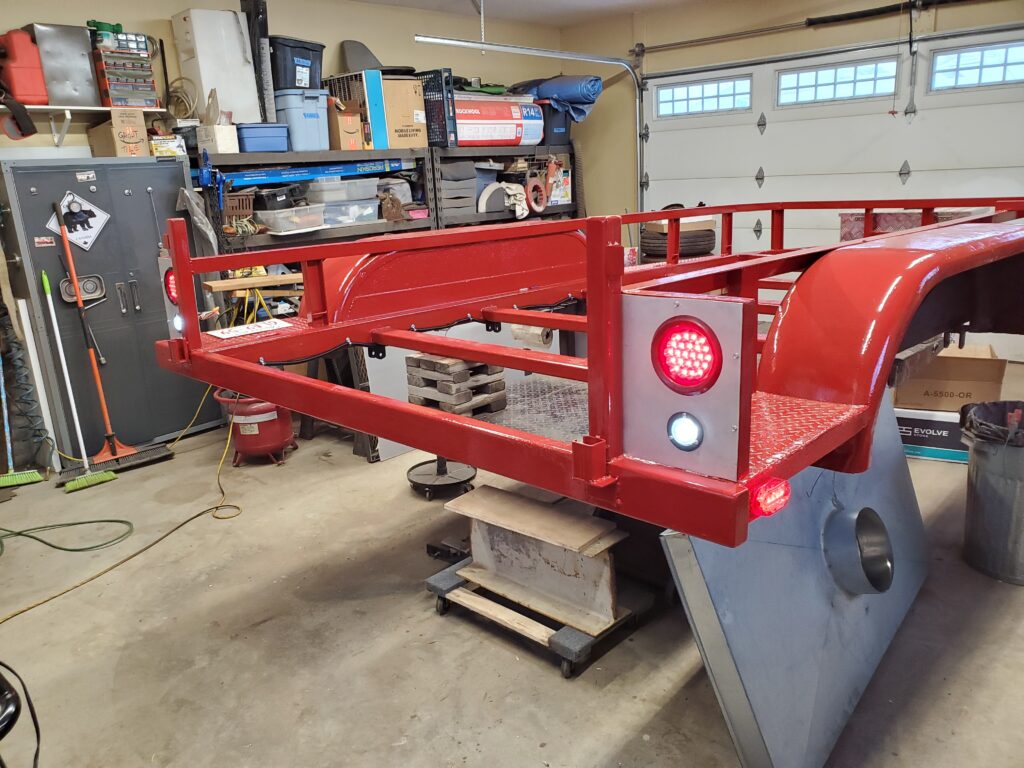
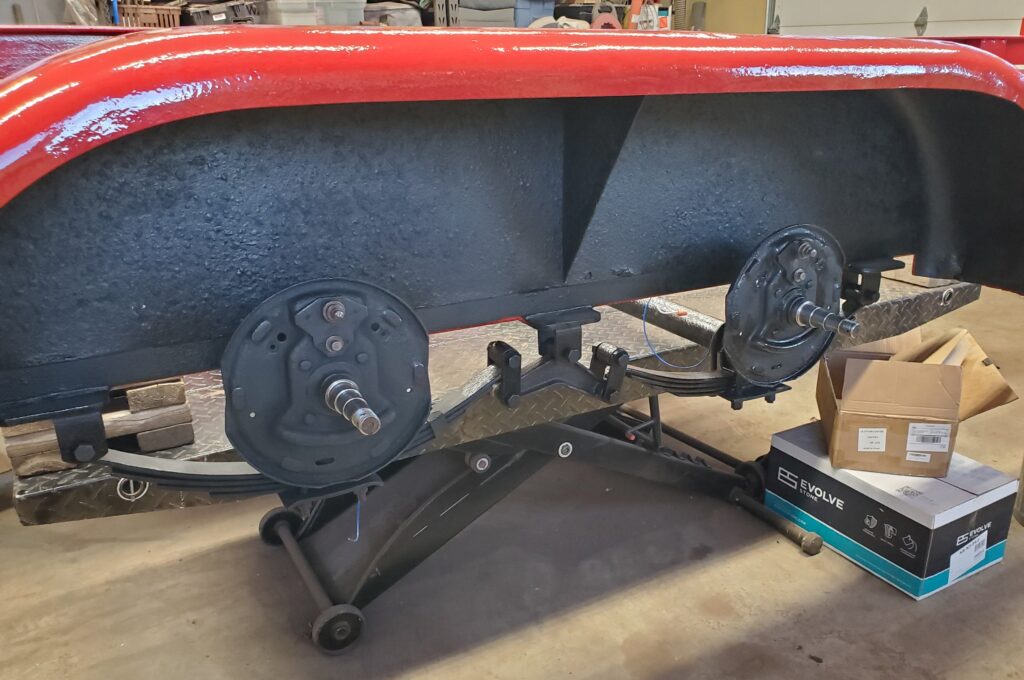
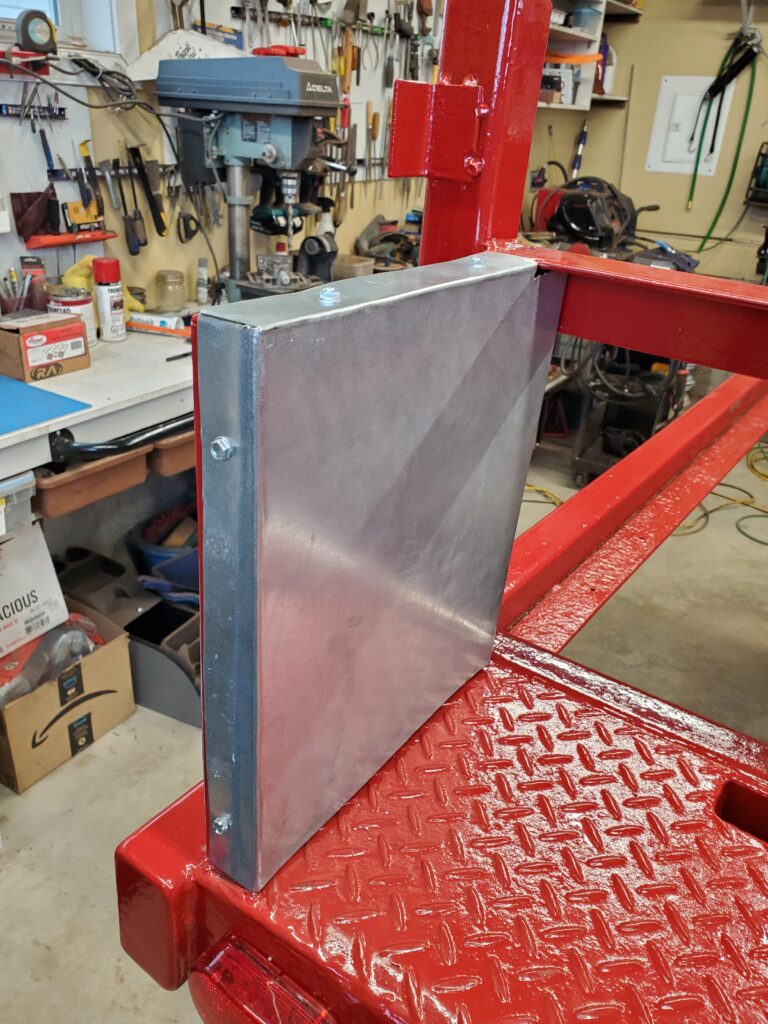
I’m also taking the time to make covers for the front side of the tail lights.  That’s what the old galvanized chimney cap is for.  Those are now done and I’ll take a photo when they are finished.  The big thing done today ( with the help of my Son) was getting the axles under the trailer.

I made some brass shims for the eyes of the springs, and got them bolted up.  All new parts! good for another 30 years. Putting the brakes back on is the next step.  But first these covers finish the tail lights nicely and keep the wiring out of sight and protected.

There is likely different ways I could have done the lights but here it is and screws can be removed to fix any wiring issues.  Onward to the brakes…

Them’s the BRAKES !
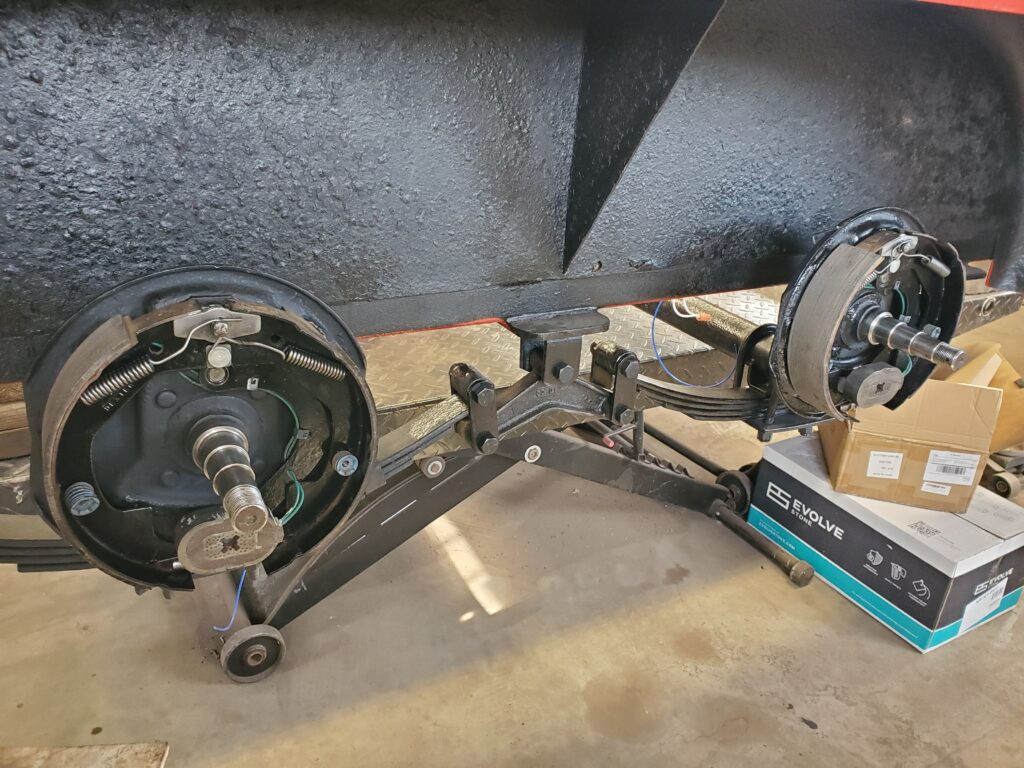
Remember I spent a lot of time cleaning and painting the parts for the bakes.  And I have the special tools for brakes too.  And just like that we are done.

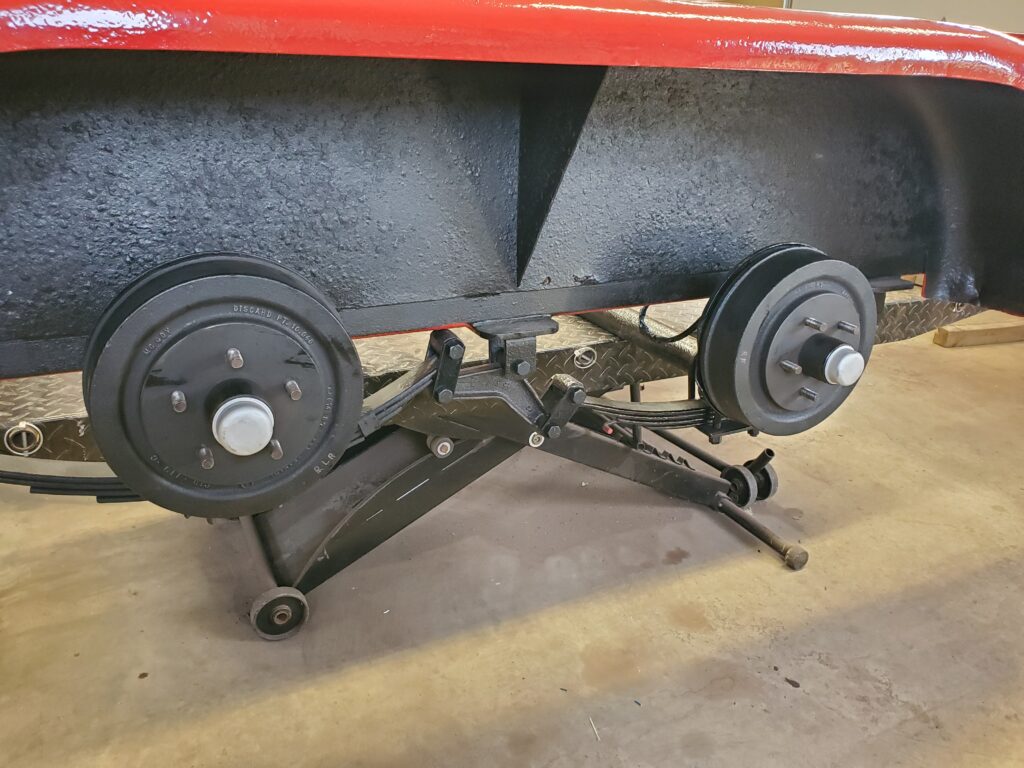
Well I should not forget a bit of cursing and groaning getting the springs on.  Now to hook up the wires and the drums go back on.   And it’s all done..  Brakes checked and working good. Hubs rolling nice with the correct amount of tightness.

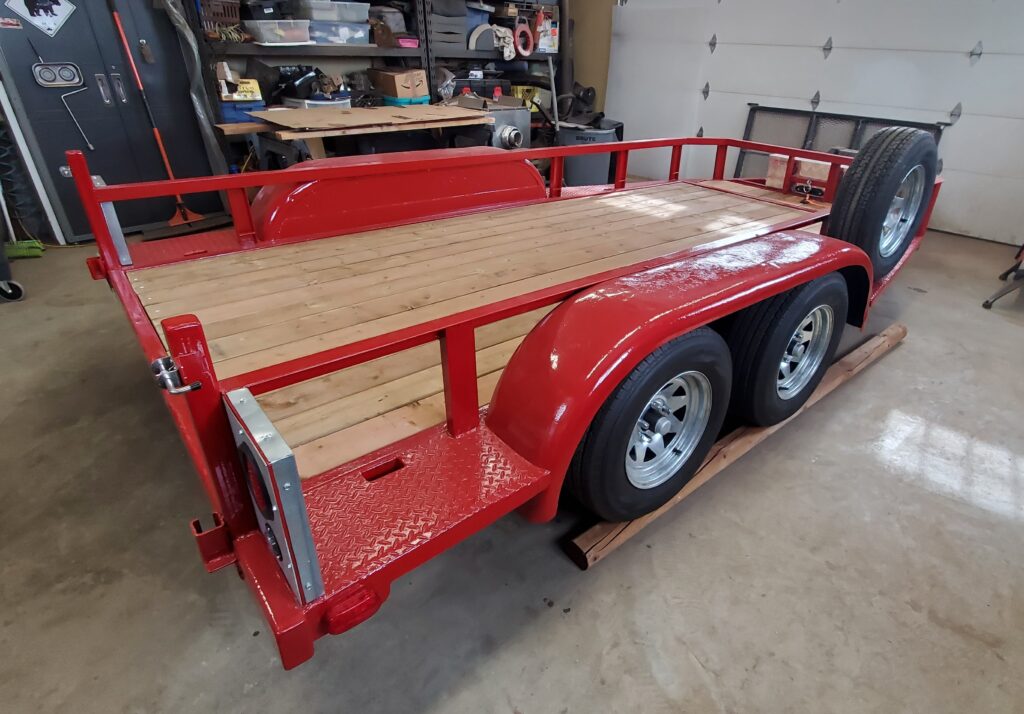
Wow.. looks better than new, the way I hoped it would.  Just a few little details to do before the deck.

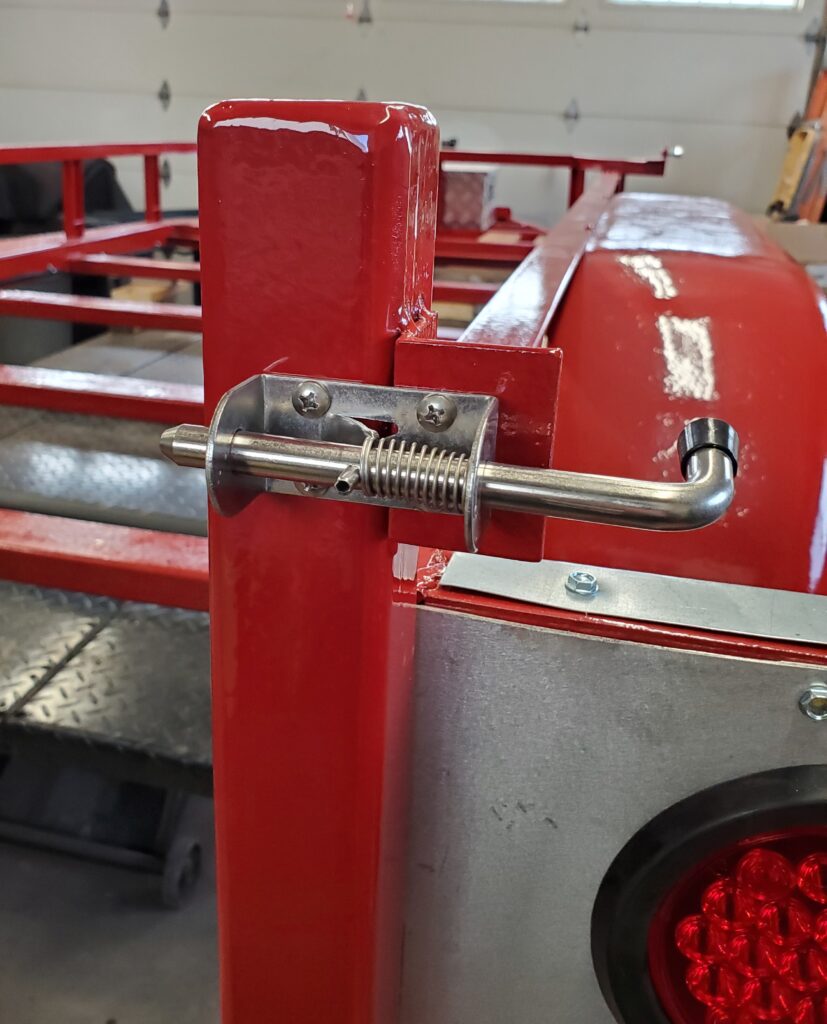
Like the nice slide latches for the tailgate. I drilled and tapped for the stainless steel screws.

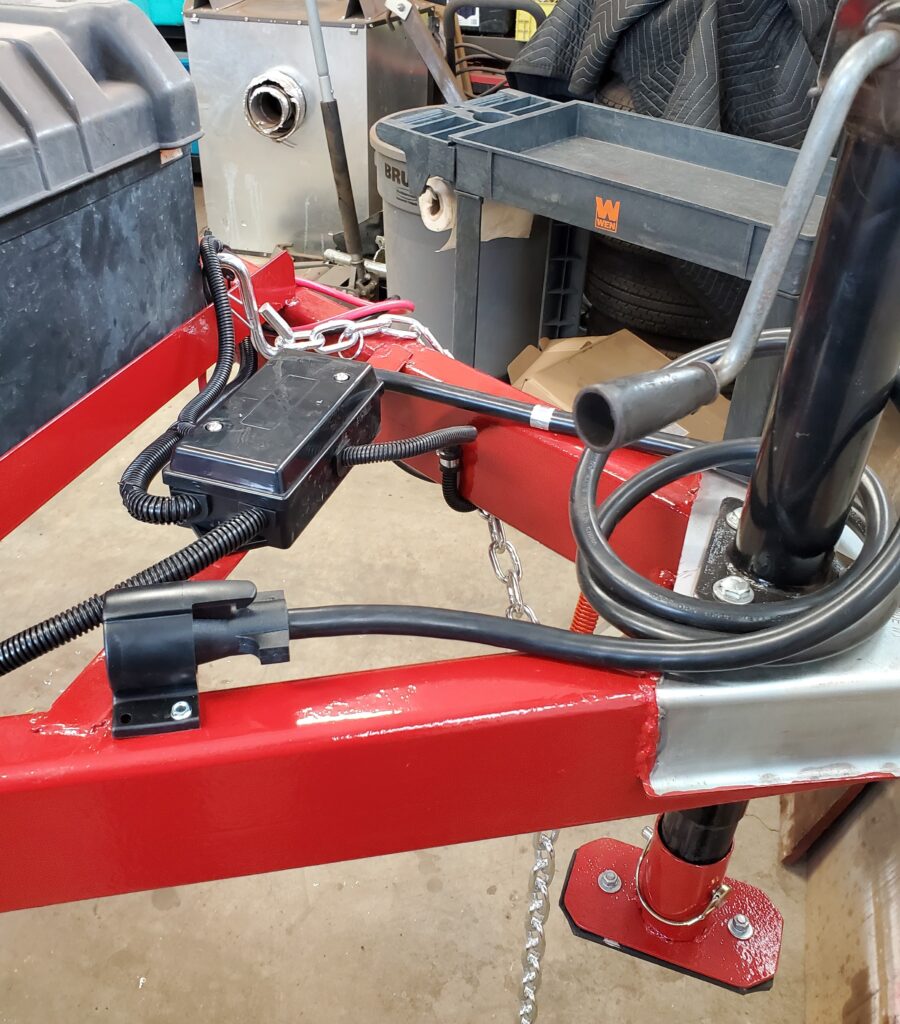
And this nifty holder for the 7 pin plug.  Keeps the end clean.  Jack is on, new chains too..  Ready for decking…  I’m starting at the front on the 12″ extension.  I can stand in the space there to install them..

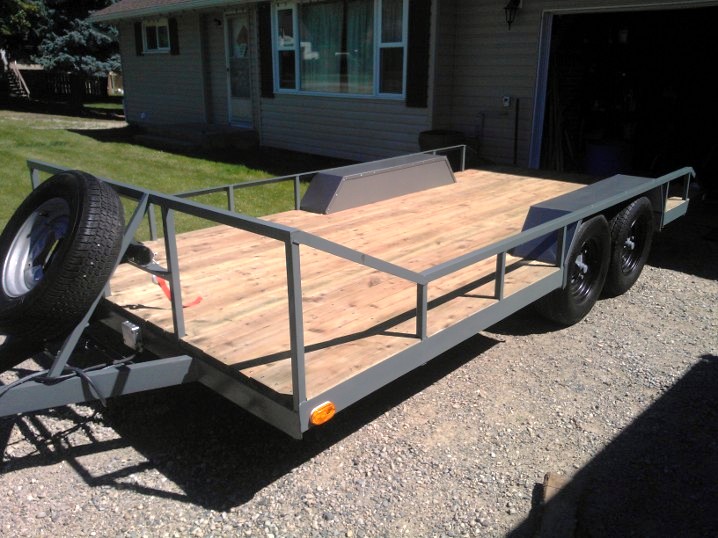
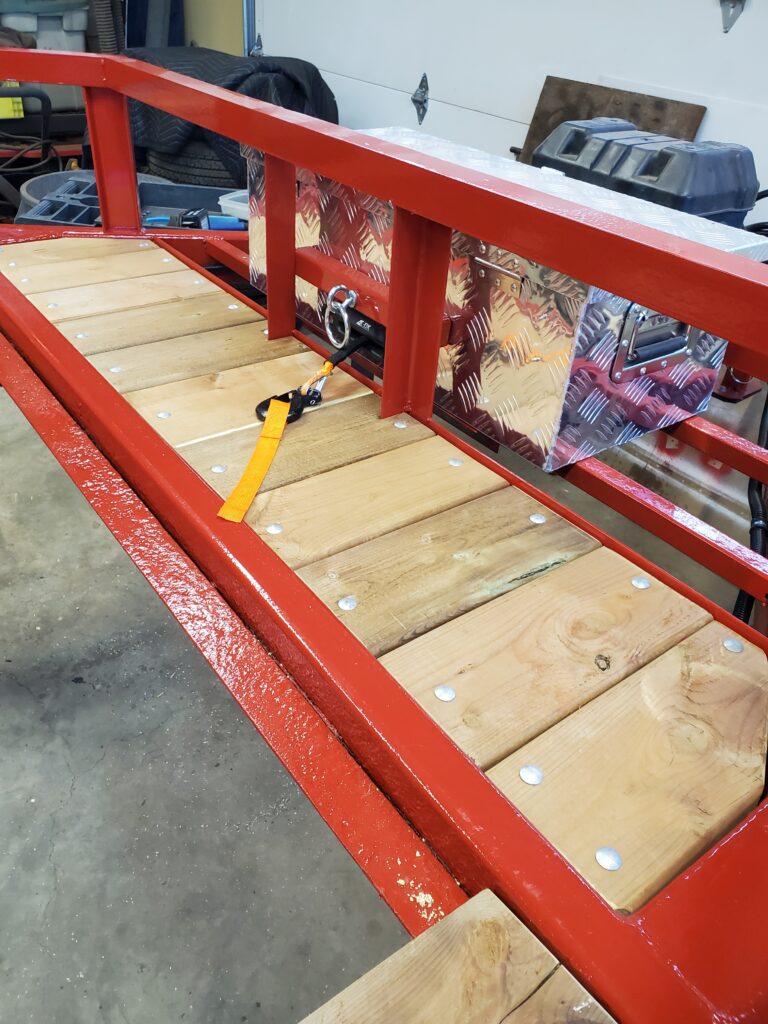
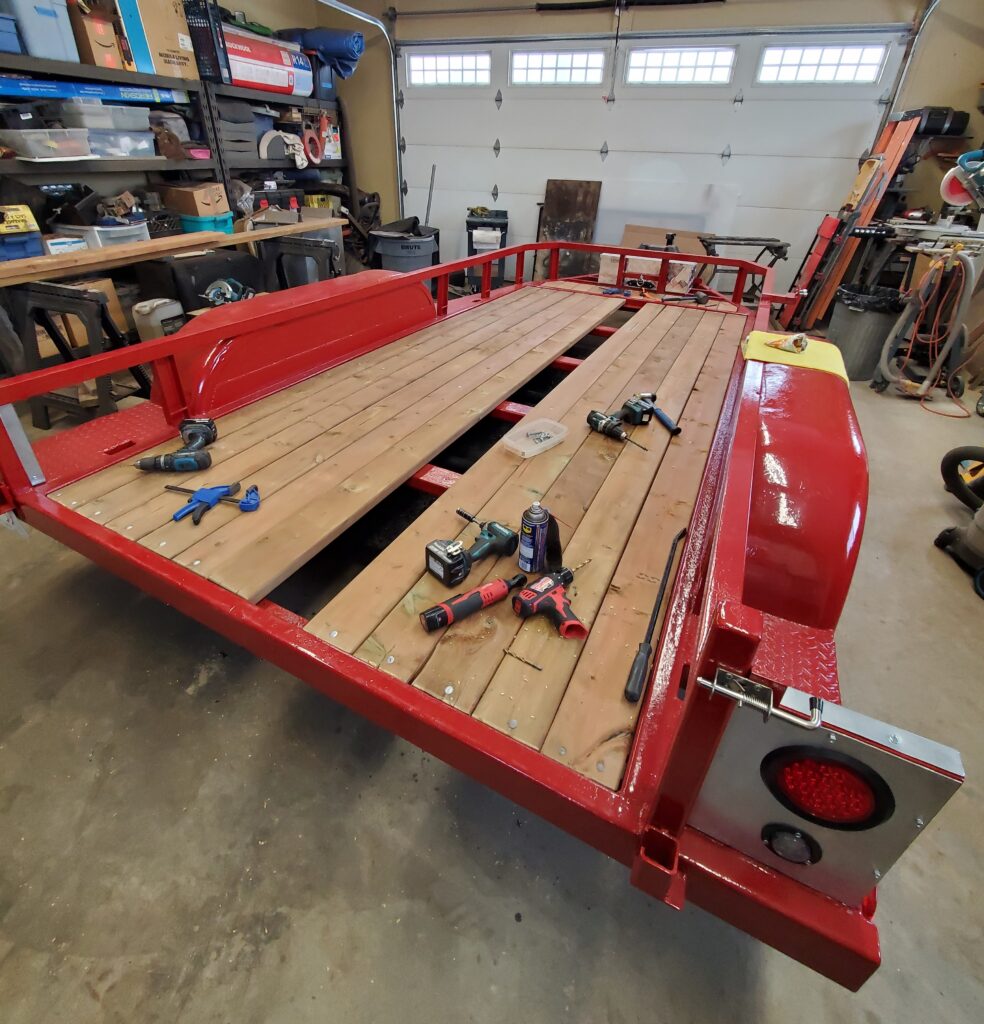
Looking good !  Buying 50 carriage bolts with washers and nuts is costly, but I’m not using self tapping screws.   It’s a pain drilling through the 4×2 hollow frame, but after braking a few drill bits I figured it out.
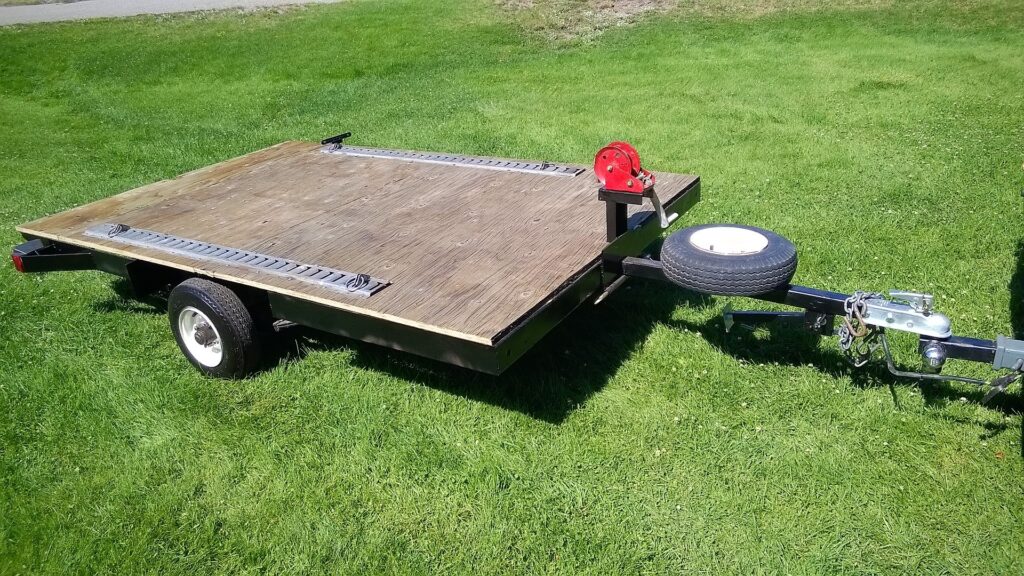
Here we are almost finished.  There’s 48 holes and 48 bolts.

Time for one more page..  The finishing touches .

Page 8

1988 12 ft flat deck Trailer P6

Feb 3 2024

Painting and Electrical :

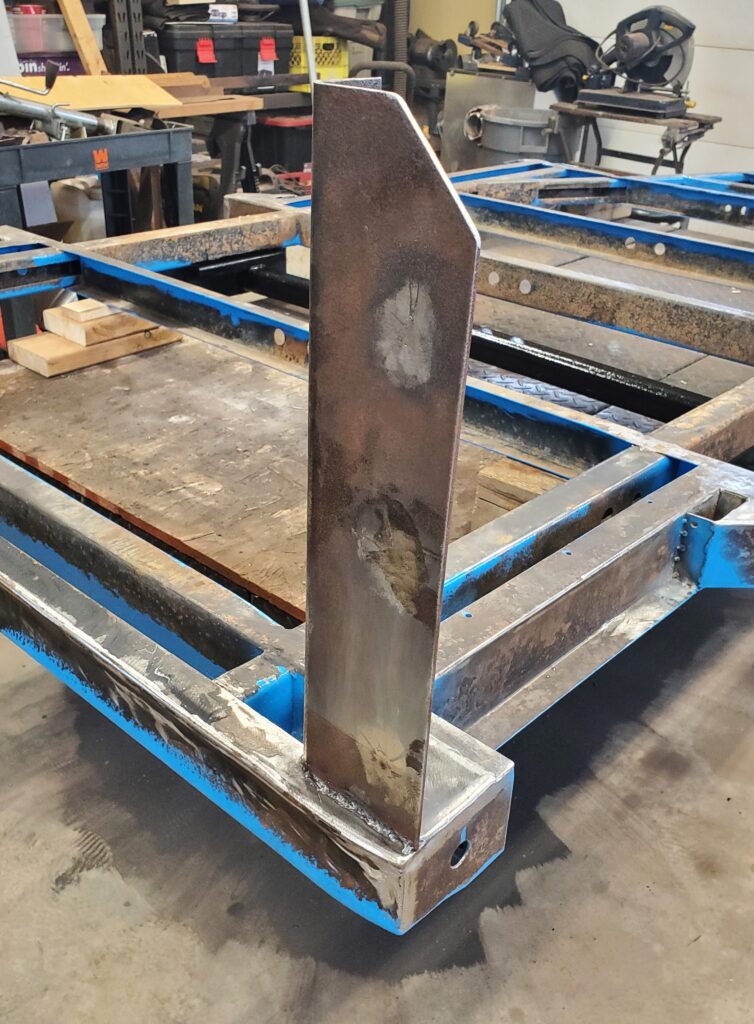
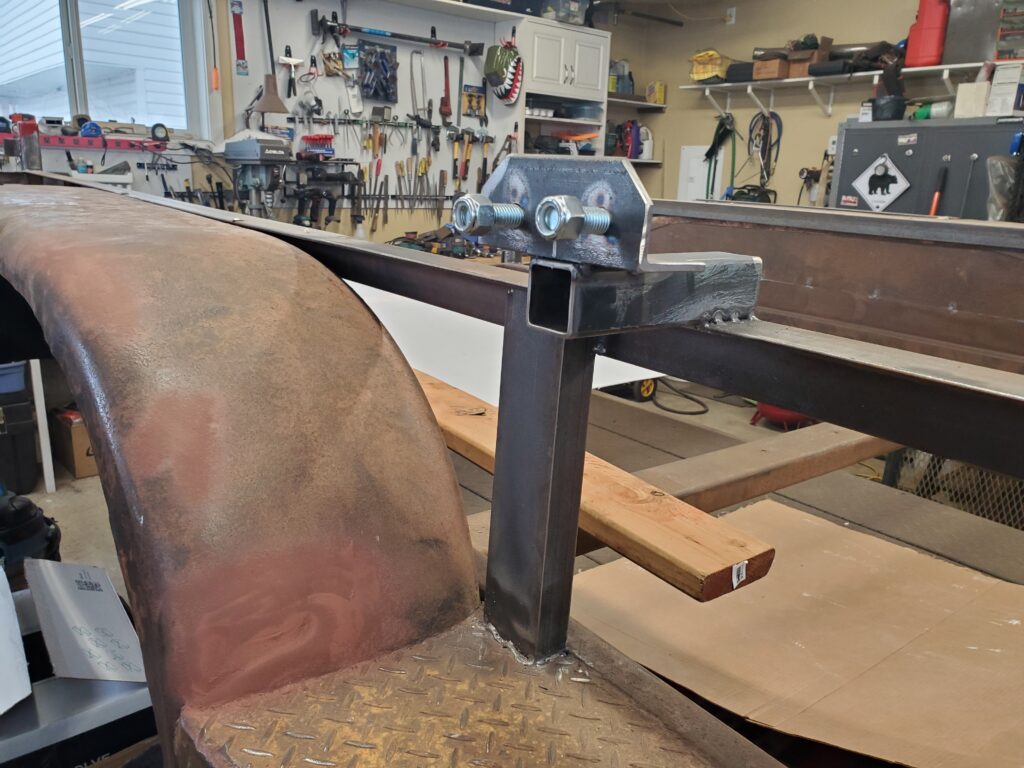
Ok.. I’ve had lots of time to think of the order of things needing to be done. Of coarse the last of the welding needs to be done before any paint happens.  Today I made the mount for holding the spare tire.

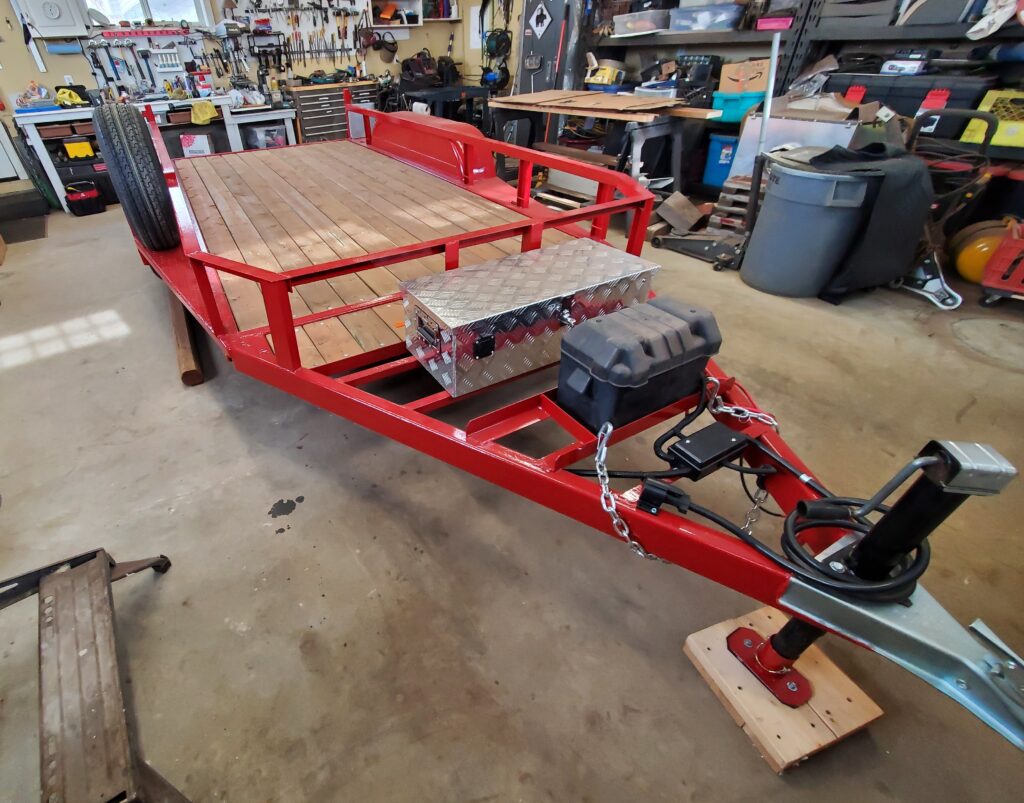
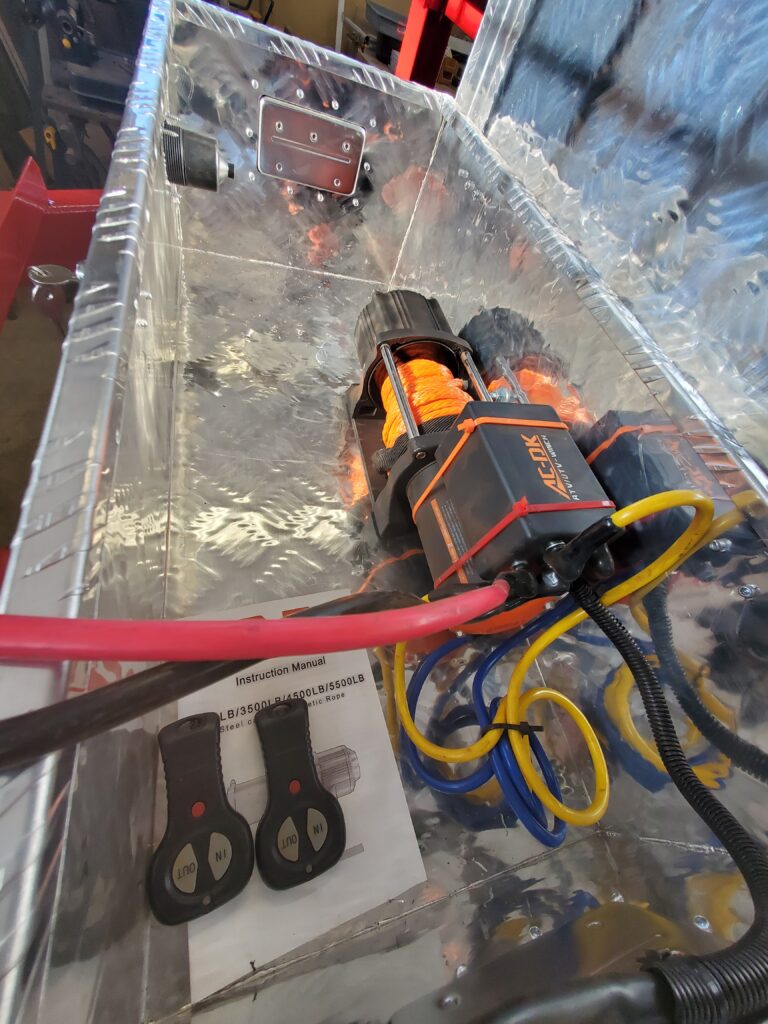
The spare rests on the checker plate and against the front of the right side fender. Oh and I believe the spare should always go on the passenger side to avoid unnecessary road rash.   Then I made a bit of an improvement to the winch and box at the front of the trailer… Explained in this new video…

I mistakenly said the battery will be in the aluminum box.. Nope it has it’s own place in front of the box.  And with that done ,and the underside of the fenders coated with under coating it’s on to some painting.  I’m starting on the front of the trailer, and working my way back.  There is more complicated things to paint at the front.

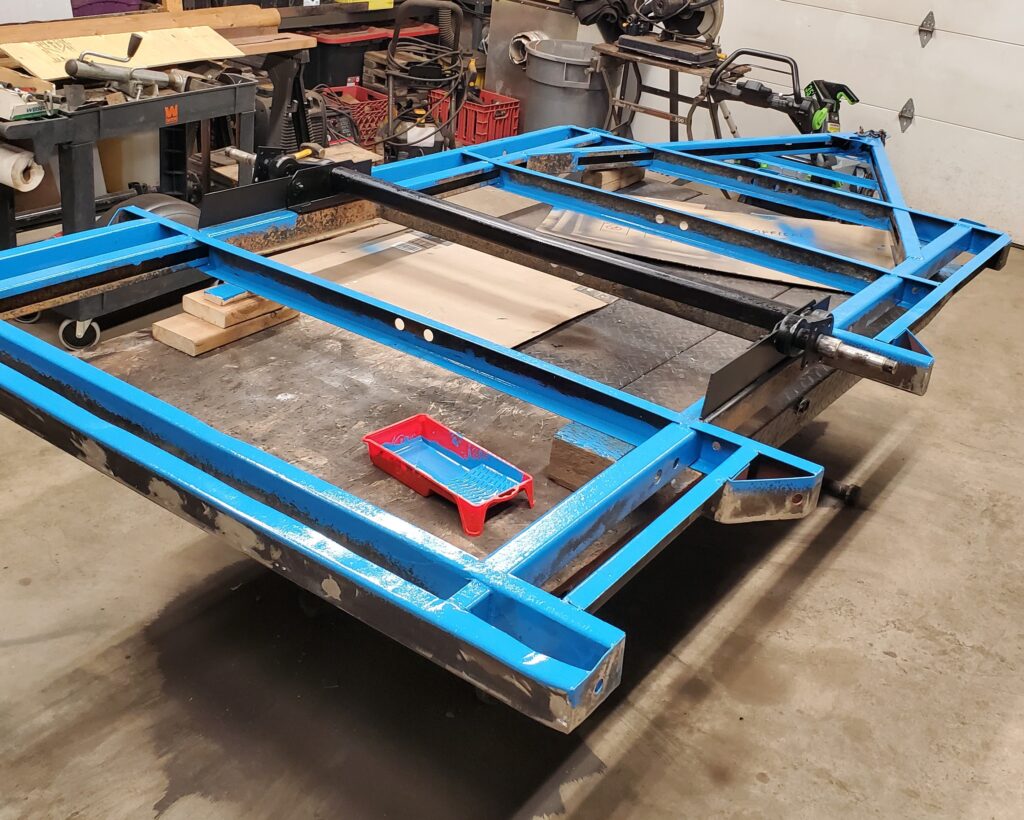
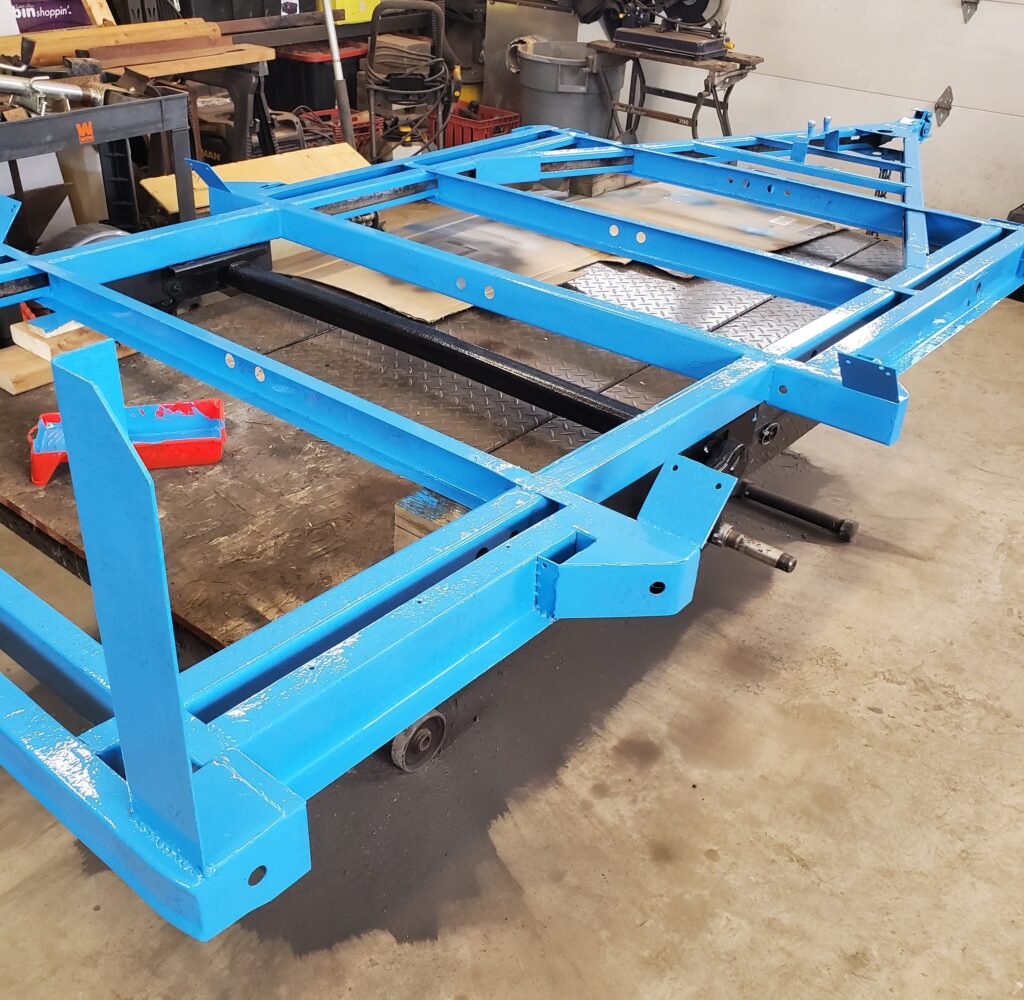
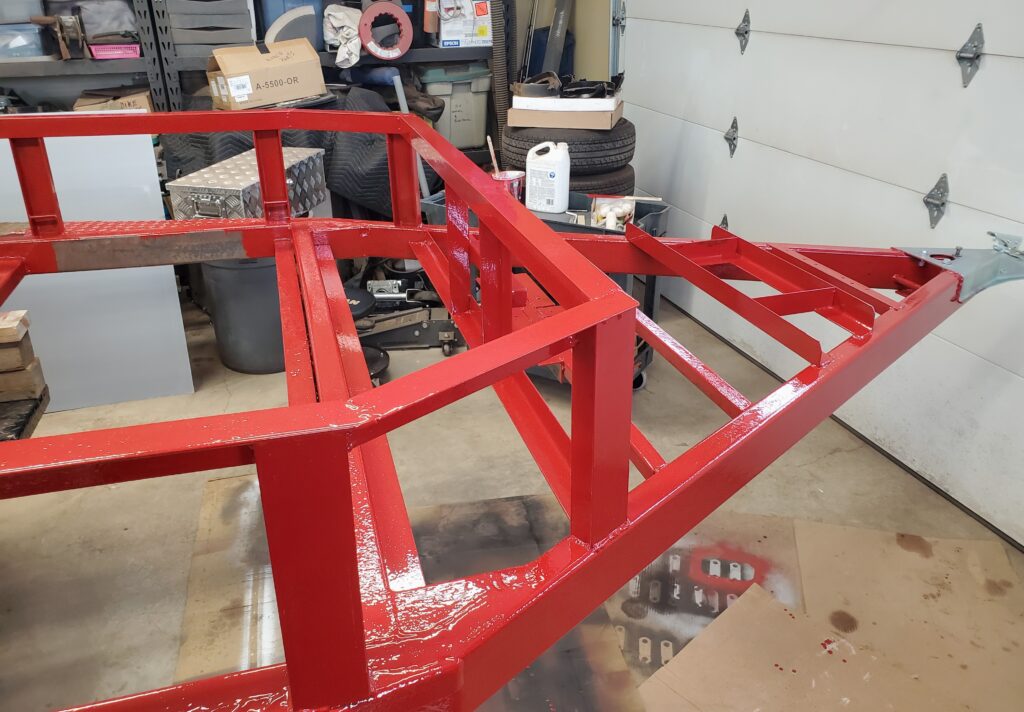
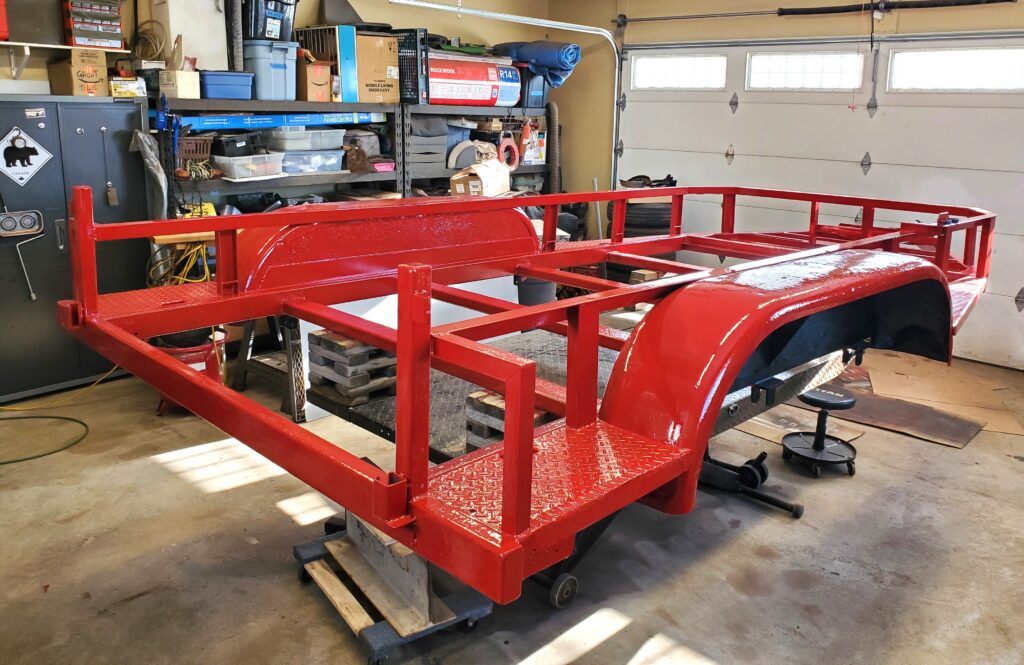
And there we have some done.  It’s not as dark red as I had hoped.. But I’m okay with it.  All righty… I have the whole trailer painted now.  And it looks great ! And RED !

There’s so much still to do..  wiring, axles and decking.  But It’s fun putting things back together.  You know you try things and fit things… but now I get to permanently attach things.  Like the box with the winch.  Which is where I started first.

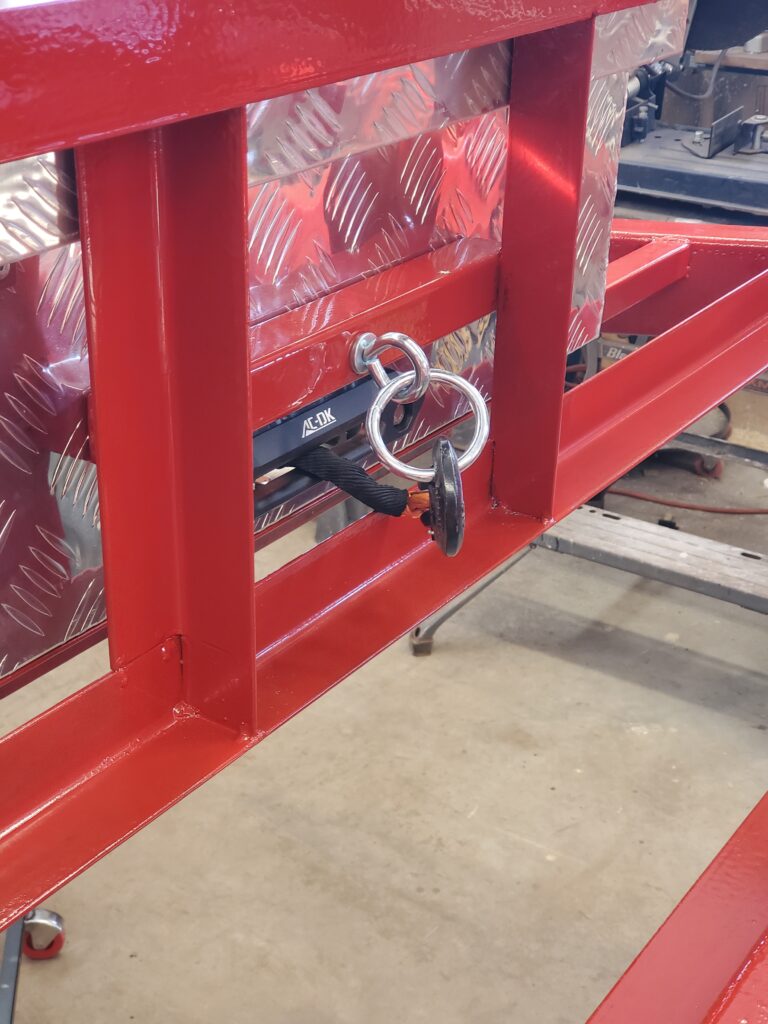
All bolted in place ! Worked out as planed, with the winch line centered between the two uprights.  I’m satisfied with the sturdiness of the mount now.

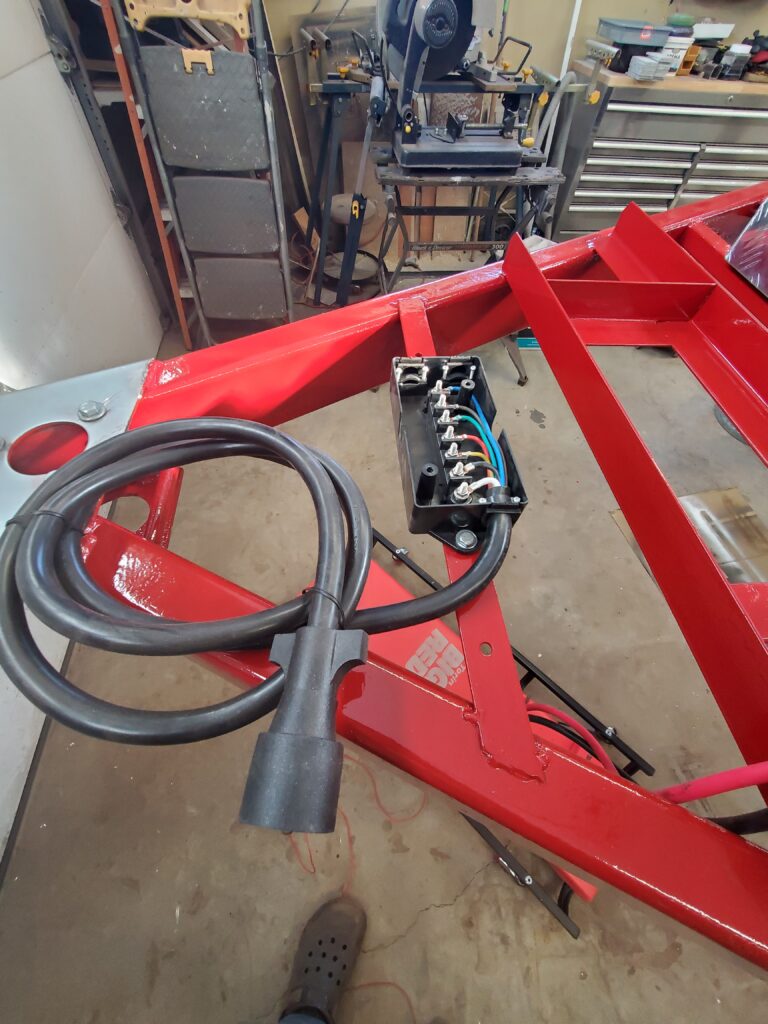
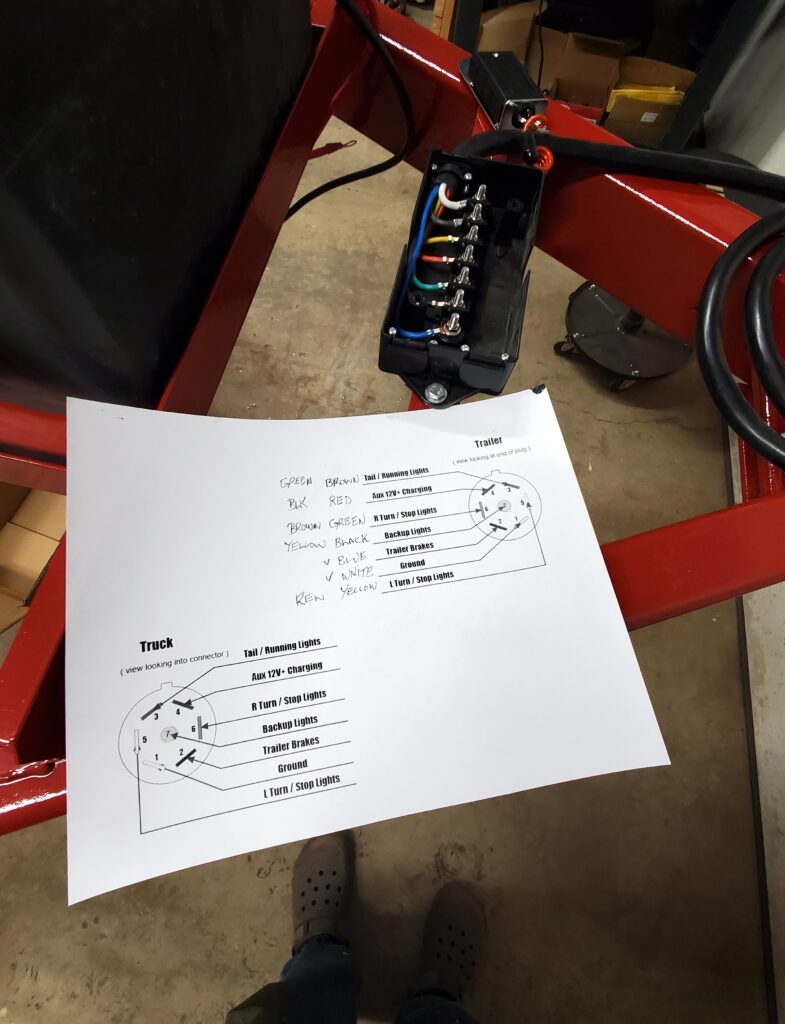
Ad to that a strong place to hook up to if you use the snatch block.  A battery charger was added inside the box with a 110 plug on the outside. This idea can from my Southland dump trailer that I loved so much.   I now turn my attention to the wiring.  The first thing is to have a look at the seven pin junction box that I use on my trailers that have brakes.  The ones I like come from amazon and are made in China.  That’s ok but the color coding is weird.

However you can test the plug to see which is which.  You can’t change the wires at the plug end so you just need to use the correct terminal in the box.  Easy to do .  I made a diagram to remind me.

I will be testing everything from the plug when I’m done.  Today a new action camera arrived to replace my Gopro that’s getting old.  So I made a video to test that out..

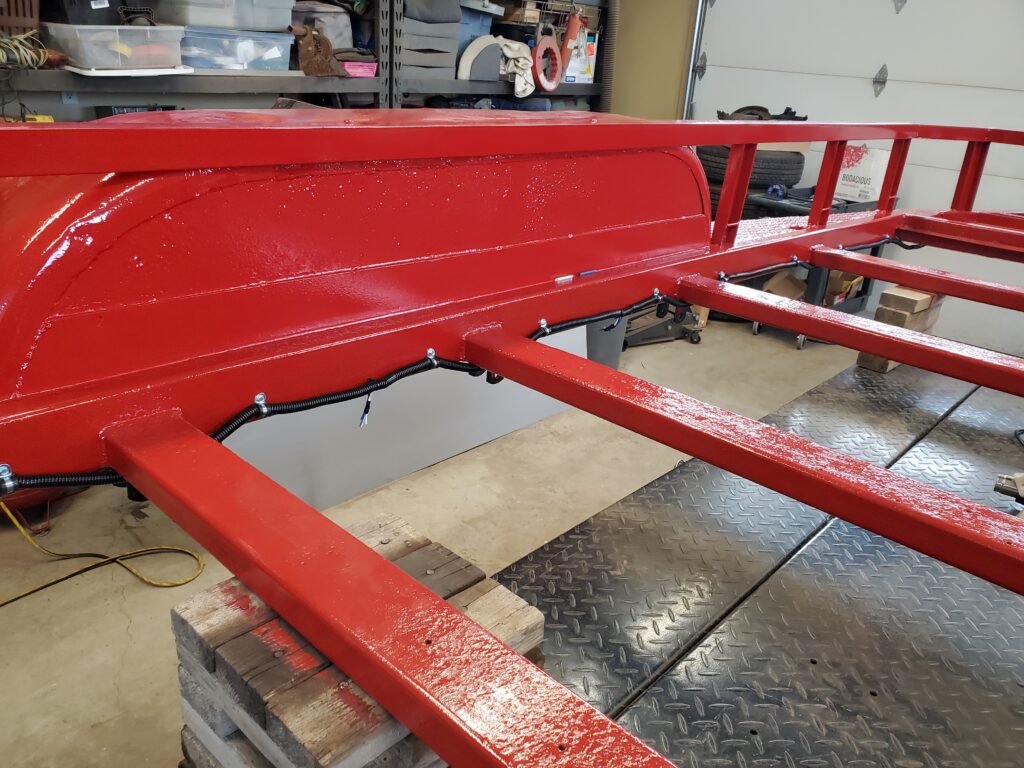
That turned out good..  And so is the wiring !  All in loom and tucked away from danger.

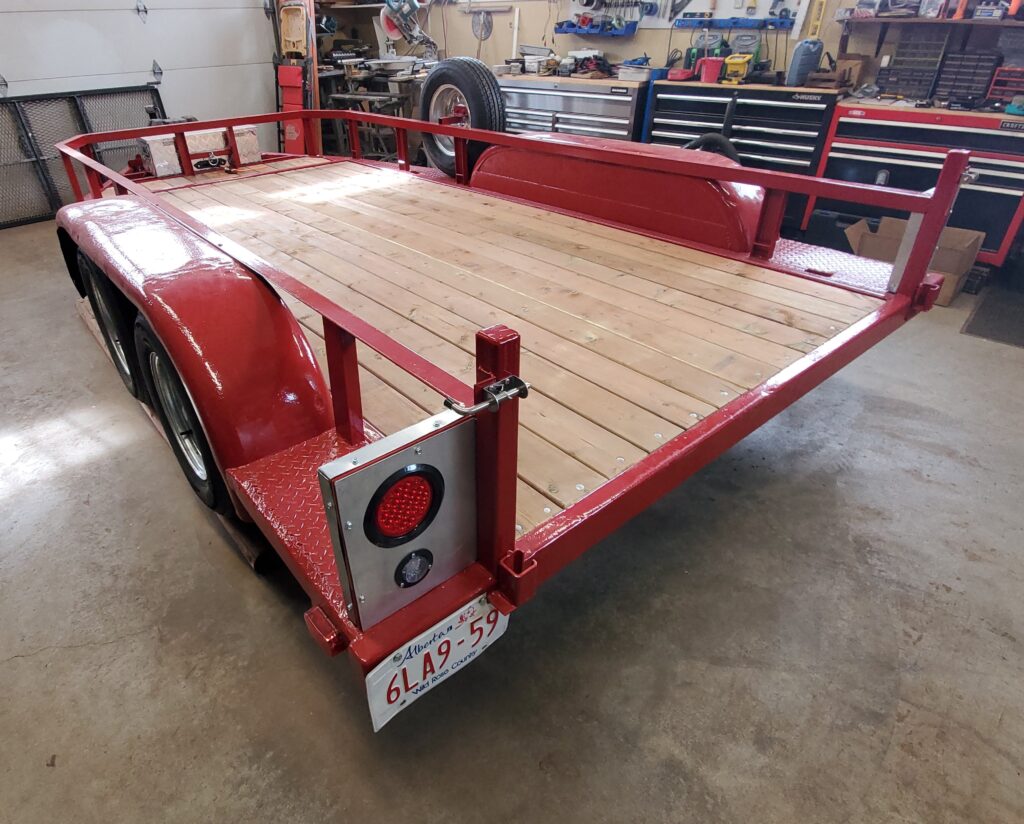
All done except for the trailer brakes.  Cant hook those up till the axles are back under the trailer.  Soon !  Below photo shows my tail light set up.

That’s aluminum sheet from a road sign sanded to a satin finish.  The wiring is tested and passes of coarse..   Time for a new page for the axles..

Page 7  Axles:

1988 12 ft flat deck Trailer P4

Oct 23 2023

Yes the work continues on the top side !

First I need to finish the rail in the front.

Done !  And it turned out very nice.

Got to love it when a plan works out.  I now have 13 ft- 4″ of deck space.   Also the box sits there nicely and the lid has room to open.

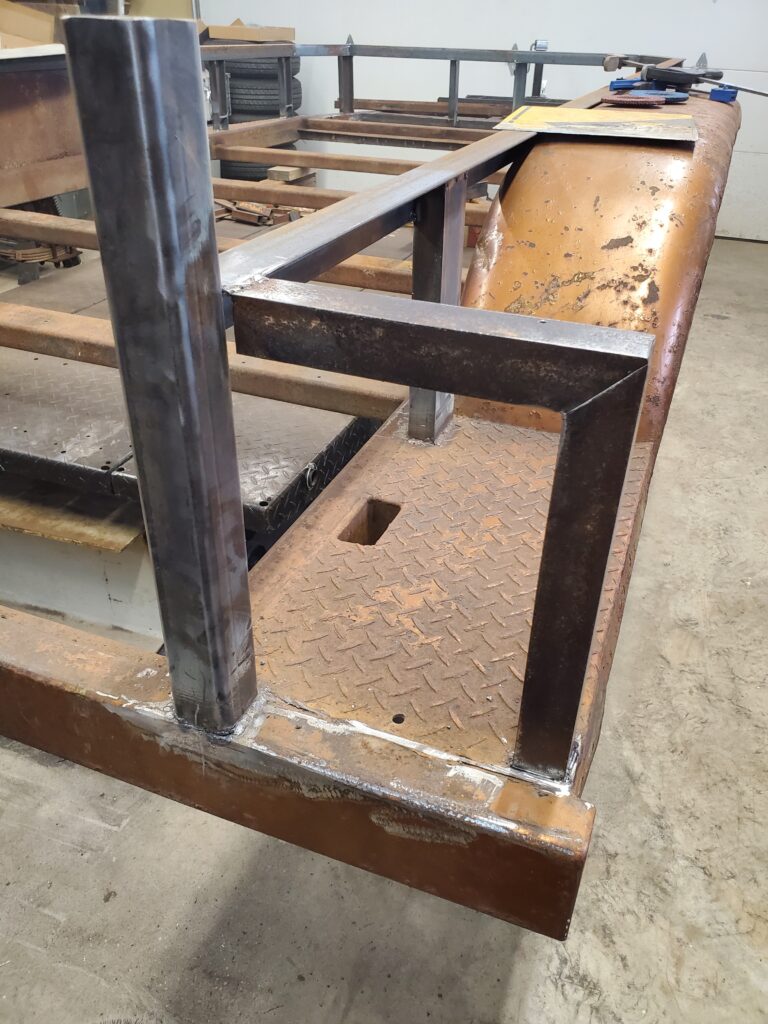
Now to figure out the tail lights…  I made the decision to go simple.  No fancy angles, just a good size square with room for the lights.

The two lights are designed to flush mount so I’m using a piece of 1/8 ” aluminum sheet.  Seen on top of the fender.  It’s now time to clean up the top side of rust and loose stuff before I flip the trailer.

OK The whole gantry thing was a bust.. Therefore the part of this post that deals with that I edited out. However the axles are a go..

Removing the Axles :

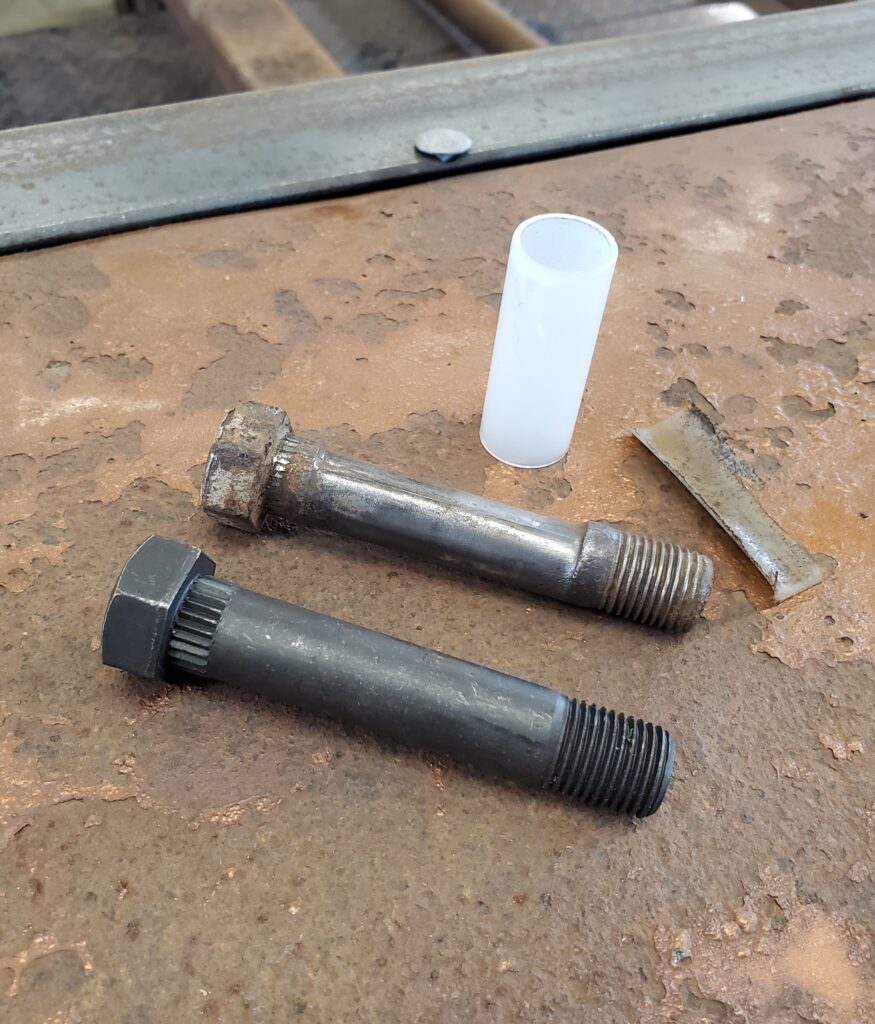
Compare old and new !  Ya ! not much left of the old bushing..  And the bolt has seen better times too.   It gets worse..  New bushings won’t help.

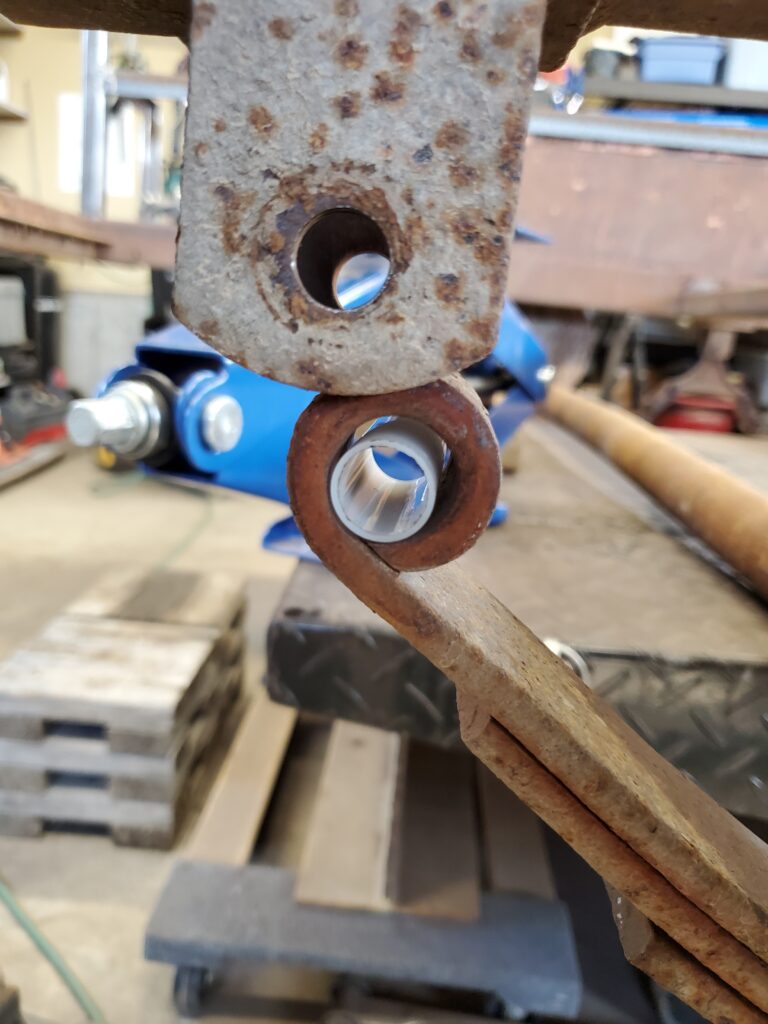
All that play just hammered the eye of the spring.  Going to get interesting ! I’ll have to get some brass shim material to fix this.  I’ve ordered a new bolts, bushings, shackles and two equalizers because everything is toast .

I discovered that years ago I bought an air hammer !  And never used it …till now.  Made short work out of the frozen bolts.  So now the axles are free and I have set them aside for cleaning and painting.  Just don’t know where to start?  The frame needs cleaning and the brake parts too.  I’ll do the brakes next.  So many little rusty parts !

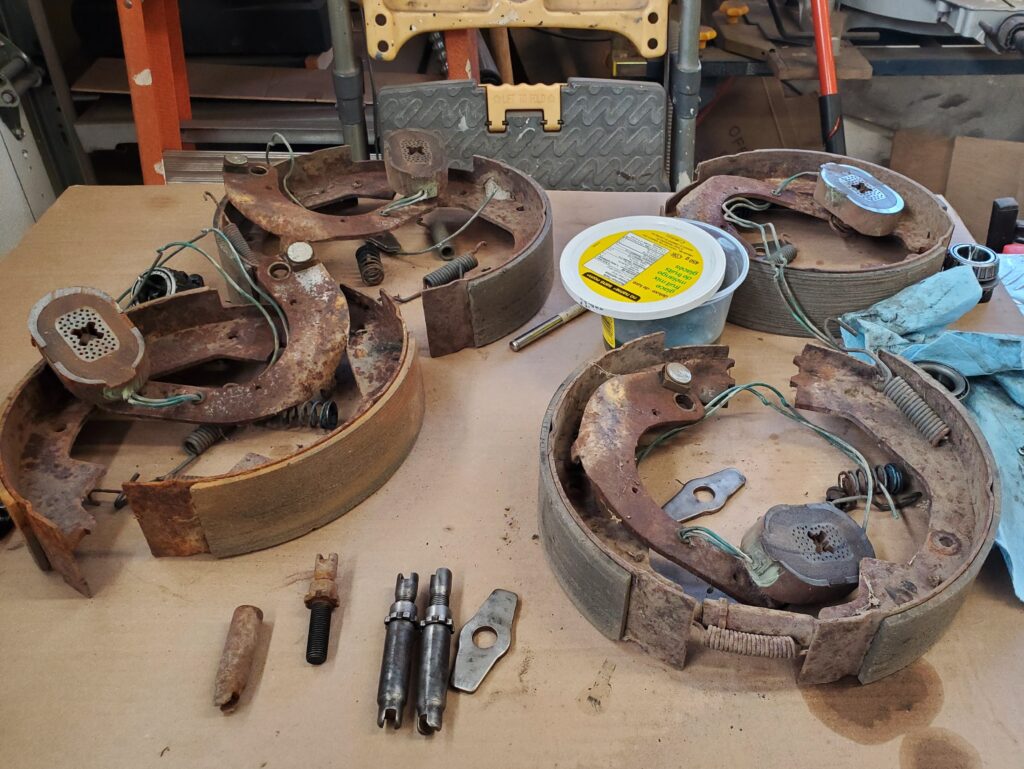
One thing for sure ..these brakes were not in working order.  It looks like they had the left and right front brakes reversed.  And not only were they backed off , but the adjusters were also rusted stuck.  In this photo you can see two clean ones and a rusty one. Got the brake parts cleaned up .  Made a new update video…

Rather than leave my axle and brake parts all over.. I decided to complete the cleaning.  Gather all the parts in a box and clean and paint the drums.

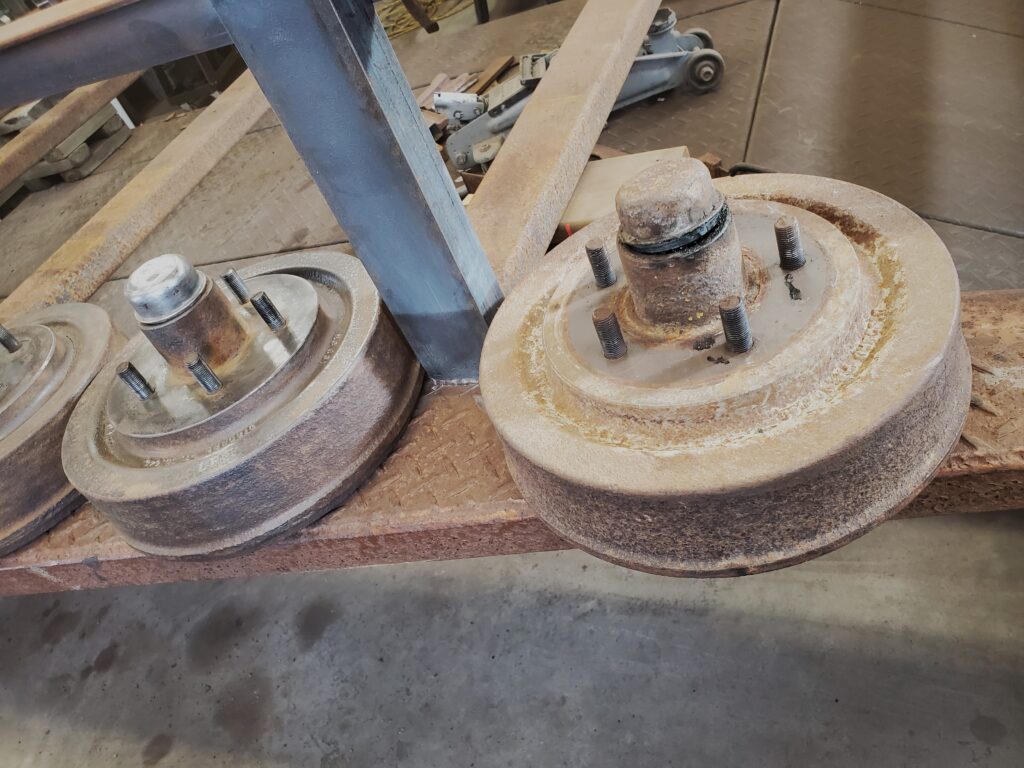
Here’s a clean drum next to a not cleaned one.  It’s important to polish the inner surfaces of these drums. Both the surface for the magnet and the brake shoes.

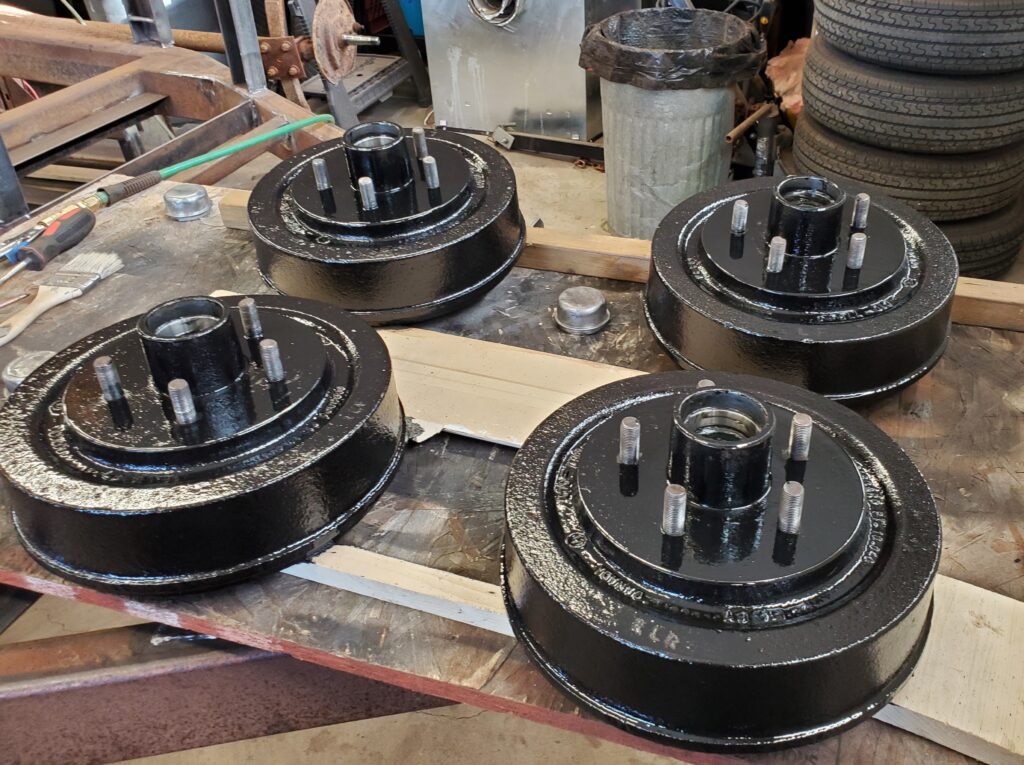
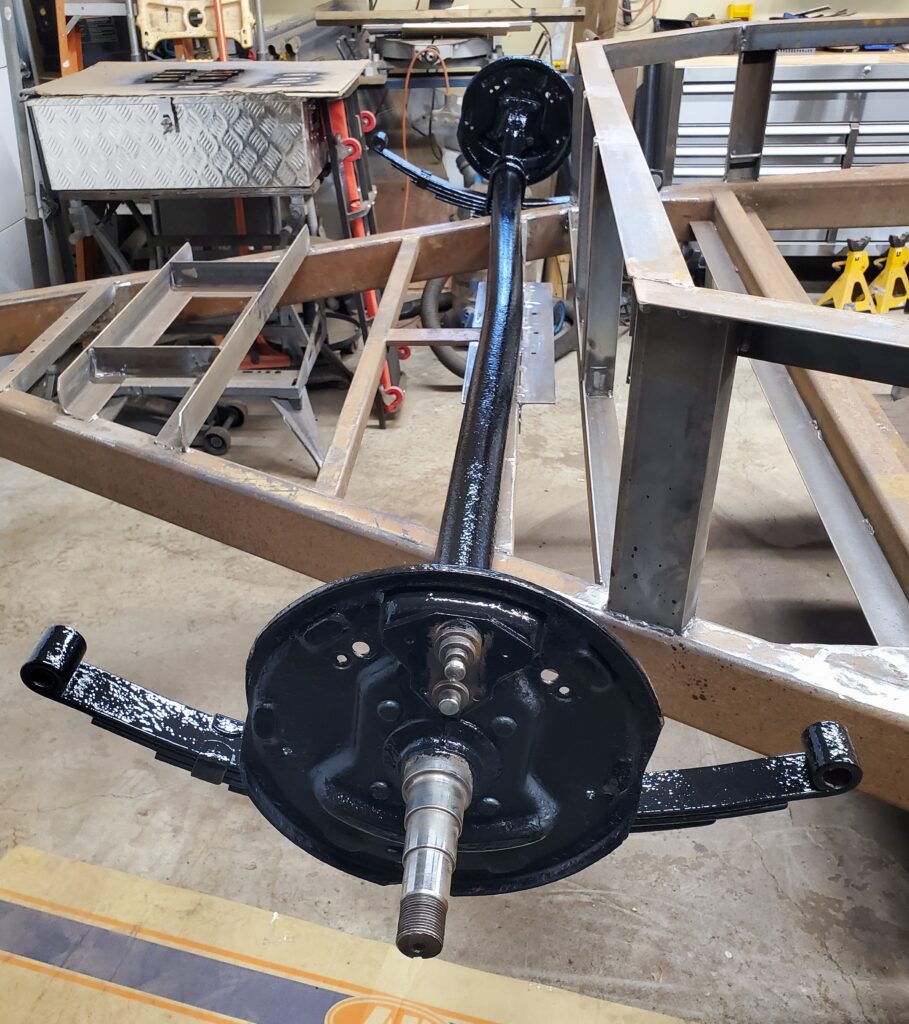
And this is the finished drums.  Painted with Por15  rust paint.  I’ve used this product many times and it’s tough.  These will not rust again !  Same goes for the axles.  They get a good cleaning and a Por15 paint job too.

This paint may be tough but it does not like the sun.. Which makes it perfect for axles and springs.. you know stuff that hides underneath the trailer.  It takes a good 24 hrs to cure, and I don’t want to make dust.  So one at a time… When the axles are done then I can put them aside and concentrate on the frame.  Let’s start a new page…

12 ft trailer page 6:


1988 12 ft flat deck Trailer P3

Sept 26 2023

Time to get at -er !

I put the trailer aside until I picked up the gantry from my friend.  I will need that to flip the heavy frame without help.

Here’s the gantry pieces in among some of my stuff.  The jeeps are in the way for a bit, then I will set this up.

Meanwhile the trailer has been enjoying this space, and providing a place to store the new metal.

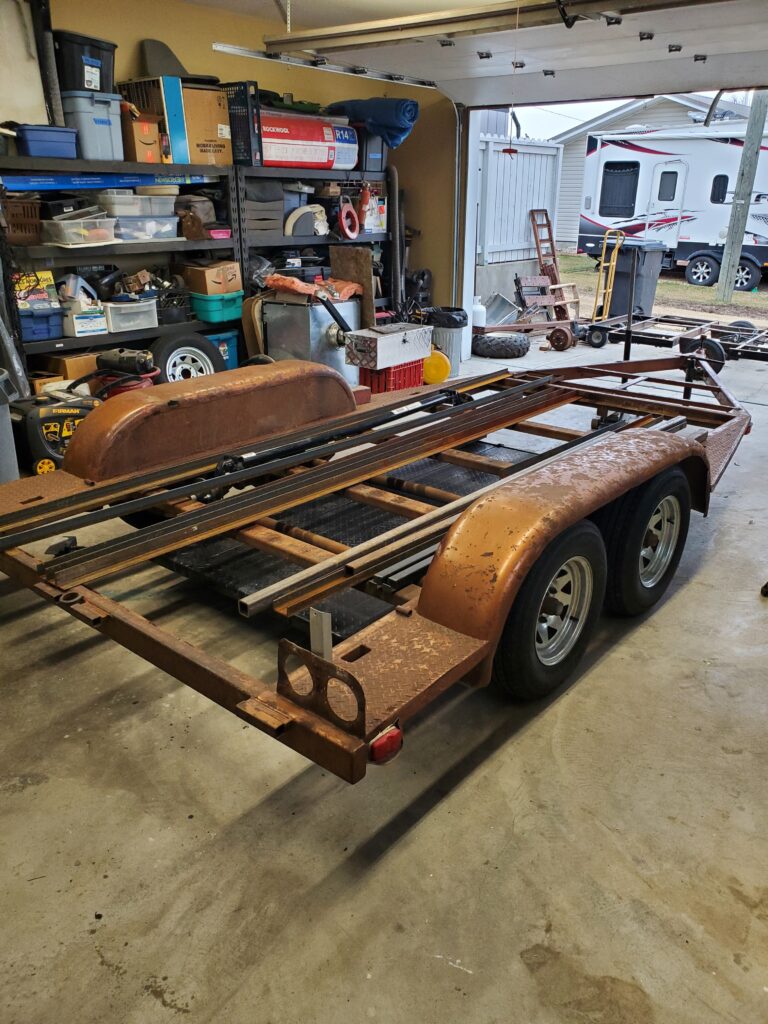
Update:   Now the jeeps are out of the way I was able to put the  trailer in the shop.

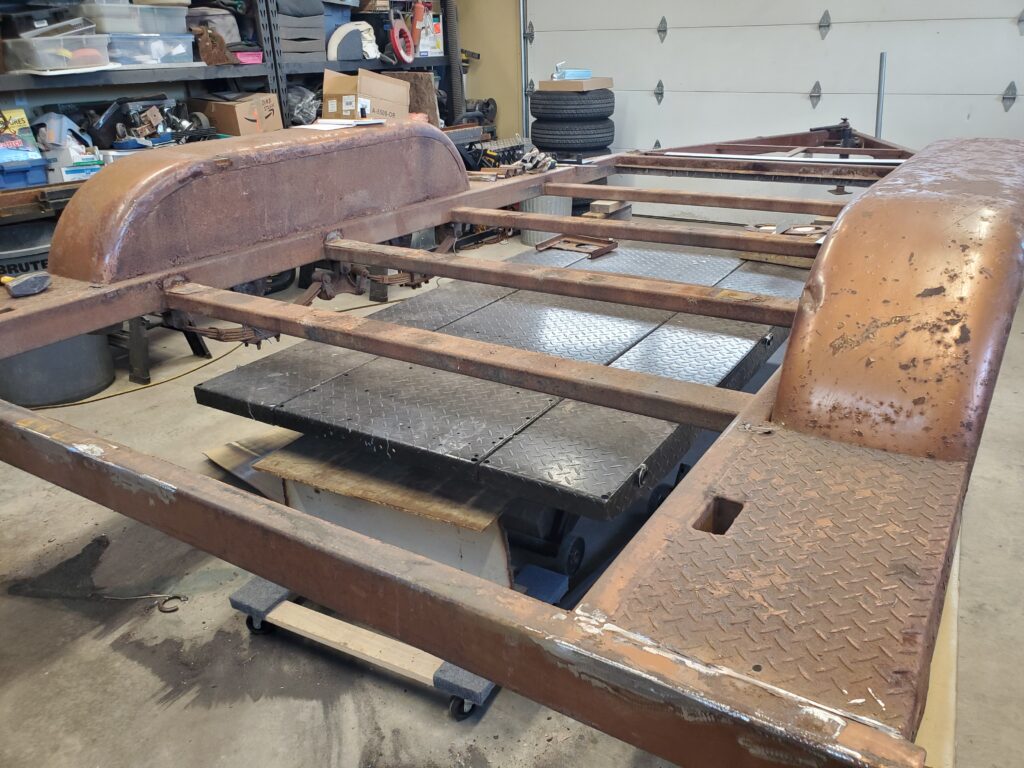
Notice that I parked it in the middle over top of the lift table.  Hoping the lift will lift it after I remove the ton of metal.. and maybe the wheels ?


Let the transformation begin !

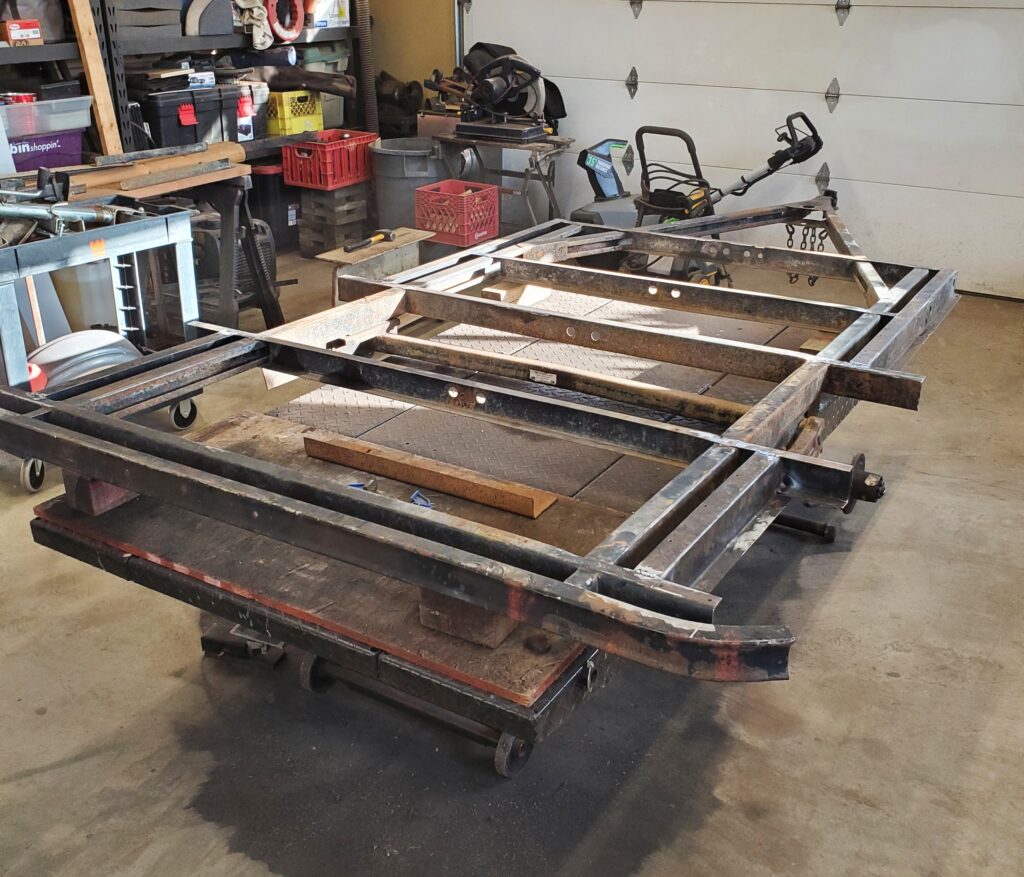
Step number one is to remove unwanted things like the the four side lights.  Also the wheels, jack and extra bits of steel.  I did have marks where the extended front would go … but mother nature didn’t like them.  That’s ok I remember the measurements, and they may change.

How about that lift table .. brought the trailer up to a comfortable height for working.  Then I started cutting off the extra bits of metal.  Next I moved some of the hitch pieces to extend the deck and mount the aluminum box with the winch inside.

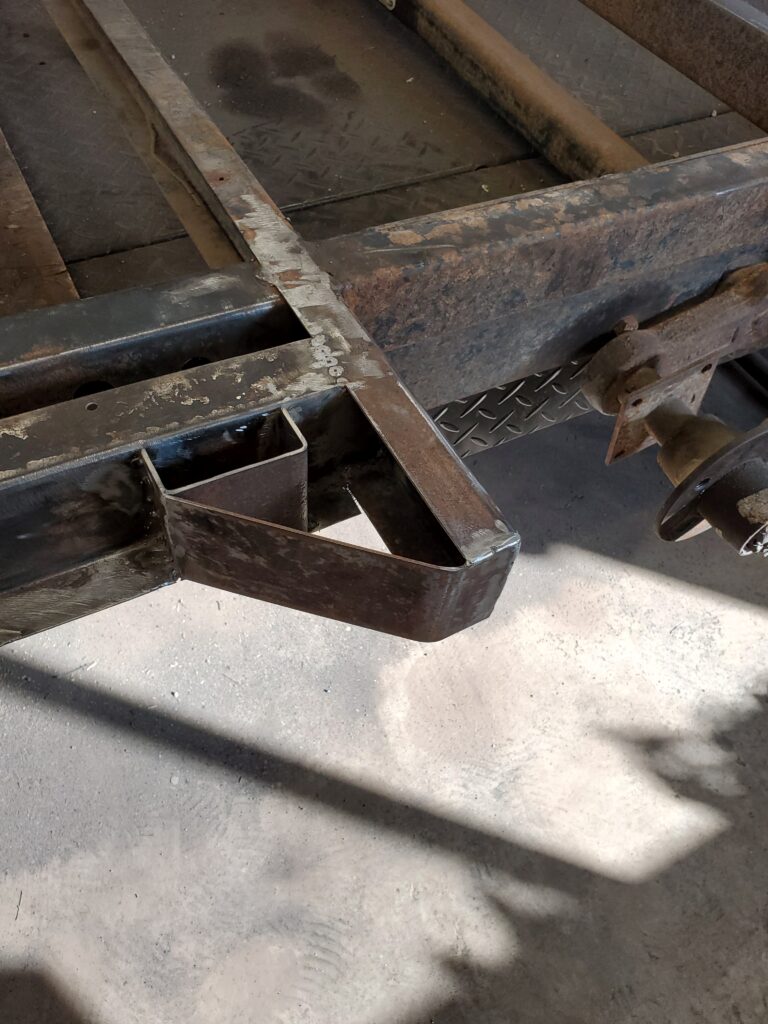
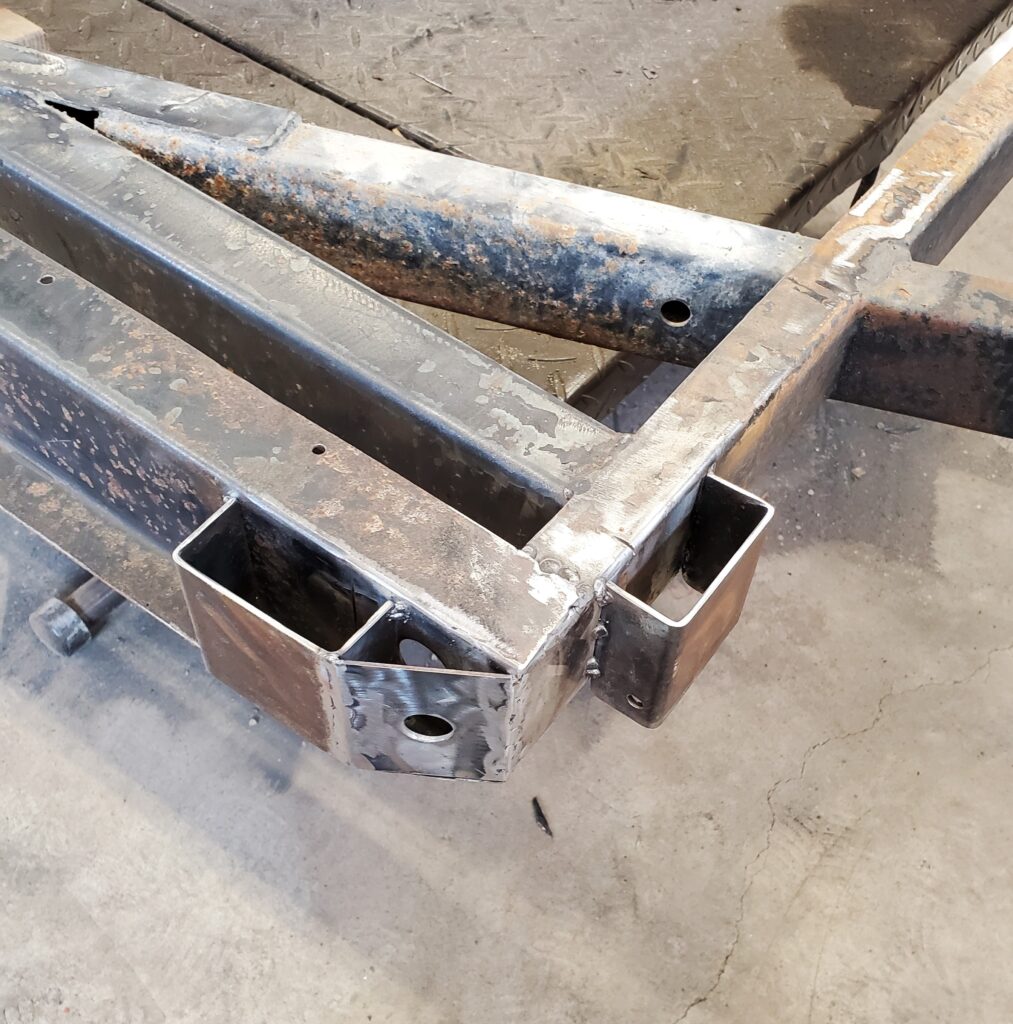
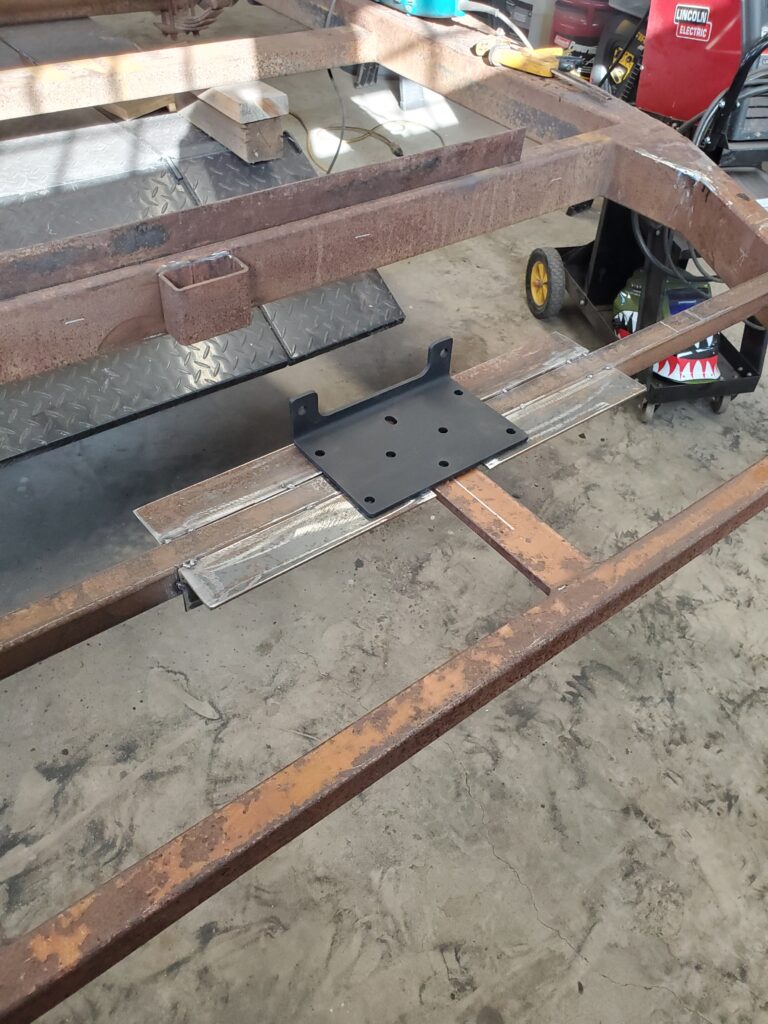
That’s the winch plate that will be inside the box.  I had to re- think my locations for things, and that will shorten the length of the deck extension by a few inches.  Seems most of the work I do to trailers is to the hitch area.  But if you don’t use that triangle wisely ..it’s a waste of space.  You will see how I do it .  I was waiting for an extension cord for my new welder so it can reach the front of the trailer.  While waiting I tackled the dents in the fenders.  They are not prefect but much better.

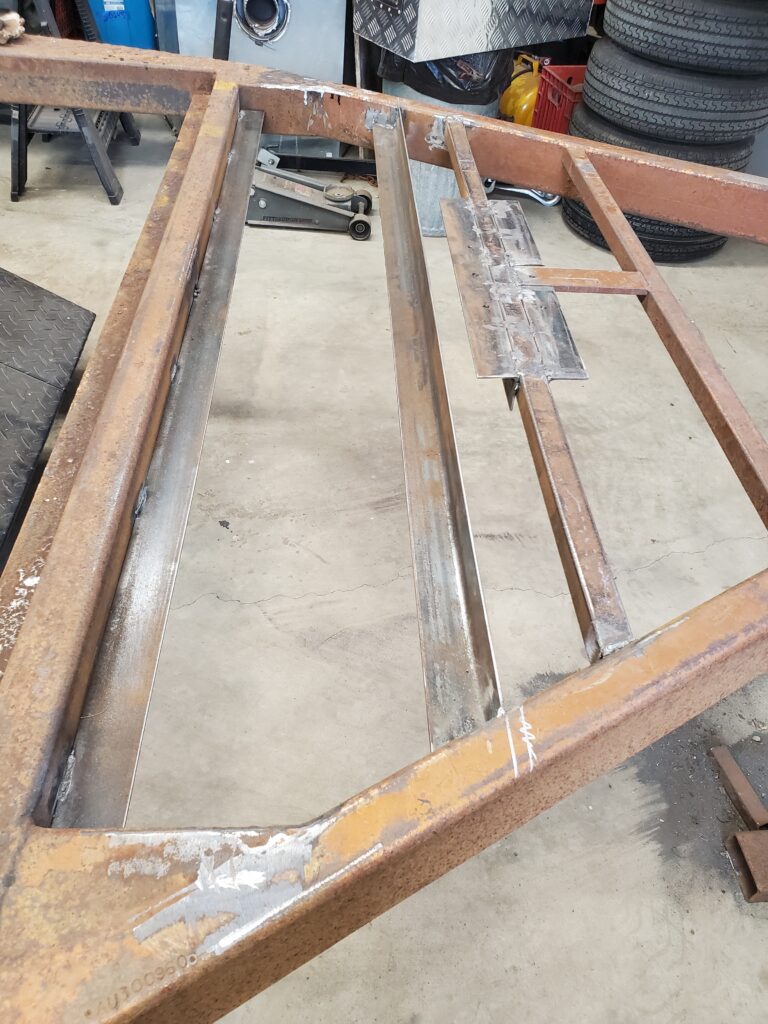
Here’s two new pieces of angle to hold the extra deck boards.  Because of the location of the box and the need for a separate  battery box the deck extension is less that the hoped for 20 inches. This afternoon I got the extension cord and was able to use the new welder.  WOW does soooo much better with the 240 volts.

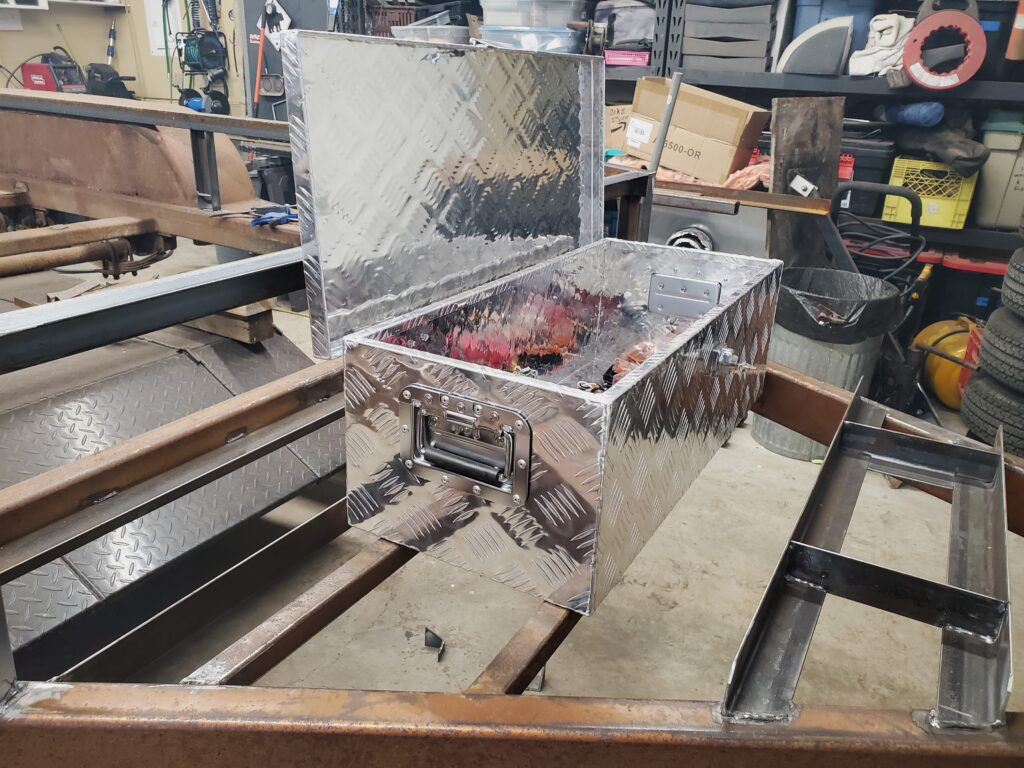
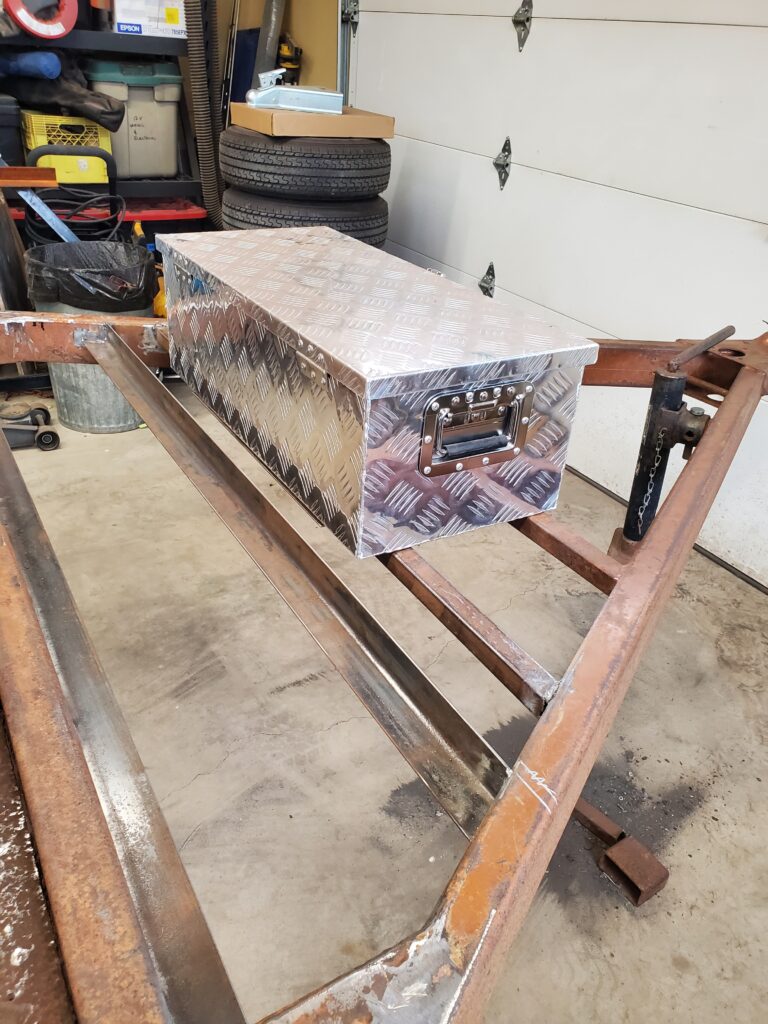
That’s where the box goes with room to open the lid.  And the front area is getting less and less.

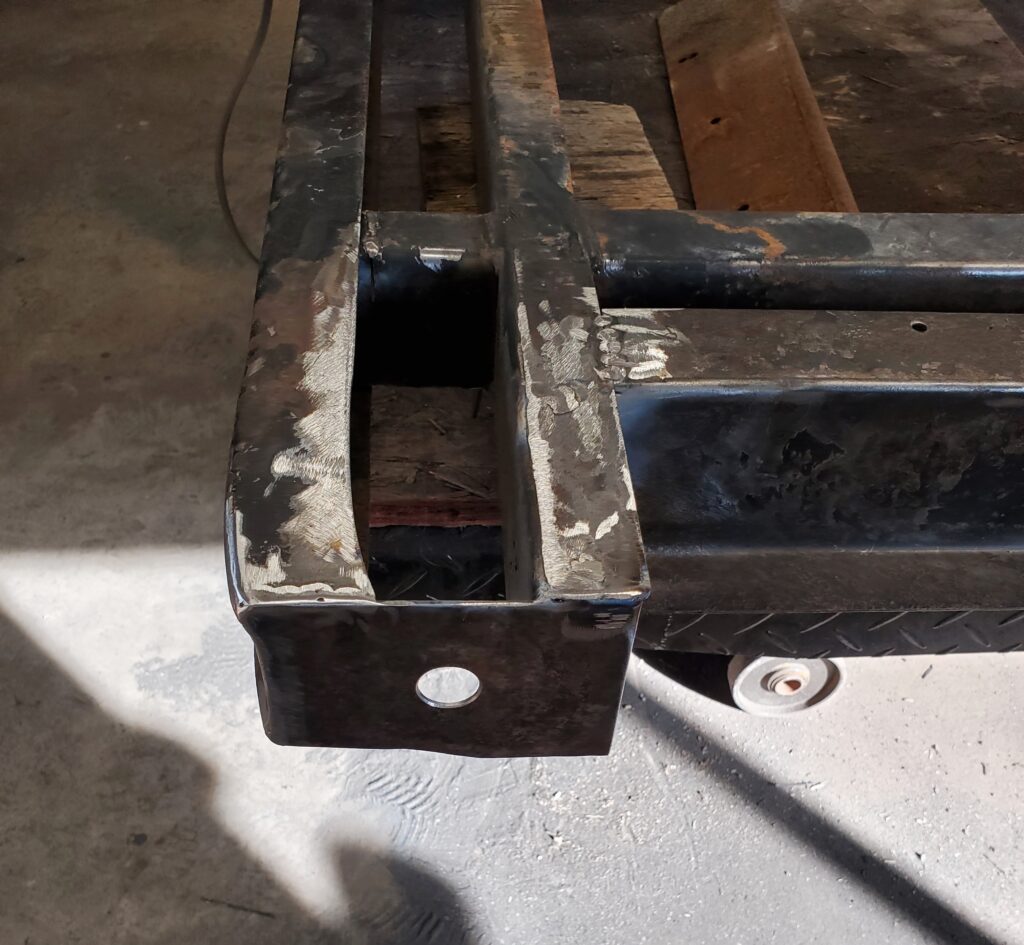
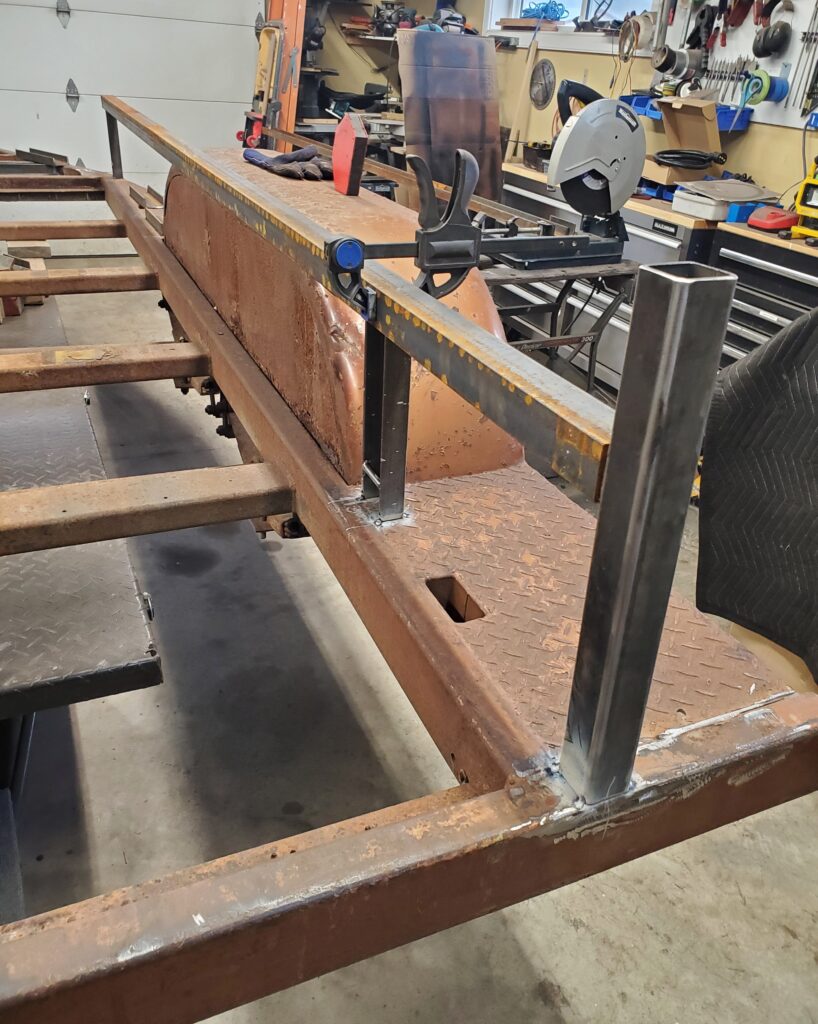
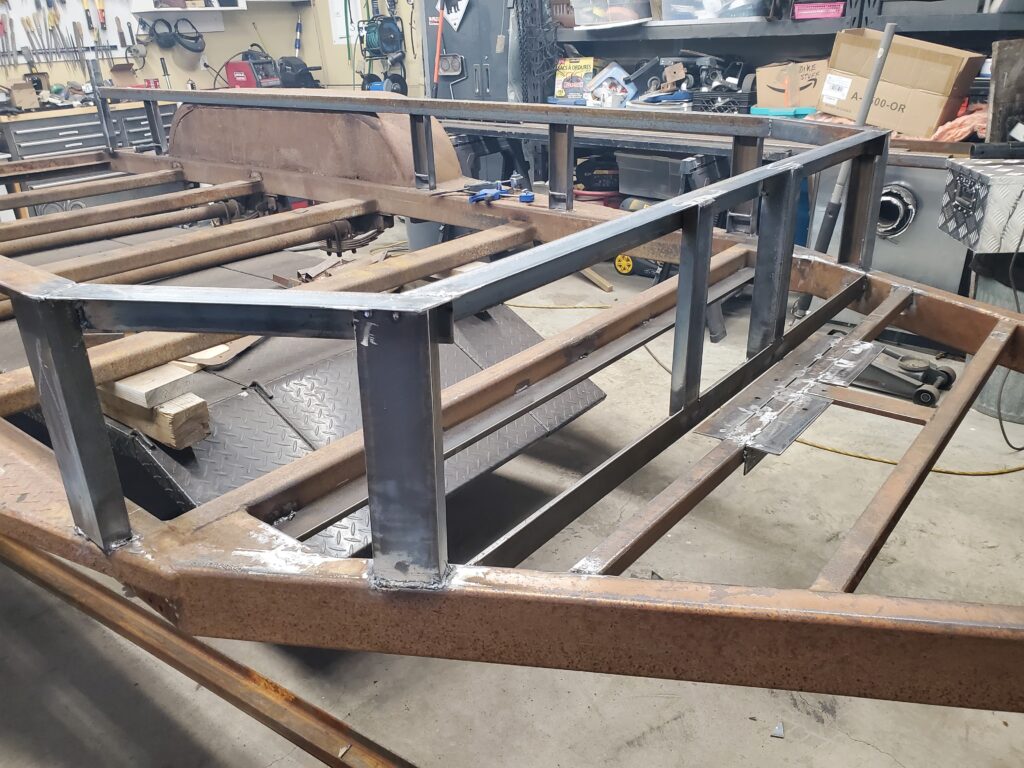
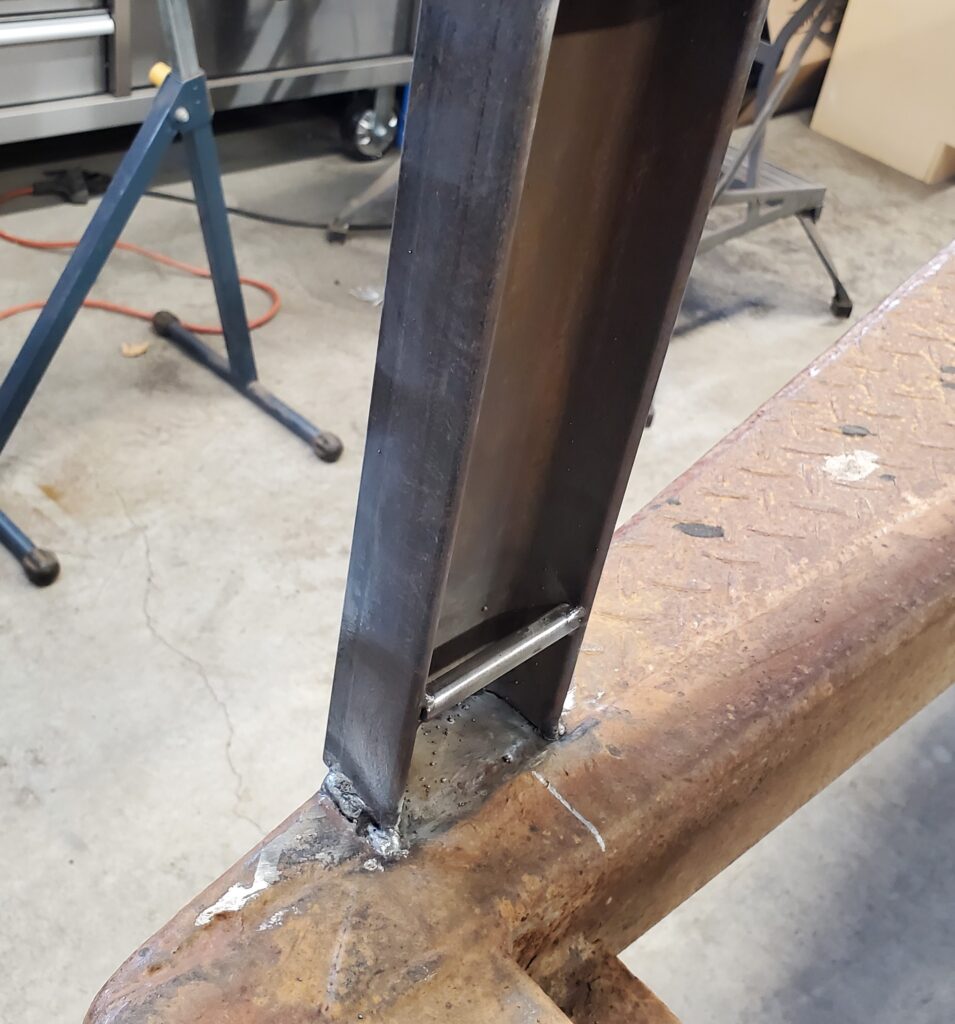
A place for the battery and my wiring junction box  is next and I need to replace the hitch too.  I made a very “scookum”  battery holder. The angle iron is for the electrical box.  A new coupler is self explanatory !  All these things need to be done before flipping the trailer over.  Once it’s upside down More welds can be done easier. I started tacking the side rails in place.

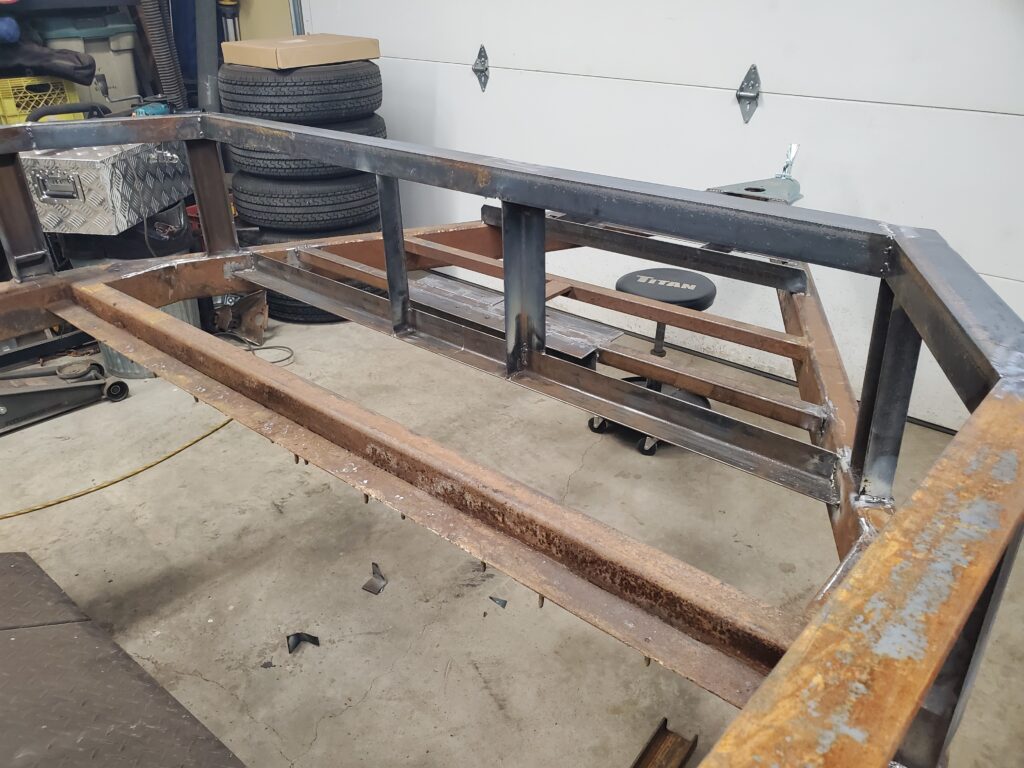
The rear post is taller to hold the tailgate closed.   Got both sides done now.  Just need to put a top rail across the front.

What I had envisioned is taking place.. and turning out great.  Adding little touches like these “tie downs”.

Another few days of work and I’ll be setting up the gantry to flip the trailer over.   I still need to figure out the tail light mount.   And now it’s time for a new page in this post…  as the work continues.

Page 4 :

1994 Jayco Tent Trailer

Oct 16 2023

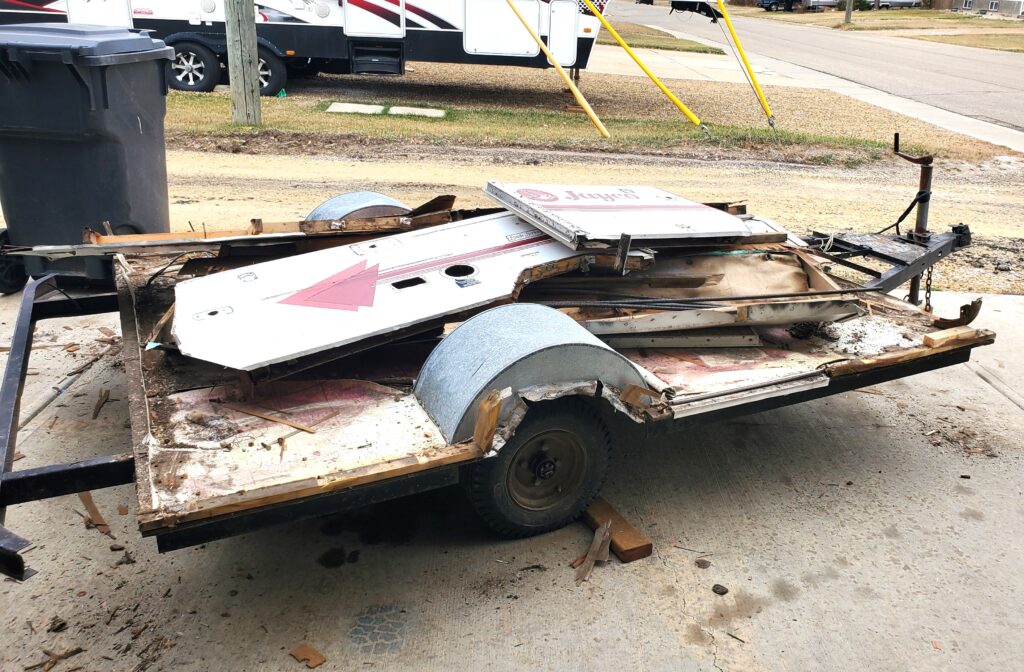
Well more like whats left of it !

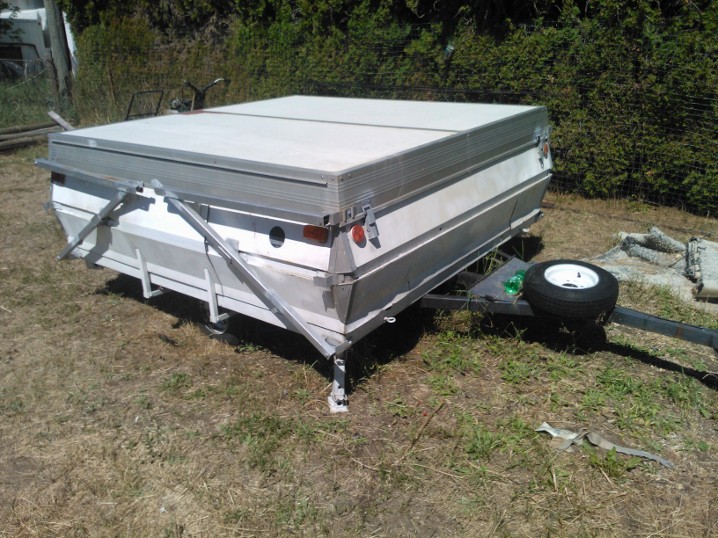
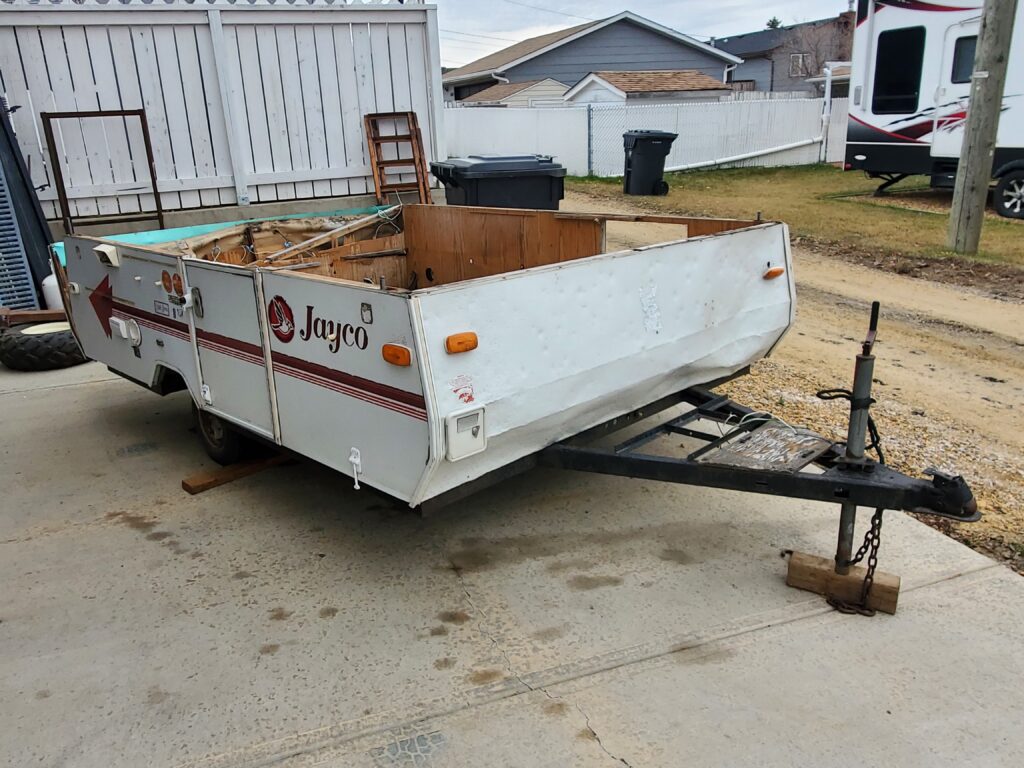
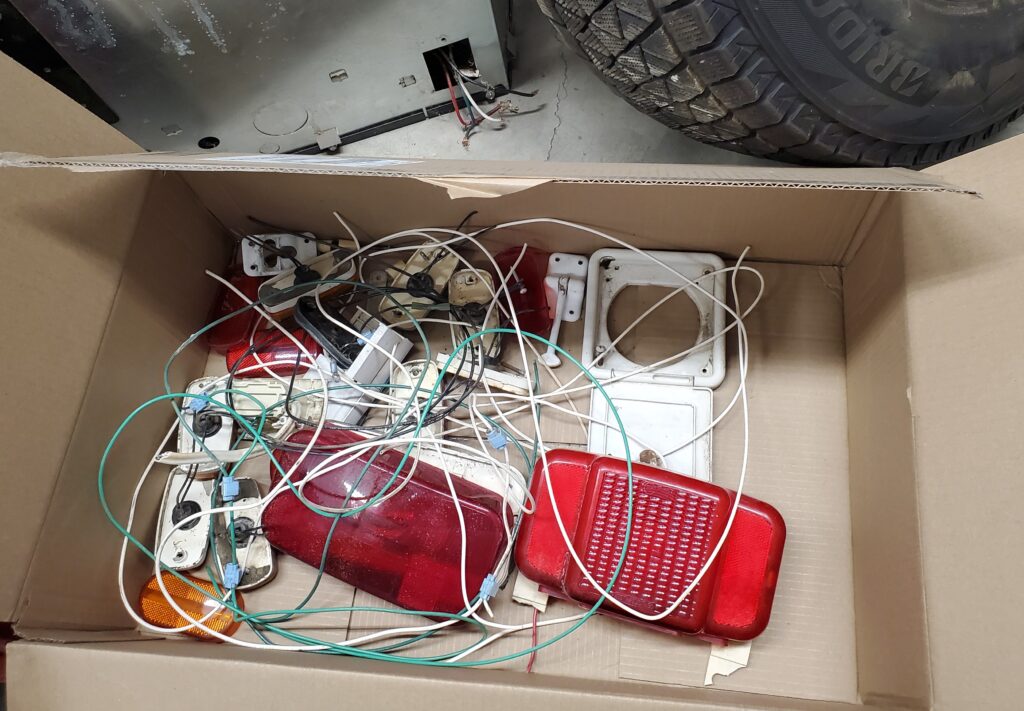
The story goes that a strong wind ripped the roof and tent off. The fella I bought it from took the the rest.. I got the body and some lights.

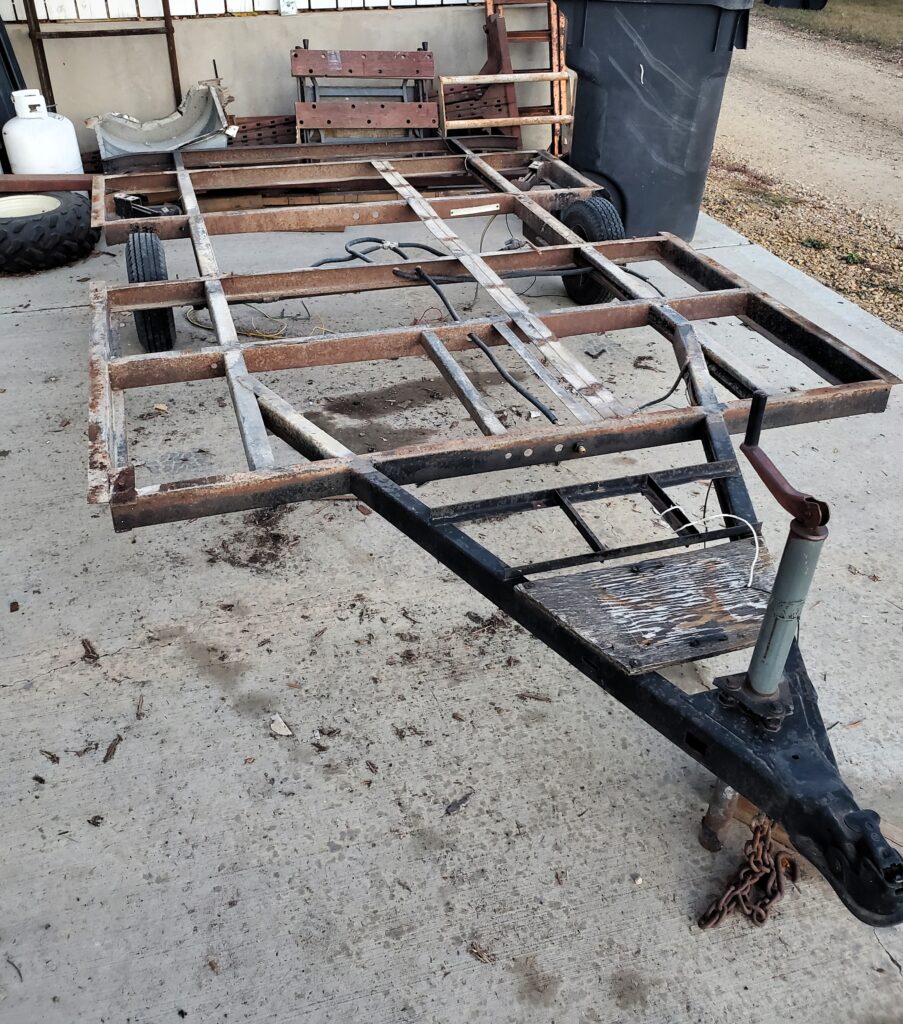
But I only want the frame.  The frame is 8 ft long and 6 ft 3 ” wide. The hitch is another 46 “.  Very light ..  I towed it home like this about 80 kms.  Those darn 8 inch wheels survived the trip.. I hate those..  They are not staying  !  I’ll go with 12 ” better on the highway.

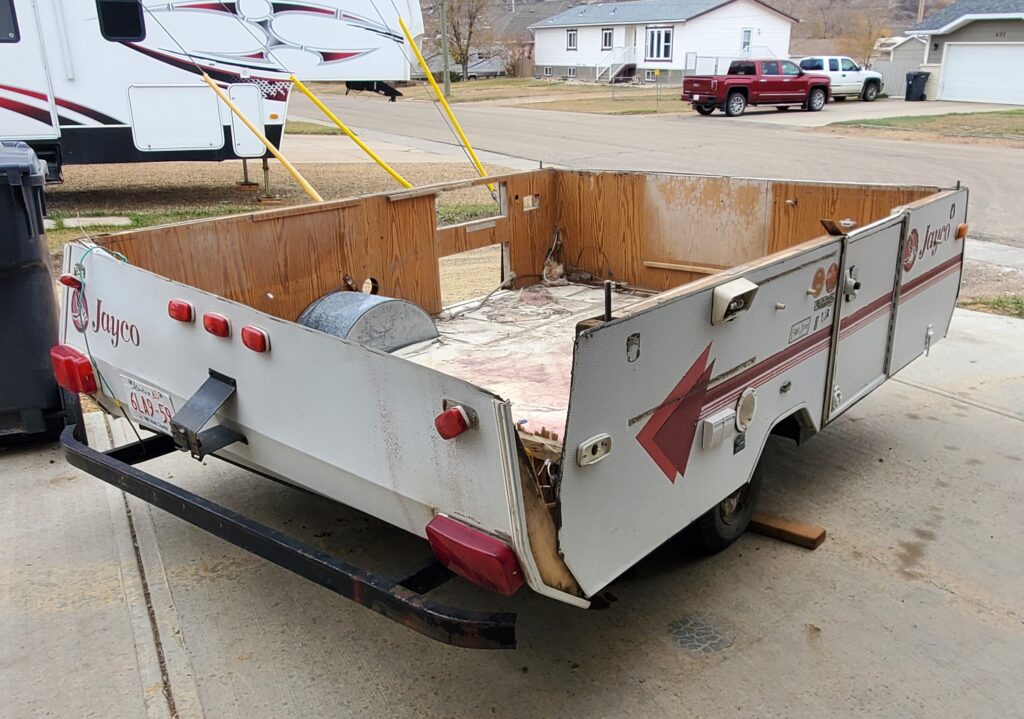
When I got home I noticed the back of the trailer was coming apart!  Well I’ll just finish that job..  I don’t know why but I saved all the lights.

Some wire too… always need wire ..right !  And then I made a pile out of the Jayco..  Because like I said  .. I only want the frame.

Some of the wood was rotten in the walls, and a lot of the screws were not holding anything. Hence the pile.  One thing is for sure… it will no longer be a Jayco tent trailer.  Even though that’s what the registration says.  Okay now we have a trailer frame & wheels !

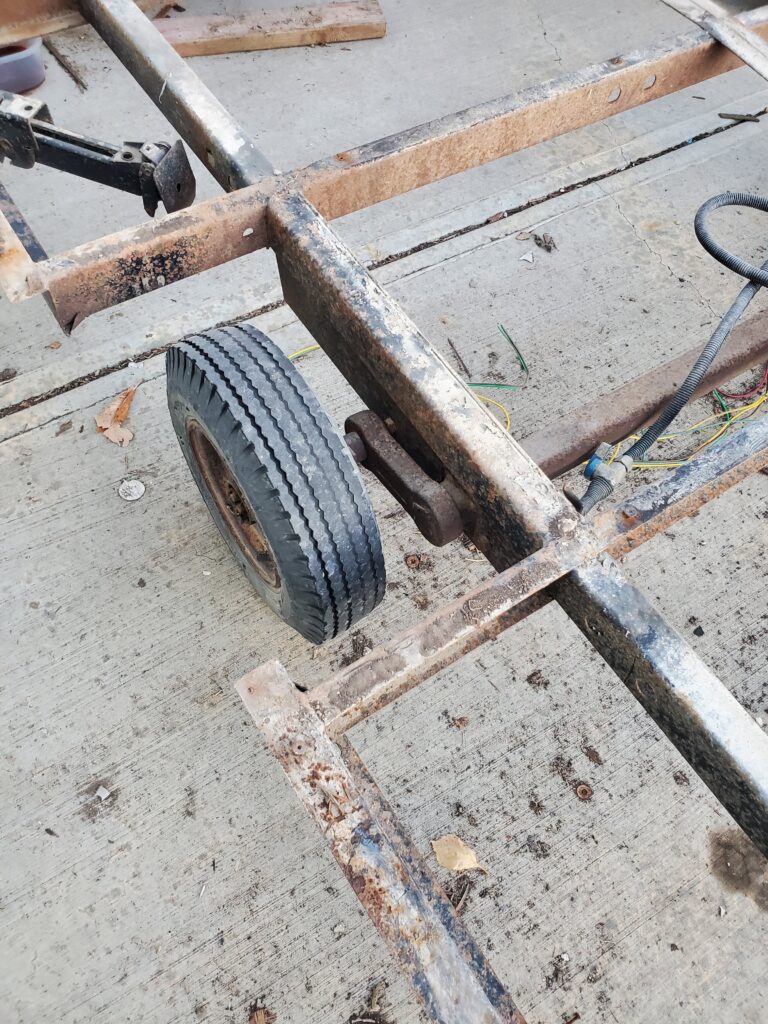
Oh ya with torsion suspension too !

Hopefully not wore out yet.  So there we have it…

What should we make of it ?

I’m kinda favoring a little tear drop style trailer.  It’s the perfect frame for that.  Then I came to my senses and saw how much work that would be..

Update:  Dec 2023..

Got a good deal on some trailer goodies..  All of it new !

Don’t need all of these things for this trailer… but those wheels would look sweet.. And a wheeled jack would be a good thing for this project too.  This will be next winters project..  2024-2025.

Change of plans…  I’m not going to be planning for next winter.  There is a few things I’m not happy about the frame. I would like the hubs to be 5 bolt, and the wheels to be a few inches wider.  SO ! I’ve decided to change and build a utility trailer.  I have most of what I need and far less work.   So Let’s get a new page going for that shall we…

Page 2:


1988 12 ft flat deck Trailer P2

July 31 2023

My favorite part..  Makin plans !

The big change will be the sides. Instead of 2 ft high removable ( and floppy) sides with heavy planks.  Which reminds me … I took 500 lbs of rotten wood to the landfill today, from the trailer.  YES I have to put the deck back.. But it won’t weigh that much.  Oh ya… sides..  I’m going to have welded 12 ” high sides. The same height as the fenders.  Just like this:

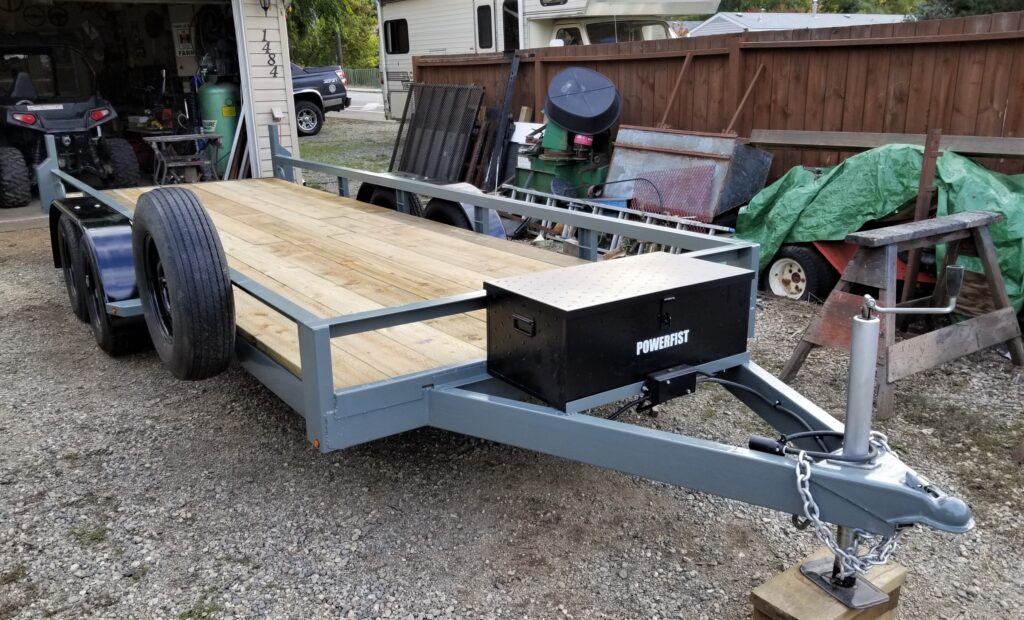
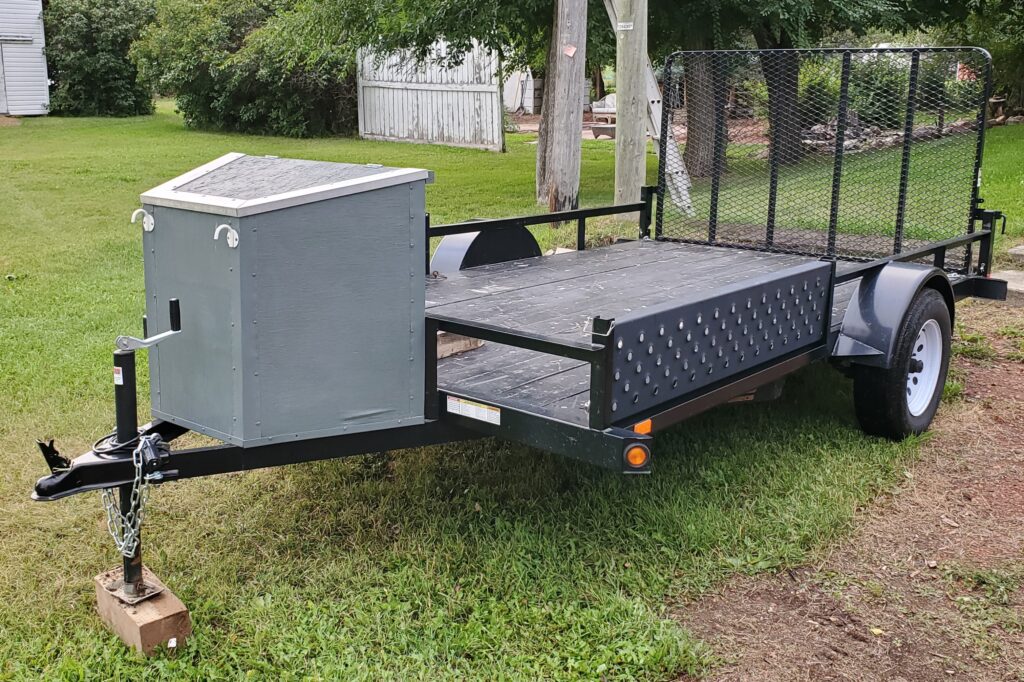
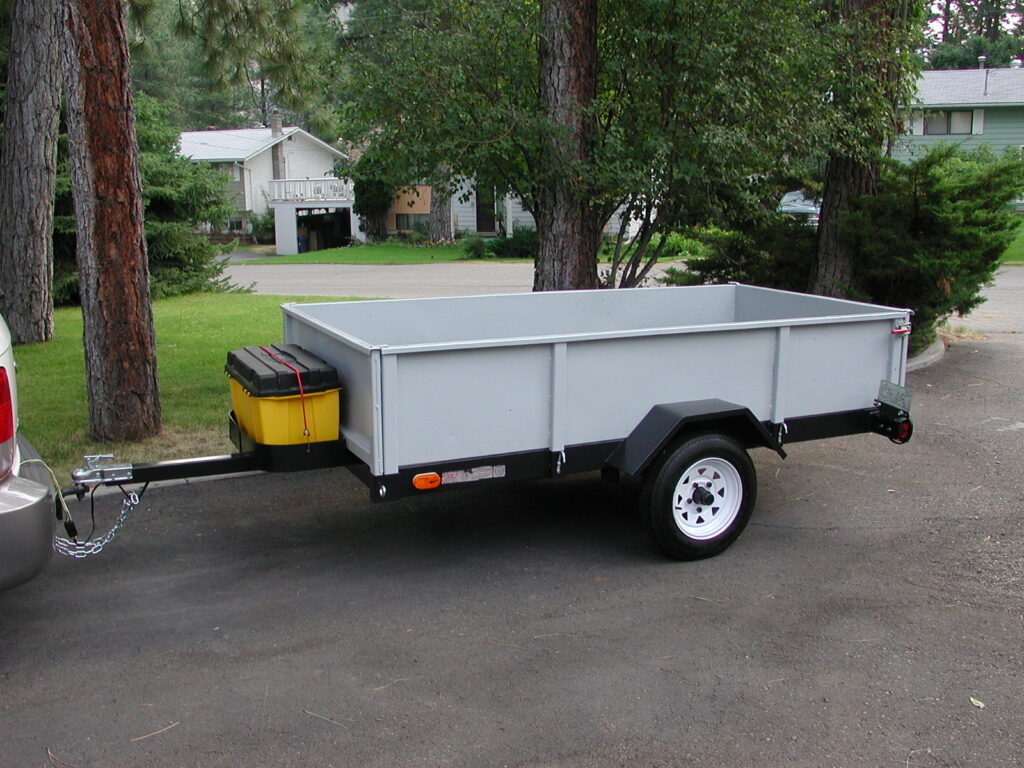
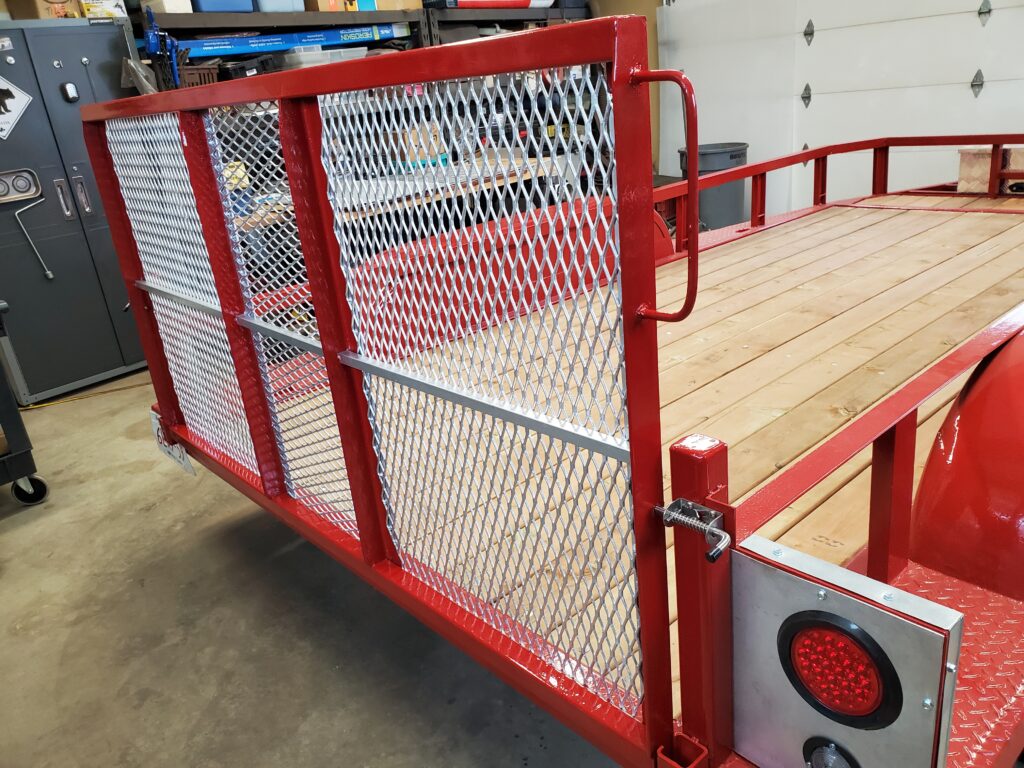
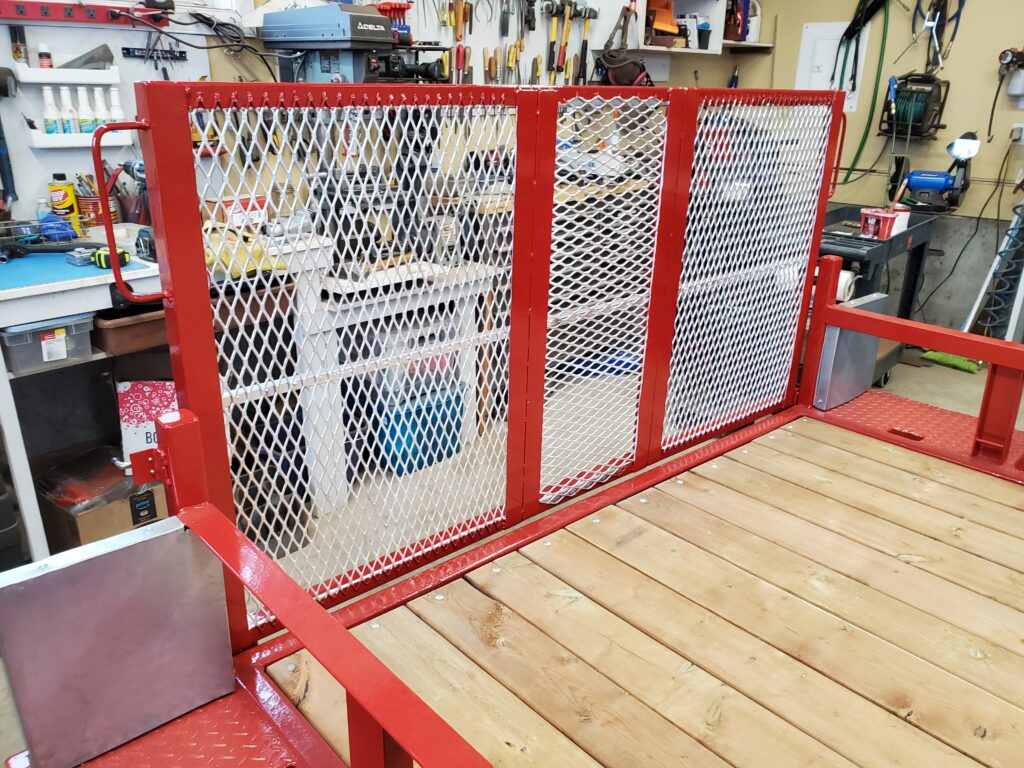
This was an 18 ft trailer I built from an old travel trailer. This is what I like ..  Adds strength to the frame. And I think the new trailer suits this better than tall sides.  Then we need a wind gate or ramp, tail gate.. call it what you want..  Look at the 12 ft ATV trailer I bought new, had a great one.  It hinged 190 degrees to lay flat on the deck for when you traveled empty.

This worked !  Bye the way we like to call these wind gates because the mesh lets the wind pass through. Ya !  Notice this trailer had the low rails too.  I never thought they had to be higher.   These are tried and tested things that I know work well.

I’m starting to collect the parts and pieces I need for this trailer build.  One other big thing this trailer needs is new tires.

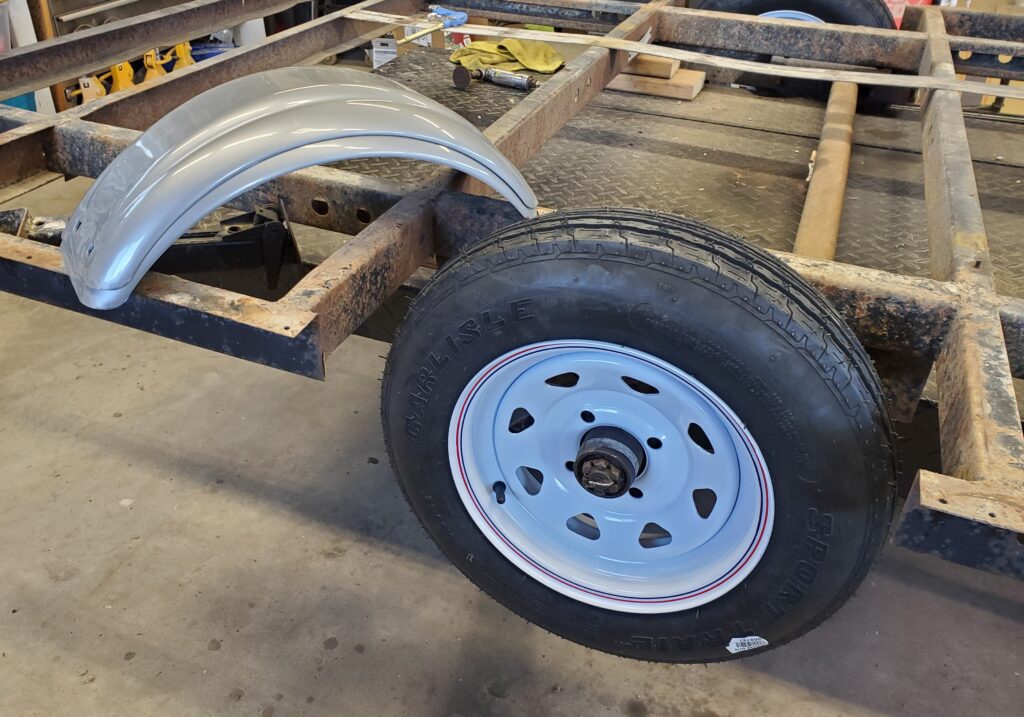
Those are winter car tires on there !  Nope..  Not sure I want to explain why trailer tires are better on a trailer ..  Lets just do the right thing shall we.  Now these 15 ” tires take up a lot of room in the fenders.  I’m concerned they will rub if you put weight in the trailer.  Soooo I have ordered a whole new set (five so I have a good spare) of 14 ” wheels and tires, with galvanized spoke rims.  That should work good and look good too.  The tongue of the trailer is quite long.. It adds a woppin 66″ ( 5-1/2 ft) to the length of the trailer.  Making it 17- 1/2 ft from hitch to bumper.

That’s a lot of extra space!  I’m wanting to claim a bit of that for more deck space.  20 ” more to be exact.   The box you see ( in the correct position) will be right in front of the extended deck, and will hold the winch, battery charger. And if the battery fits too , great !  Otherwise I will make a battery holder in front.. My 6 ft ruler marks the front of the deck. There’s lot’s of room. Plus I’ll get a different jack and move it to the mounting hole in the new A frame hitch.

Today the new wheels arrived ! They are going to look very sharp with the color I have now decided on.

These are 205/75R /14  Radial trailer tires with a 1680 lb load range C- rating.  That’s 6720 lbs for the 4 tires.  The axles and springs are rated for 7000 lbs.  The trailer weighed in at approximately 1900 lbs BEFORE I removed the 500 lbs of wood… so a good guess for the finished weight would be in the 1700 lb + or- a bit.  That puts how much you can load the trailer is 5000 lbs.  COOL !   Good trailer..

Now did I say something about color ?   Yes ..  I’ve put a lot of thought into that subject. And I want it to be classy. I have settled on a dark red.  Tremclad has a red called “Regal Red” and I like it..  Plus I can buy it right here in town.

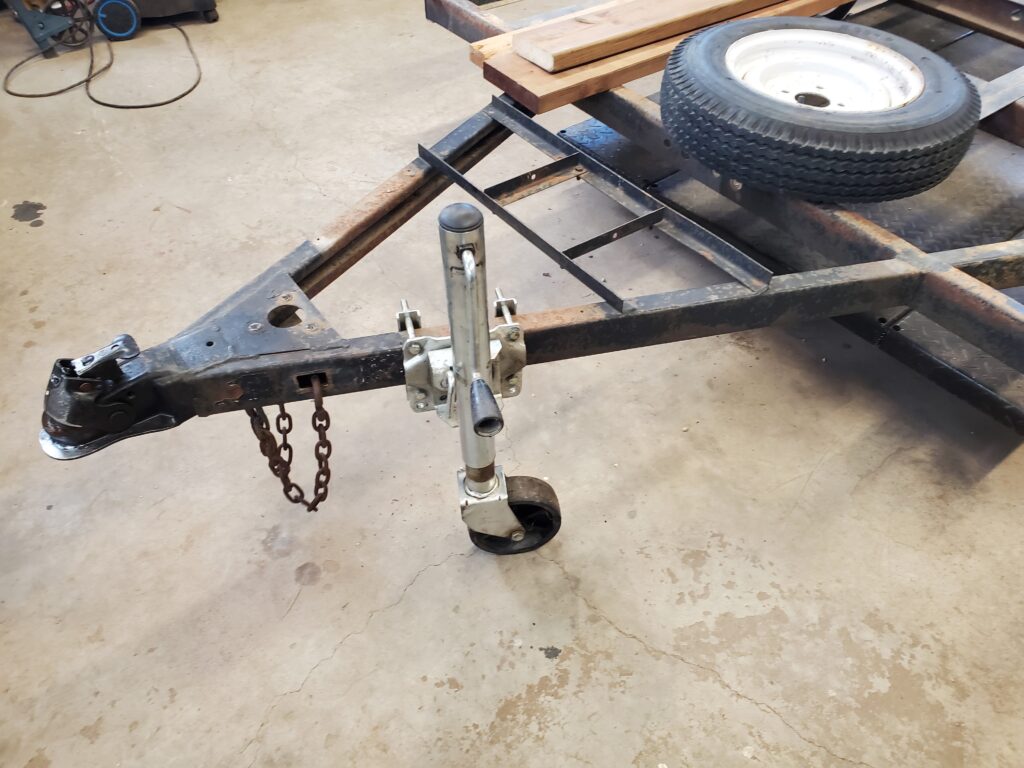
Here’s a swatch.  All the ideas are falling in to place and I haven’t found a reason to change anything yet..   Except ! As a bonus I was digging through my stashes and I found an A frame jack.  In working order.. but it’s missing the foot.  I need to make a foot for the travel trailer too..  so I can later.

So I cleaned and greased it and gave it a paint job.  Works perfectly !

I’ve found a source for a bit of metal.  Good trailer building metal. Some angle iron and 2 ” square tube.  But I need to go get it an hour away.  Therefore I need the new trailer… so I wired up some temporary (but new) lights

And I installed the new wheels.

To go down one size to a 14″ wheel was a good choice.  I now have a comfortable amount of clearance in the fenders  AND it only lowered the trailer by 1- 1/2 ” .  And that’s okay !  I got to test the new wheels out !  Went to Just north of Calgary to but some good useful steel .

This trailer was proving it’s usefulness … carrying 20 ft lengths of angle and 2″ square and one 3″ c- channel.    No problems !  So the trailer is in the shop, and I’ve got lots of metal to work with.  Between the trailer and the 20ft metal there’s not a lot of room to get around.  I’m going to move the lift table over a foot and a bit. That should help..  Plus I’ll cut the metal into the sizes I need and the rest I’ll cut in half for storing .  And then the building will start after the Jeeps are out of the shop.  SOON.

New page for that..   Page 3

1988 12 ft flat deck Trailer

July 28 2023

Yup I’m getting an early start on the  “Winter Project”

Something more reasonable this time..  Won’t take six months to complete… but I could take my time ! Got lots of that !

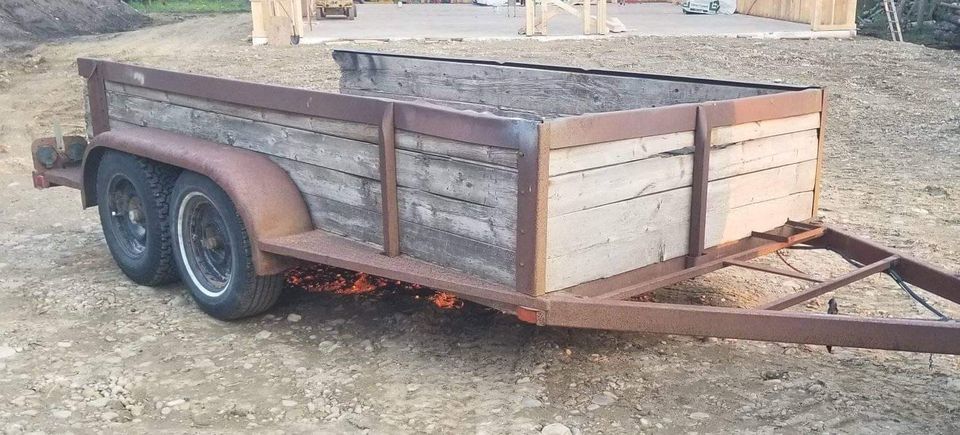
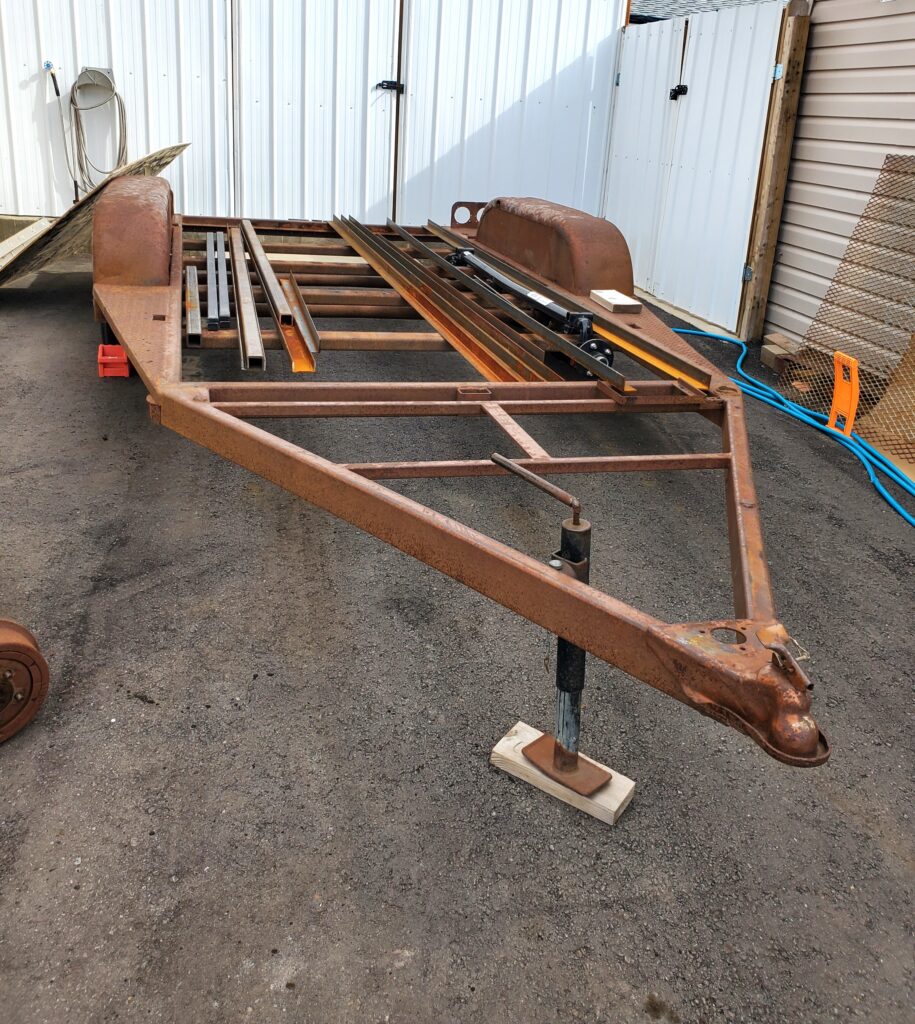
Perfect…  When I saw this one for sale I just had to have it ..  12 ft X 6 ft ..  5000 lb capacity ( small car).

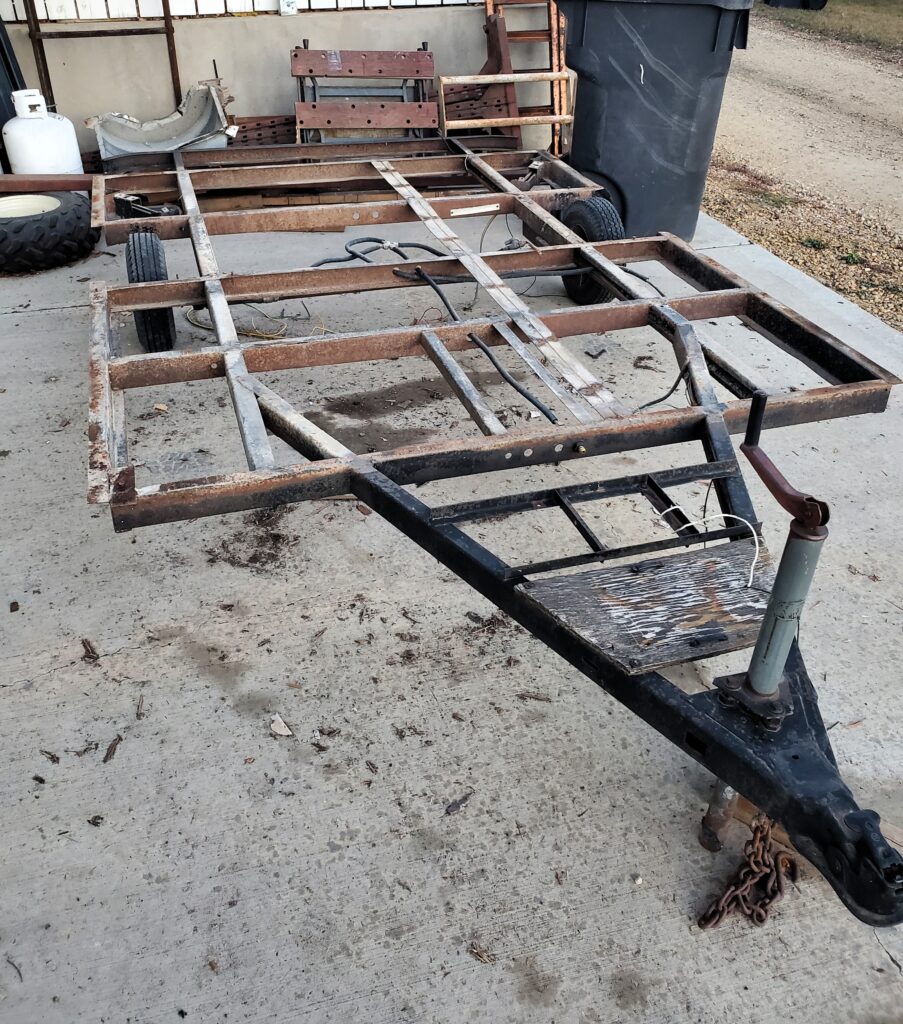
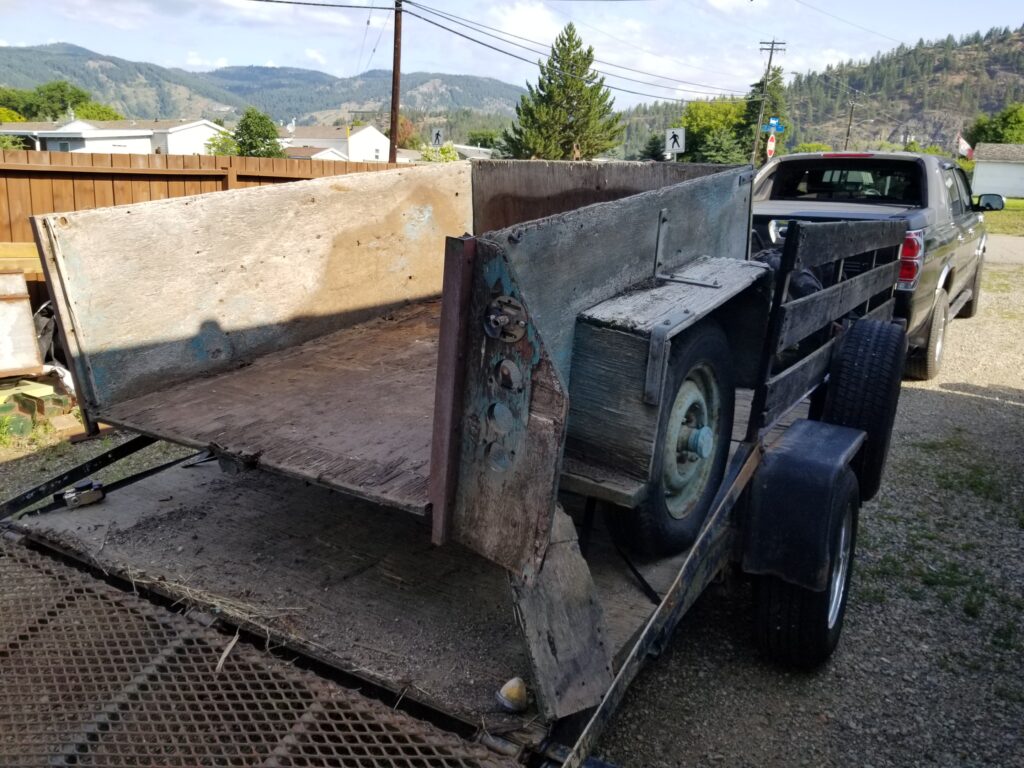
Needs some love for sure..  Those sides are toast..  And that’s not all.  Needs new deck, wheels, wiring. hitch. lights ( although these do work) And a paint job.  In other words..  just my kinda trailer.  BUT ! I towed it home two hours at full speed.. with no problems.  I won’t start on this till the fall ( that’s a lie).   Here’s a video tour…

My Avalanche was going in the garage right away.. But a trans cooler line broke and leaked all the oil…  so I had to use the Buick to fetch the trailer.. Not a problem, the Buick can tow 5000 lbs and the trailer as it was weighed in at 1800 lbs.  But the Avy will not be fixed till the 8 th of August…  so A bit of delay.  So yes I’ll start work on the trailer..

I want to save all the metal bent or not..  So I’m using a cut off wheel to cut the rusty bolts holding the wood on.

Getting there..  And so is the outdoor temperature ..it will be hot today. Most of the bolts were so rusty there was no way you were using a wrench.  I think I’m just in time to prevent some bad rust against the fender walls..  Lots of dirt and duff was trapped there.

And now for the floor..  Great idea to throw OSB sheets over the rotten decking..  Yup !  Now it’s falling apart too !  I think I’m going to need a shovel not a crowbar.

I think we need a new deck !

How about some nice pressure treated 2×6… Yup that should do it.  However that’s a much later thing.  Hours of sweat later and….

We have a clean frame and the parking area too !  For now all that rotten wood went into the other trailer.  So hiding under all the old wood is a nice sturdy trailer,  with 3500 lb drop axles, 10″ brakes.  And 4 leaf springs.

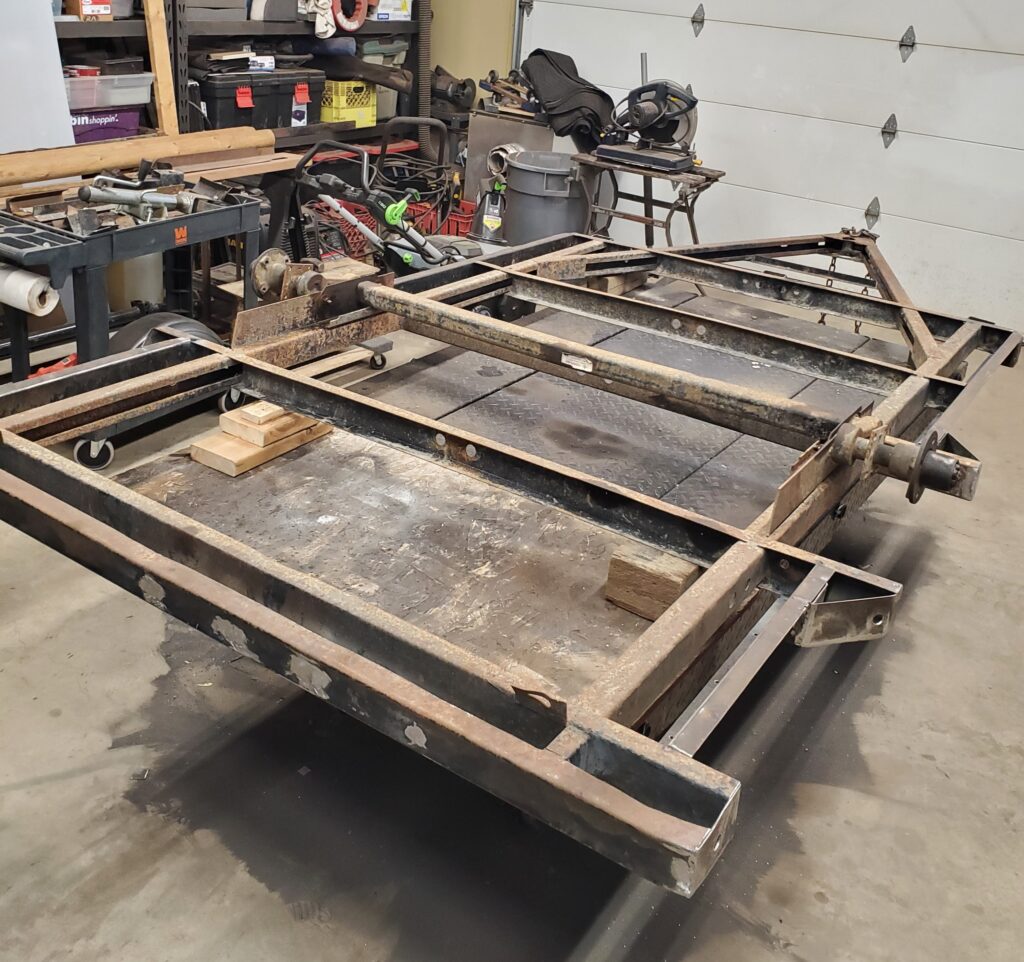
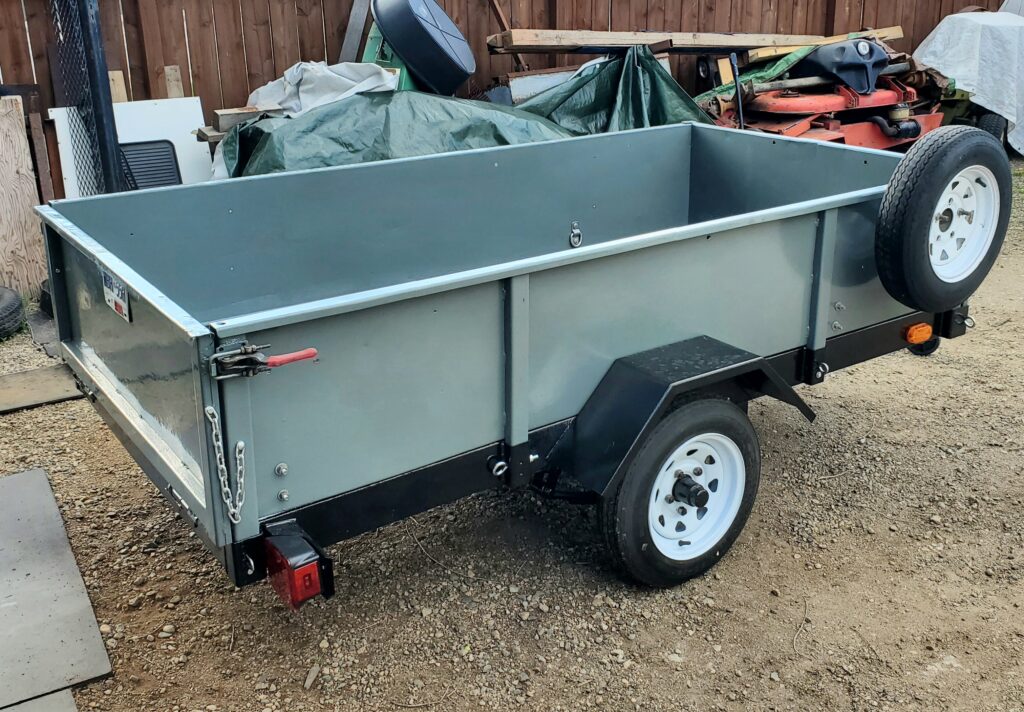
All designed to keep the trailer low, and pack some weight.  Nice… that’s the way we want it.  As you have seen looking at these photos what’s left of the paint is copper color..  The registration shows yellow ?  Well it will be neither when I’m done..  I should mention that the frame is made of 4″ x 2″  steel tube, cross pieces too.  No damage or bends either.  So I have an excellent foundation for a very nice flat deck trailer.  Do we just give it a new deck and a paint job…. NO.  We make it better than it was.  Make it safe to tow , and reliable with proper trailer tires, new hitch, brakes that work!  LED lights.

Metal Works !

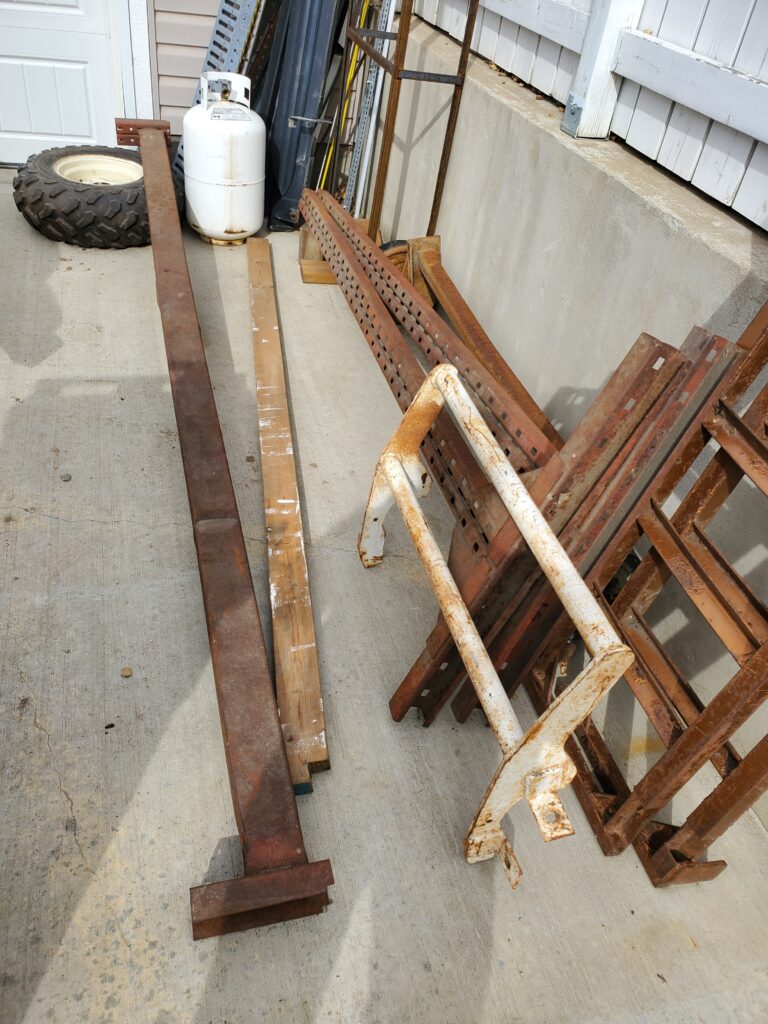
I really want to reuse the angle pieces that were the support for the sides.   But boy is the one long (12 ft) piece bent up bad..

Hard to see just how bad in the photo…  I’ve been hammering and jumping on these for hours..  I may be able to straighten them more when I weld them in place.

Better view of the bent-up-ness of the one..  I need to get them looking better…  Buying this much metal is very pricey.  I’ve got the upright pieces from the side to.. ( not bent).

Those “fold overs” are from the factory… they were at the top. I’m not asking why… These are approximately 24 ”  long , and the new pieces I need will be 12 ” … So there’s lots to work with.  Not so with the long ones..  Need every bit.

Alrighty… Time for a new page, about the PLANS!

Page 2

The Move ! ( Alberta)

May  16  2021

We always thought we would stay in this house…..  But

In late March 2021…  I took note of the price of homes here in Grand Forks going up.  Considerably !  And … there was only a few on the market.  Bidding wars in Grand Forks..   Unheard of until now.  When I mentioned this to the wife …she jokingly said “lets go to Drumheller”

Well that opened a can of worms..

And so after a bit of thoughts on the idea. Living close to the kids and Grand Kids, the pros the cons.  I checked out the house market in Drumheller, and WOW lots of homes to choose from and much lower prices than here.  So We decided to list our home.


And with a messy driveway and the shop full of stuff…  IT SOLD !  In two days..  no conditions and over asking !  Unreal.  I guess we are off to the Drum to find a house.  We have two months !

This was a very interesting process..  scary too. But it’s better to sell your home then look for another…  instead of buying another before you sell your home.

We had a bit of time at home to short list the possibilities.  And there was one that was #1 on the list.  The home on Pinter Dr was the first one we wanted to see. and the only rural home too.

This home was in a Rosedale area of Drumheller.  Just a tad under an acre of nicely treed property , and some very nice outdoor living space.  Plenty of flat parking for all my trailers.  Most of all QUIET.  But the house did not impress Mo at all. The photos made it look better than it was..   It needs some work.  To be expected on most homes.

So we were off to see more homes…

For the next two days we looked at lots of homes .  And most were worse than the first house.  But some were promising too. Some were more money than we wanted to spend, but move in ready.  But all were missing the yard space and elbow room from neighbors that we like. Sometime during those two days we got stressed thinking we would have to compromise.  On the second day at the last unimpressive house…  Maureen told the agent and me that maybe she was too hard on her opinion of the Pinter Dr home, and wanted a second look.  Well that was interesting..  We did that and talked about the things that she did not like.  I assured her that things can be changed and improved..  So we put an offer in… and after a little back and forth we got the deal we wanted.  So we have a place to move too.

Purging & Packing !

Moving sale !  Big one .

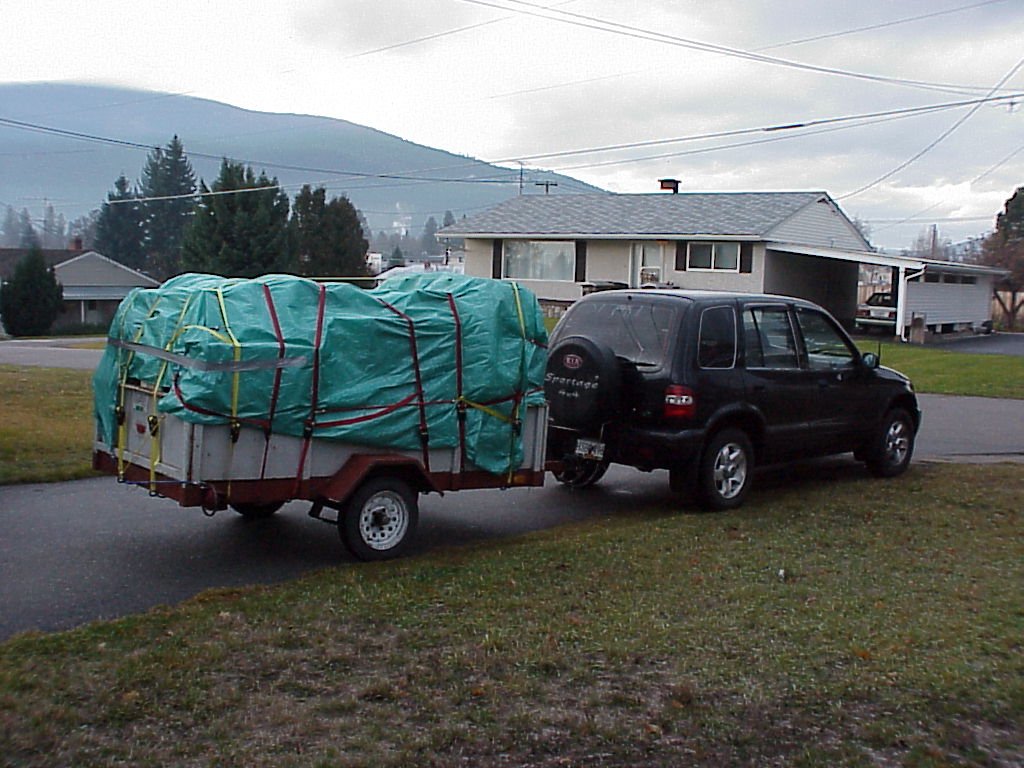
It spilled out into the driveway.  We sold a truck load of stuff in the first day !  Plus we were filling a dumpster at the same time.  Very little of this pile was left after two days.  HI FIVE..  Added to that I sold some bigger items & found homes for other stuff.  One trailer load of wood to the landfill.  Three trailer loads of metal to the landfill.  My shop was loaded into the horse trailer.

And I mean loaded… packed tight.


Eric came from Calgary and we loaded two more trailers.  So three trucks each towing a trailer..  This was the shop and the toys…

Like the boat and the Kabota.

The ATV and kayaks.  We made a trip to Eric’s place and stashed all this there..  It’s now in Alberta and only two hours drive to go fetch.

Mid May..  and we are doing good!

Mo has packed up most of the house..  We are having movers come on the 28 th and taking all the house hold and furniture.  I will be making a trip this week to take the travel trailer to the Drumheller house and parking it there.. And talk with the lady who sold us the home.  A scouting trip to see where the movers need to put things. Cause we will be making the drive there when they are unloading.

This is the piles of boxes in the garage. Wow!  And as for the things the movers are not taking.  well that will fit on the two trailers and in the two trucks on moving day.  More to come:

The Visit:

It’s the 20 th of May and I’m heading for the Drum with our travel trailer.  Driving through a bloody blizard in May !  Another Alberta welcome..  Fortunately as I drove closer to Drumheller the weather got real again.  The very nice lady we are buying the house from allowed us to park things in the yard.  Nice.  This gives me a chance to meet her and learn some things about the house.

Big yard !  I had most of a day to sit on the patio and wander around and take some photos.  Ask questions and get answers to some mysteries.  All good and I felt better knowing more about the house instead of worrying about what we will find.

But the best part is looking closer at gems like this fantastic cedar gazebo.  And the 18 x 14 barn..  It’s legit !

What I thought was and old crappy shed is dry and can be secure storage.  I also checked out the house in detail.  And there is only the things that we knew about..  A great visit with Tari on the covered porch.  And off I go home.  I now have a clear sense of where our stuff goes.

Moving Day:

Wow I had a big garage !  The movers have come and gone.. we are sleeping on the floor… sitting in camp chairs..  Cats are freaked out (just wait).

The Big Day Has Come !

We hit the road early.  got our selves a CONVOY.  Two trucks pulling trailers and the Kia.. Two howling cats..  Dave was the one with the quiet ride.  I had the girl cat and she voiced her displeasure for five hours.  It’s a 10 hour drive to the new home, and our convoy did not stay together..  I only stopped once for a bathroom break and fuel.  While we were driving the movers were unpacking our stuff into the house with help from my Son.  They had food in the fridge and supper made.  Welcome to Rosedale / Drumheller, Alberta.  Also called the Badlands.

And the rural property that I always wanted but far away from Grand Forks.  So now that we are here let’s start a new page :

The Move Page 2:

Old K-Mart 4×8 Folding Trailer PAGE 3

Sept  30  2020

Finishing the Trailer :

Once I joined the two halves together upside down it’s easy to do a good wiring job..  Consideration for the folding must be made.

This is were I do things a bit different..  First off I use loom to protect the wires,  Mostly the vehicle plug end.

A hole through the tongue on the left side and the loom passes through that with a tie so it can’t be pulled out.

The other thing I do is run the ground wire directly to the lights instead of relying on the frame as most do. This is far more reliable on any trailer because ground connections to the frame can rust and become poor. Plus this trailer folds up and there is two painted hinge points that would not allow ground to work well.  Bright ideas means bright lights !

Here’s how I solved the hinging problem..  Enough of a loop to accommodate the folding but keep it tucked up..


When the trailer is flipped over this with be the right hand light.

The lift table is SOOO great..  just roll the trailer over and lift to a comfortable height for working…

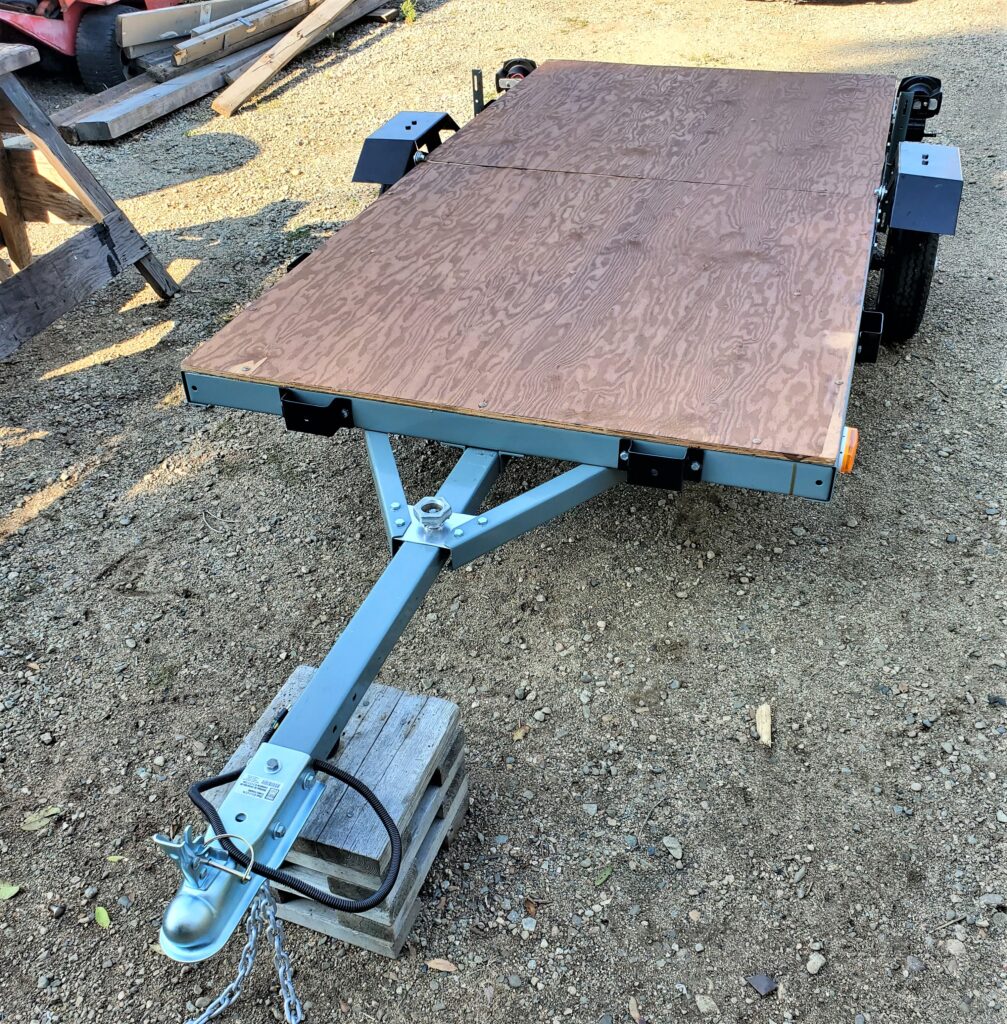
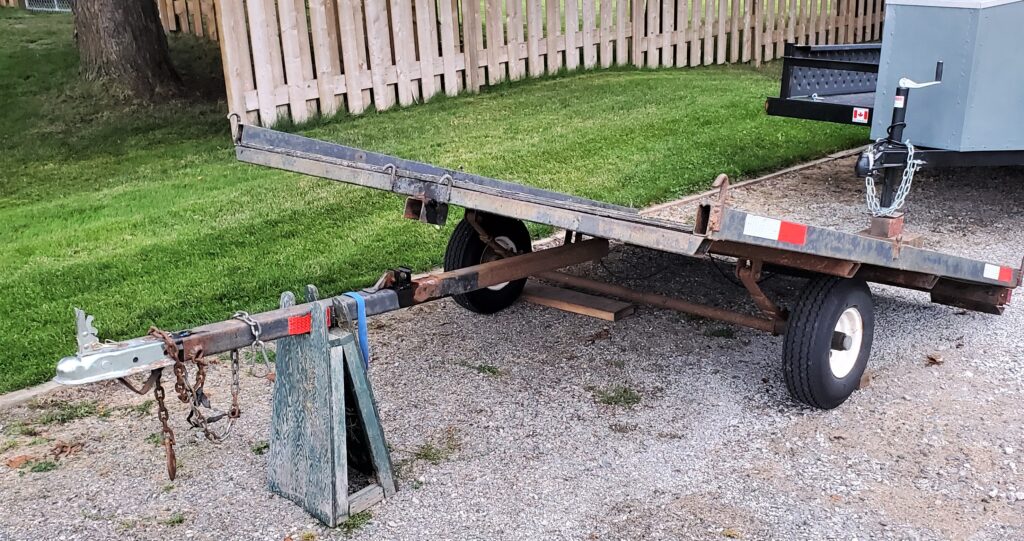
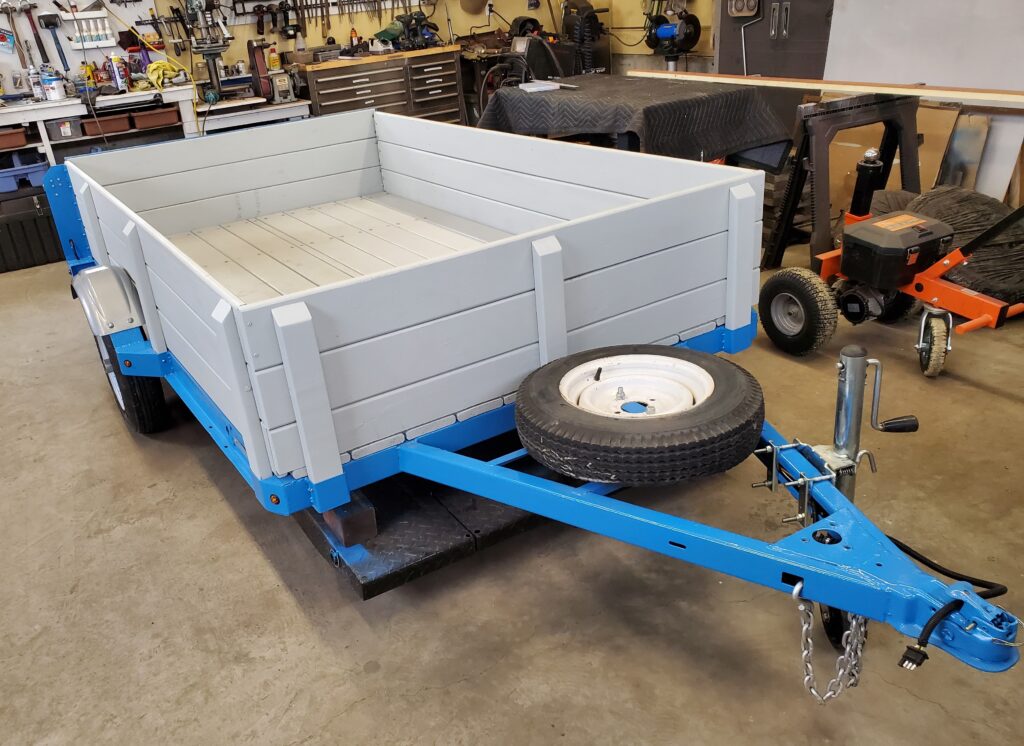
Well it’s all done and listed for sale..  She’s a cutey ..  folds up and stands up like it should.

And it’s still a very useful 4×8 trailer.   Nice and light.

End of this post..  it was fun …  Rob

Old K-Mart 4×8 Folding Trailer PAGE 2

Sept  22  2020

–Cleaning & Painting :

Well I looked at the frame sitting on the saw horses out side .. and it looked like a real chore working on it..  SOOO   I took the whole thing apart… all the nuts & bolts.  They were rusty and some of them broke.

Now I’m left with just a pile of metal pieces that are easy to clean.  These cross pieces are all the same …so they can go in any order.

Same goes for the stake pockets..  I bought all new bolts to put it back together.  AND !

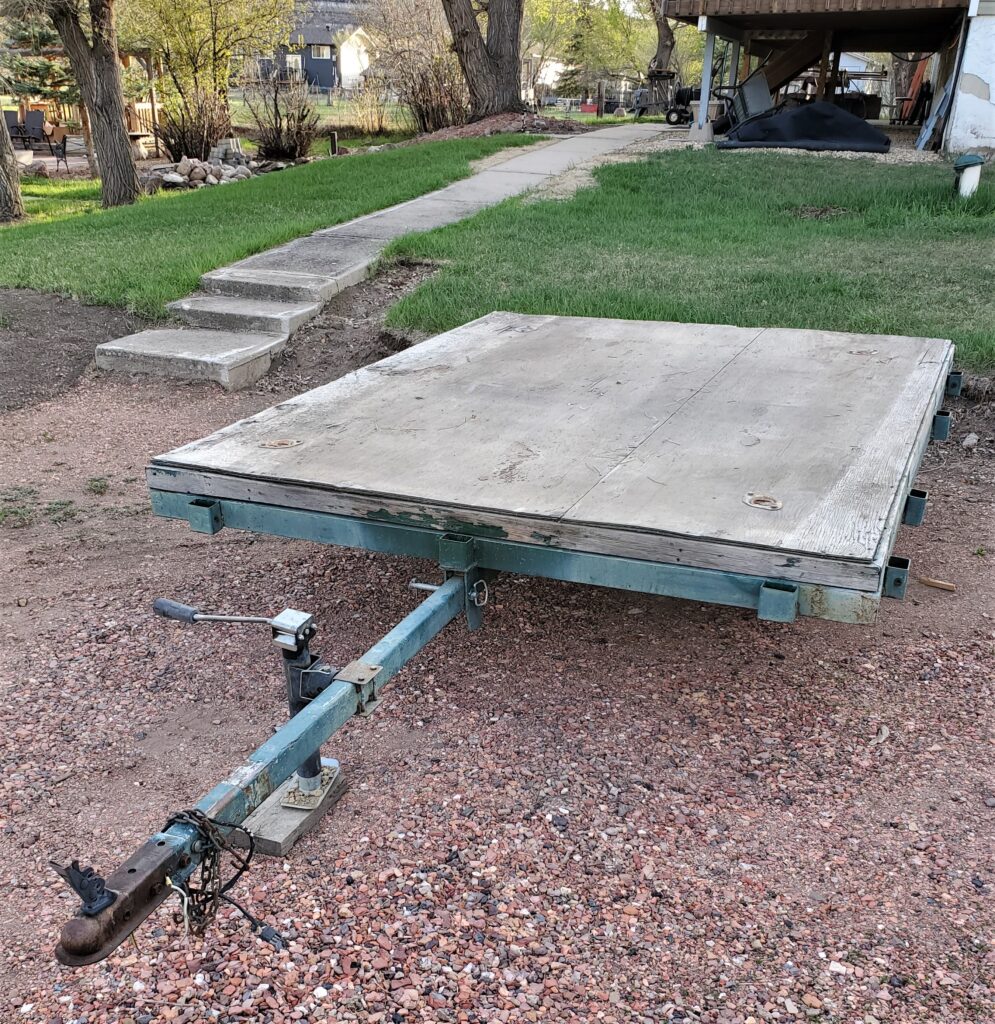
I’m keeping the folding ability.  These are the hinges,   all they need is a good cleaning and a bit of straightening.  I will also need to replace the angle iron feet the the trailer would rest on when tipped up for storage.   The weather turned to rain so I had to bring the whole works inside.

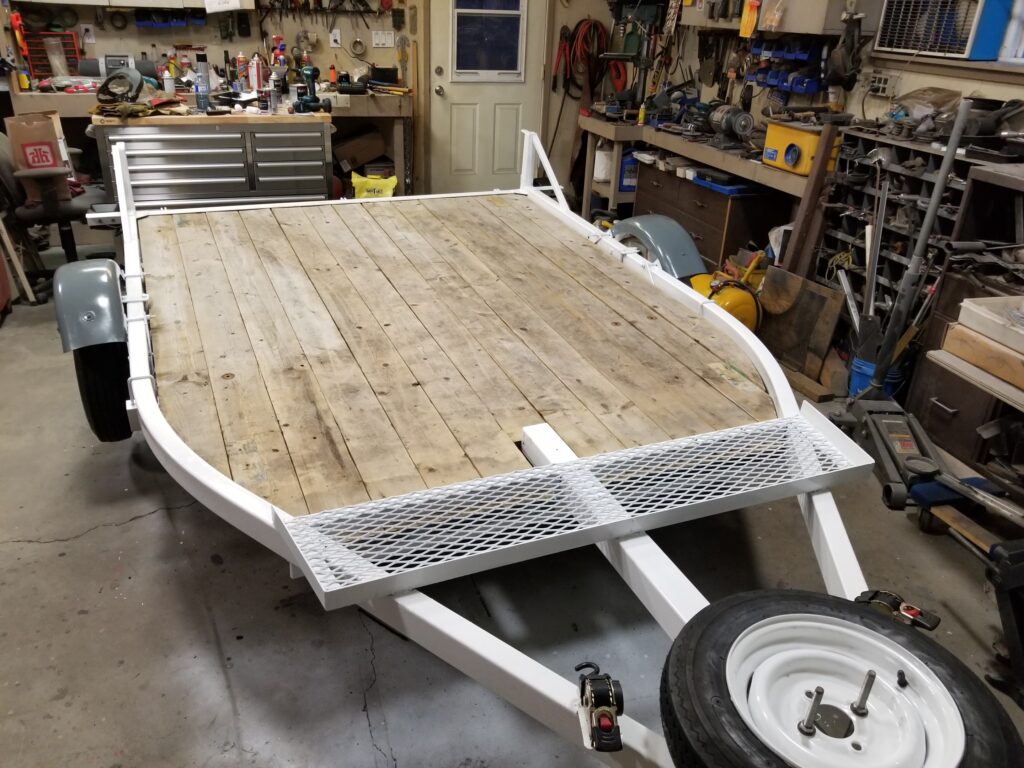
The whole trailer ( minus the wheels) is here on my lift table.  All cleaned and ready for painting..

And we have it..  just like new!  I”l let these cure for several days.  Then when we have a nice day I’ll go get a sheet of plywood and put the puzzle back together.

All eight stake pockets are spiffy again too.  Everything has a nice coat of paint now.  And it cured enough to put back together.

Here’s the front half of the frame..  like putting a puzzle together.  I left the bolts loose so I could use the plywood floor to square the frame up.

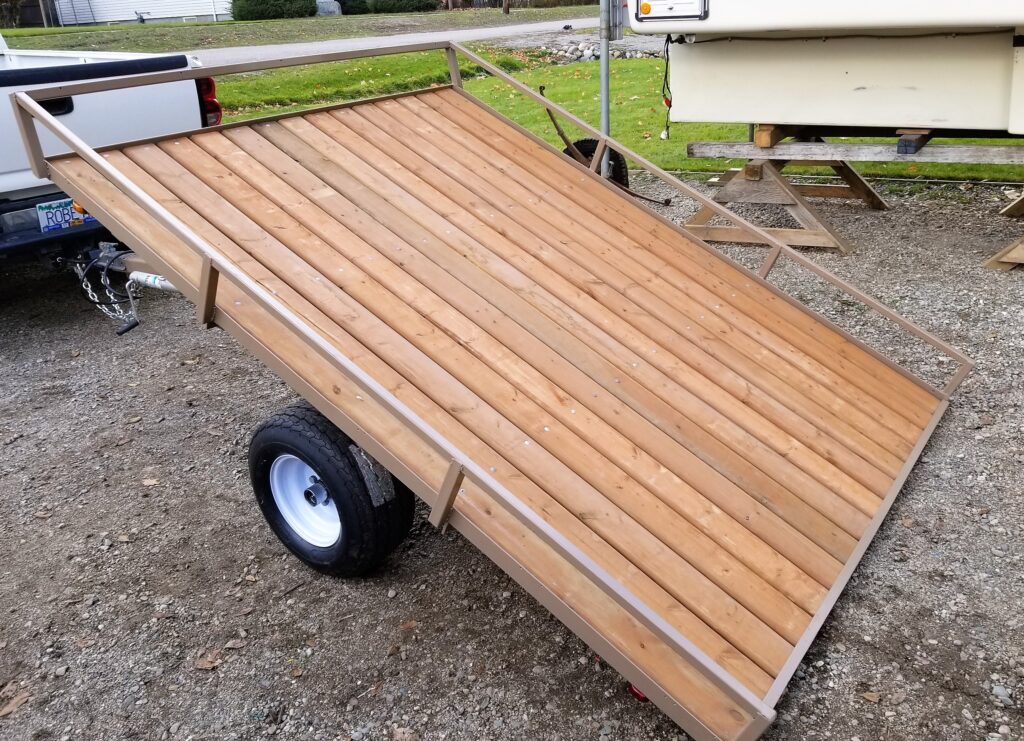
Of coarse I put a coat of stain on the underside of the plywood.  That’s 5/8 ”  GIS plywood fastened to the frame with 1/4 ” galvanized carriage bolts.  Not SCREWS !  This is strong and will last for many years.   Screws will become loose and rust easily…  bad!

Like I said all new bolts with locking nuts are used .  The stake pockets are on now too. Ready for wiring and lights.  Let’s have another page for the finishing …

  PAGE 3