Nov 3 2020
Here we go… Again !
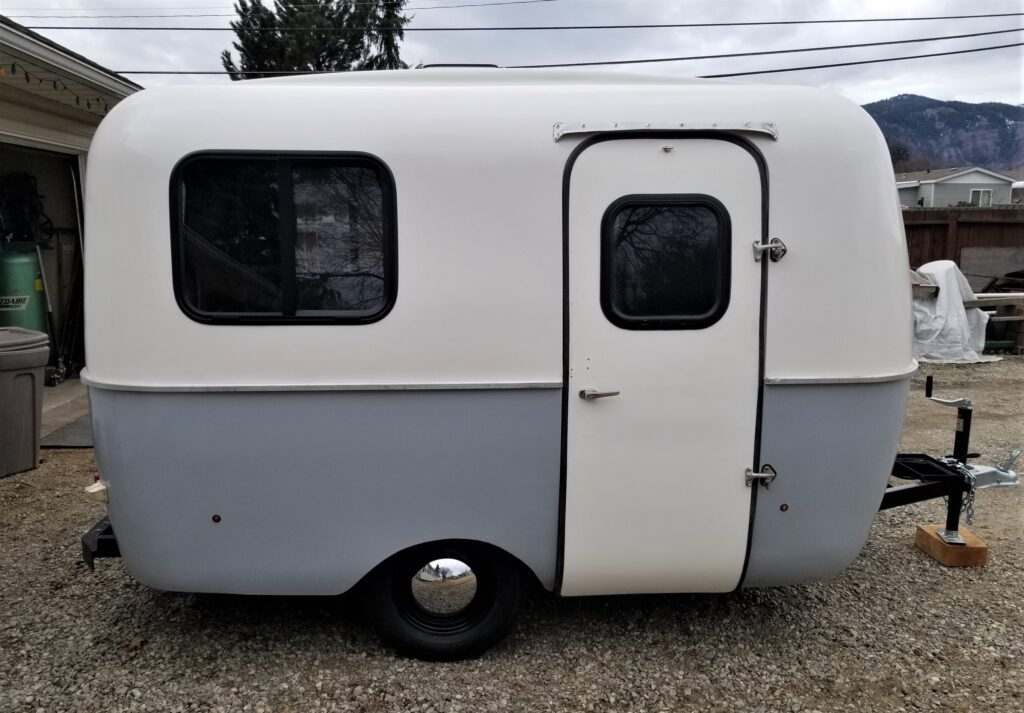
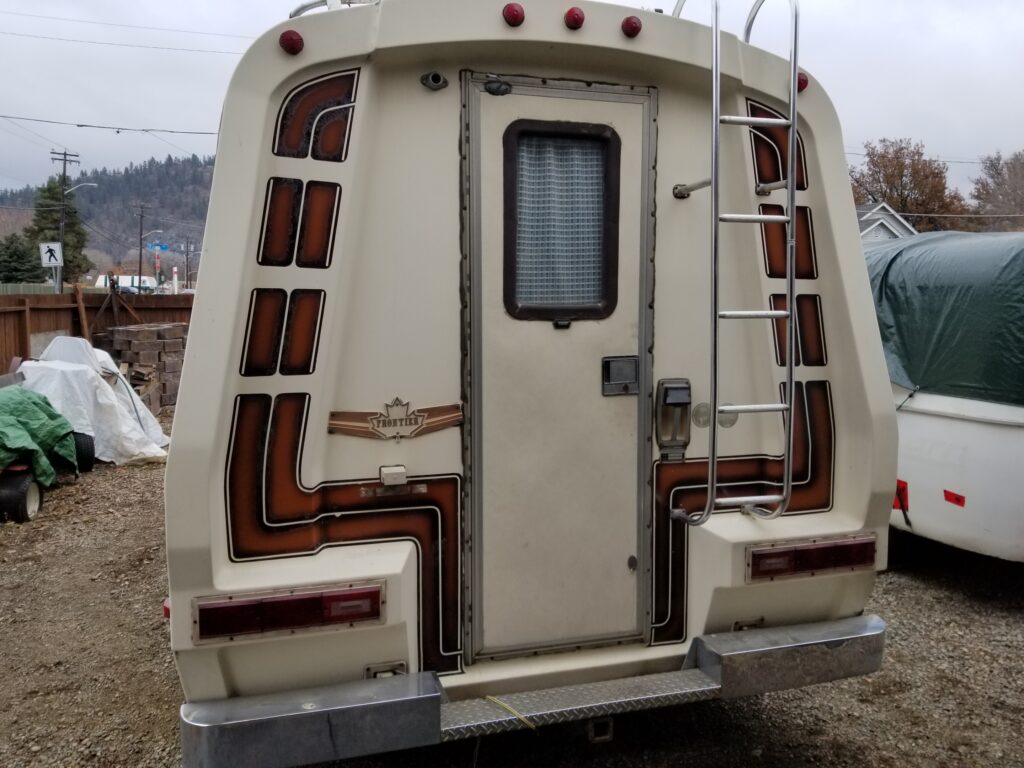
After restoring two small fiberglass trailers the Boler and the Scamp I had enough and was glad to see both gone. But I changed my mind when this one was offered to me for free.. Yes free. What can i say …I’m a sucker for an ugly trailer.. And more if it’s fiberglass. Starting from $0 is as good as it gets. Now as usual I’ll show you a photo from the web of a nice one…
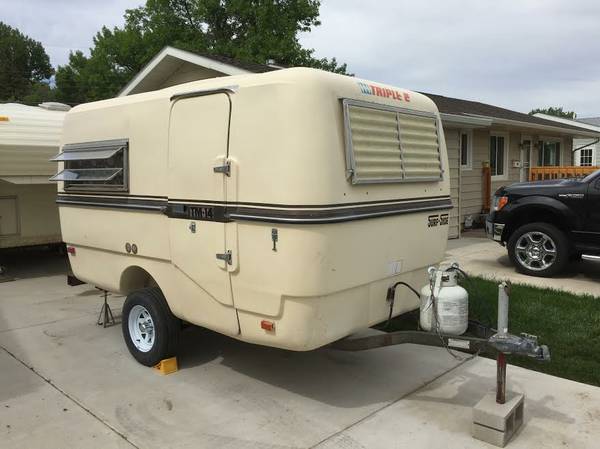
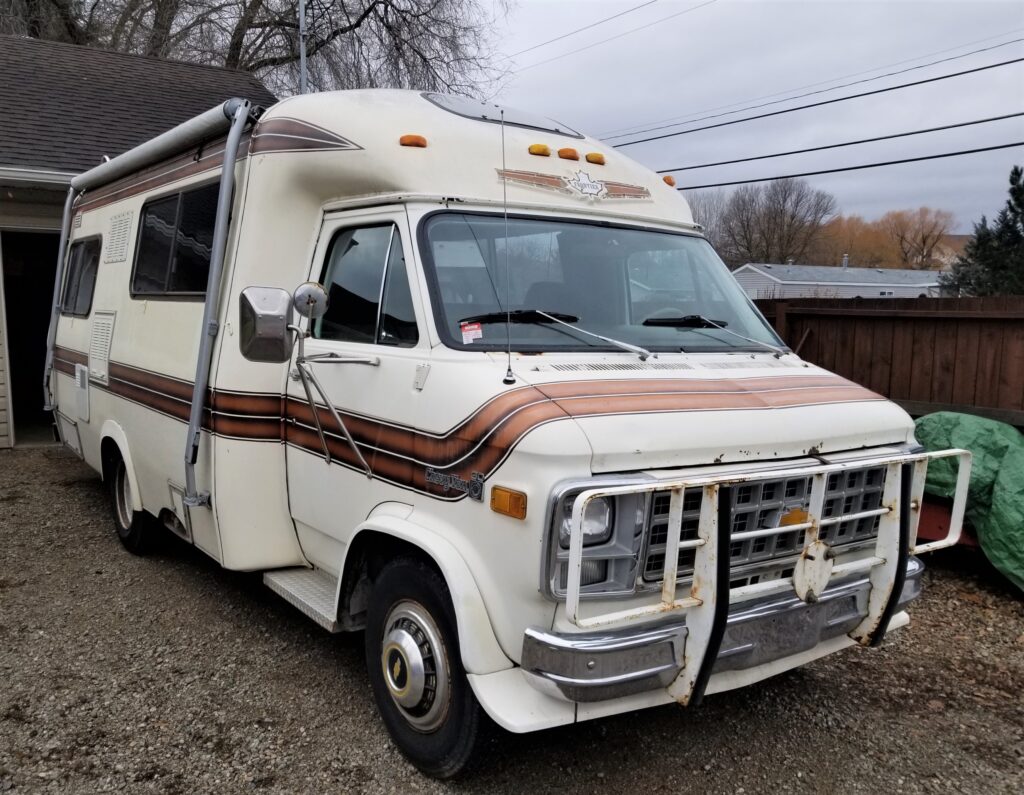
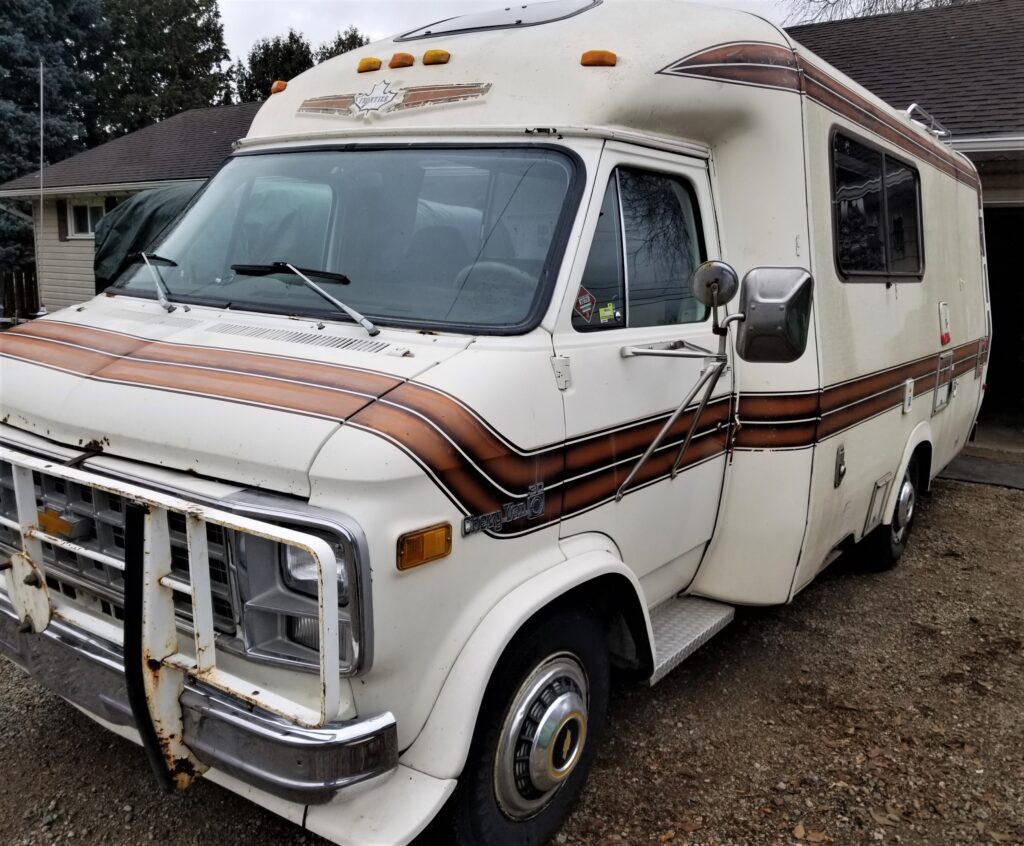
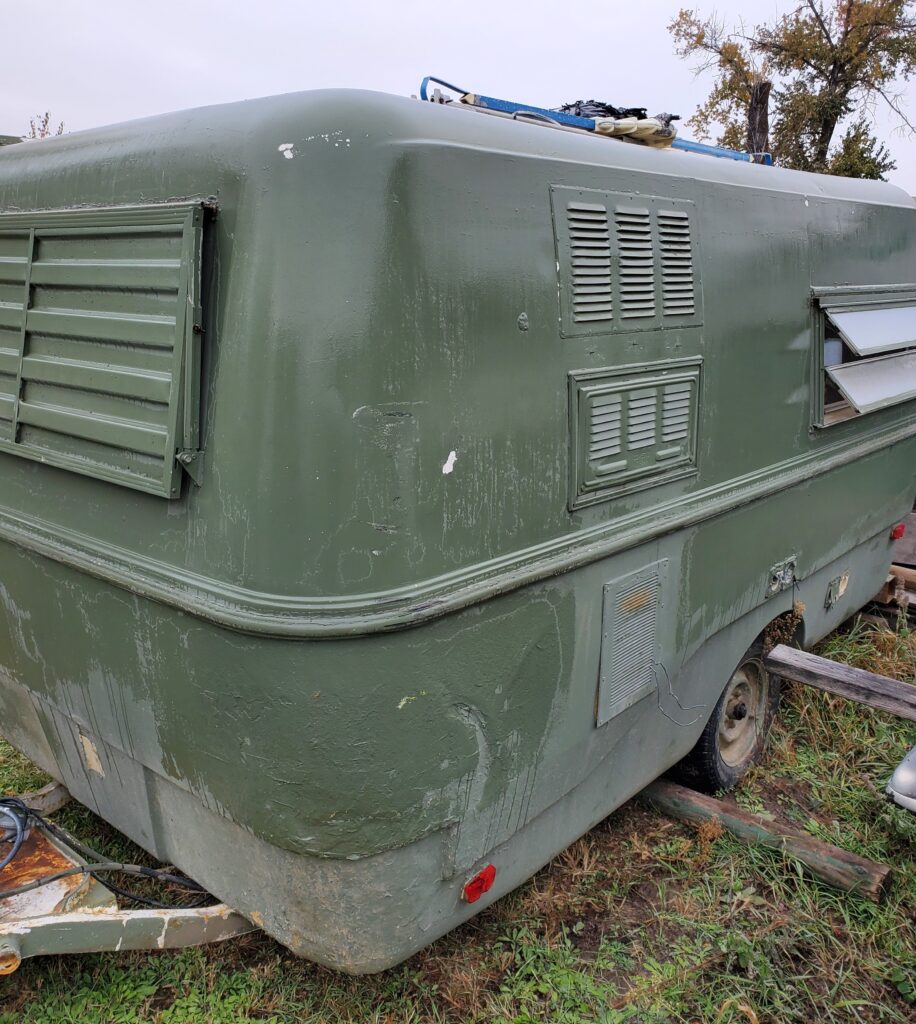
Nice eh… It’s what it should look like… But then it would not be free, would it ? Nope a free one looks like this…

Oh ya someone got some free green paint and no sense of when to stop. Unless your lazy and did not have a ladder …then the roof gets left the old color. Like it did.. Sad.
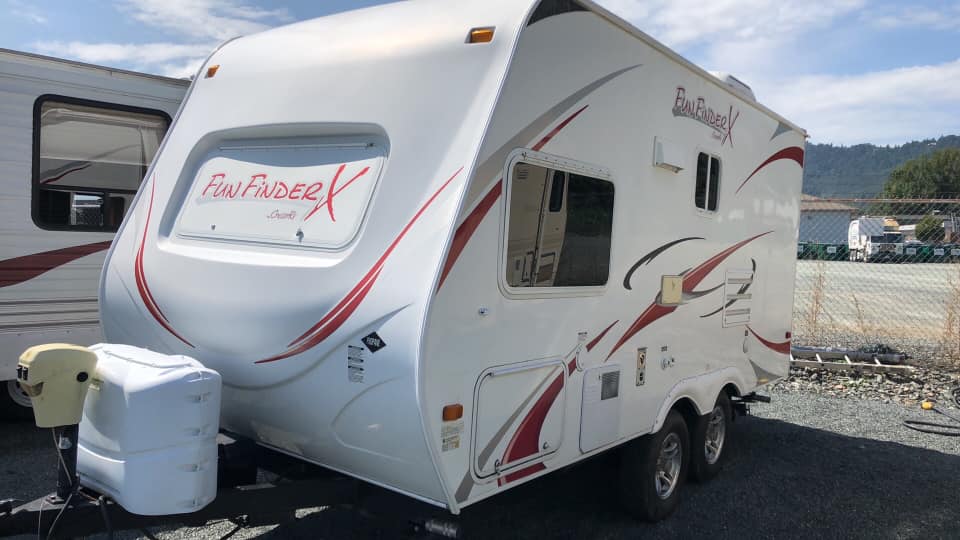
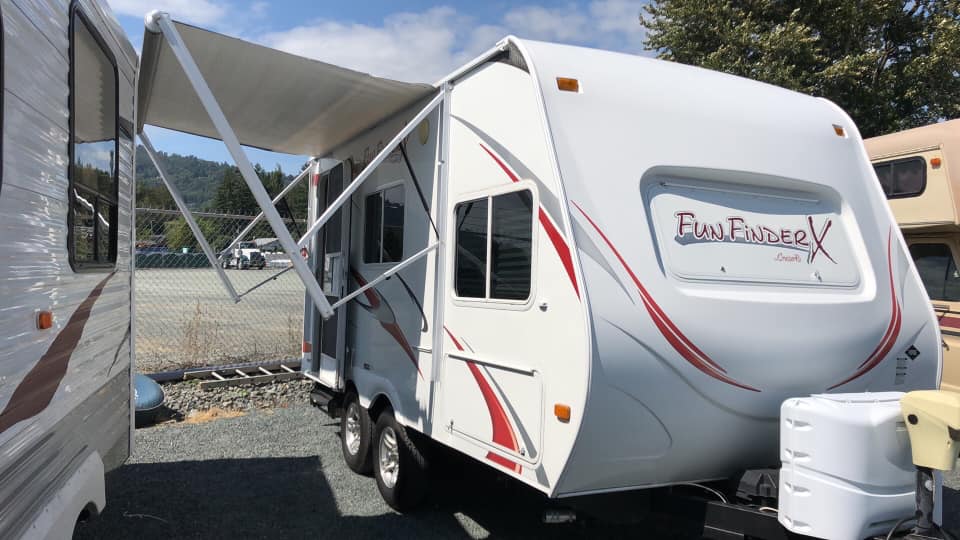
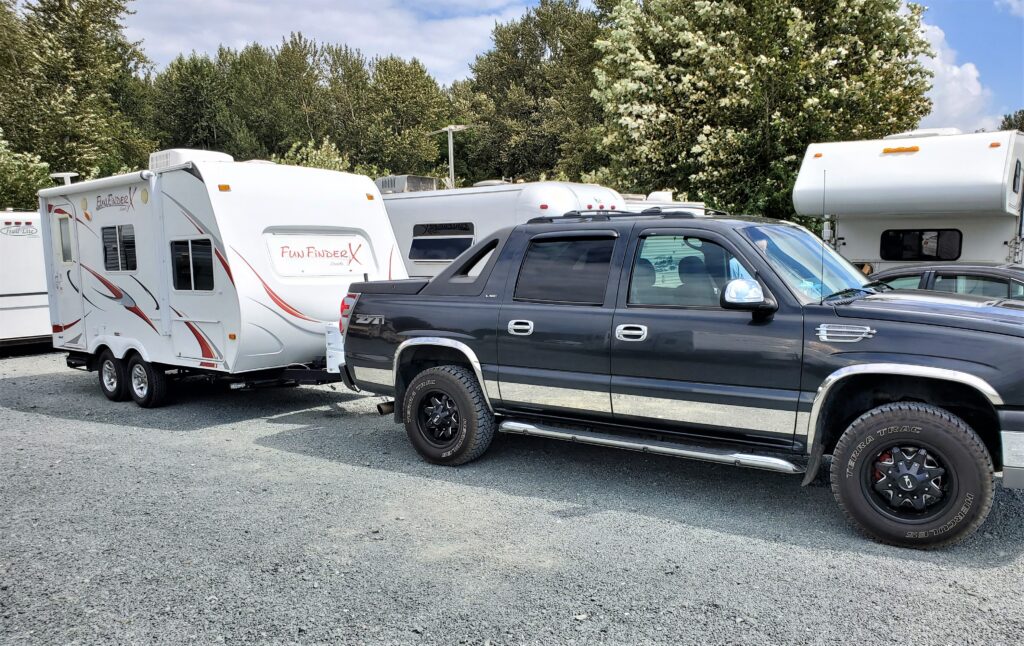
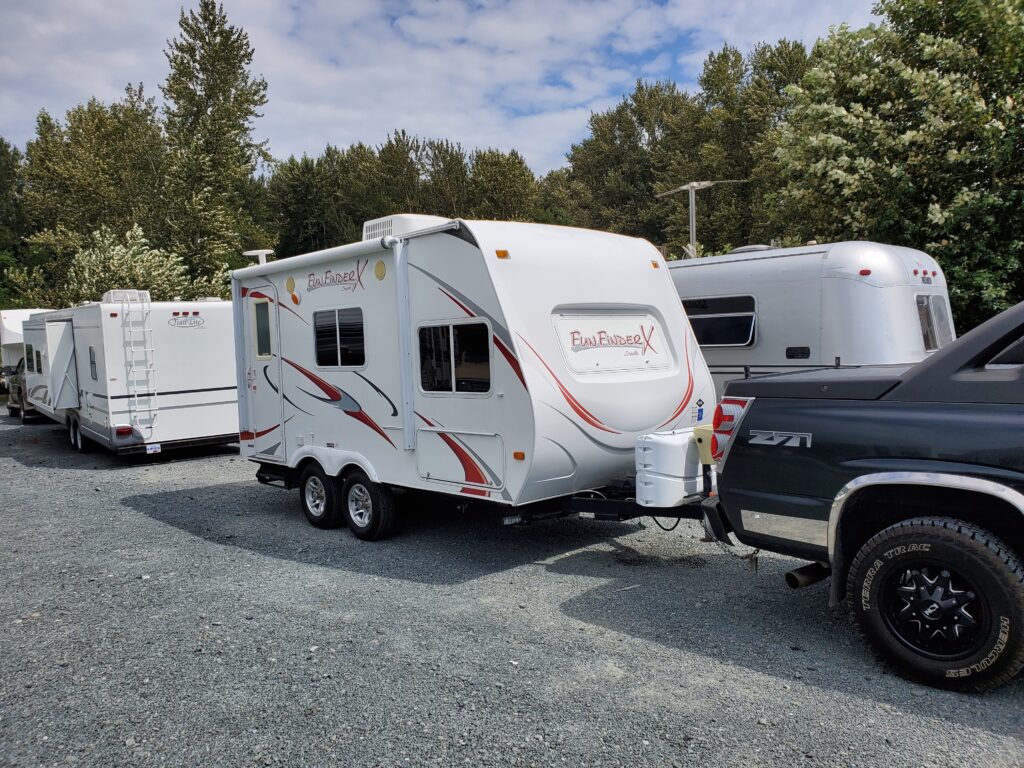
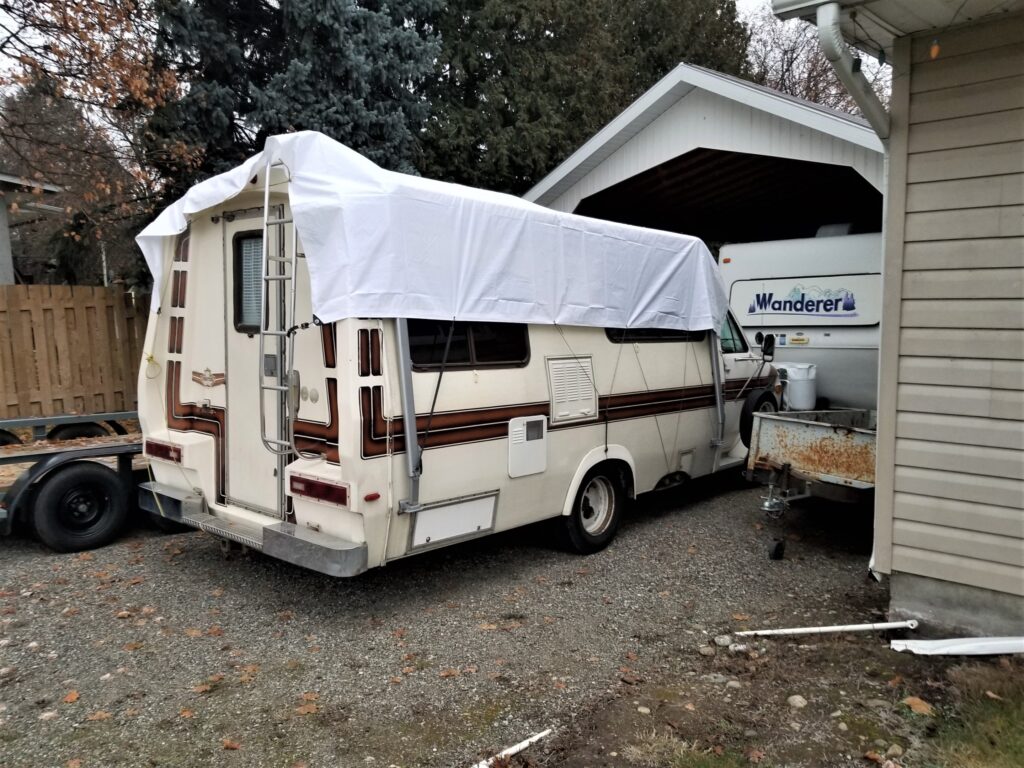
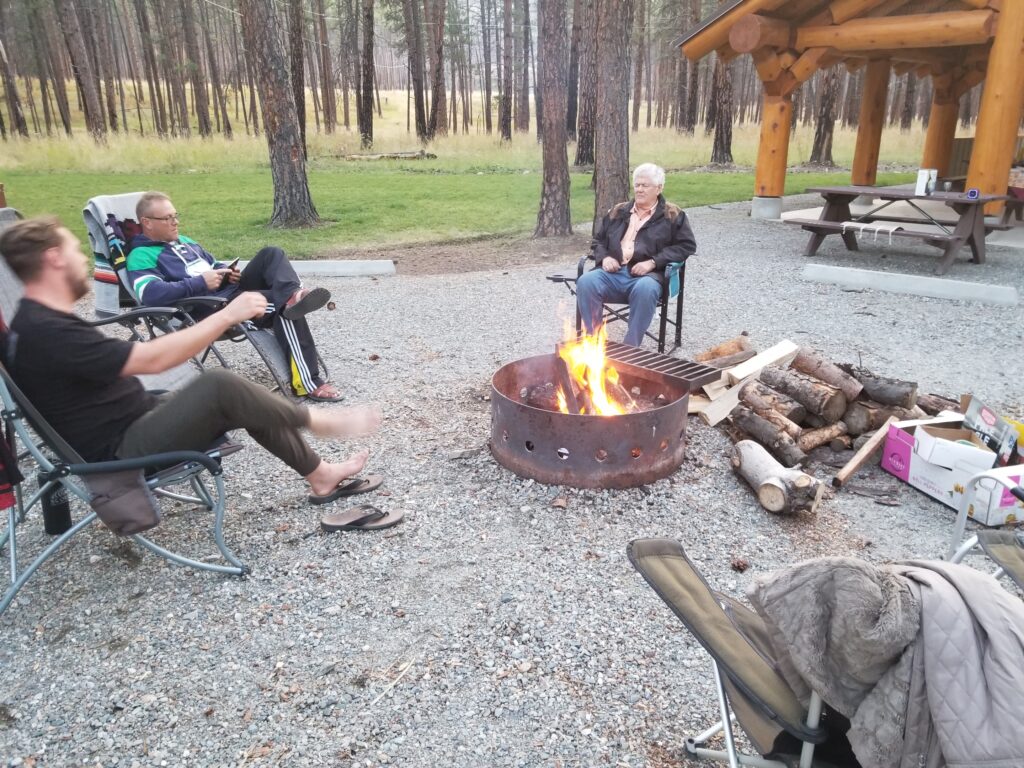
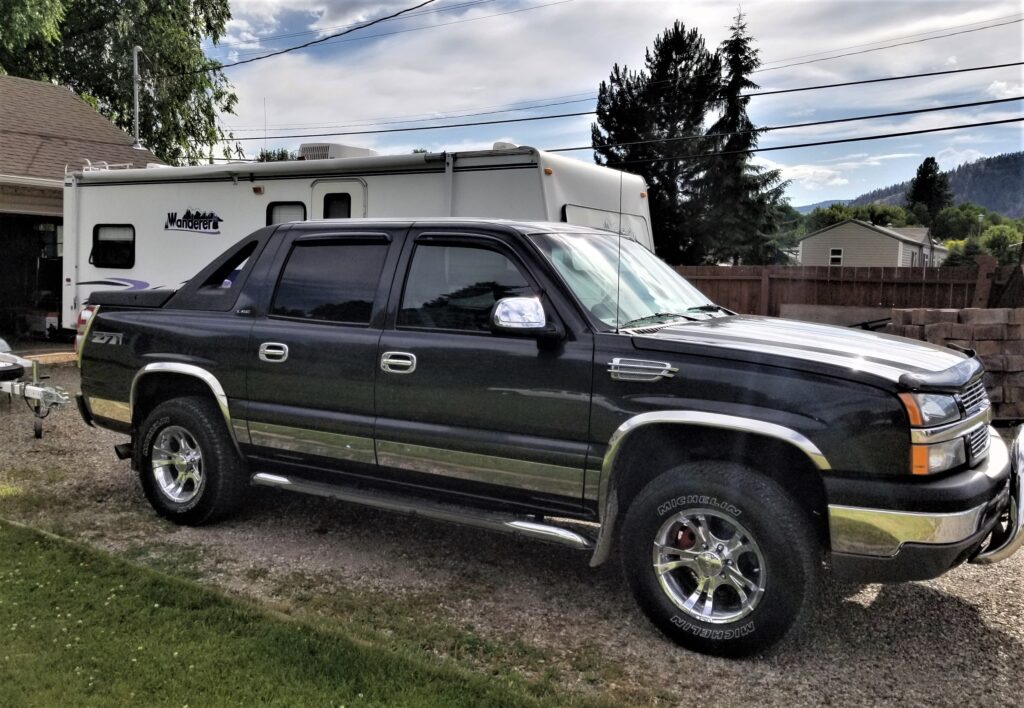
Today I towed it home. Which makes it better in some respects. Neither the Boler or the Scamp could be towed home they had to be loaded on a flat deck for that trip.. This time I did not even have to put air in the tires.. But lets share the story.. or what I know anyway.
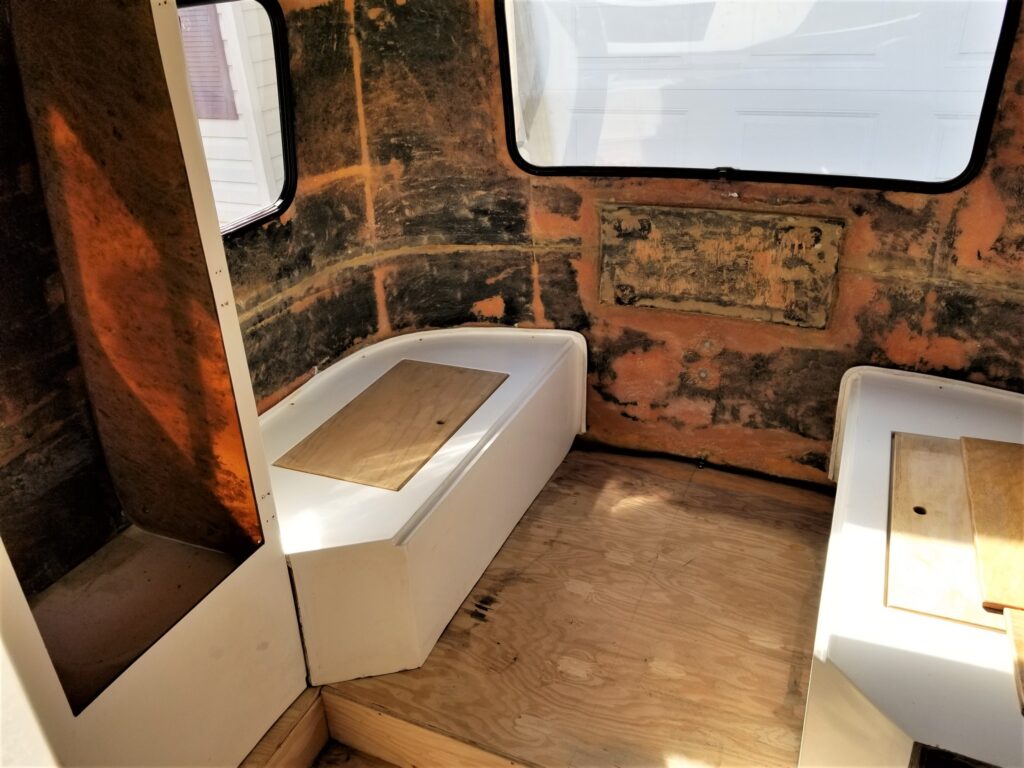
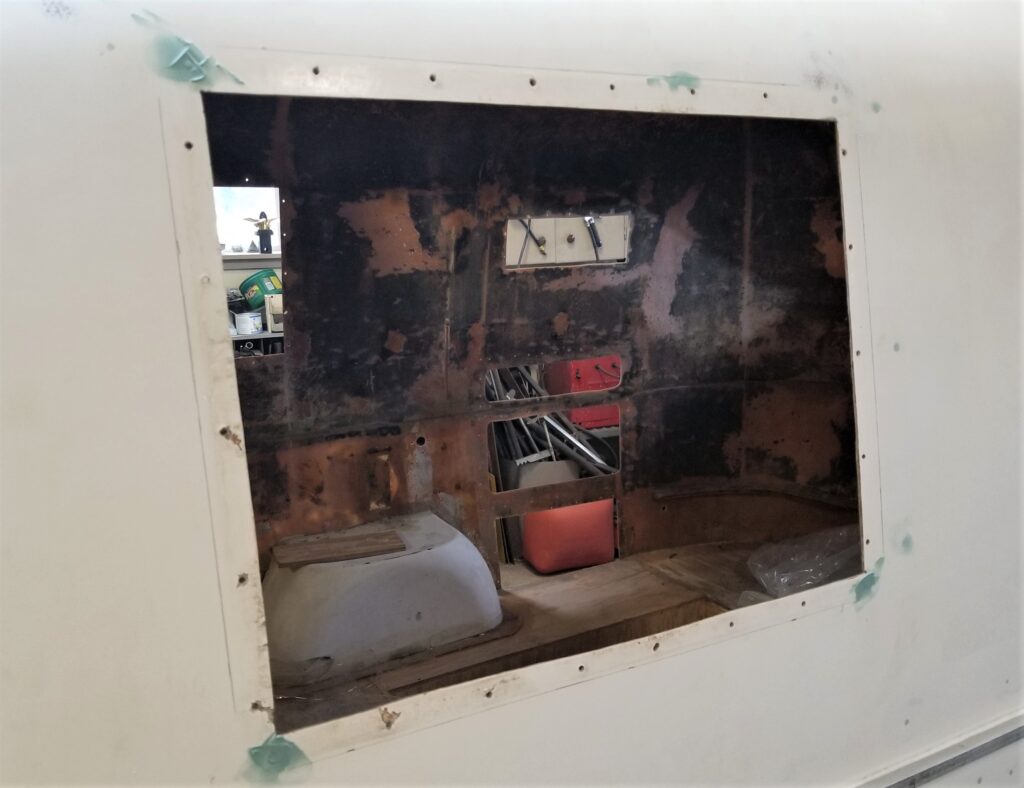
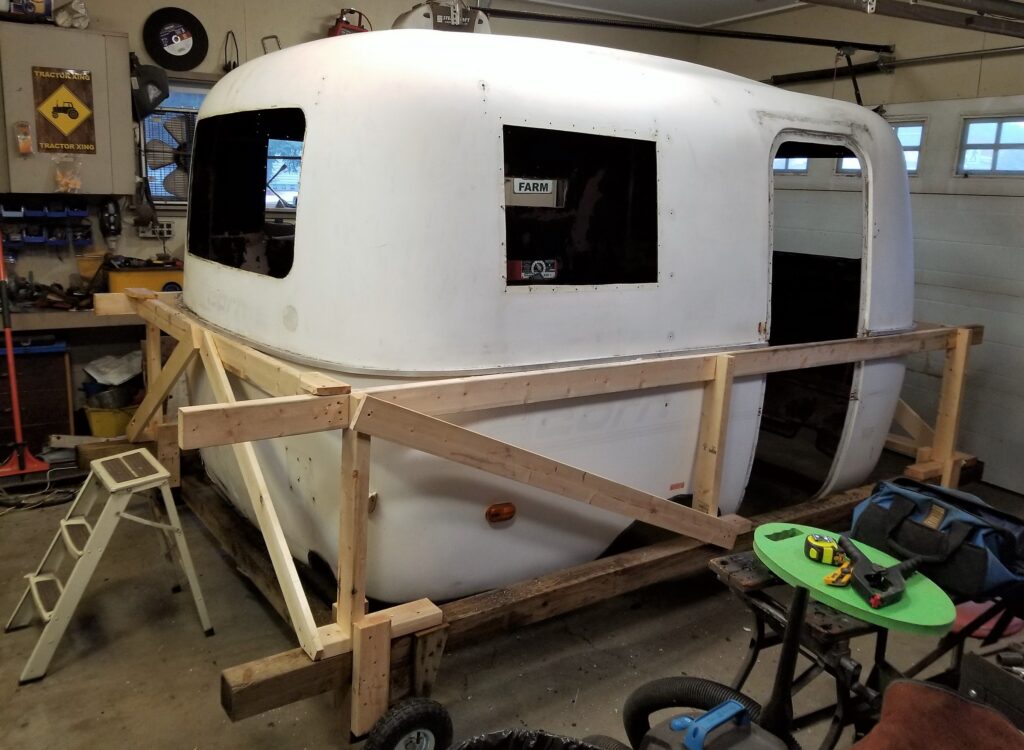
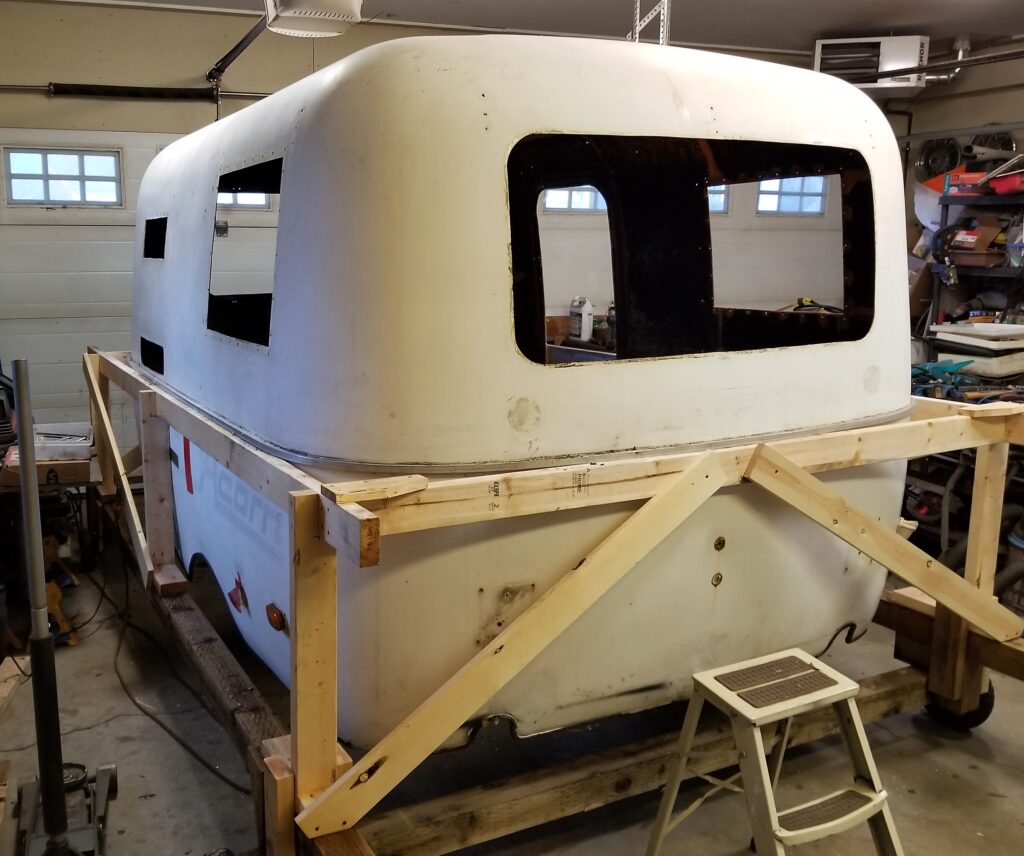
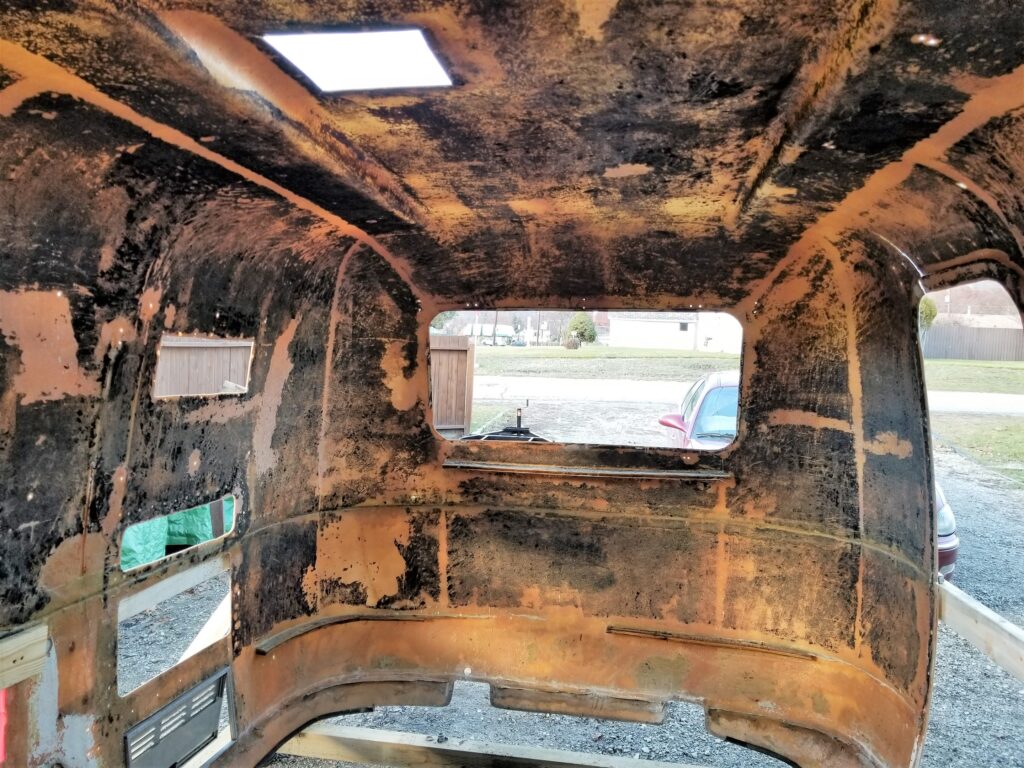
It’s presumed this trailer was given to one of our street folks. Whom had someone park it for them up one of our forest roads. CO tells them they can’t do that and have to move.. So they make a deal to park in my friends RV park… But they don’t pay the rent .. and after a few months sneak away at night. This trailer sits there locked up and waiting for them to return for the stuff they have horded in side.. Nope months go by and they are gone .. The RV park is sold and the new owners want it gone.. Who ya gonna call ! Rob (ME). Now I’m going to say the above story plays out everywhere. The bleeding hearts say these folks need help , community support and a place to live.. sure so long as it’s free and there are no rules. And what’s up with all the stuff ! Just wait till I start going though the STUFF in side the trailer … God only knows where it came from ?
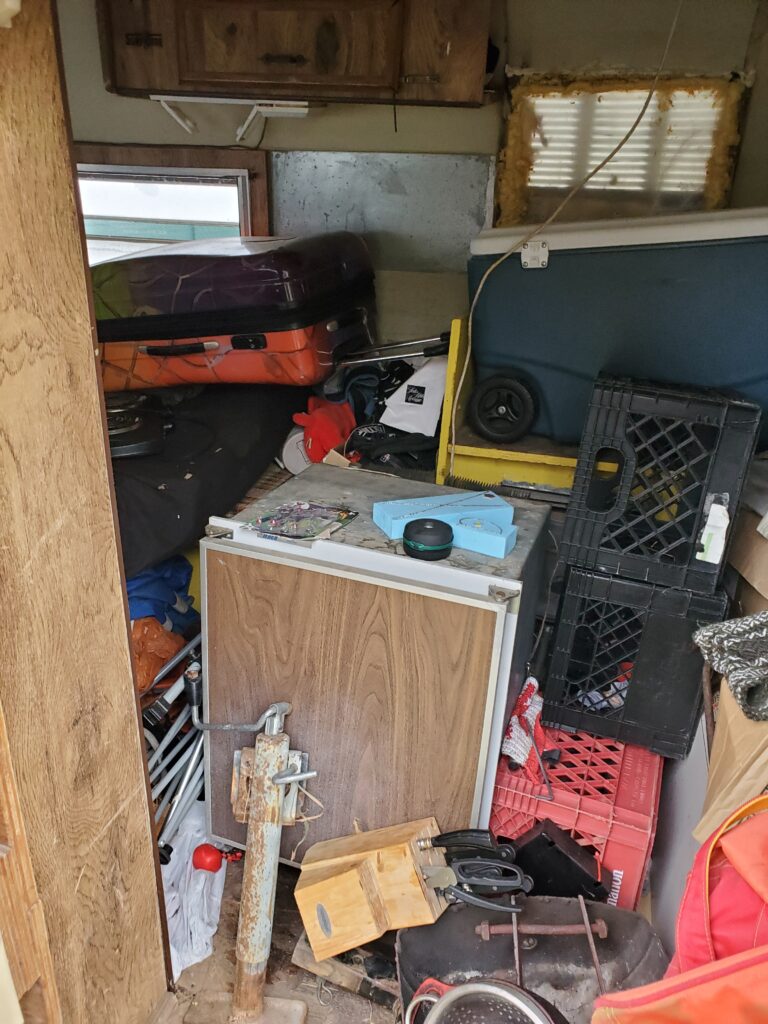
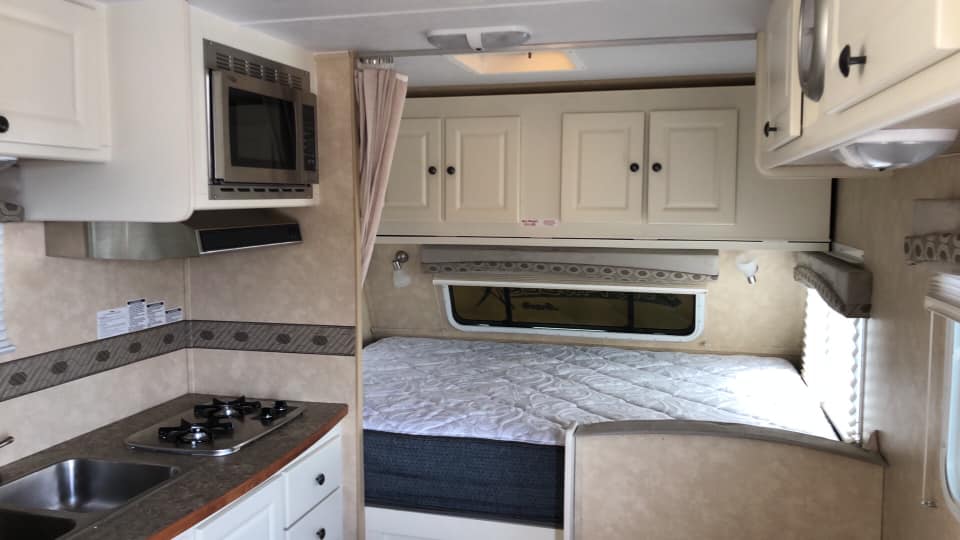
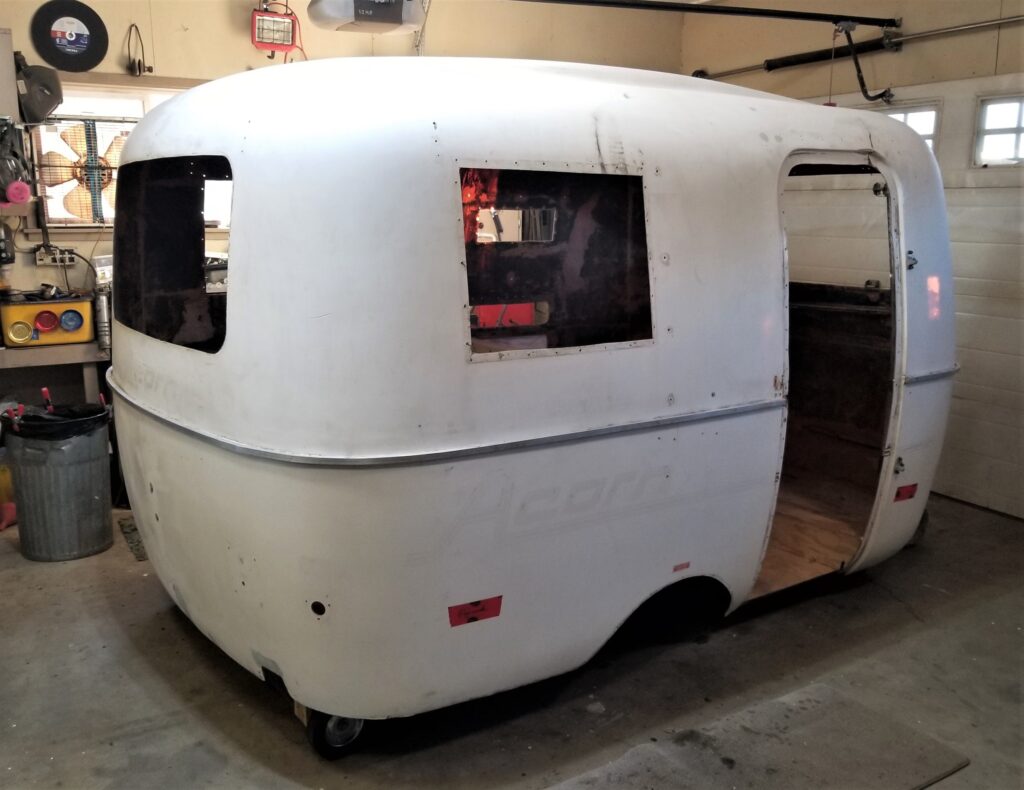
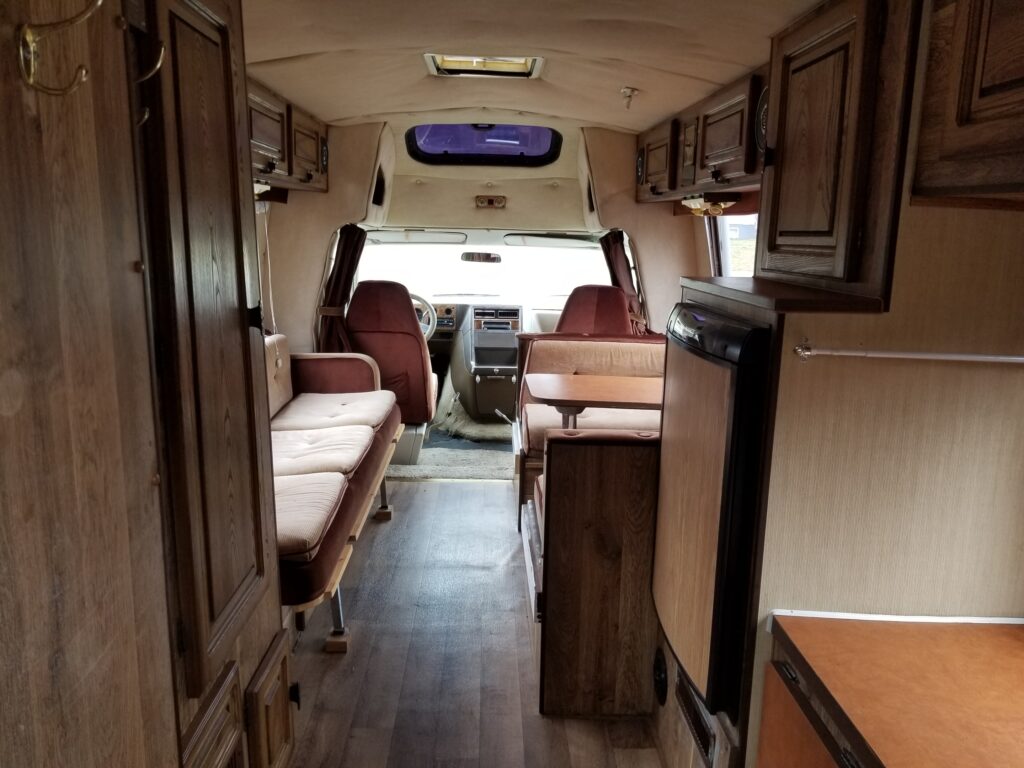
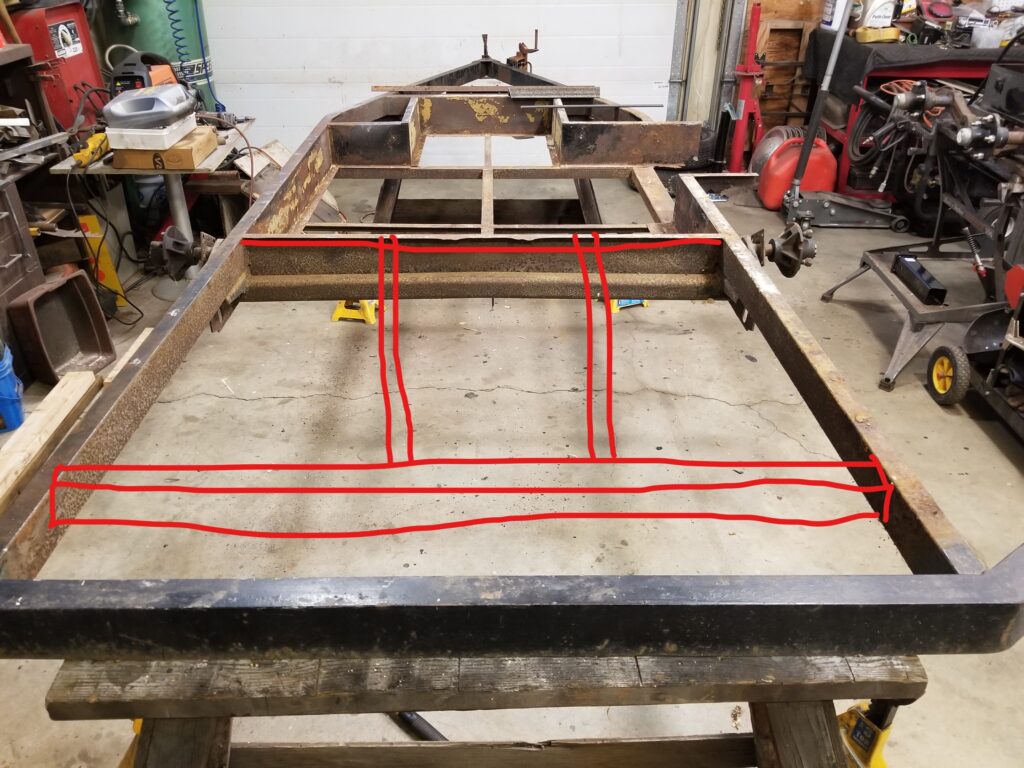
What is the first thing to do ? YA find the floor.. Some of the stuff is good .. Here’s hoping the fridge works.. but I’ll not hold my breath. I need to find a tag or plate with info about the year or Vin number.
Found It !
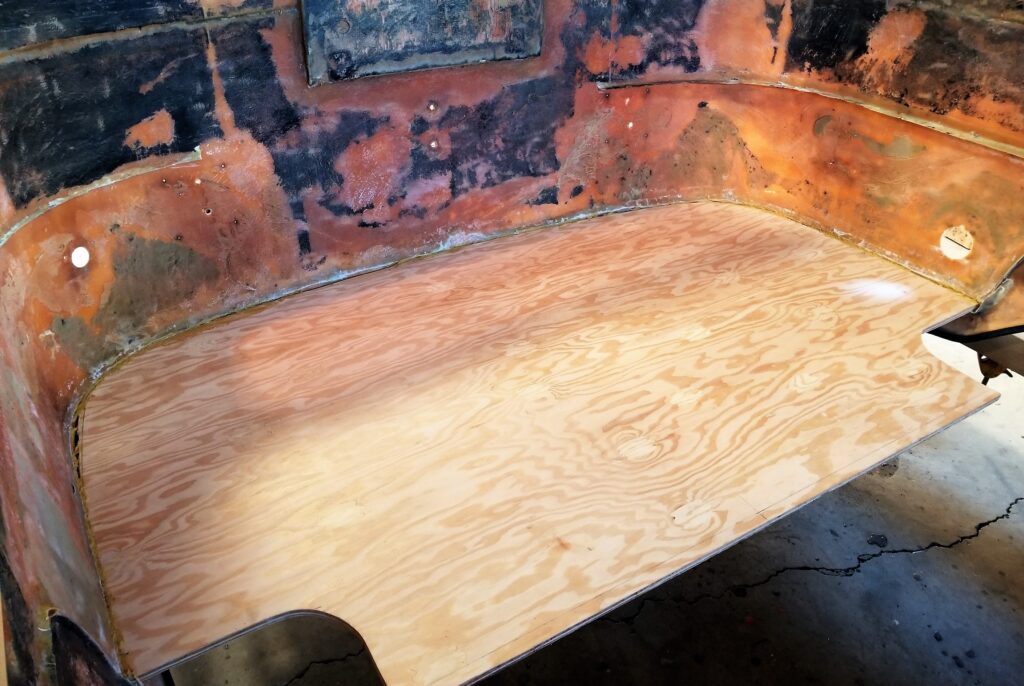
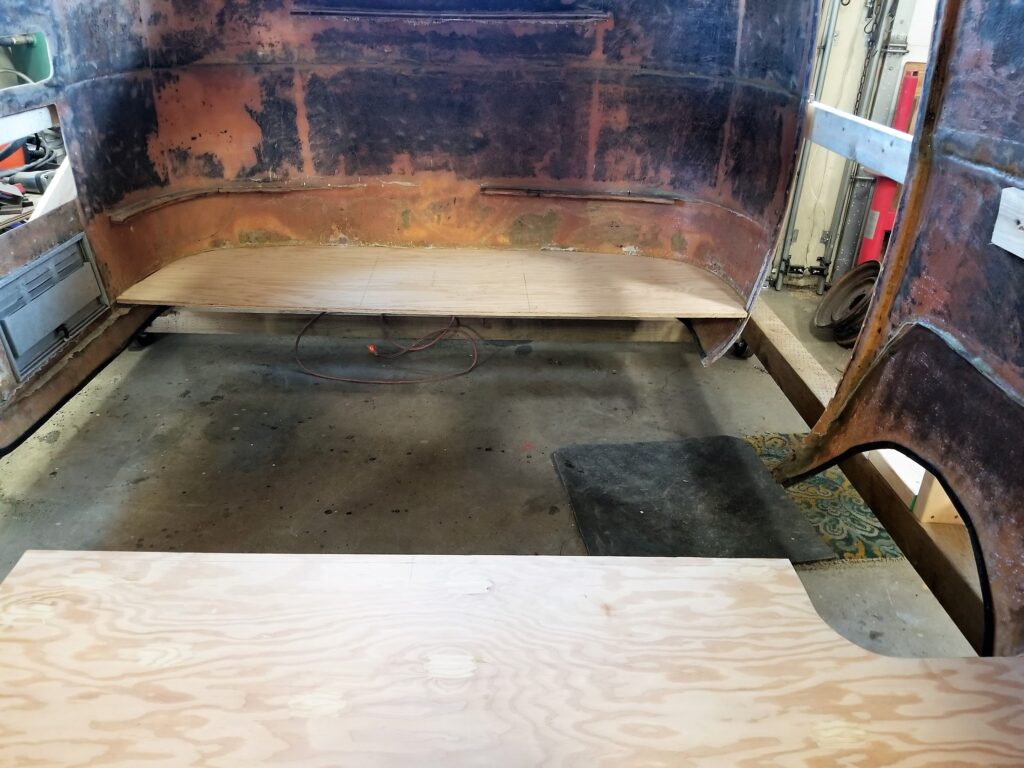
Both the floor and the Vin number. Today cleaned out the whole trailer Filled my utility trailer for a dump run.
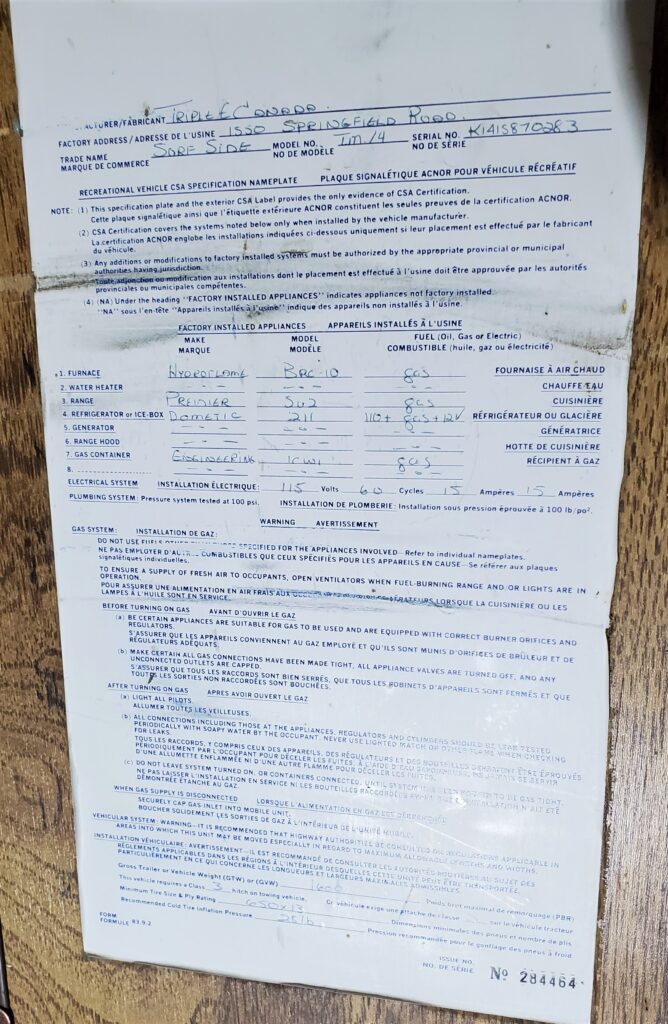
This was one of the things I was looking for.. The factory build sheet.
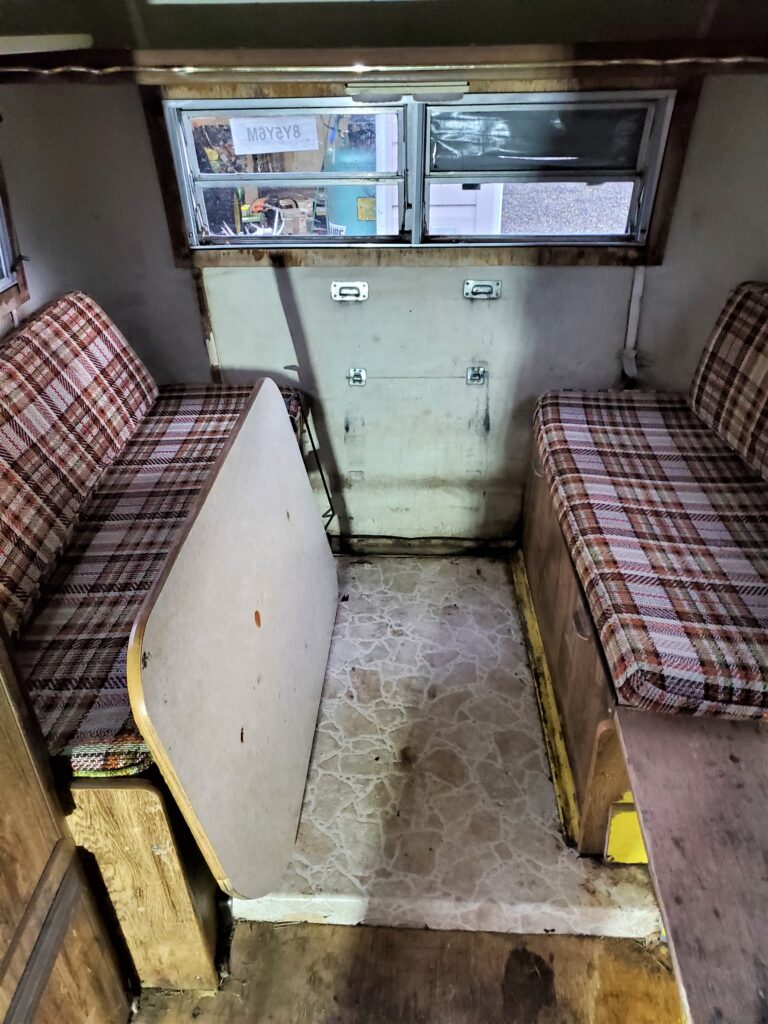
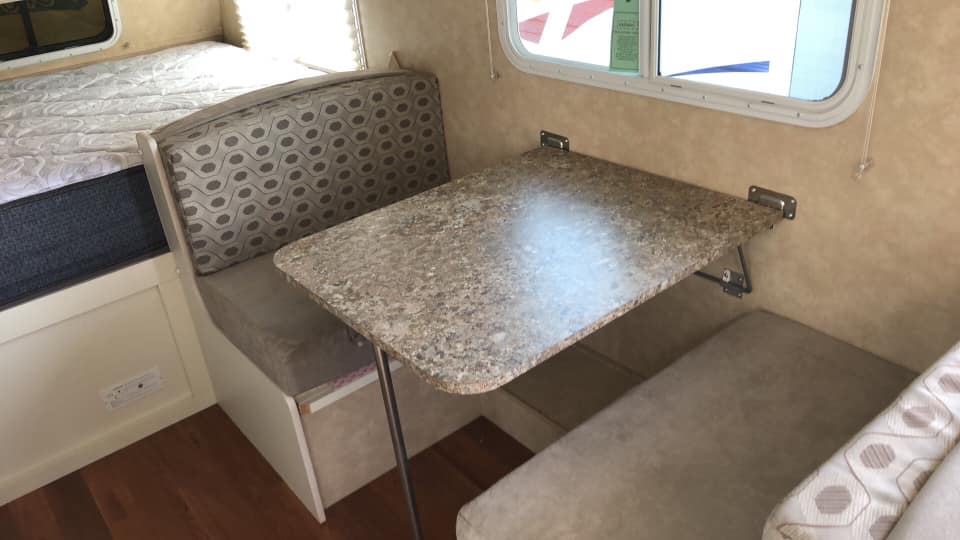
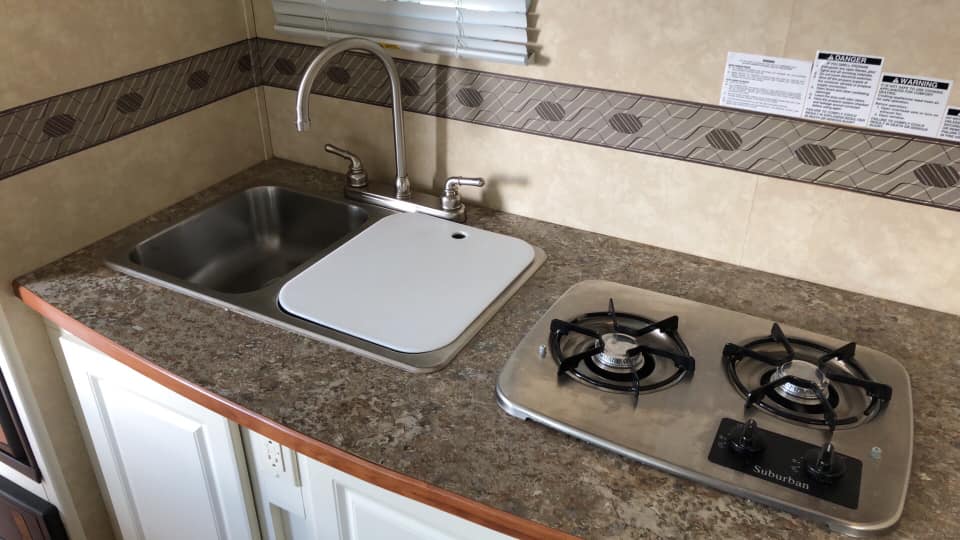
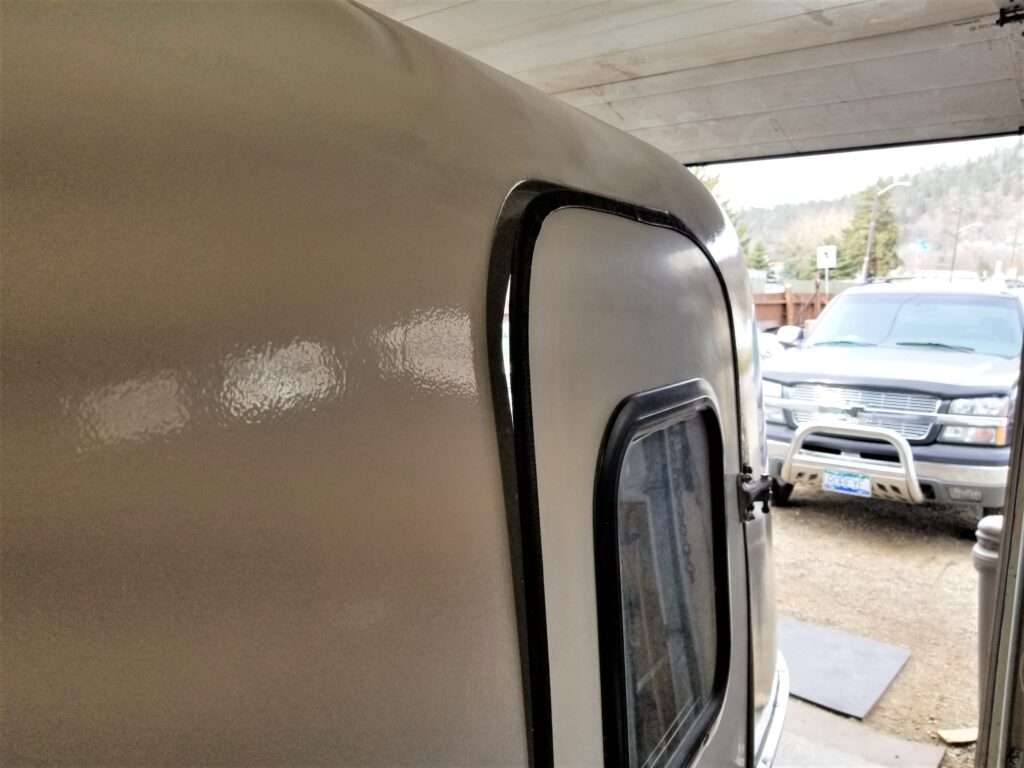
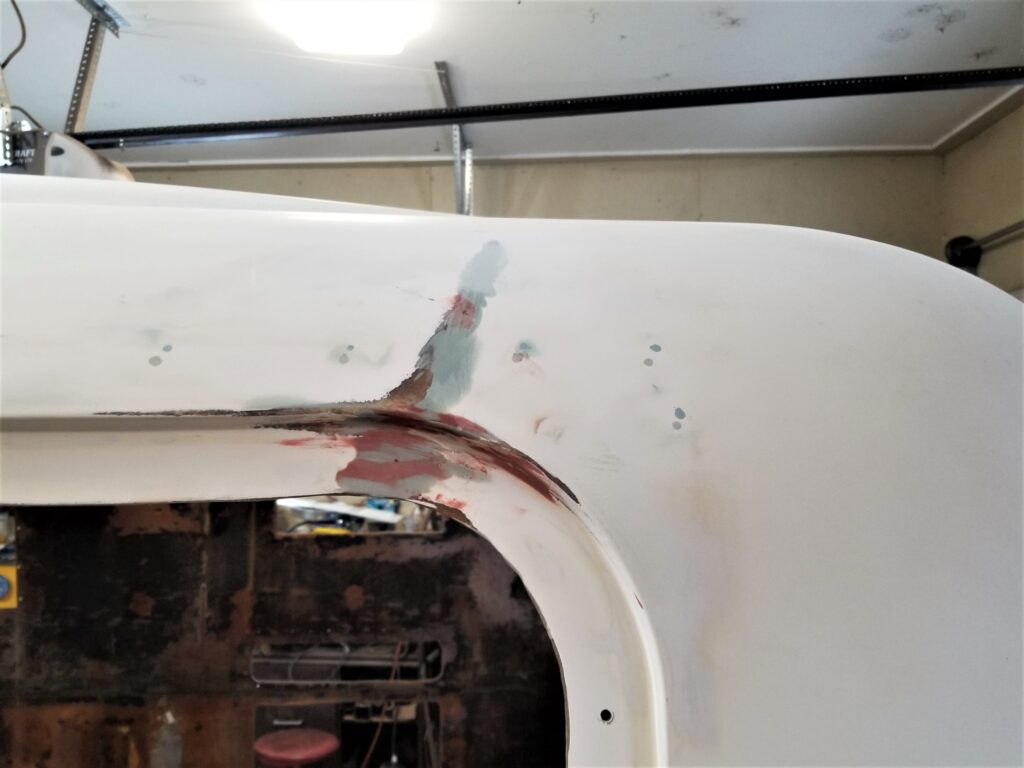
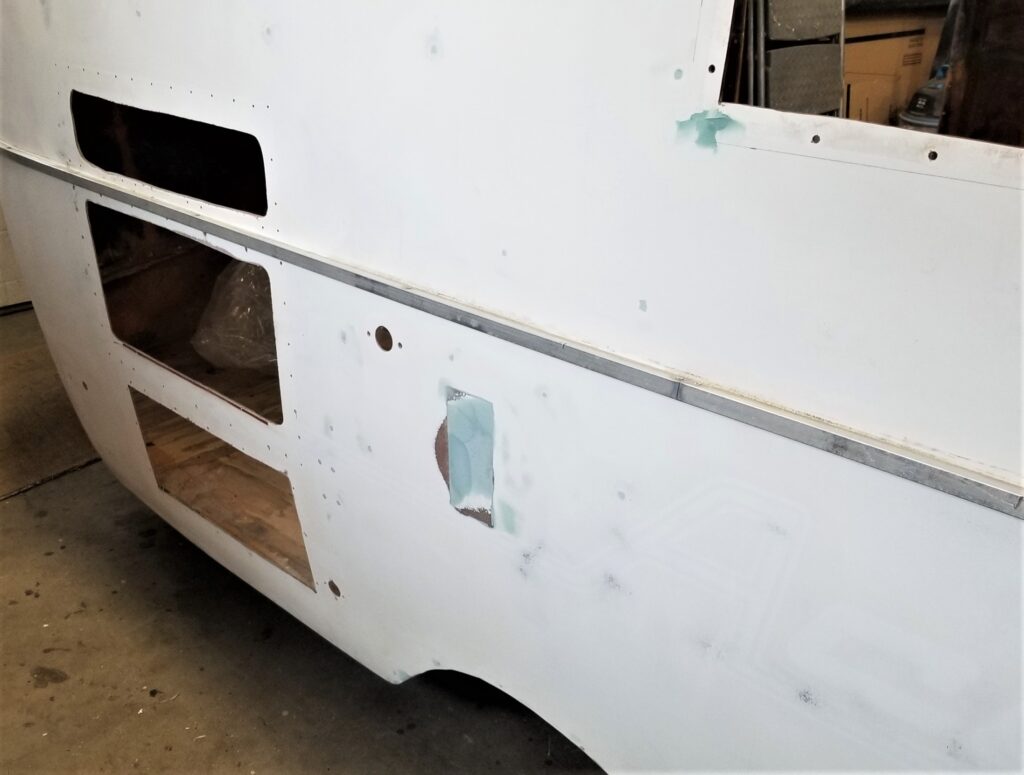
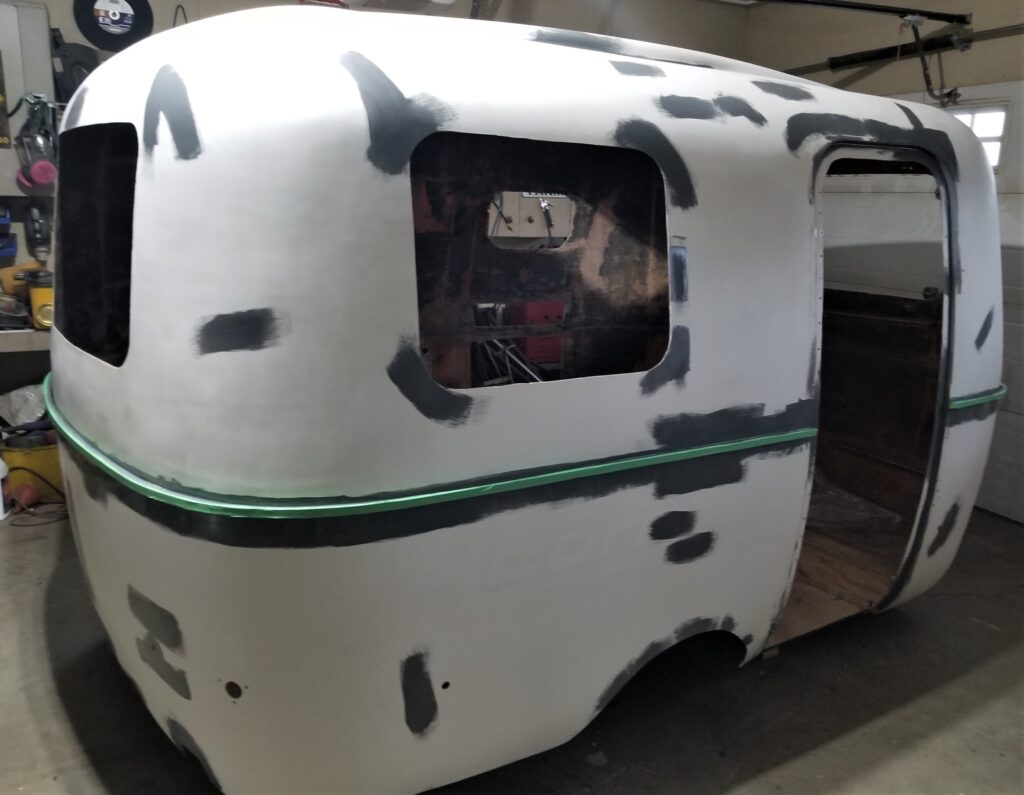
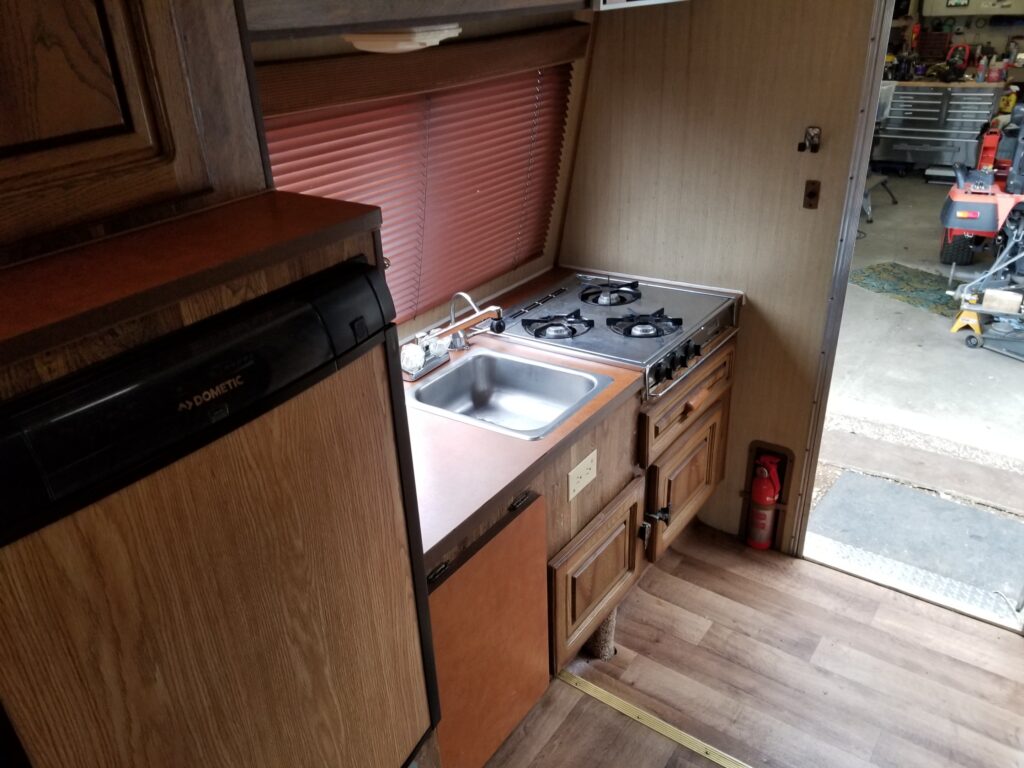
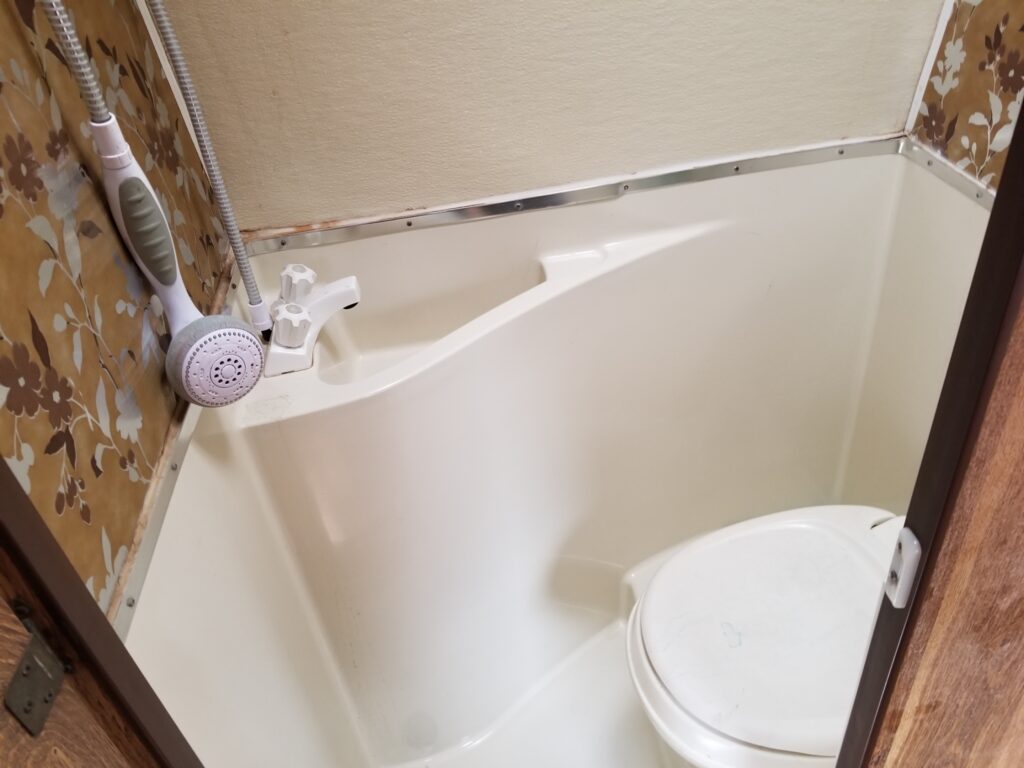
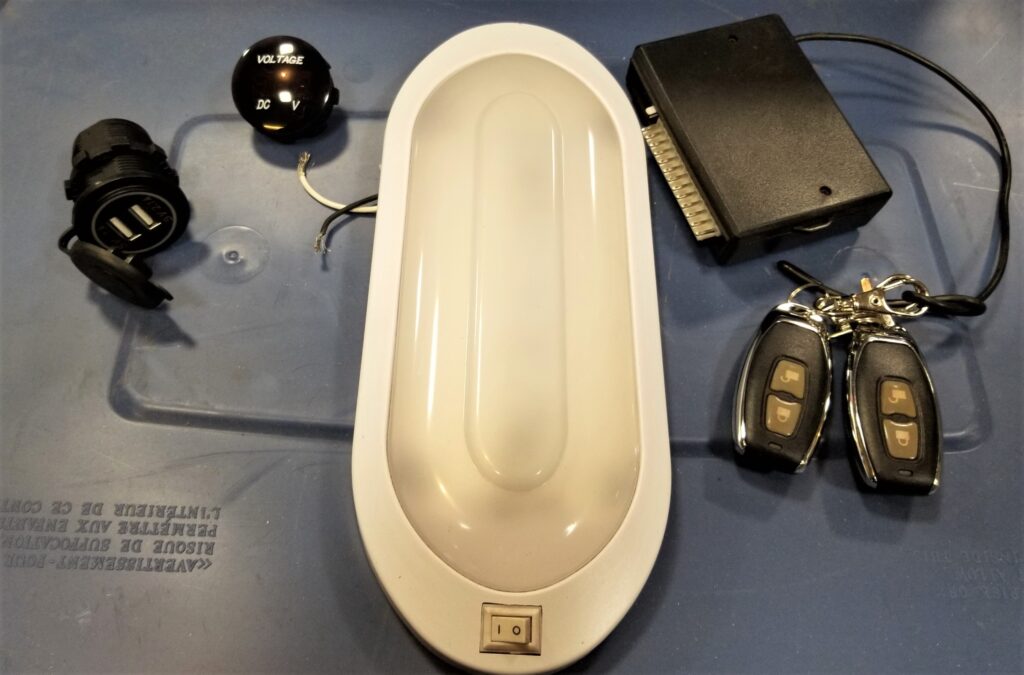
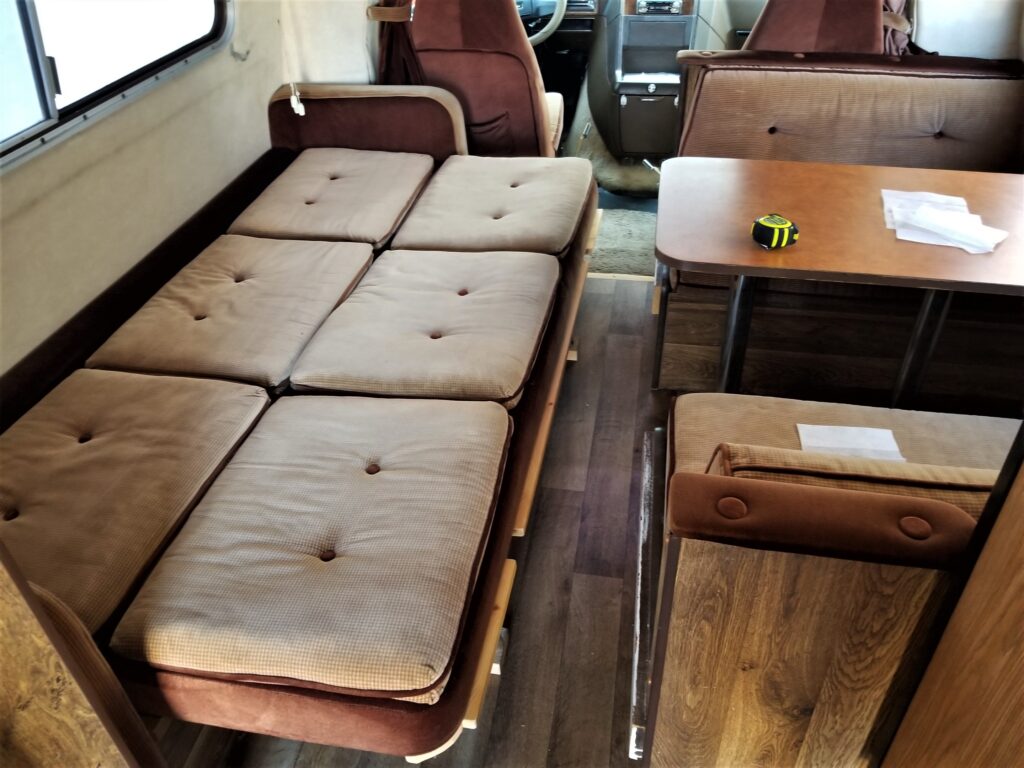
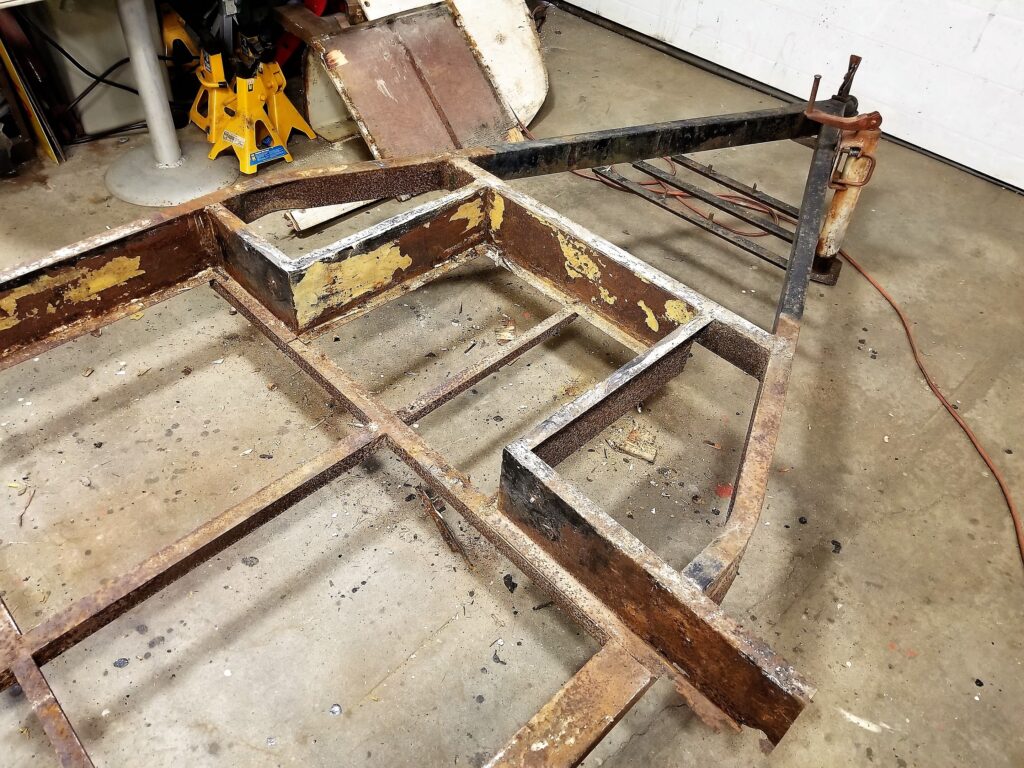
This was the other thing… The floor. Found a few treasures, Too much to list. But most is off to the dump. The trailer is now empty. Ya got all the proper cushions.. But they are 40 years old. Aside from the filth the trailer is in good condition. Missing the kitchen though.. BUT all the cabinets are wood and can be modified or built to whatever you want. I have sinks , stoves and another small fridge . And several bins of RV parts..