November 30 2015
Page 4 The Body Work:
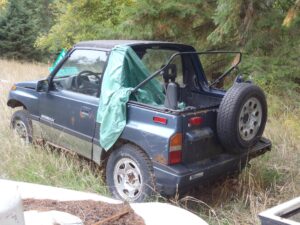
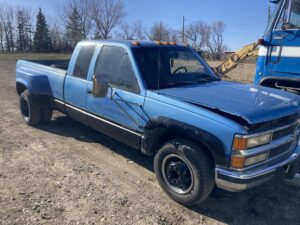
Well not quite sure when to start this part of the Tracker. There’s a part of me that is really wanting to get at this.. and there is the little voice that says drive it around a bit more. But lets talk about the plans anyway.
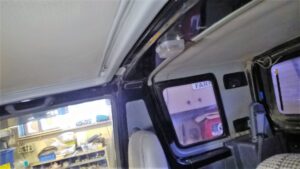
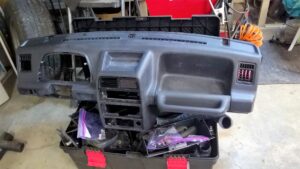
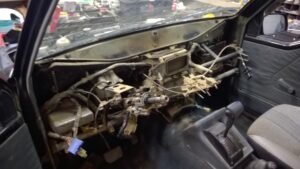
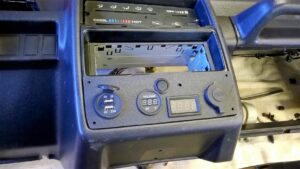
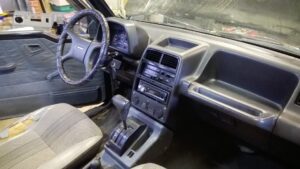
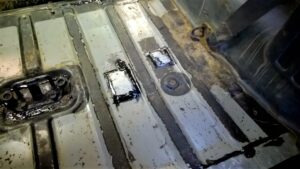
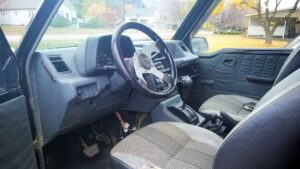
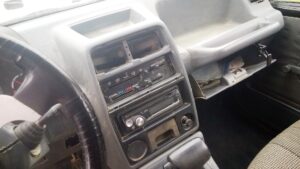
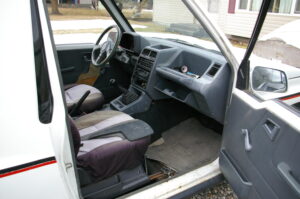
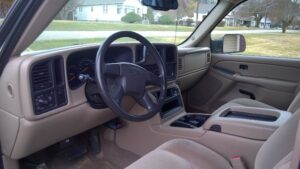
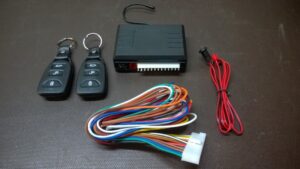
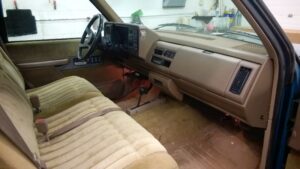
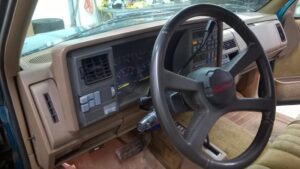
The Interior… The top half is perfect.. floor not so good.. so most of the interior says untouched. On the 89 Tracker (years back) I had to strip the whole interior in order to paint it black. That was the color scheme ( green & black) and all the metal was white. Lucky me ! This one is black already. However the doors I’ll be using are not.. But they will be pre-painted on the bench. I will have to remove the rear side panels to get at the wiring and install new speakers. I have repaired the rear floor already, so that’s done. I will have to remove the dash again to wire in the power locks & remote transmitter. The seats need to come out, and the carpet too. There’s a bit of patching to do. All the center console bits need to come out. They need to be painted to match the dash.. and the light fixed in the PRNDL. Also I’m very fortunate to have good carpet with no holes.. So clean it while it’s out and back in it goes. Thus is the interior plan.
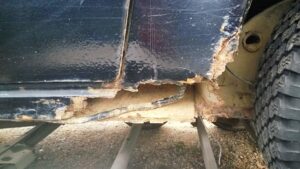
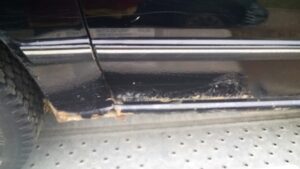
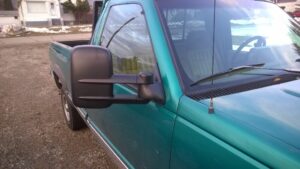
The Exterior is another matter. The rocker panels on both sides need fixing.. and there is big holes on the drivers side. This will require some tricky reconstruction. But I like that challenge. I’m thinking of pipe for new rockers.. stronger. As far as removing stuff.. that’s a big list. I would rather remove than mask around stuff. The paint scheme is simple , SEMI GLOSS BLACK for the bumpers, grill, door handles, mirrors and around the windows of the doors.
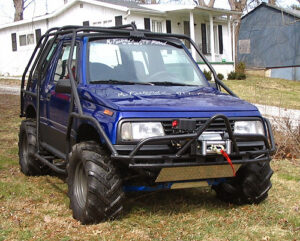
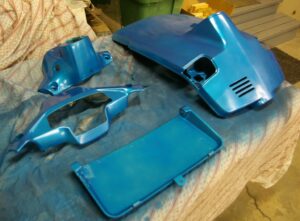
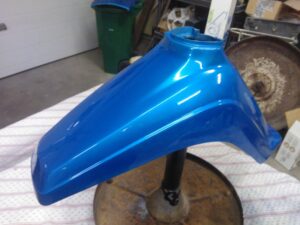
It’s called BLUE FIRE METALLIC.. and I think it’s nice and bright. And contrasts good with the black. And clear coat will make it pop.
Can’t wait… I’m going to get the hood and doors and bring them into the shop.. December looks like a good month for doing body work.
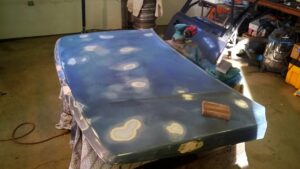
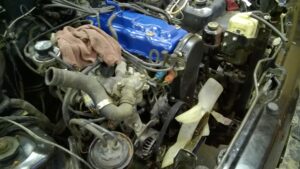
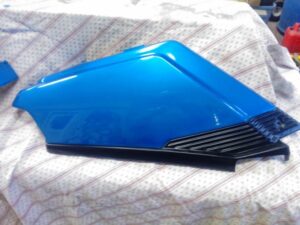
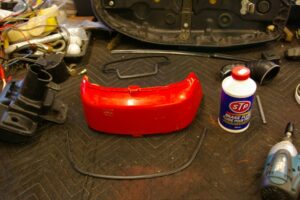
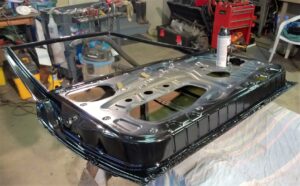
This is the hood from the 89 parts Sidekick.. It’s in very good condition. Only three dings needed filler.. all the rest ( mostly rock chips) sanded out. I’m only going to medium sand the hood, and spot prime. the finishing will be done when it’s on the Tracker. My real goal right now is to clean and paint the underside BLACK. But get it ready to install. Same with the doors.
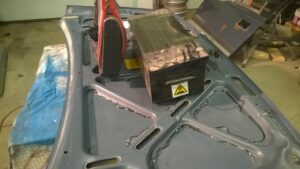
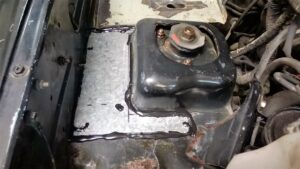
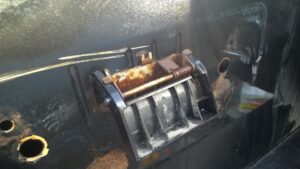
The inner and outer parts of the hood are glued together ! And the middle had come apart. So I’m using the urethane body glue to fix that.. Here I have some weight on to hold it. Once the glue was dry (overnight) I painted the ribs gloss black. Why so much attention to the hood ? It’s the largest horizontal surface that’s seen. And the prep work and paint job here reflects on the whole vehicle.

Those labels will not be covered. There is good info on them. I need to find something to glue into the inner panels for sound deadening. It’s my goal to make the tracker quieter and not so “tin can” like.
I set aside the hood and started on the doors.
This is what I’m faced with. Glued on trim & chrome door bottoms. The last of the stink bugs where hiding under the chrome. And I had a lot of glue to remove.. yuk.
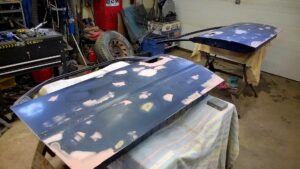
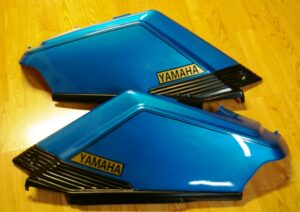
Here’s the two doors. It’s great that I can work on these parts while still driving the Tracker with its original bits still intact. It’s also amazing that these parts ( off the 89 Sidekick) are in such good shape. The rest of the body sure wasn’t. The filler is just a skim to level out the rusty places. And some scratches need a bit of help too. I had to spot weld the bottom of the passenger door where the skin was loose from the inner door. Both doors got new body caulking along the bottom as well as rust converter spray inside and out. If you are going to fix it …fix it good. I’m moving right along.. Got the doors all prepped and painted with the gloss black.
And I want to let them cure for a day or so. Then it’s time to re- assemble them with the power locks and sound deadening.
Not bad for an amateur body guy.. The doors turned out good..
Dec 5 2015:

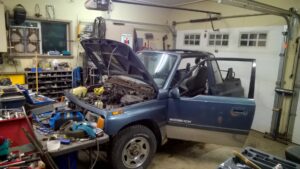
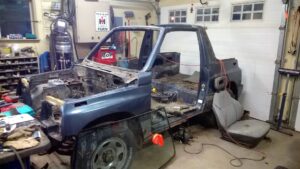
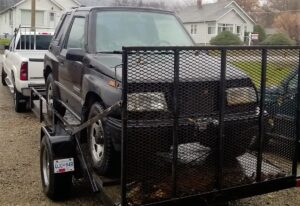
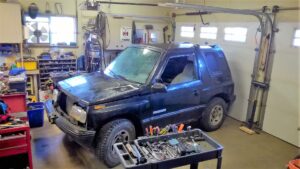
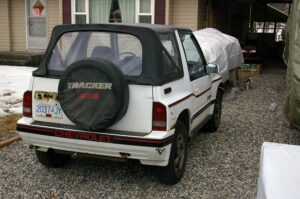
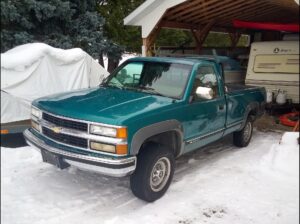
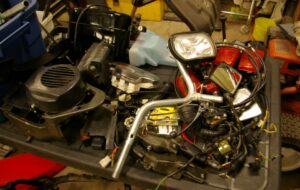
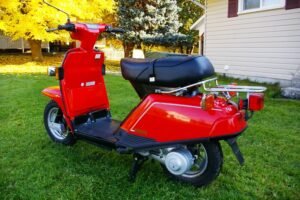
This morning I really cleaned up the shop.. The plan was to make more room for the Tracker. So I can work all around it. The weather warmed up a bit and It was the perfect time to bring the little guy in. Got right to work removing the doors, hood and top. Going to take days just to strip the Tracker down for the work. First I should transfer the door stuff over to the newly prepared doors. Then the old doors & hood can go for scrap.
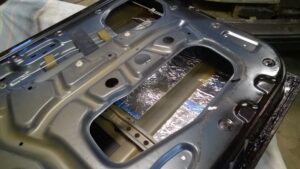
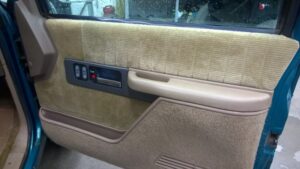
Here I’m building a new door. you can see the sound deadening. Makes a huge difference to the feel of the door. And should help with road noise as well. It’s self adhesive foil backed foam. Also the power lock actuator is installed. The windows are tested as well as the power lock. Doors are ready to install.
Mix & Match
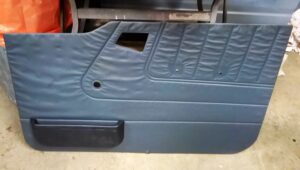
The parts Sidekick had a dark charcoal color to the interior. Whereas the Tracker is grey. So I’m mixing things up a bit .. little of this ..little of that. The door pockets are Sidekick. The panels are the Trackers.
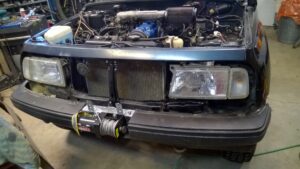
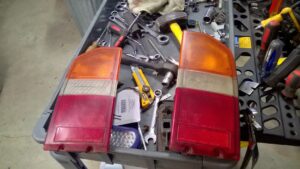
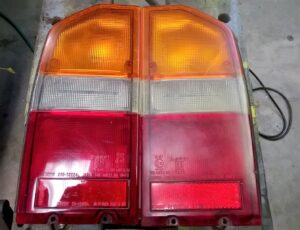
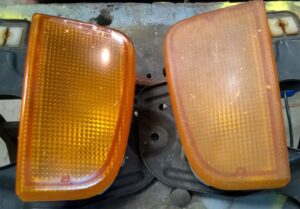
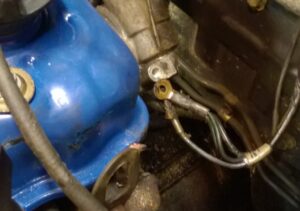
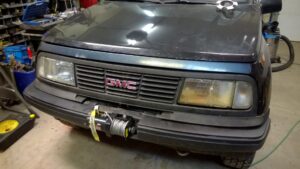
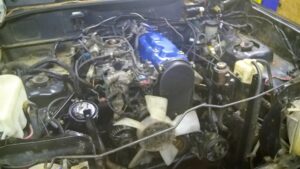
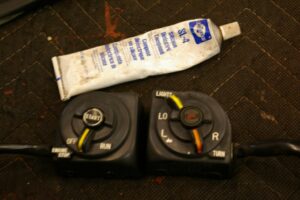
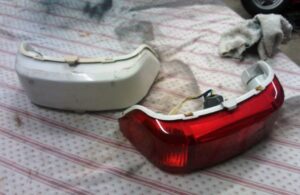
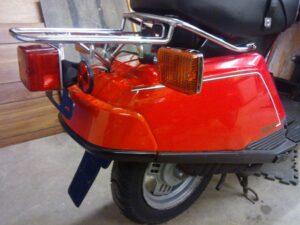
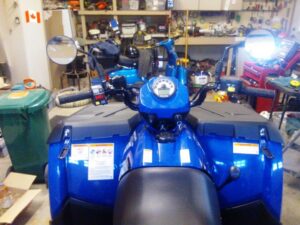
Oh I almost forgot .. the new headlight came, and it’s installed. Looks better than the right side one ! I also decided not to change the park lights for the Suzuki orange yet. Those screws holding them in place are hard to get out..
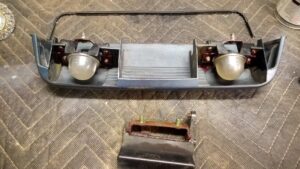
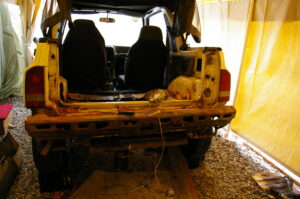
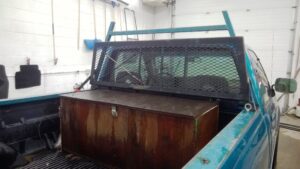
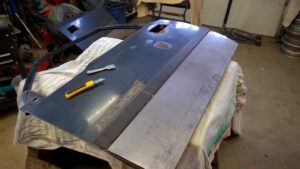
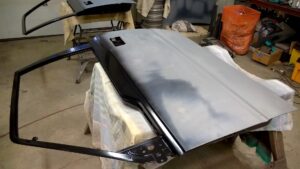
One more thing to do before moving to the inside.. Tailgate Time !
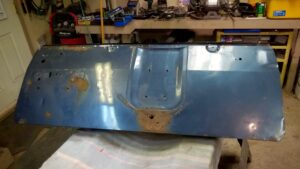
The plan was to keep the Tracker’s black tailgate.. Because this one has a rust hole.. But after having a good look at the black one it’s just a bit worse. So another part of the Sidekick goes on the Tracker.
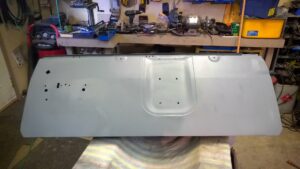
Now that’s better .. only the holes that are needed .. the rest are gone.
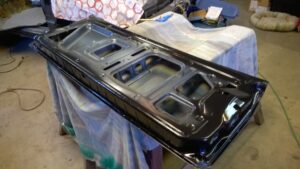
And the black paint for the inside and we are done for now.