Oct 2 2016
The replacement for the mini truck ! And the Rav 4 too.
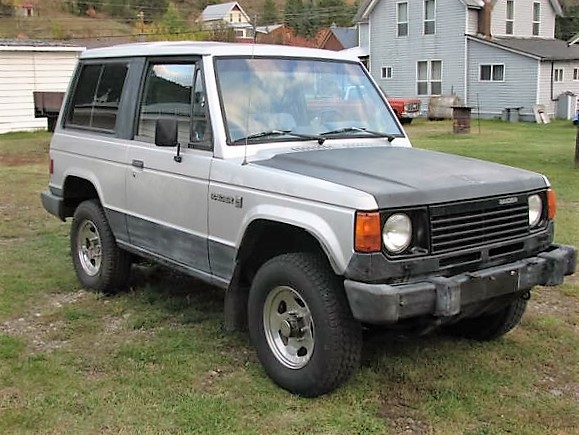
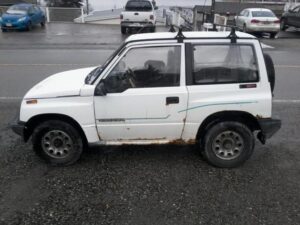
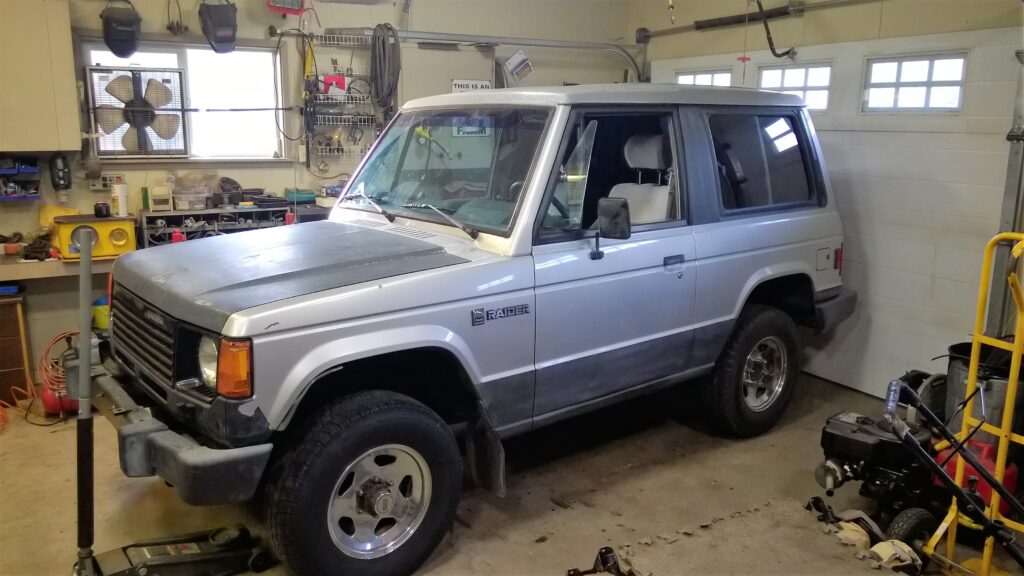
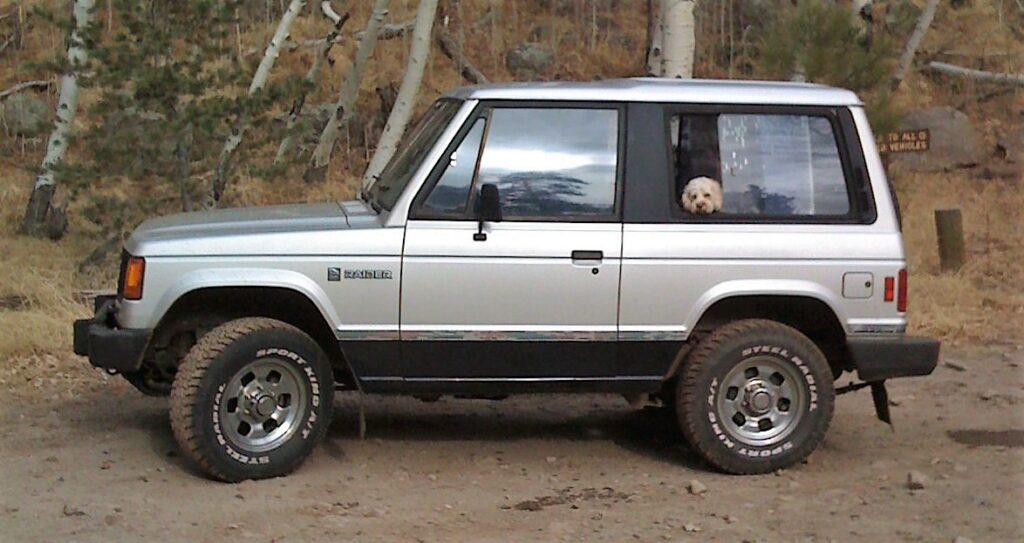
It’s quite nice.. more room, automatic, goes faster, has more power. Could seat 4, and the steering wheel is on the proper side. This is a 1987 Dodge Raider.. or Mitsubishi Montero. 262657 kms. While not the prettiest girl in the room.. but maybe the most capable. As a 4×4 these are reportedly as good as a Jeep or Landrover. I’m not a fan of Mitsubishi motors. But this one runs great.. These 2.6 liter 4 cylinder motors were used in a few dodge vehicles from the eighties. So I’m quietly optimistic.
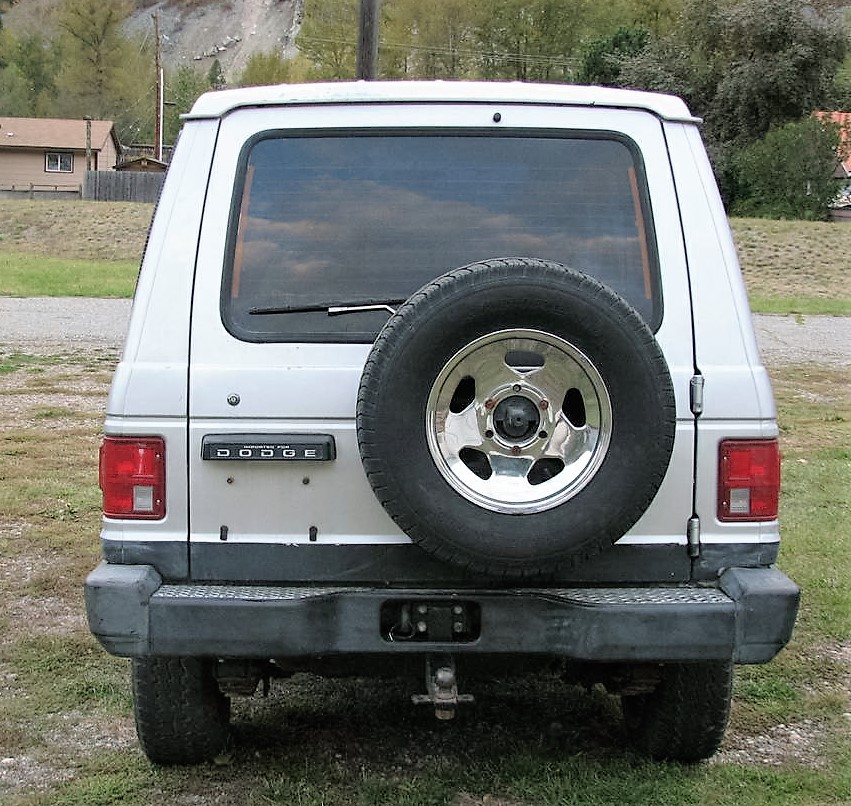
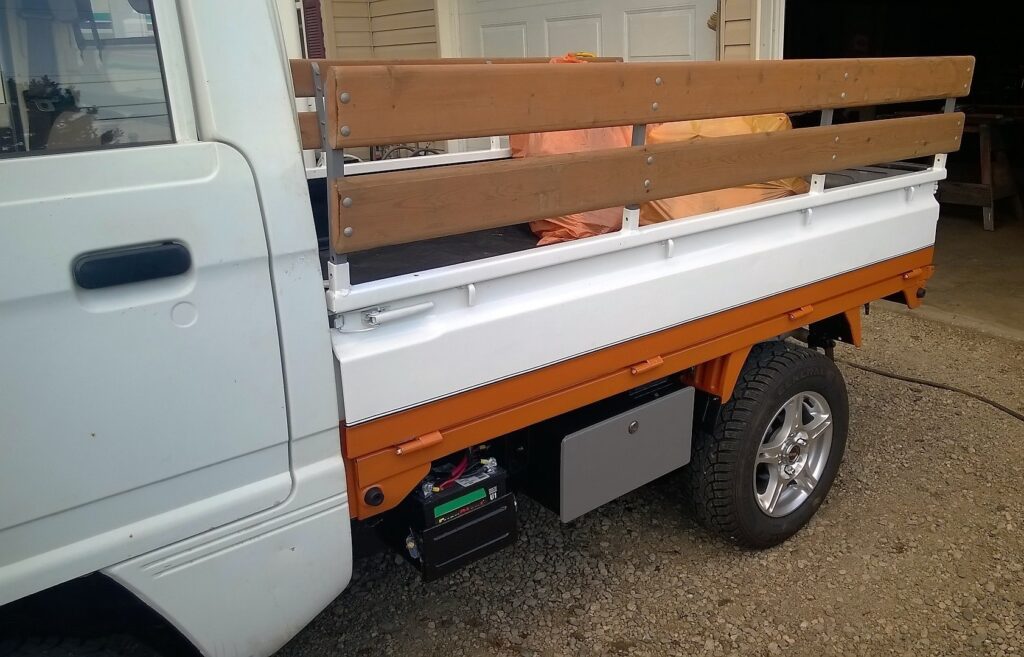
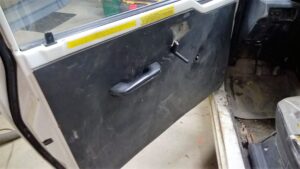
I like the full door on the back. Makes getting things in and out easy. And a trailer hitch is needed for what I do.. because this is not a pick-up I will have to tow a trailer for packing yard waste and mowers. Those are heavy steel bumpers too. The black paint is faded but not rusted. I’ve only driven the Raider a short distance. Today I will go get it and bring it home.. that’s about 40 kms on the highway. So we will see how that goes.
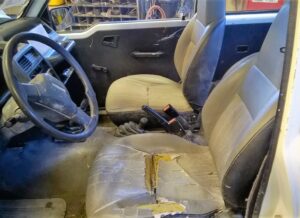
I put just a one day permit on the Raider.. mostly to get it home from Greenwood. It did ok on the highway.. not too fast. As expected it drove like a true short wheel base off road vehicle. The tires are old , so there’s some handling due to that. I drove it around town today.. and in town it’s great. In fact I went down a very rough road. That suspension seat is so cool.. Wow. great ride for the driver.
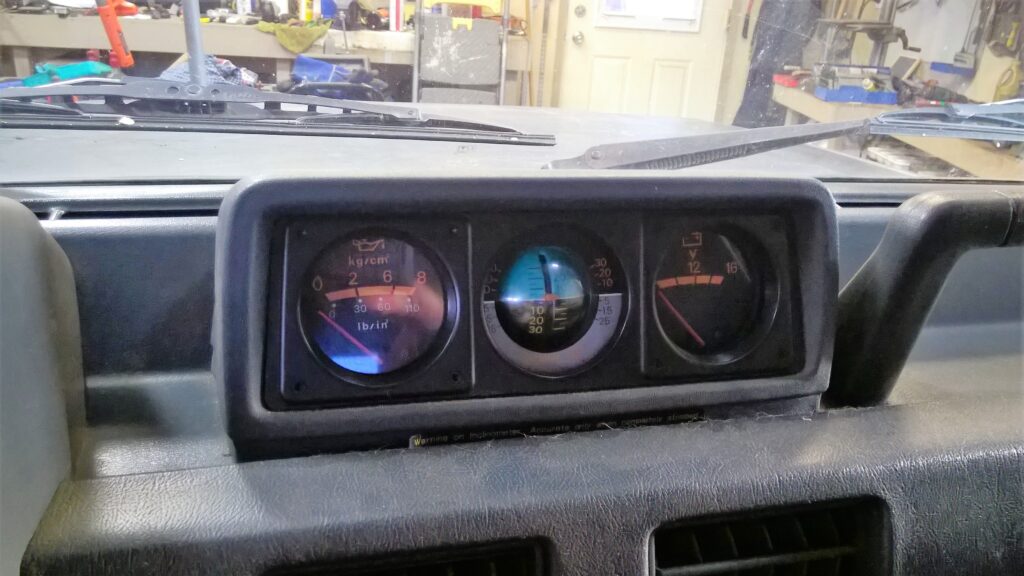
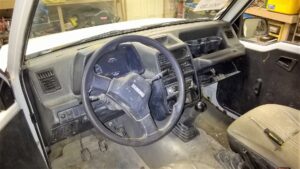
Check out the “inclinometer” in the middle… yes it tells you when you are going up hill.. down hill.. and tipped ! Jeep don’t got one!.
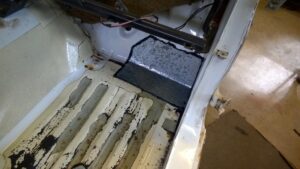
Now for the stuff this Raider needs. The first is New tires! I got a good deal on all weather / all terrain tires. So as soon as I get them mounted.. then that will not be an issue. The carb will need some tweaking .., the choke is staying on too long., Are the gauges telling the truth? if so then the oil pressure is a bit low. The coolant temperature shows low.. but the motor seams hot ? The transmission fluid should be changed.. as well as the diffs. It’s good to “reset ” these things so there is no worries. It looks like the wiper motor was replaced .. but the wipers don’t stop in the park position.. so that will be a little project.
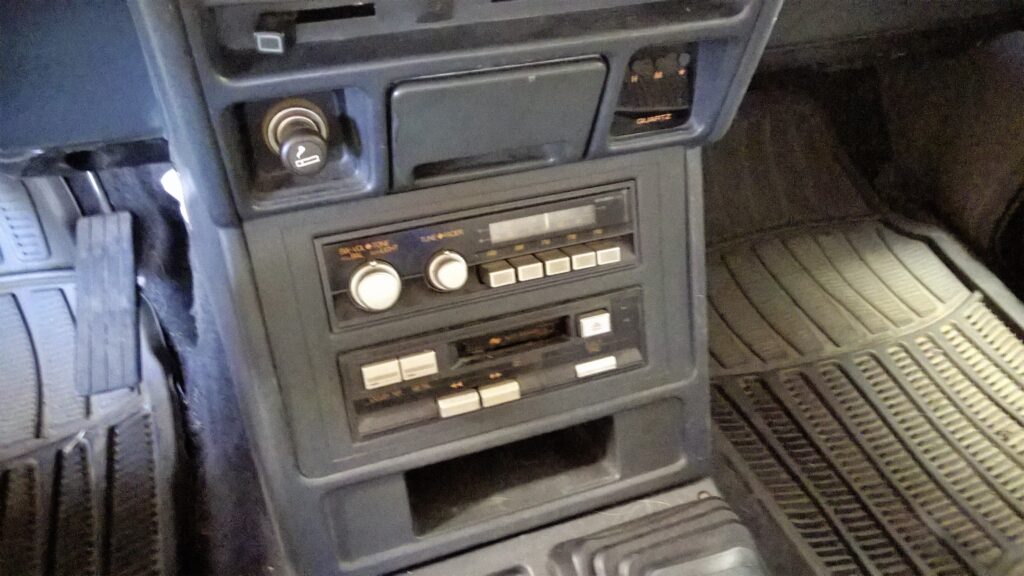
So I suppose this was considered a good stereo 30 years ago ? But it sucks now. I don’t think I can find my old cassette tapes ! Do I want to .. ? Any way the speakers are tired.. and I would like to use my satellite radio. Maybe next year I’ll deal with this. It wouldn’t be hard to change. However the mechanical stuff is top on the list. I also need to make sure the Raider is good for the trip to Quesnel. That is where my good friend goes hunting.. and this I’m going too.
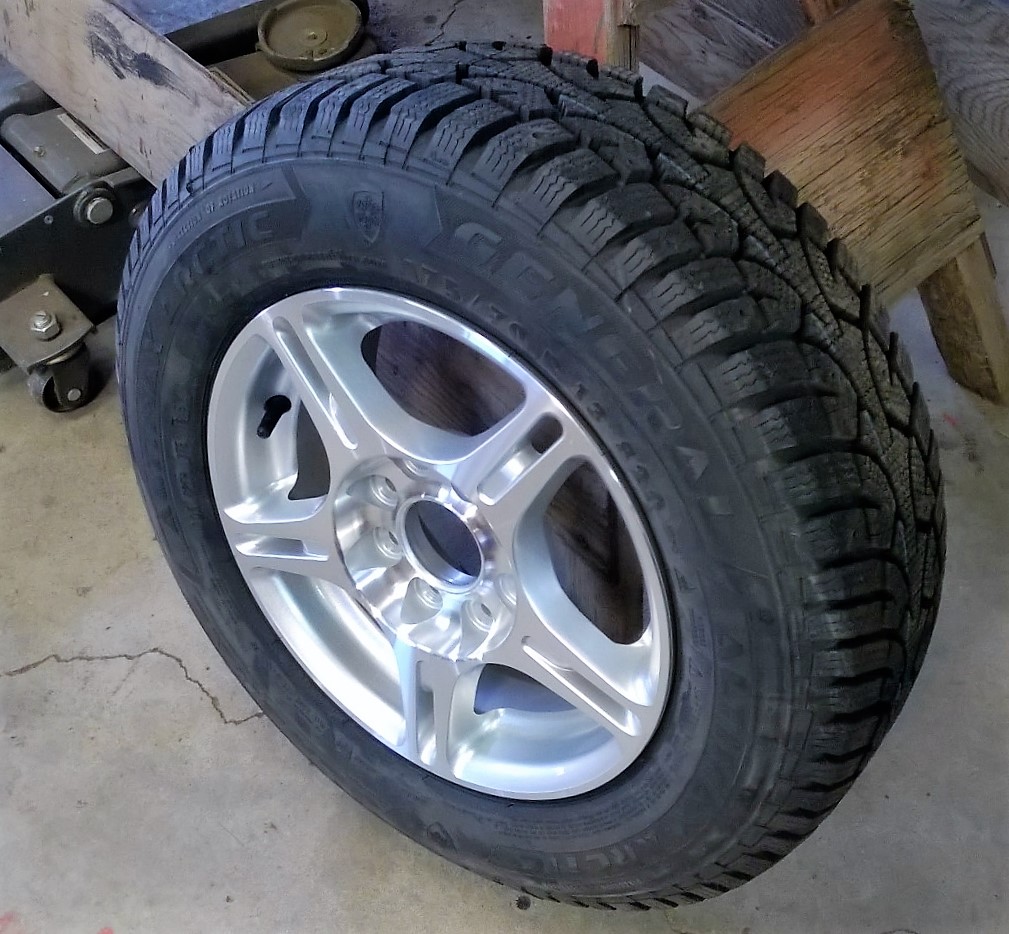
Oct 6 2016: The new tires are on and I’ve checked out the brakes, tie rods, suspension and bearings. We also adjusted the choke and idle.. As well I’ve installed a mount for my off road GPS. and I’ve set up my Sirus radio too.
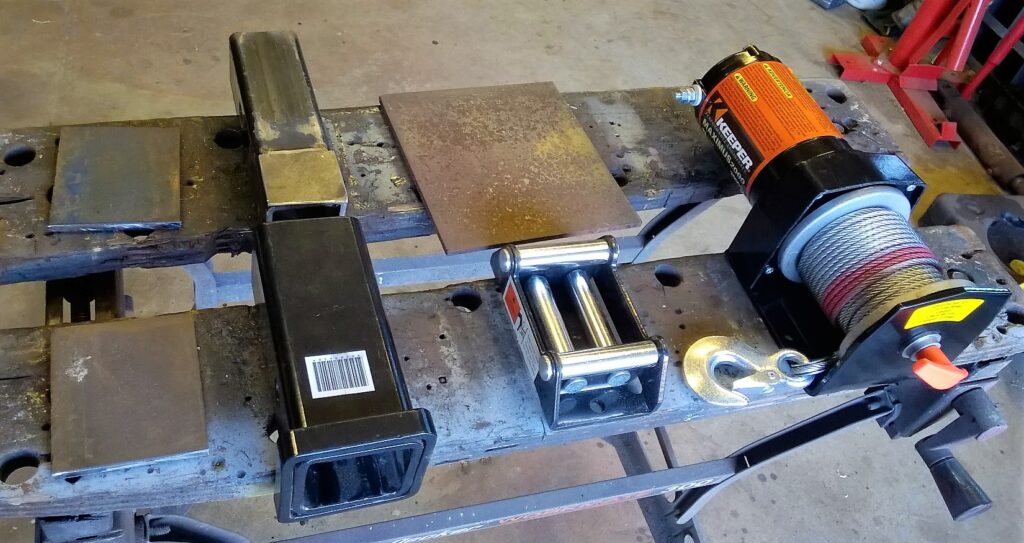
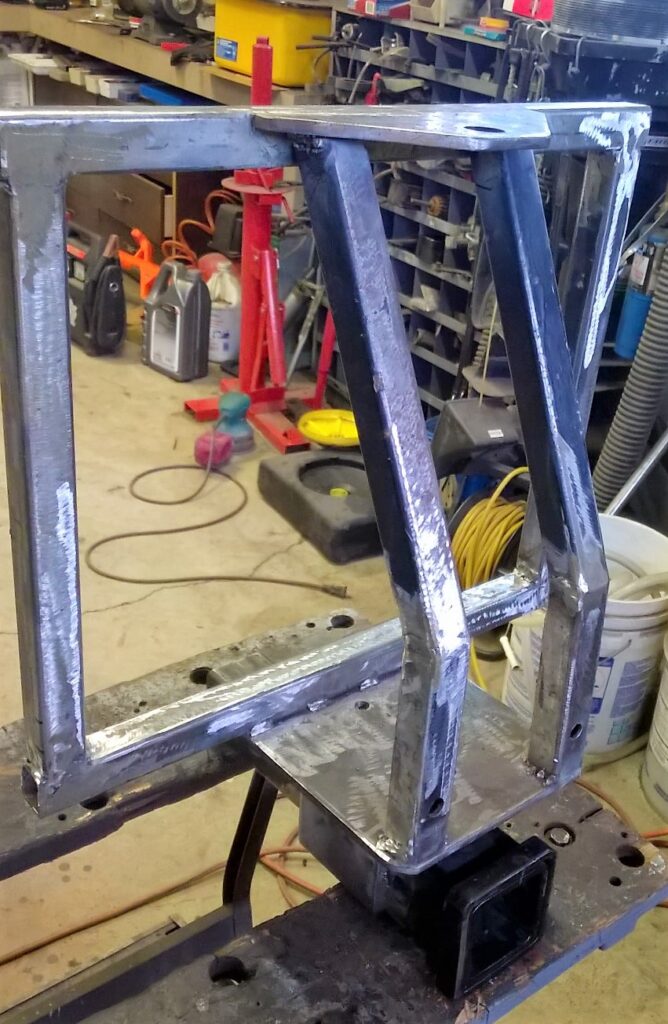
Oct 8 2016: I got a bit carried away while cleaning up some things… and installed a winch, LED flood lights, a second power plug, a USB charging port, and while I was at it .. a switch and wiring for my daytime running lights. ( yet to come),.

This is temporary , till I build a nice mount and bush guard.
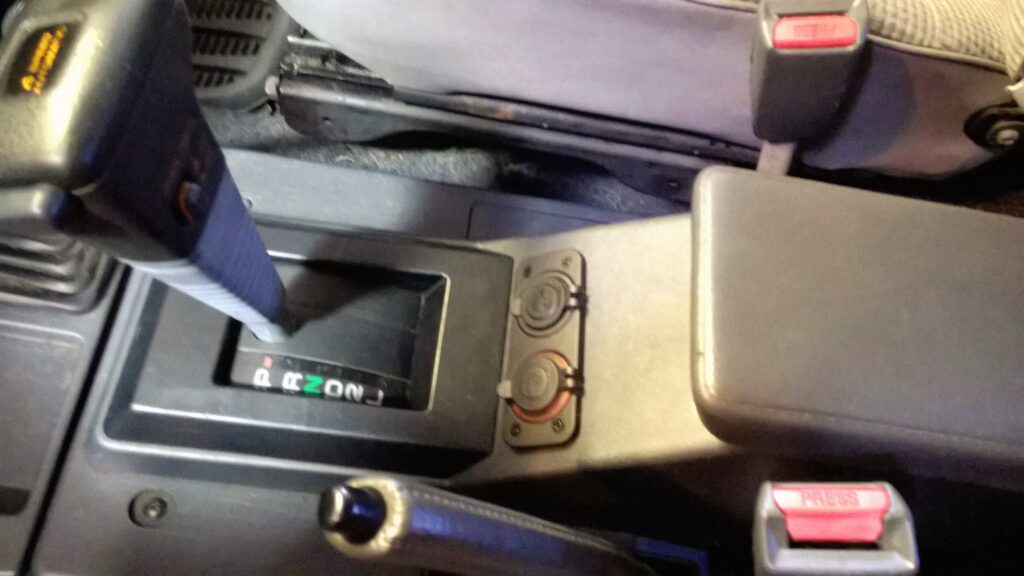
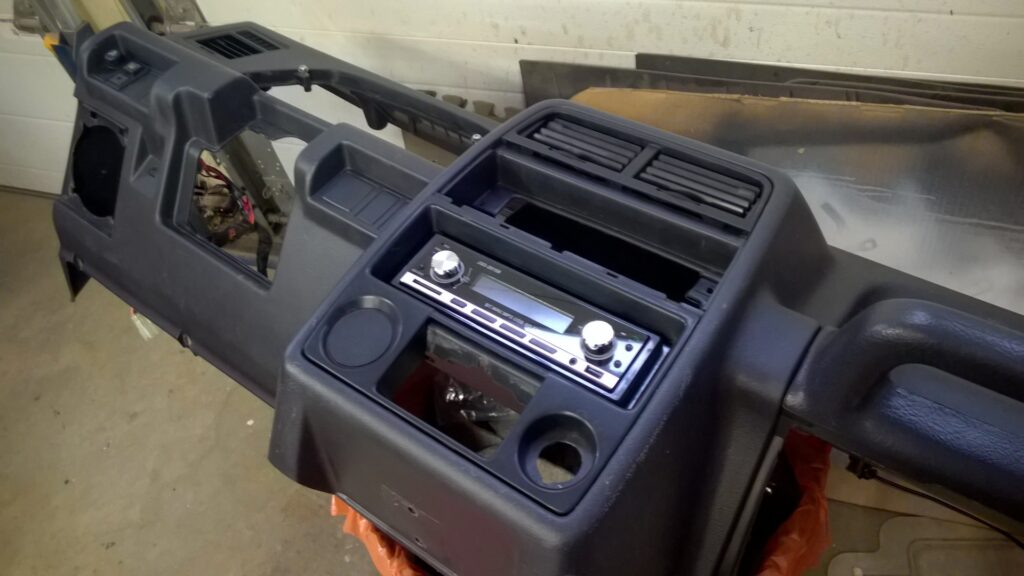
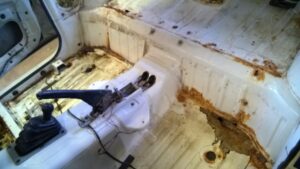
The center console was the perfect place for these new conveniences. I now know how to remove the lower dash. Handy when I change the stereo, install the keyless locking system…
Carry on:
I drove the Raider to Kelowna and back on Sunday.. that was a good test for long hauling.. Found out that the fuel gauge is not much help.. It goes rather quickly to a quarter tank.. and stays there for awhile. But I got to test fuel consumption. The 60 ltr tank should get me about 450 kms.. on a good day. so I’ll make sure to record the kms and reset the trip. The choke is still an issue ! I either have cold start ability and high idle… or low idle and no choke.. I’ll keep trying to get it right. I replaced the fan belt today.. and I checked out the hubs.. to make sure they work.. Good to go. In two days I leave for a 10 hr drive to were my friend is camped.. towing the small trailer with my quad.. we will see how that goes.
Oct 24 2016:
Well I’m back from the Caribou adventure. Despite the minor inconveniences, The Raider did very well. I was towing a trailer with my quad in it. Weighing at least 800 + lbs.. The Raider can pull that.. but it really slowed down on the hills. Also fuel consumption was high. And since the gauge is not a lot of help.. I stopped lots for gas . Also for cold starts I would manually move the choke on, and then back it off once the motor was running good. This works good.
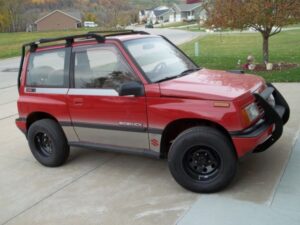
Here’s a photo of a different Raider. I took the Raider up to the hunting camp near Barkerville. We only spent a week there, I got to do some quading and some roaming around in the Raider too. Here’s the video I made….
And here’s the second one..
Raider in the willows
Most of the trails were badly over grown with willows.. Thank goodness for the skid pans ! The Raider can just push through. I’m impressed with it’s ruggedness. I drove through deep water.. up steep hills .. and over rocks.. no problem.
Things to Fix:
Fair enough.. you can’t buy a 30 year old vehicle and not expect to do some repairs. After driving the Raider for a long trip.. I find a few things.. So let’s start with the “much needed” and work down to the “just annoying”
- The choke and vacuum lines: This should be working and it’s not.
- Front brake rotors: Warped badly
- Wipers won’t park: could be the relay.. or an adjustment .
- Noisy exhaust system: Should be replaced.
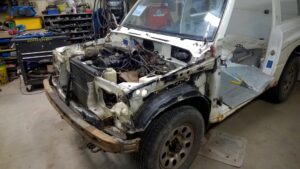
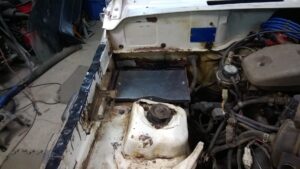
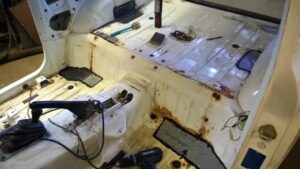
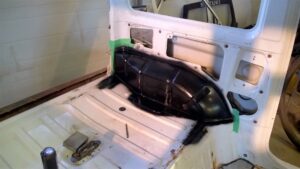
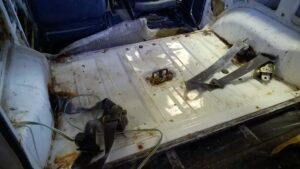
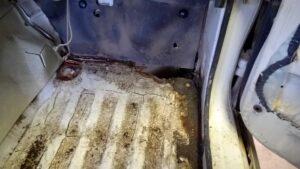
- A few rusty spots to fix ( holes) : Next spring
- Stereo ! would be nice to swap that out.
- Rear washer: you can hear the pump but nothing comes out.
- hazard light switch: missing in action
- Squeaking seat: needs to be removed and fixed.
Jan 2017:
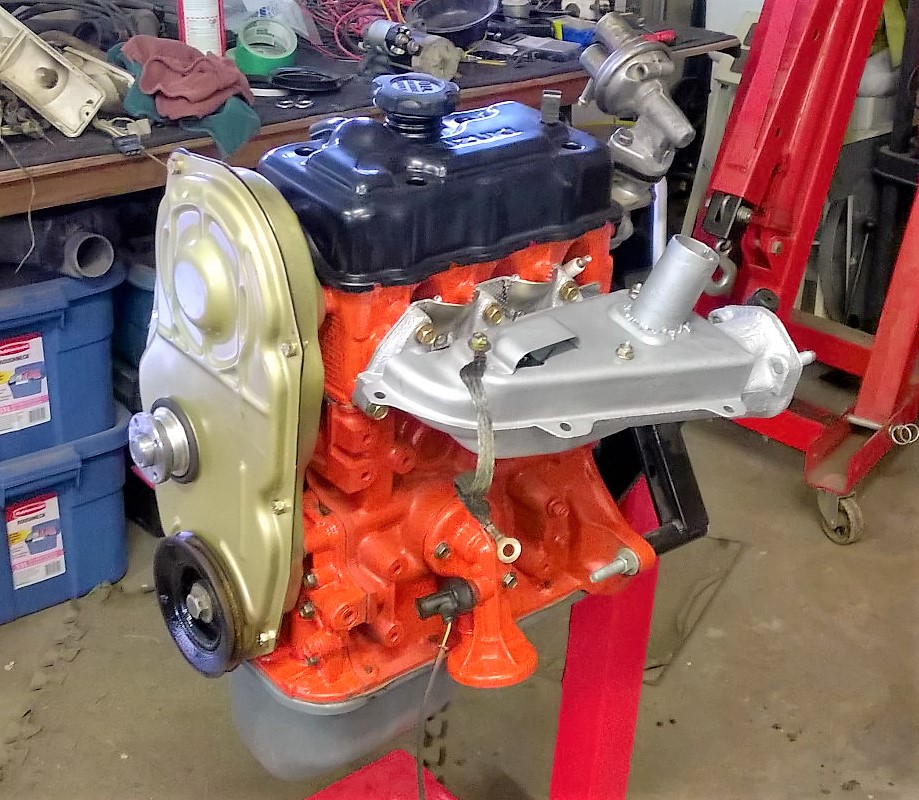
After driving the Raider quite a bit since the trip up north, I’m getting used to the routine of setting the choke then backing it off. But it’s still annoying. Shouldn’t have to do that.. So I did some research and found a replacement carburetor kit for my 2.6 motor. It will cost me about $450. BUT it will simplify things tremendously. An electric choke.. not vacuum. And it comes with a new serviceable air cleaner. I can take all the electronic / vacuum crap and toss it. Money is tight so I’ll have to save up.. and that will fix the first and most important thing on the list.
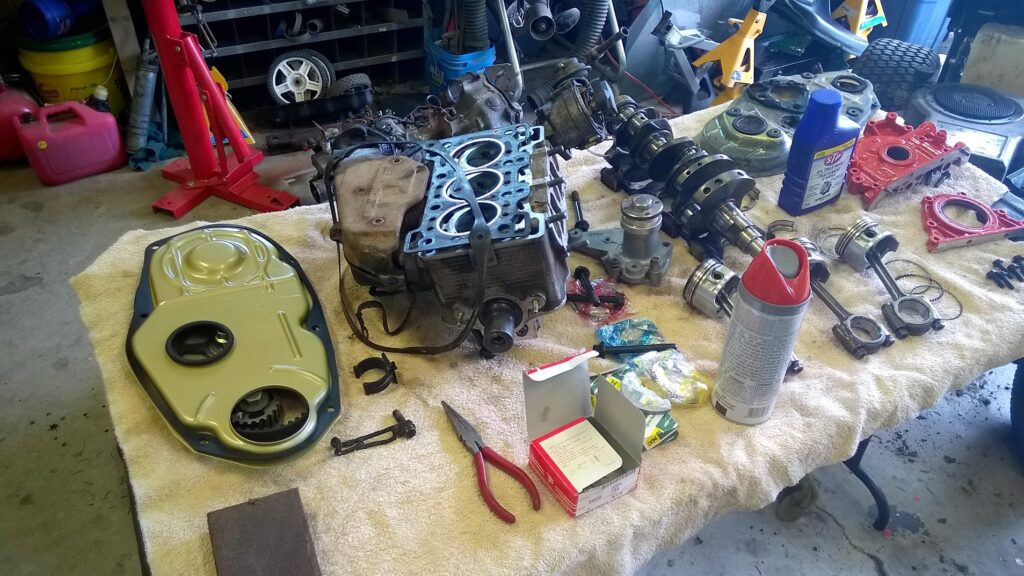
I finally got the Raider into my Nephew’s shop.. He’s a mechanic with his own business. Normally any vehicle I get would have been in there way sooner.. But the Raider is driving fine .. even in the very cold winter we are having.. He wanted to clean the carbon out of the motor with the Motovac system.. Knowing that the Raider was driven with the choke on.. and dieseling a bit, he figured this would be a good place to start.. Well turns out there wasn’t much.. The dieseling is mostly caused by the high idle and the choke problems. We’ve got the plugs out so why not check the compression of the motor ? I was surprised to find 150 psi right across all four cylinders.. I think that’s good. The motor has 260,000 kms on it.. maybe it was rebuilt ? Well whatever .. this explains why it runs good.. no mater what the carb is doing. And not consuming lots of oil..
While there on the hoist .. it’s a great time to look things over.. The driveline is tight.. no bad rust.. no leaks.. I only found a few things:
- Since it got cold the brake master cylinder is leaking.. So that needs to be replaced.
- I’m missing the last foot of the tailpipe.. I knew this already. and it will get fixed too..
- The exhaust seal between the header and the first pipe is leaking. That’s and easy fix..
- The right side rear shock upper mount had been broken off.. and there is wire holding the shock on ! seams to have worked but I will fix..
That’s it ! well aside from the front brakes needing to be done.. And I would be sure to check the rears as well. I could start work on all this stuff if I finished up what’s in the shop now.. but It’s been cold and my ambition level is low.. Spring could be very busy !
Also of note: I’ve been collecting some of the bits and pieces I need to “pimp” out the Raider.. I have the keyless door lock system now.. and I bought a used but nice Kenwood stereo. AND I got some nice LED running lights . Once I get the carb kit.. I will start the fixing up.. and that will start a new page for this post..
I have the Weber Carb kit now.. so let’s start a new page… shall we.
Page 2