Sept 14 2019

My Two Cents…
I believe anyone who is into vehicles has favorites… or maybe one model / make that they liked so much that they buy them again and again. For me it’s an Avalanche… Not a new one but the years 2002 to 2006. The best years… now GM has long since stopped production of these hybrid trucks.. In 2013 the last of them were made. I mistake I think… But GM has made many of those. Diehard trucks folks thought them to be (not a truck) I disagree ! Today 1/2 ton trucks are mostly crew cabs with short boxes. Wow.. that’s what an Avalanche is too ! BUT with a very big difference.. I can drop the back wall (midgate) in seconds and I now have a long box truck.. Recently I carried home some 20 ft pieces of steel… I can easily carry 16 ft lumber.. Try those things in your short box truck ! Here’s some other things for my argument … Box covers are an option for most trucks… Avalanche comes with them… three piece hard and lockable. Handling … Because the Avalanche is built on the Suburban chassis it handles like a SUV.. smoother.. turns sharper. But they share so much in common with a regular Chevy 1/2 ton..
Now let’s talk about my history with these (trucks). It was my good friend Dave ( diehard GM guy) that started tooting the Avalanche horn… saying how they are great and that he was thinking of one…and that I should too. Later he did.. a 2006.. and he had it for longer than I had… well anything. But I was first.. In 2005 I bought a 2003 Avy
#1 2003 Avalanche base:

With the cladding.. Loved it like I loved them all. Yep I pimped it a bit.. This was the very base model.. So not much fanciness.
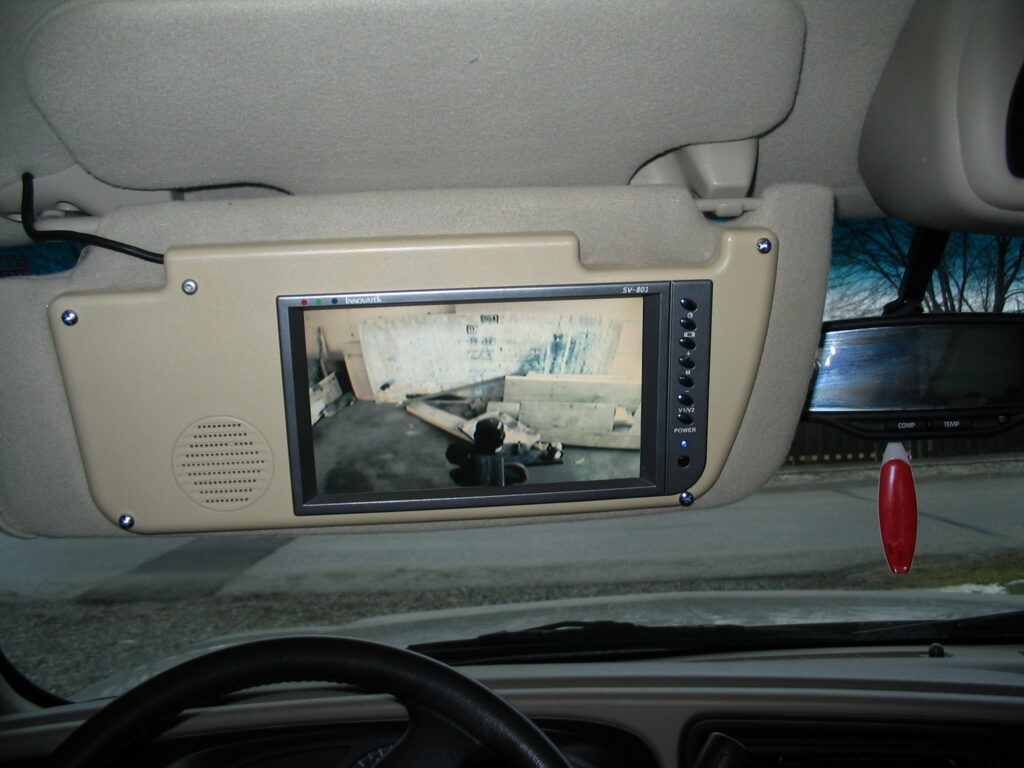
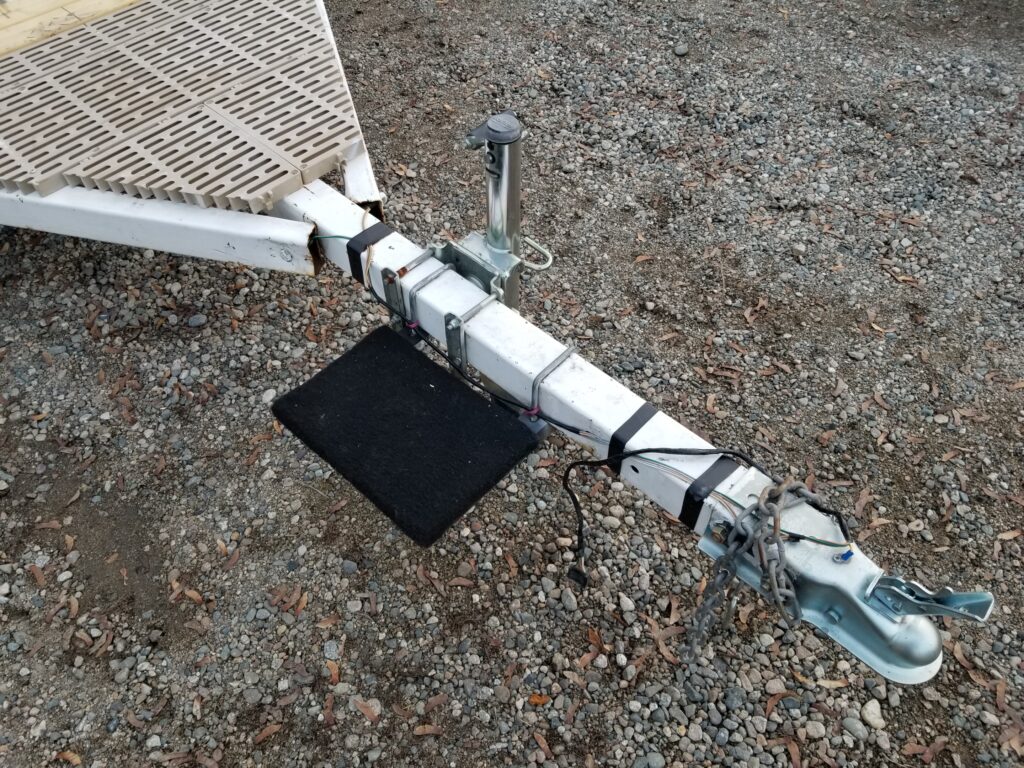
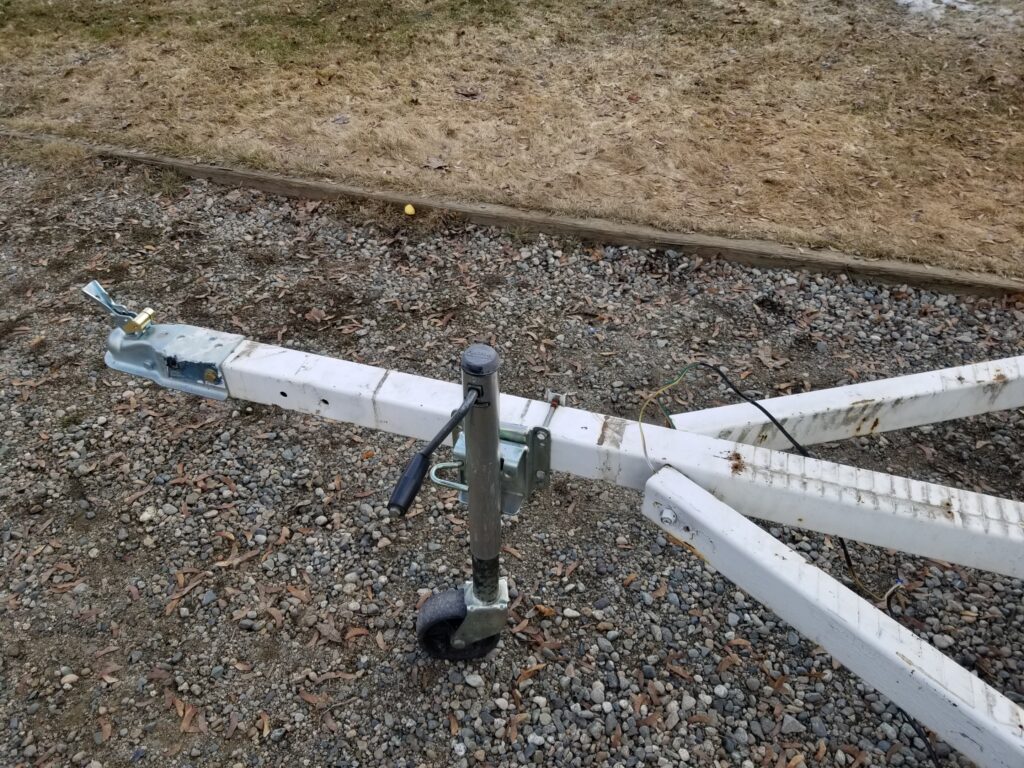
No Bose sound or climate control.. But I added a back up camera.. and a new stereo… This is the Avy that towed our Award trailer..
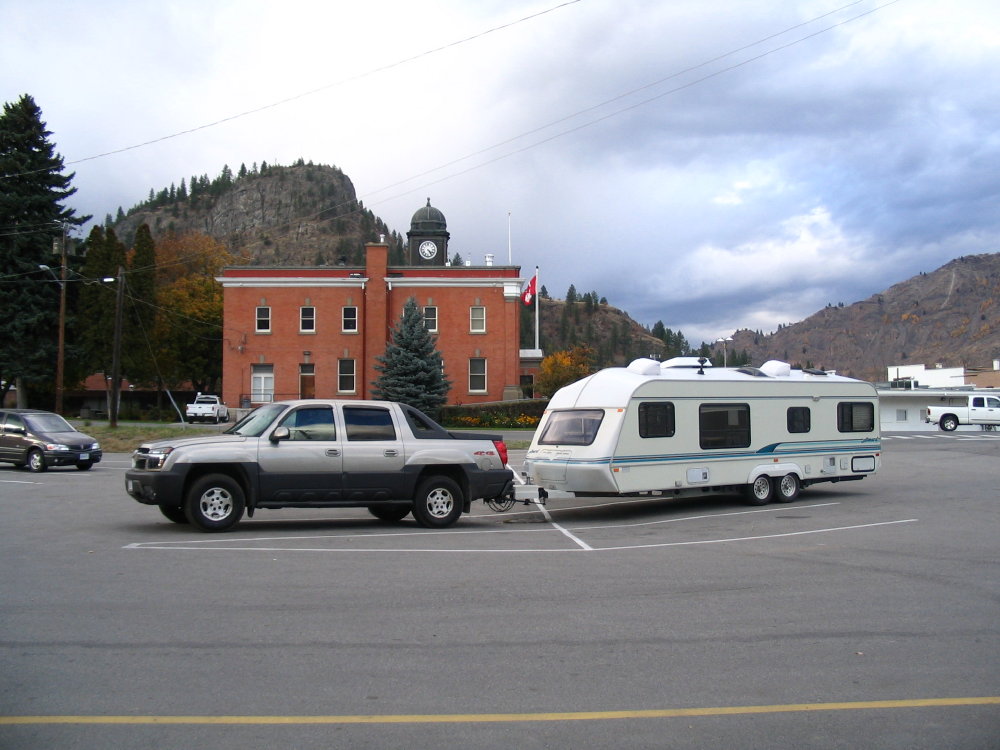
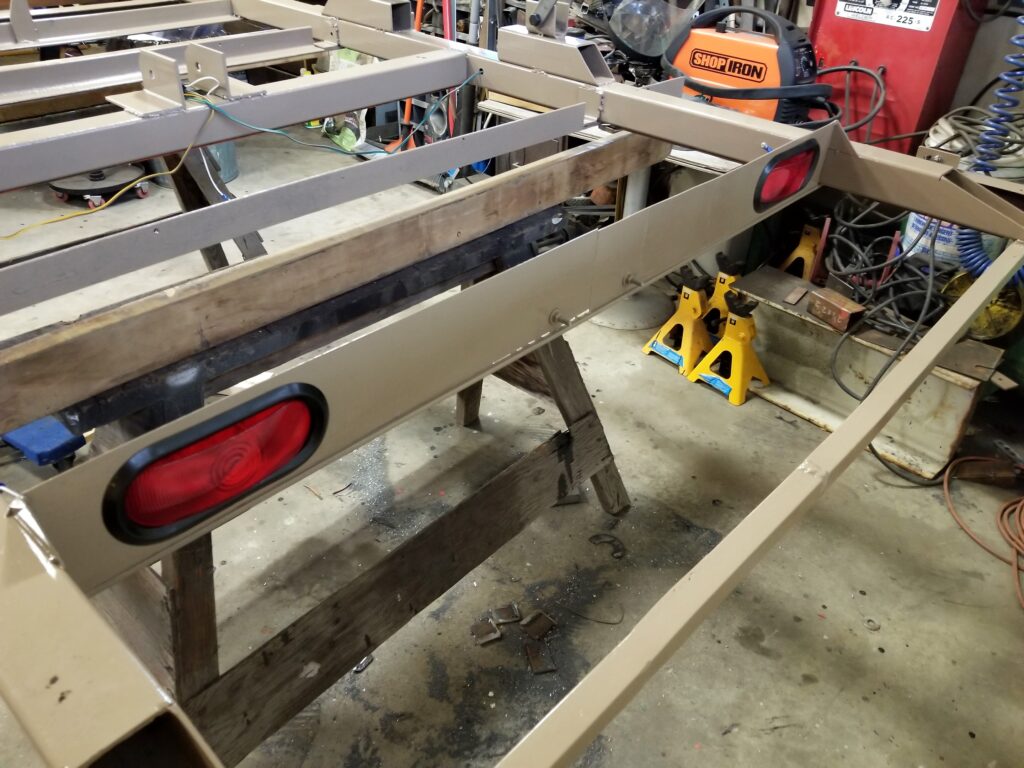
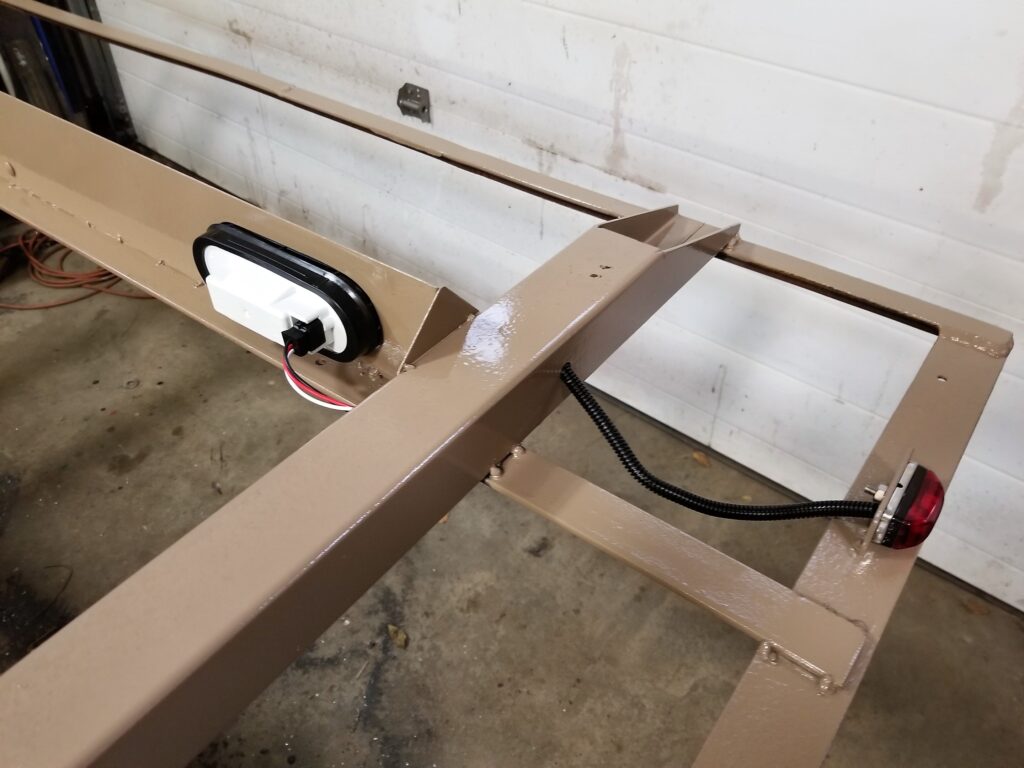
And packed Kayaks on a rack I made… ( and still have) .
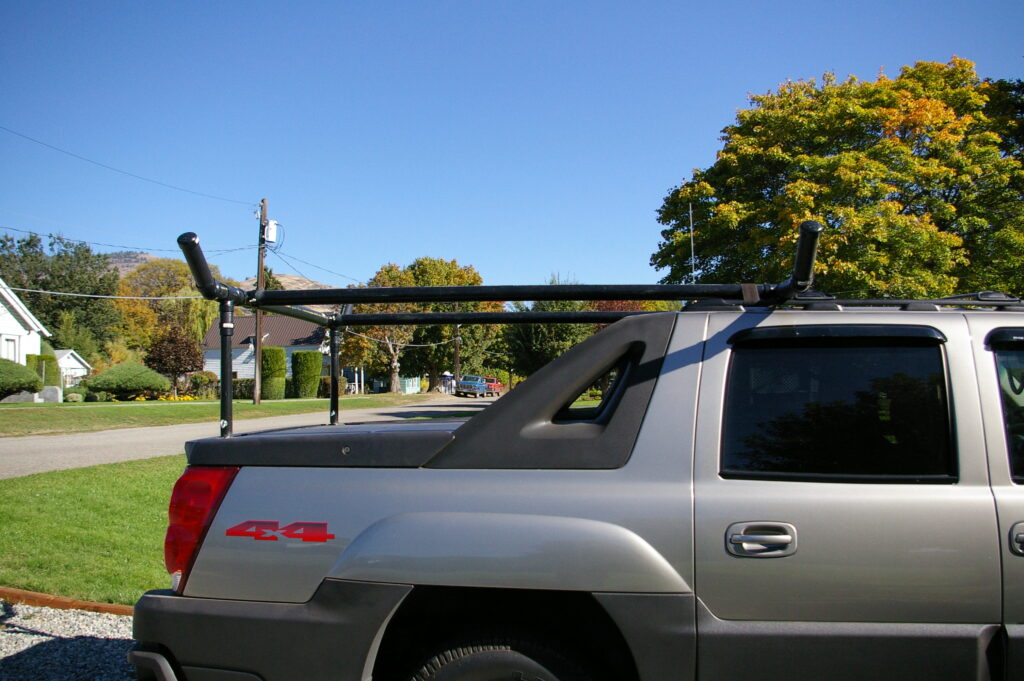
Yes I kept that rack… good thing ! However when I was lossing my job at the mill we had to down size and the 2003 Avy was one of the things to go.. I sold it in 2008.
#2 2005 Avalanche LT :
It wasn’t long before I bought another one… I got a new job… making good money so I couldn’t resist when this one showed up at the lot..
Loved the color.. it changed in the sunlight.. This was the first deluxe Avy.. leather seats, Bose sound with center console. No cladding. Sunroof too ! And yes I pimped it out..

Added a Pioneer stereo and burl wood trim.. classy !. I had this Avy the longest.. 4 years.. I sold it in 2012.
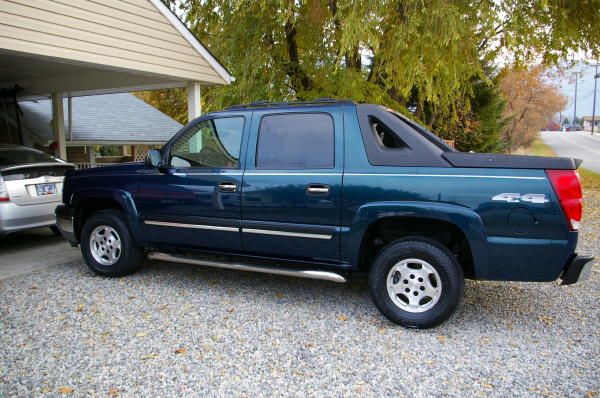
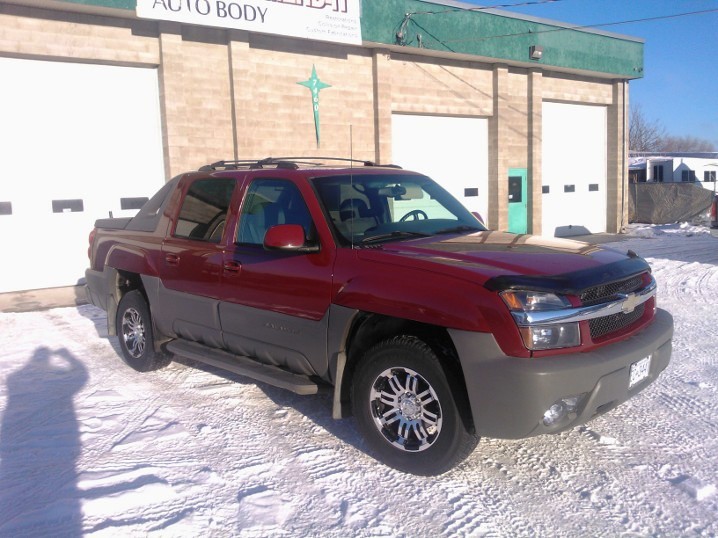
#3 2002 Avalanche :
I missed the 2005 Avy.. so I was actively looking for a replacement.. I was working at the car lot where I had bought the other two.. and I saw one next door having some repairs done..
I asked if it was for sale and yup it was.. So I bought it. 8 months after selling the 2005. Came with a second set of wheels.. This is the first gen Avy.. and the interior is slightly different.. Not fond of black.. But that could change.
So I had the darn cladding again and it needed some good cleaning .. and I installed the new wheels… Looked good after that.
The black paint was not good.. The Avy had spent some time in Trail.. and the acid rain had pitted the paint.. In Feb 2014 a new body shop opened and they gave me a great deal on a paint job.. So i changed the color to a dark red… Nice !
I was flipping vehicles that year.. And I never considered this Avy a keeper… So I sold it in the Spring of 2014.. I still see it driving around by the same fella.. When I retired from the lot in 2015 I had a 2004 Rare Chevy 2400HD Rv hauler.. And I drove that till this spring 2019… It was a great truck but not so good on fuel… so didn’t drive it much.. That’s when the newest Avy came along..
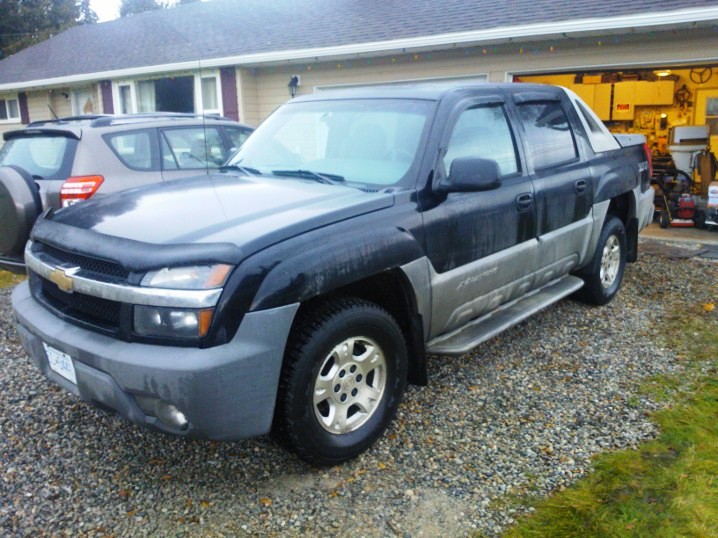
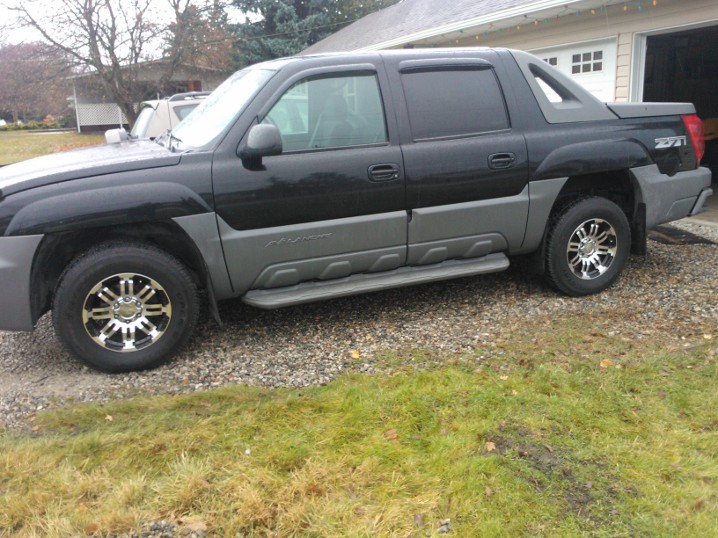
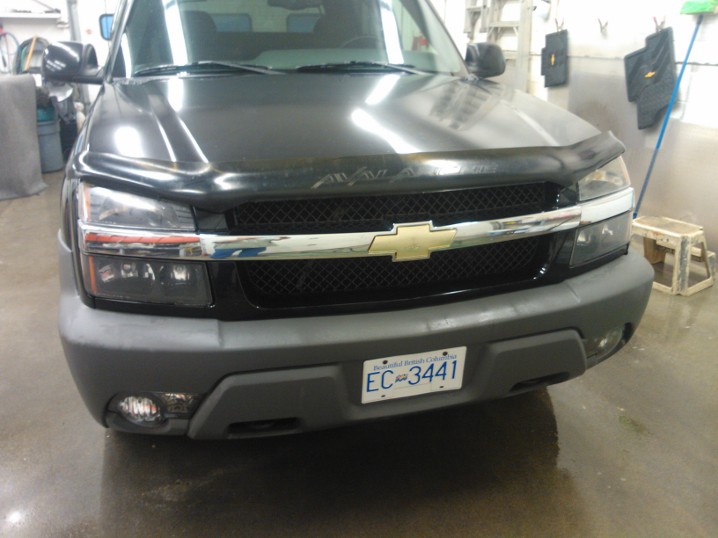
#4 2003 Avalanche LSC special edition:
I was back working at the lot.. when this one came in on trade.. WOW.. blingged out !
Chrome everything … 4:10 towing grears.. air bags . Bose sound .. In fantastic condition ! But I still found a few things to add.

Like factory roof racks.. and a killer Pioneer stereo .. with blue tooth, back up camera and satellite radio…

And yes even had climate control , power folding mirrors and power adjusting pedals. Love it… So much we used the Avy on our trip out to Alberta this August… got great fuel mileage and a very comfy ride.. And I want to keep this one..
# 5 A second 2005
I thought this (centre) would be the one for my daughter -in law. But then I found the 2009…

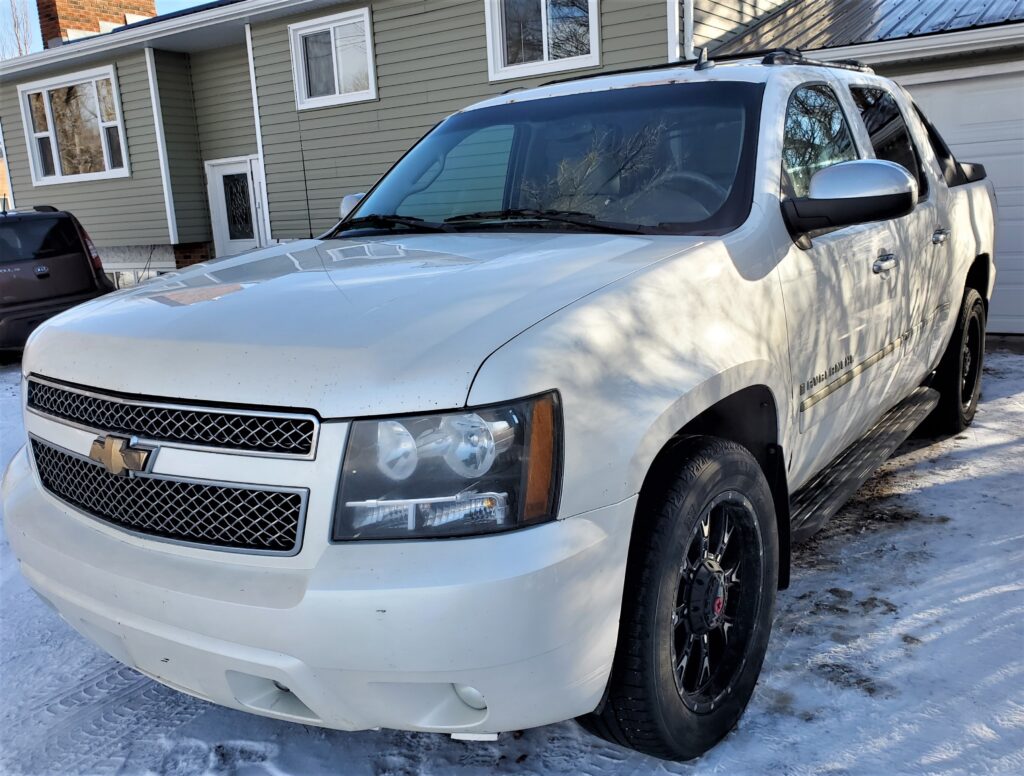
#6 2009 Avalanche
But let’s keep in mind that the 4 th 2003 Avalanche did the moving to Alberta. 4 trips.. It’s now going to stay in the family.. Dee loves it.. and it will serve them well. As for the 2009.. A little beat up, but I will return it to it’s former glory. I already love it like the others.. Use the link above to follow that process.
I did keep this for over two years, and it served me well. The bodywork never got done. I was starting to cost money in repairs. So in the late spring of 2024 I sold it. Got the 1993 truck and drove that for the summer. Then the motor went boom. Now in the early fall 2024 I bought
Avalanche number Seven !
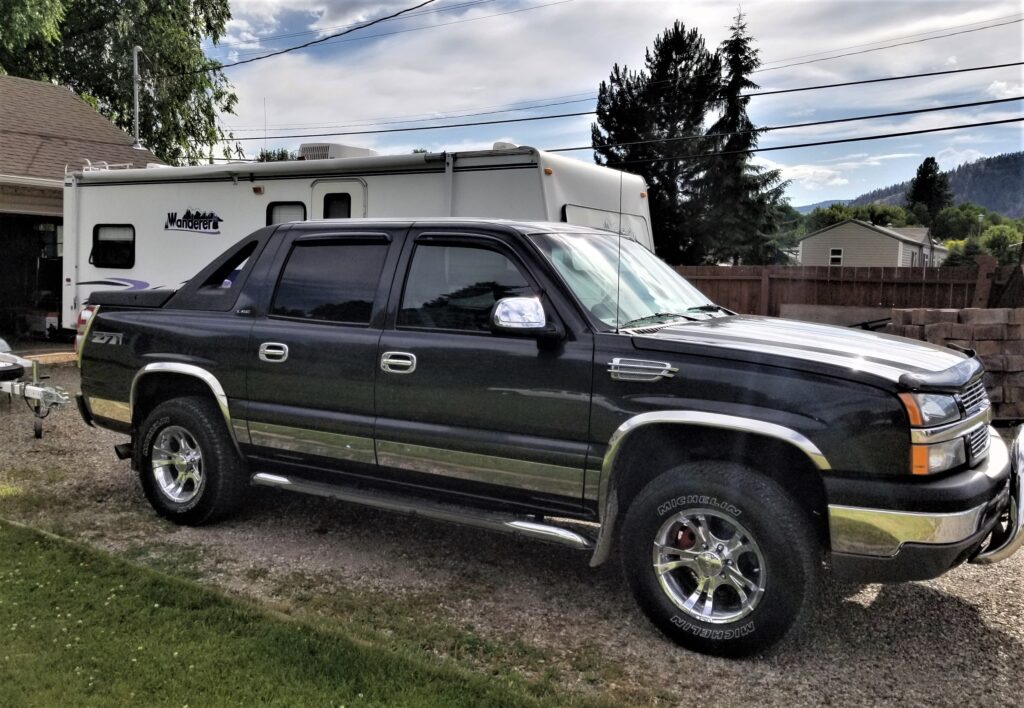
A 2006 white Z71 LT. Nicest one I could find with the lowest kms.
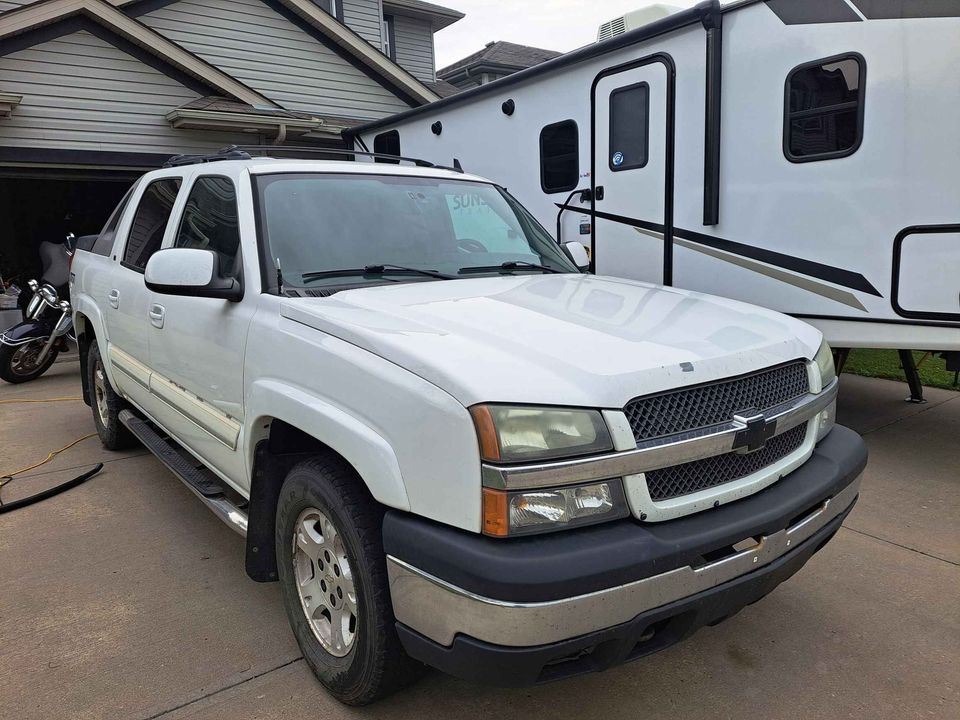
It too needs a few repairs but the price was right, the kms a good and the body is also good.