Sept 14 2021
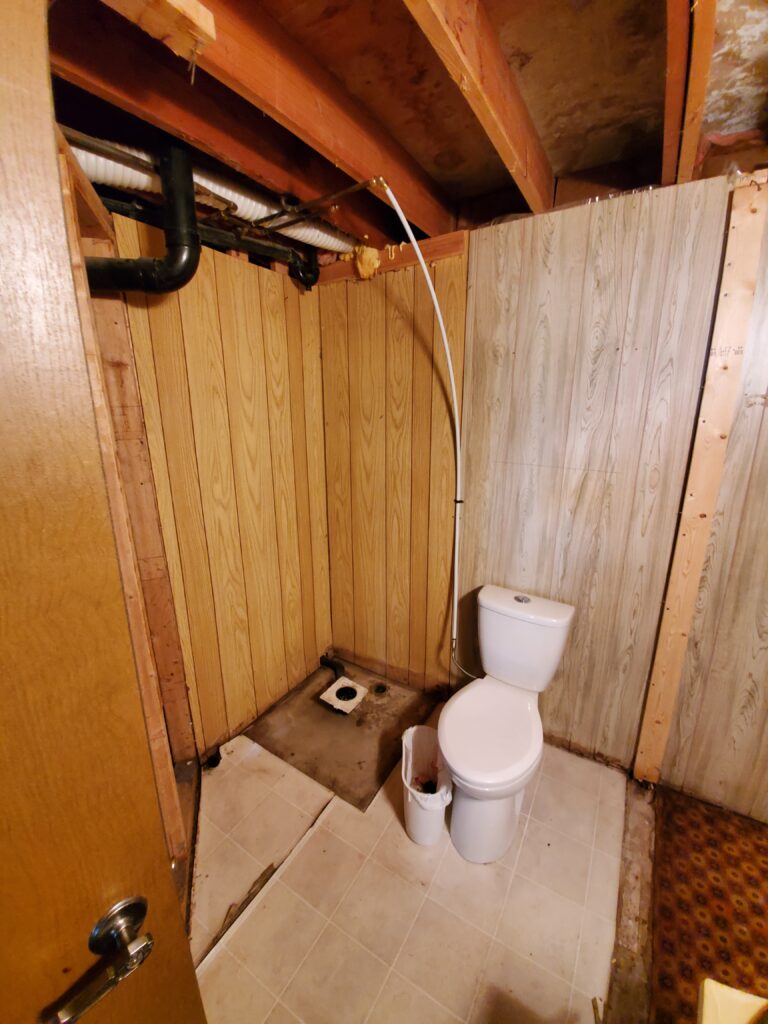
Yup It was usable…. JUST!
The toilet was new-ish.. Good. The sink and vanity were right outa the seventies.. Oh they worked but they were but ugly.
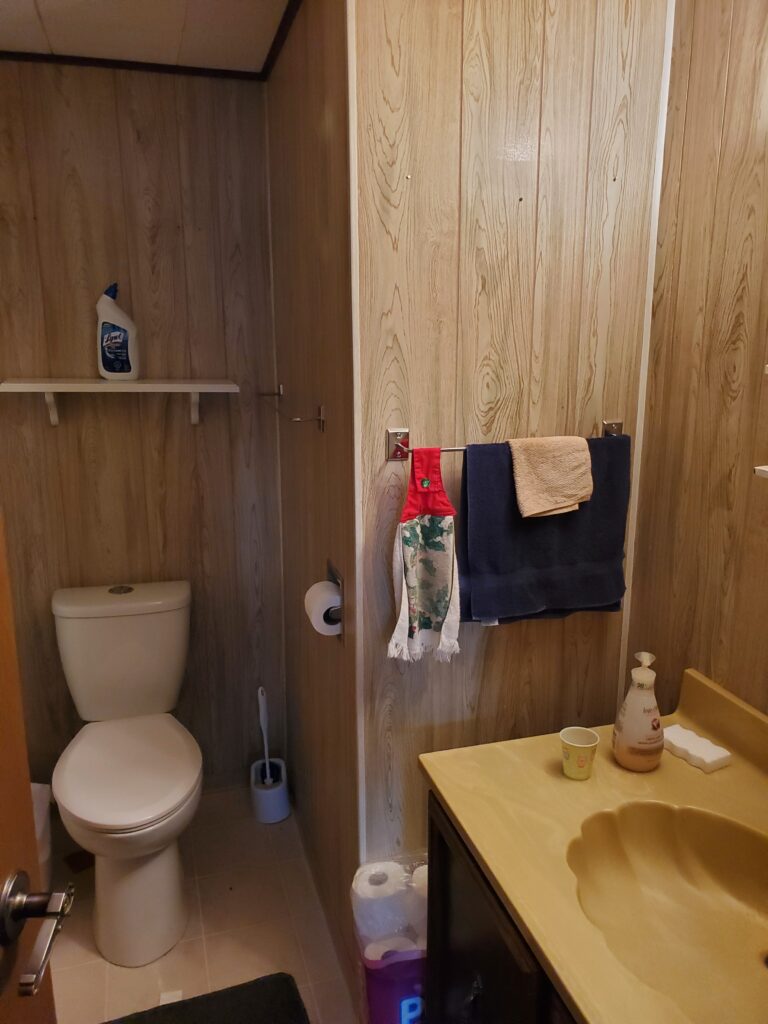
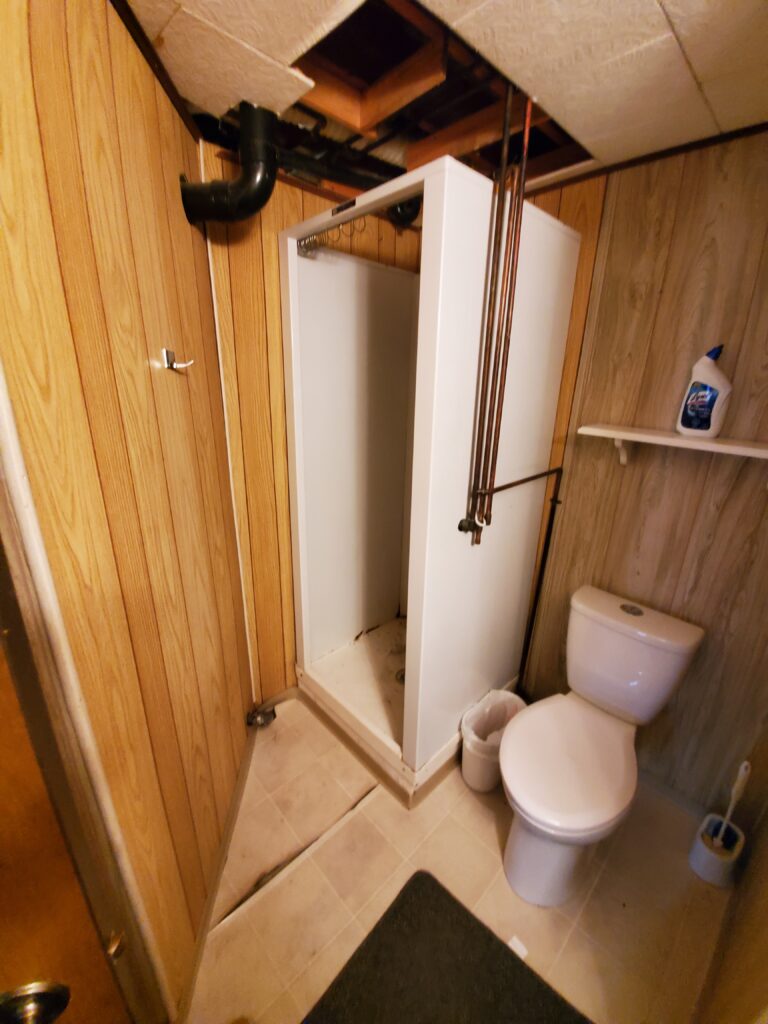
All paneling, check.. ceiling tiles, check. Bedroom closet intruding into space, check. Phone booth sized rusty metal shower, check.
And …holy crap the plumbing for the toilet and the shower is down right embarrassing.
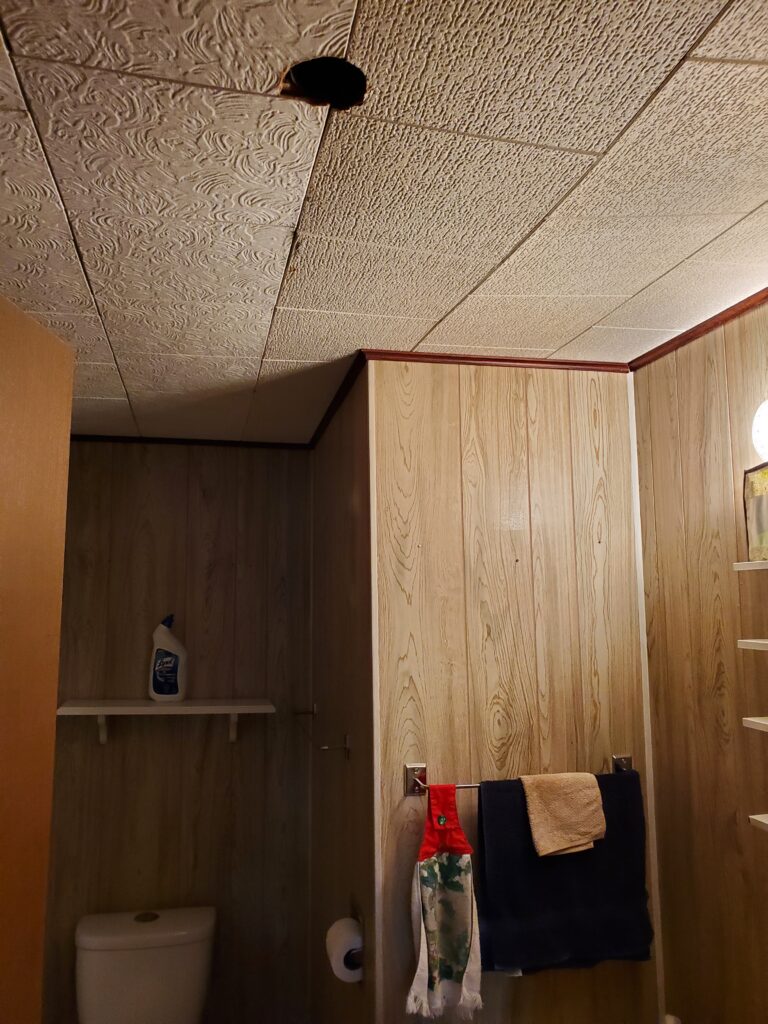
And the mystery hole in the ceiling turns out to be someones attempt to have a heating duct. Not the least surprising. Some reno’s are own right bad !
So let’s gut the room and reconfigure it !
First to go bye bye is the shower.. it was not even attached ! just sitting there ? WOW. The label says “Fiat” that figures.
So they put the shower stall up on a base so as to run the drain out to the laundry drain.. NO P trap ! Removed the copper mess and ran a temporary pex line for the toilet.. not wanting to give it up yet.
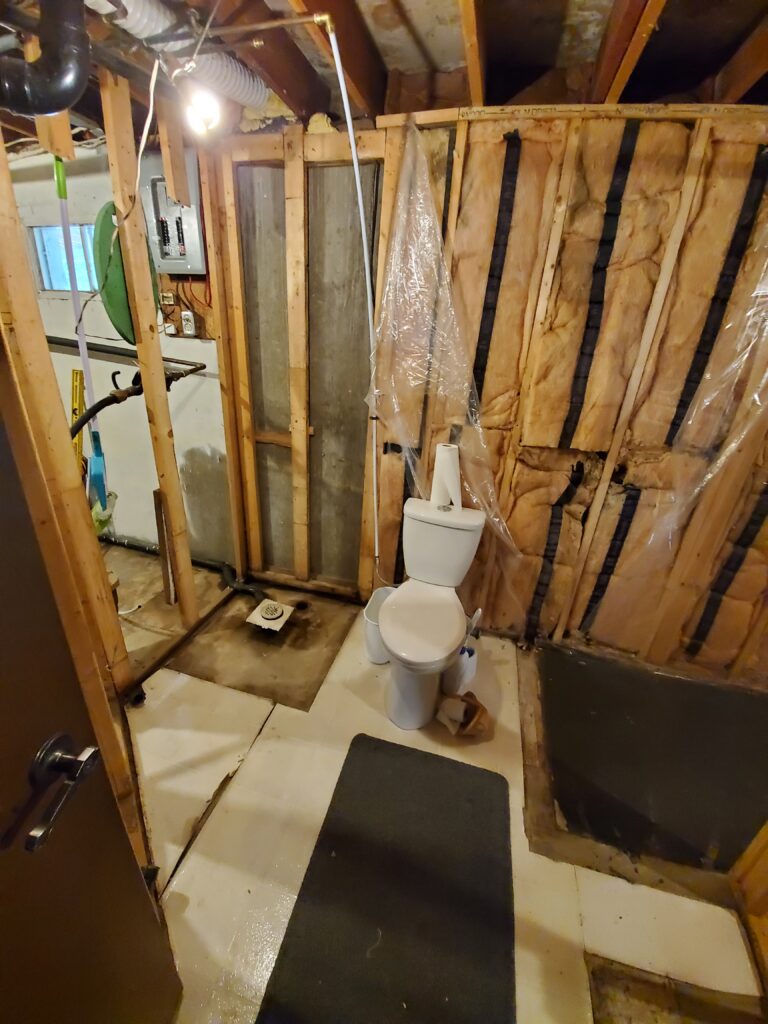
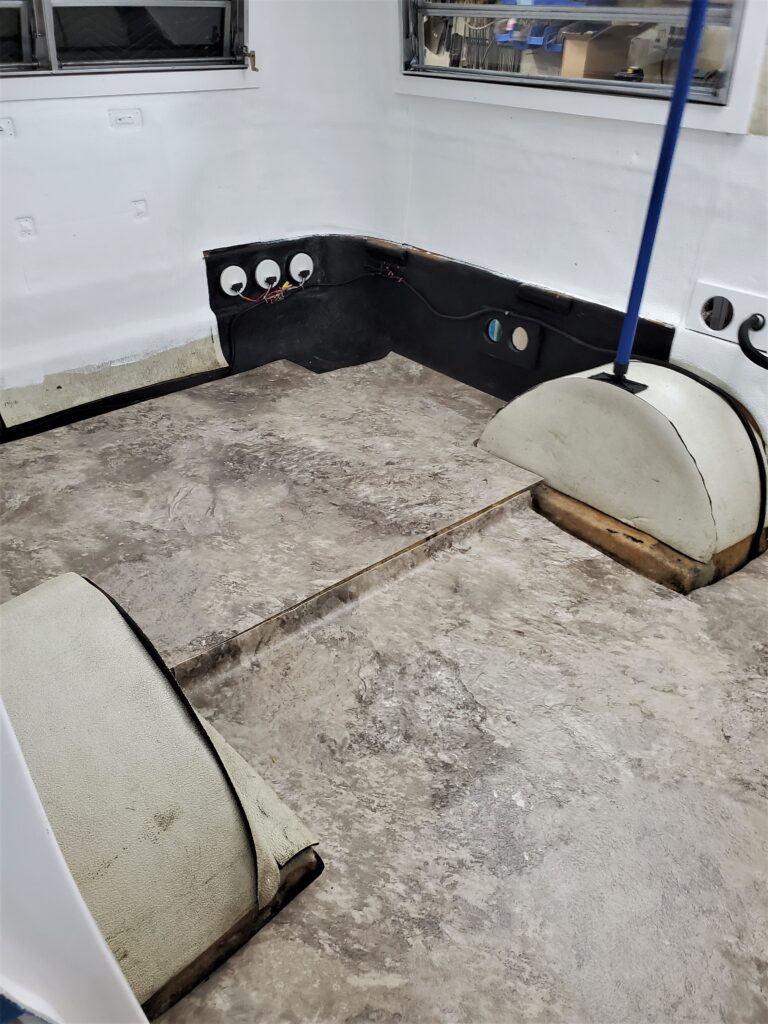
We took down all the paneling for the bathroom and the bedroom next door. And removed the closet. Yup no insulation behind the shower ? HUH.. The outside walls were framed with 2×2’s and R6 insulation. Ya the works for an Alberta winter… NOT! Quite a bit of the 2×2 sill plate was black and rotten from wayward water.. Still using that toilet..
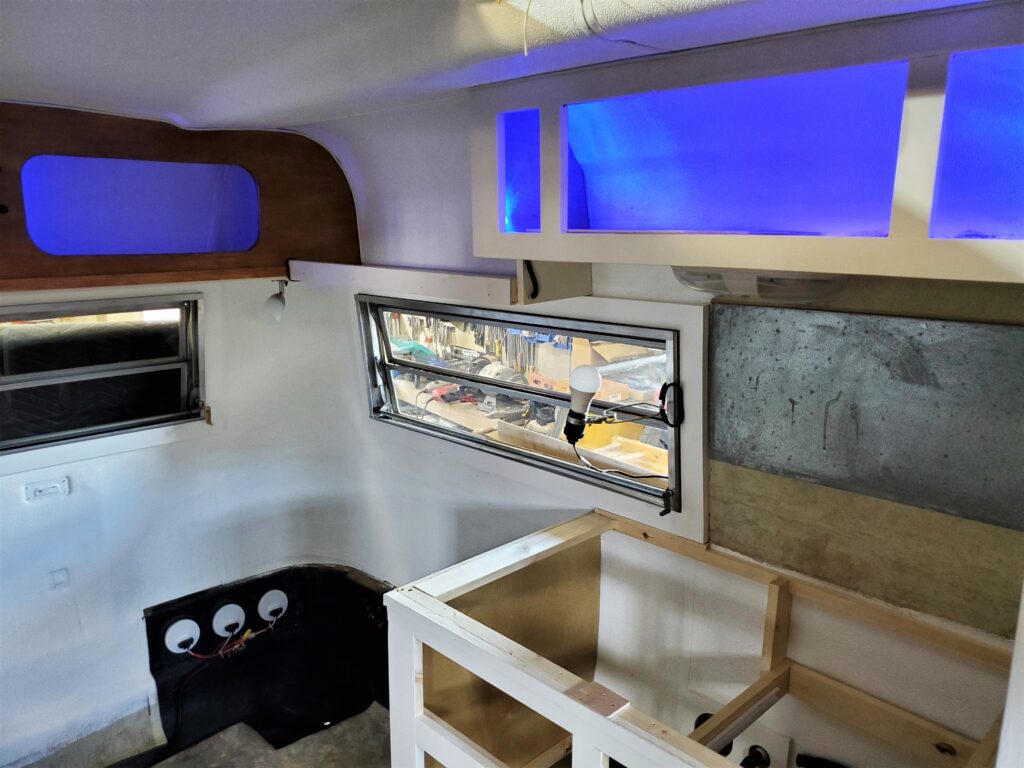
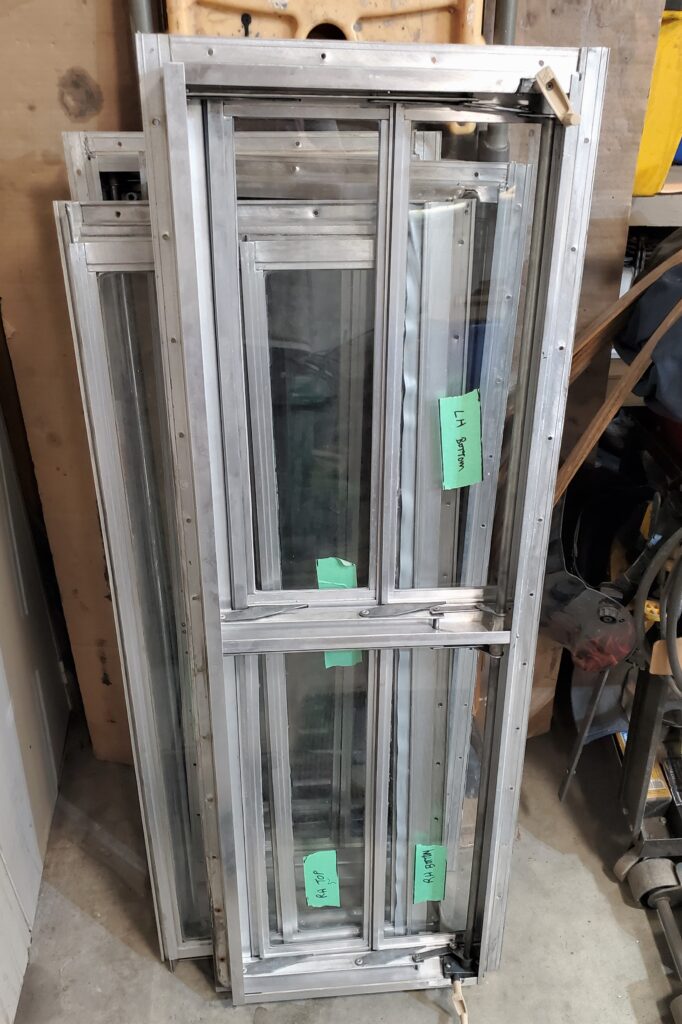
When the vanity was removed the drain pipes fell apart ! The funky vent pipe going across the ceiling was not glued ? And it all fell down. Fine by me. All the framing was removed on the outside wall.. bedroom too. The flooring was scraped up. New windows were installed in the whole house including the two small ones one this side of the basement. It’s good to have a bare concrete wall. And I had a bit of a leak under the bedroom window.. That needed to be remedied. This is the way it sat for most of August and a bit of Sept. Still using the toilet !
Time to get going again..
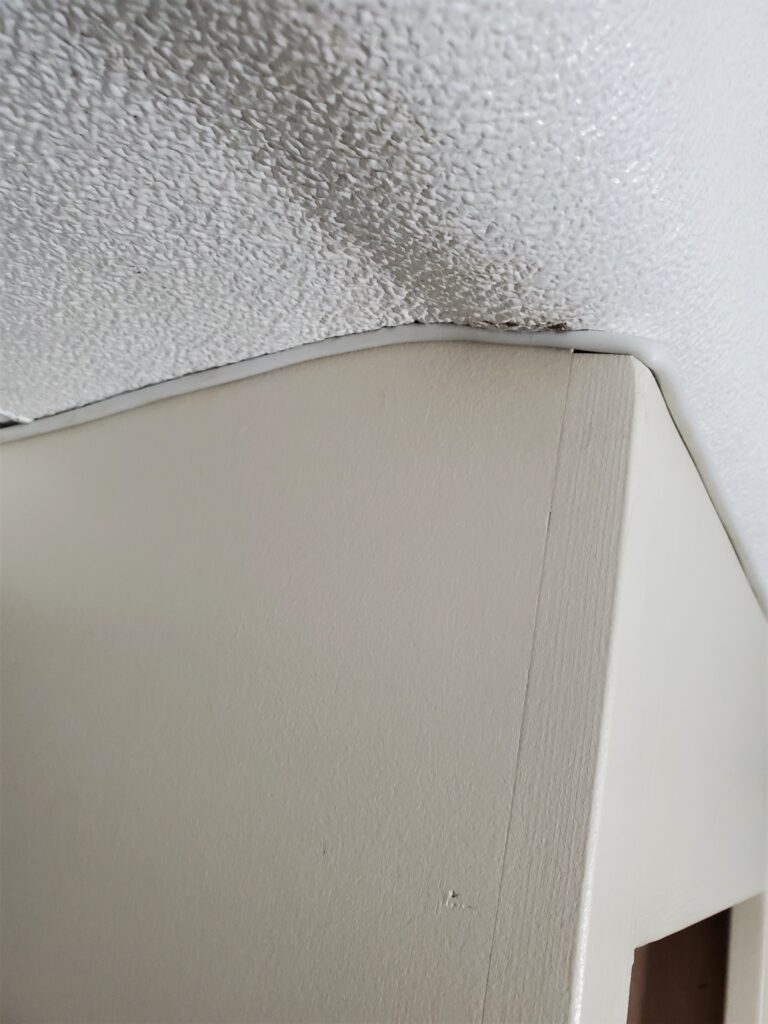
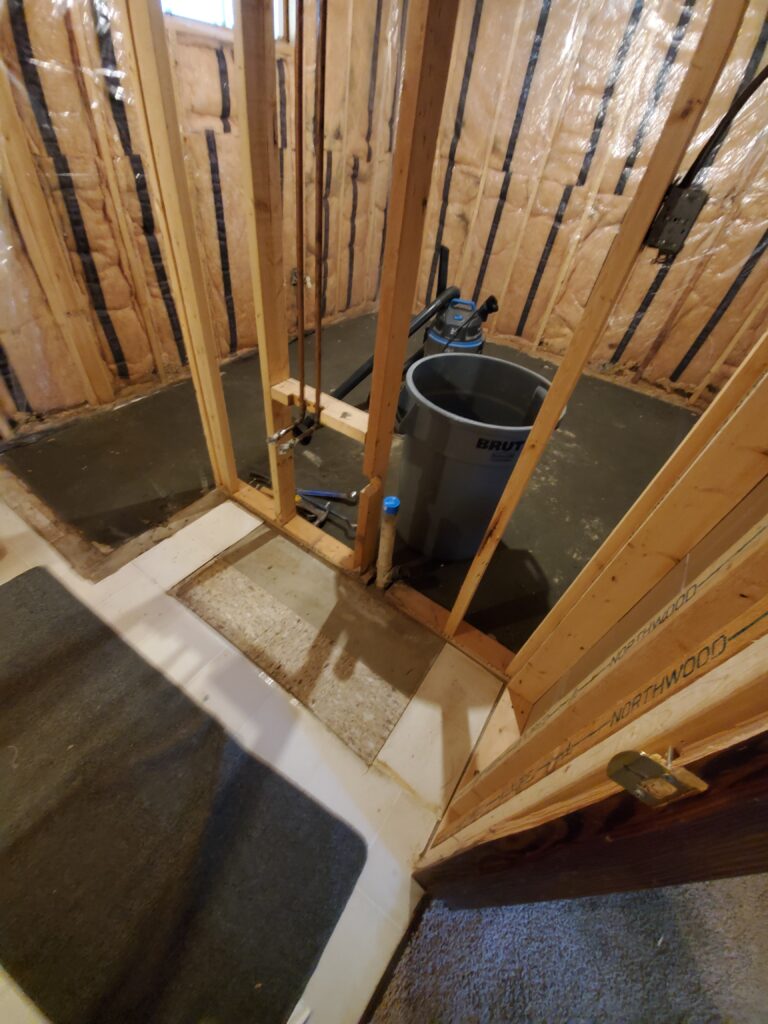
Looking like I got that crack fixed good.. So I guess the toilet needs to get outa the way.

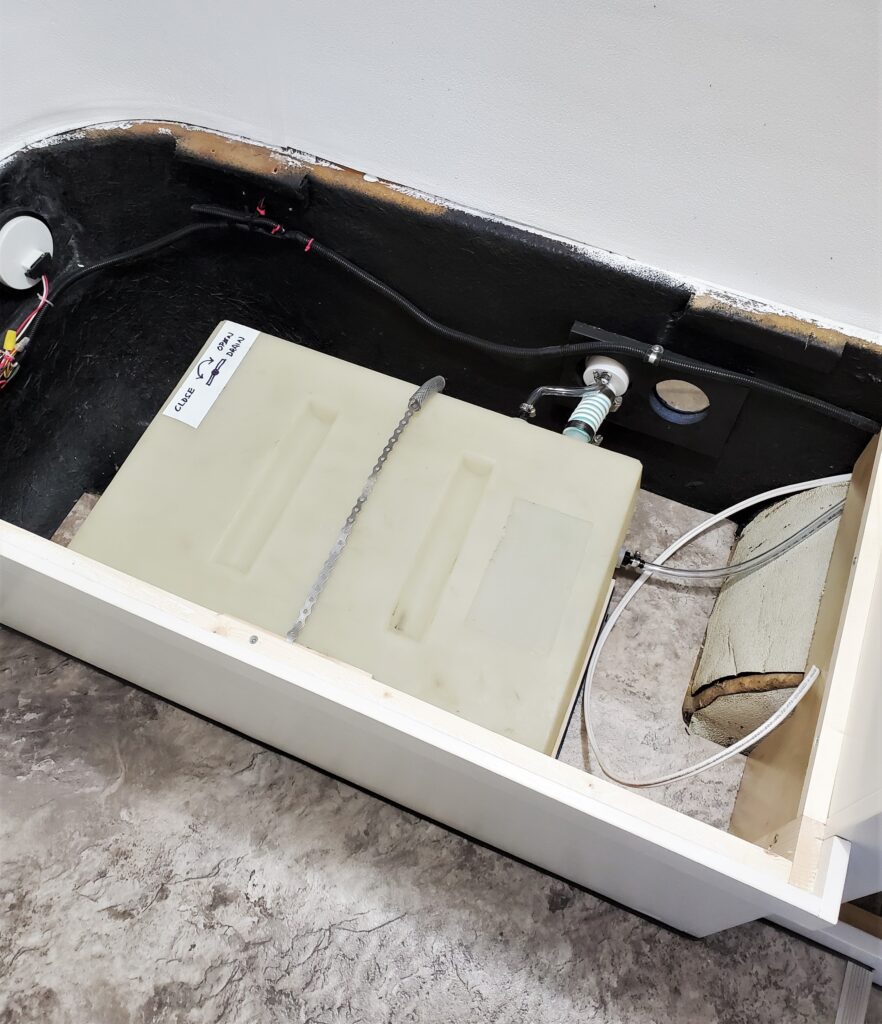
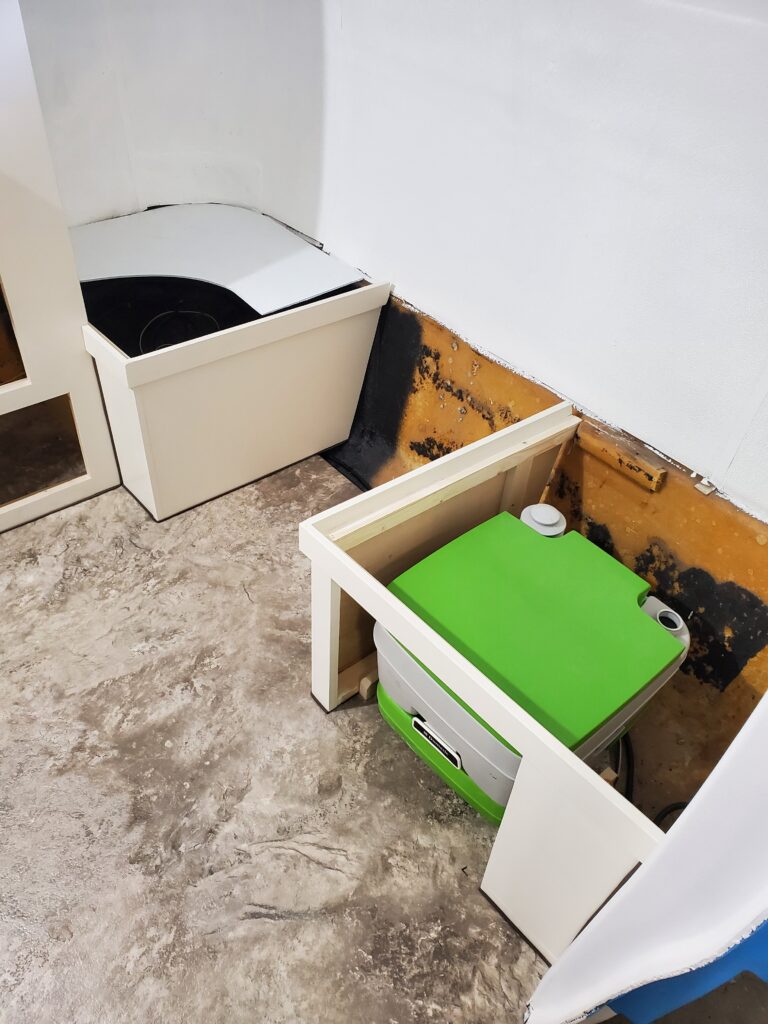
Time to move some drains. I rented a Hilti concrete drill and hammer.. Hard work but the 4 inches of floor gave way to my aggression’s. Revealing where the sink drain goes. And the 3 inch toilet drain goes straight to the clean-out under the plywood lid. We decided to move the toilet a bit into the bedroom. Just ten inches ..to give a little more room when you step out of the shower.
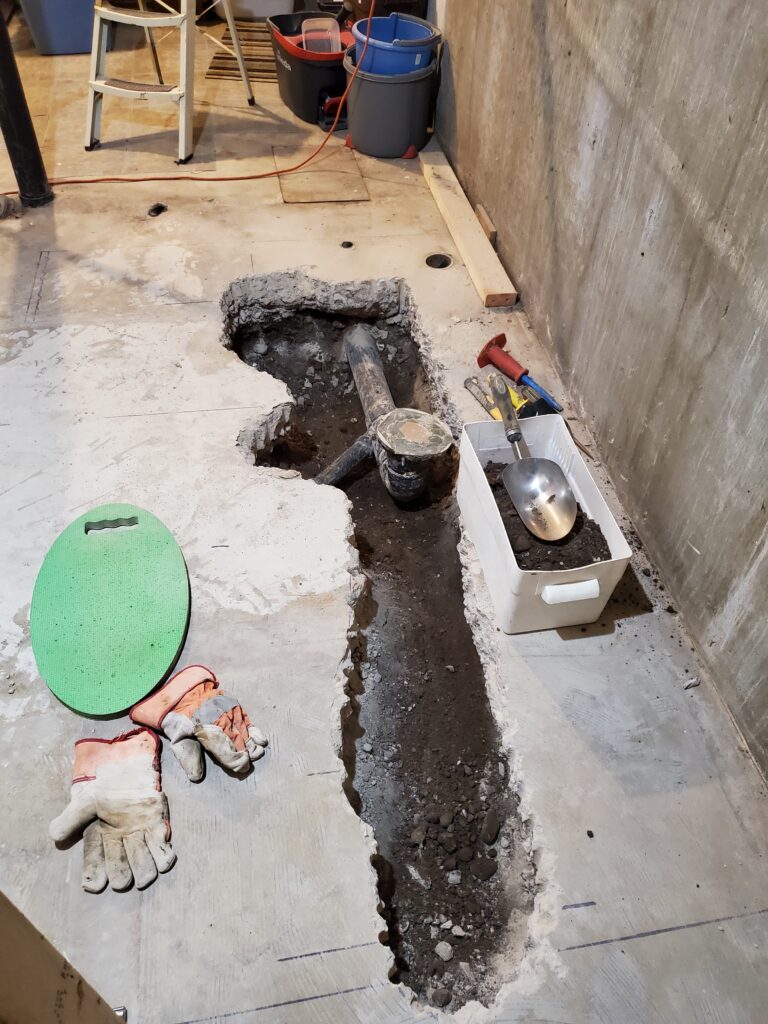
Lots of trips outside with the concrete bits and dirt. Time for new pipe..
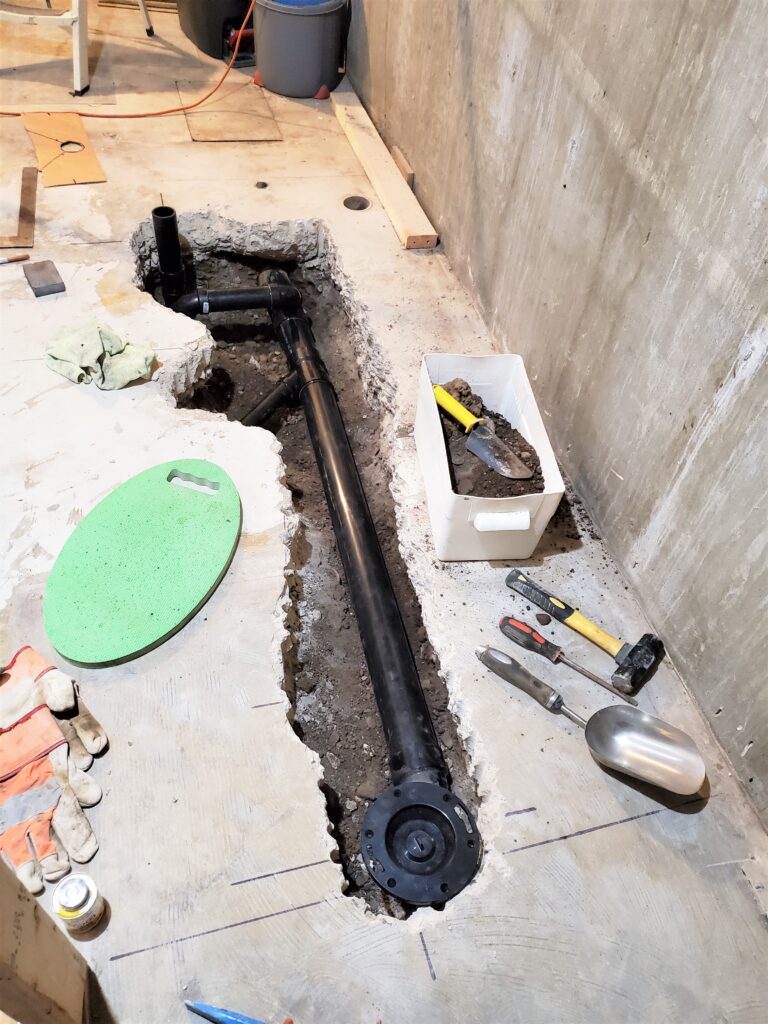
I moved the toilet flange just 40 inches. And the shower now has a P trap. The sink drain is also a vent ..so there’s plenty of air.
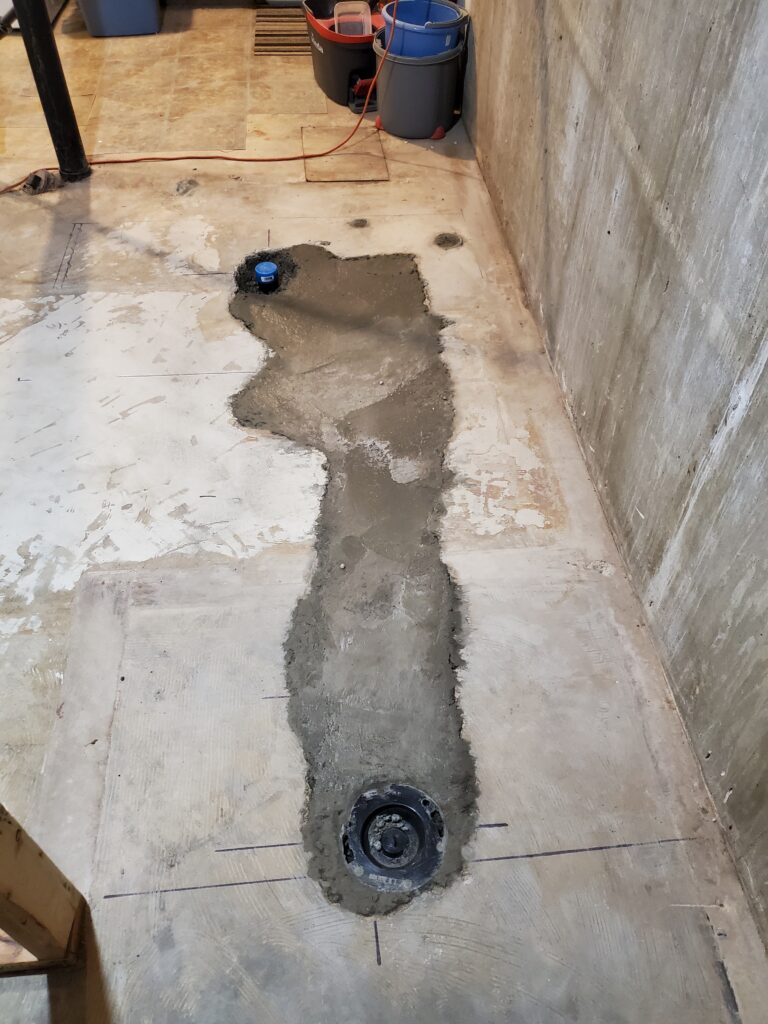
I put sand around the pipes and a layer of gravel too …All packed . Five bags of Quick Crete and there you have it.. Just leave it for a few days .
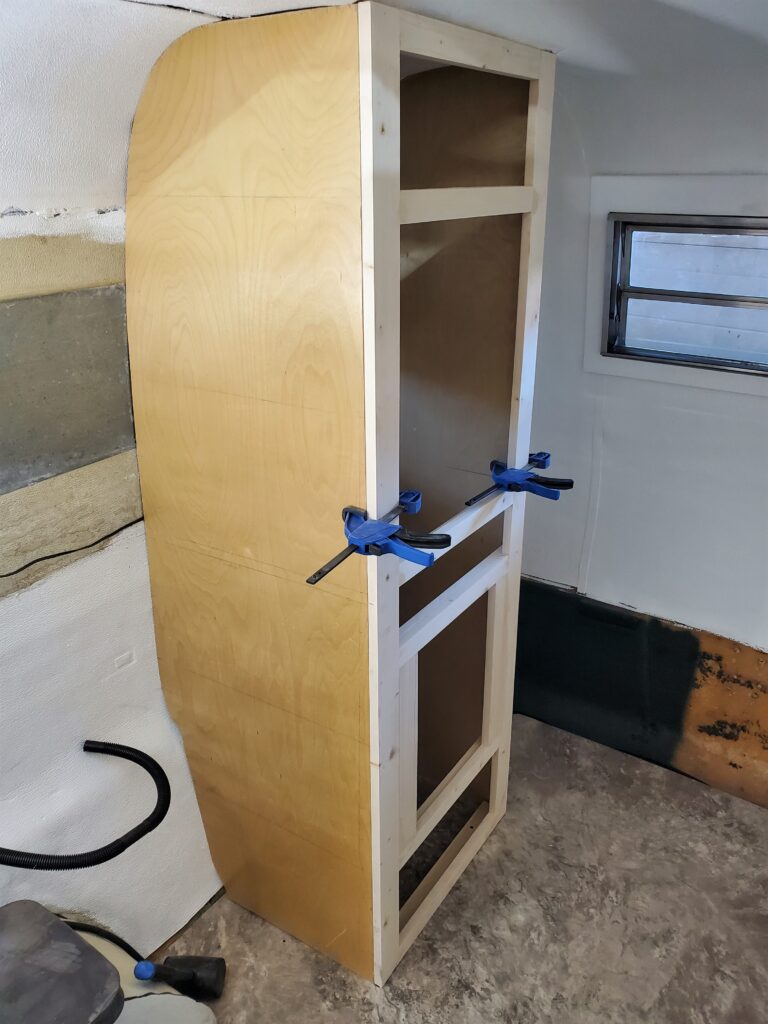
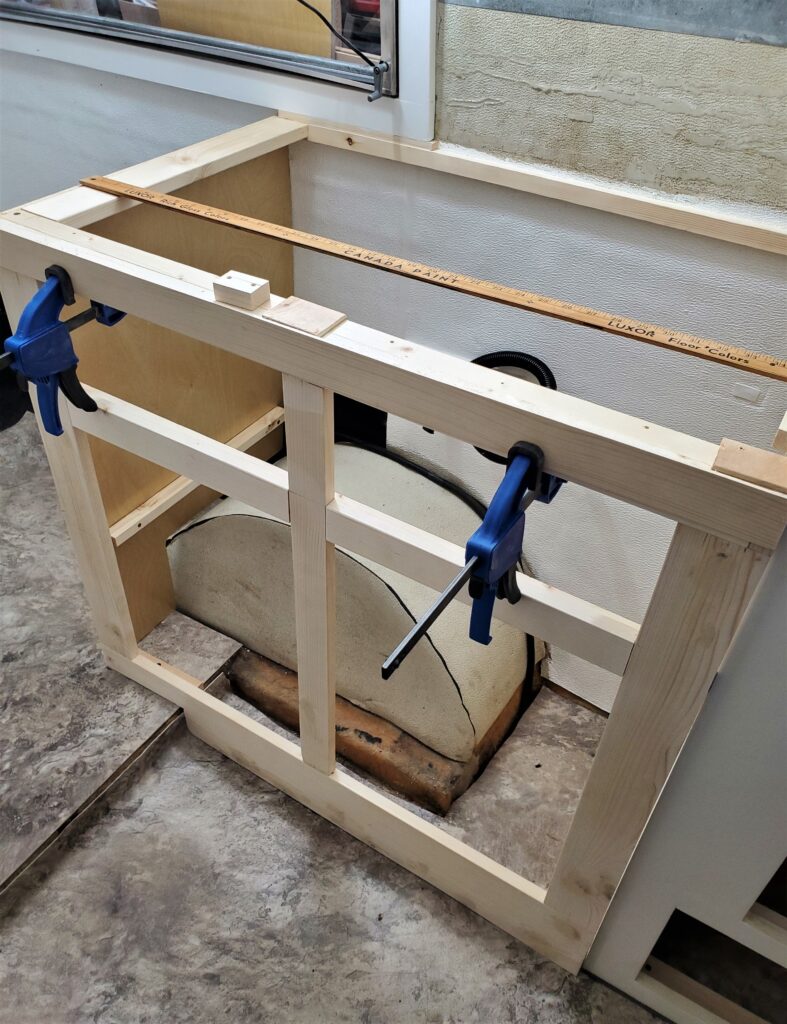
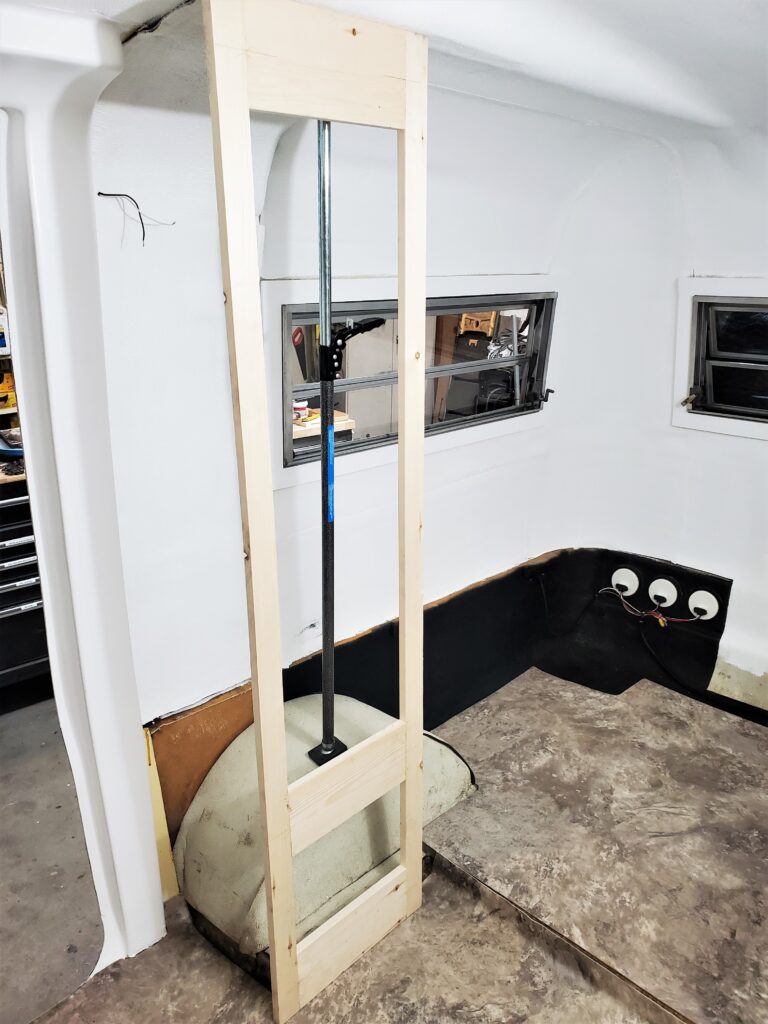
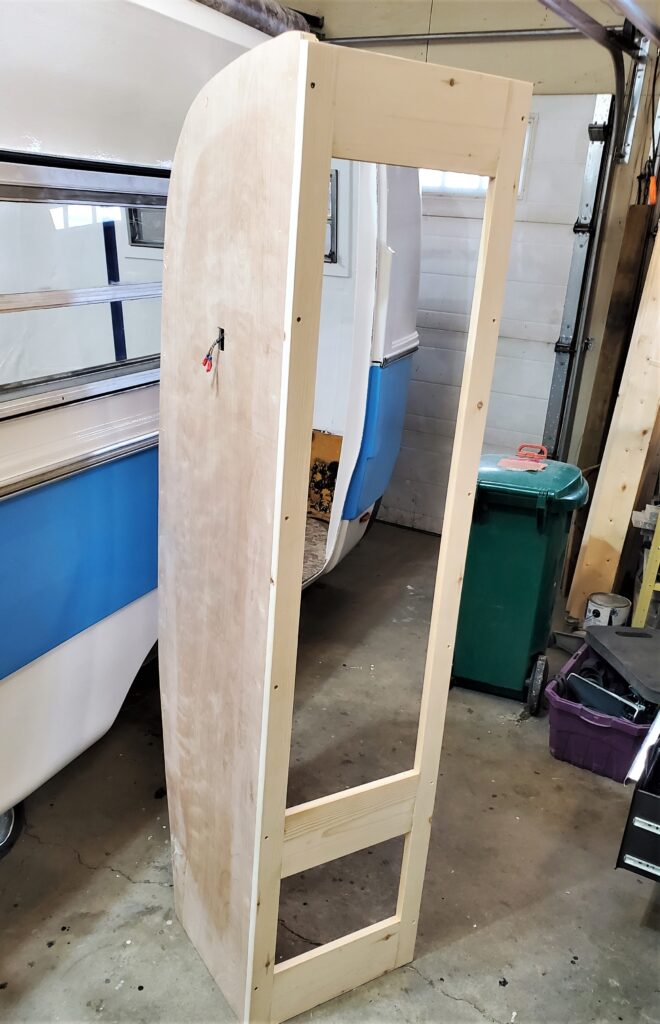
Ok framing time !
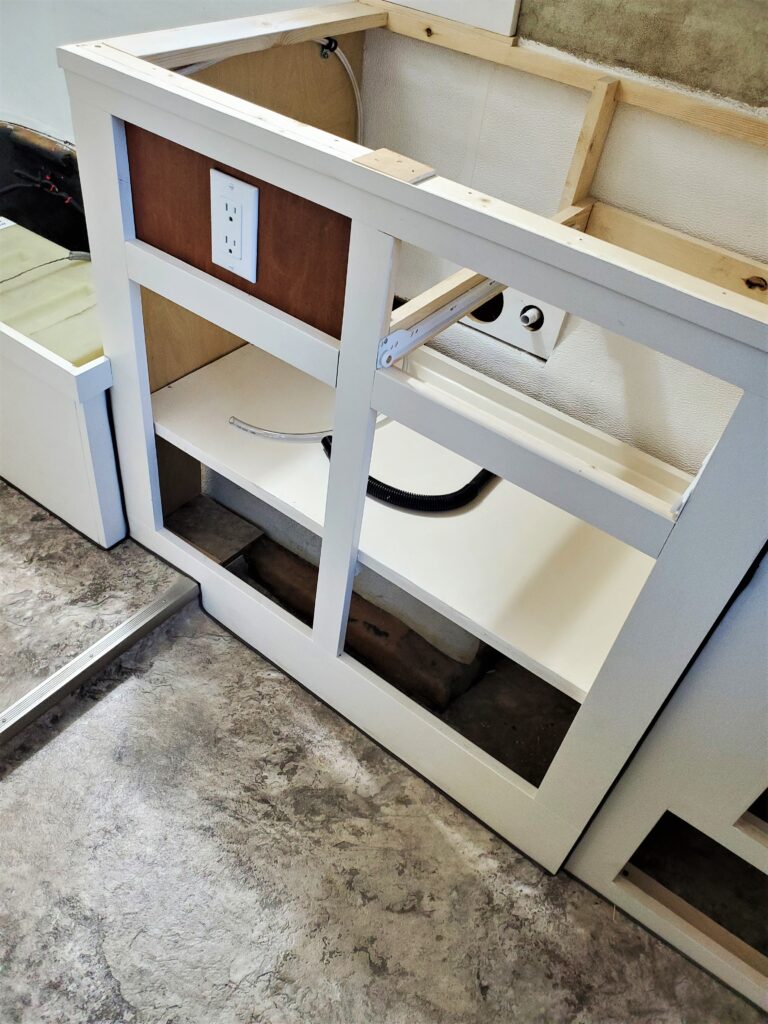
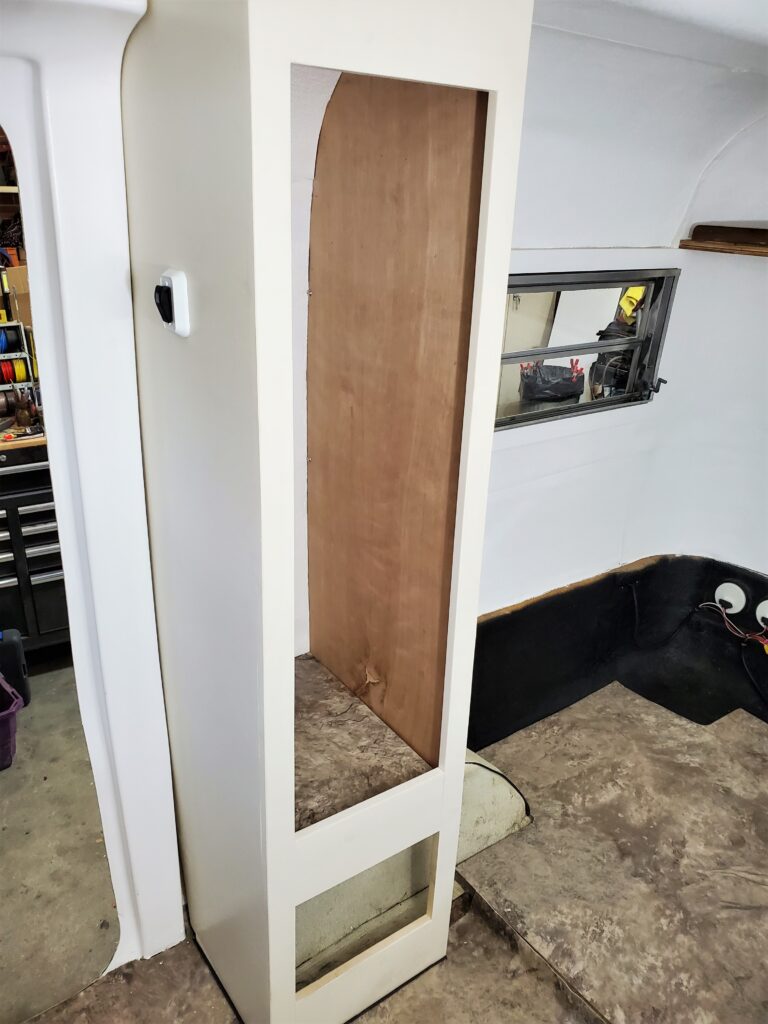
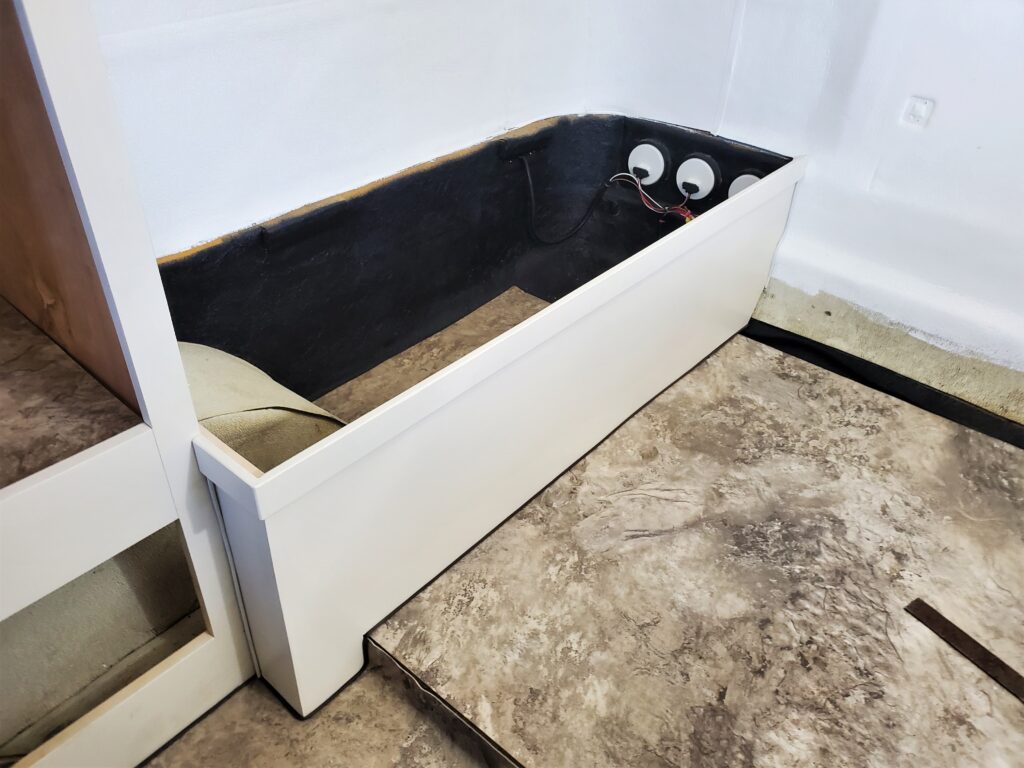
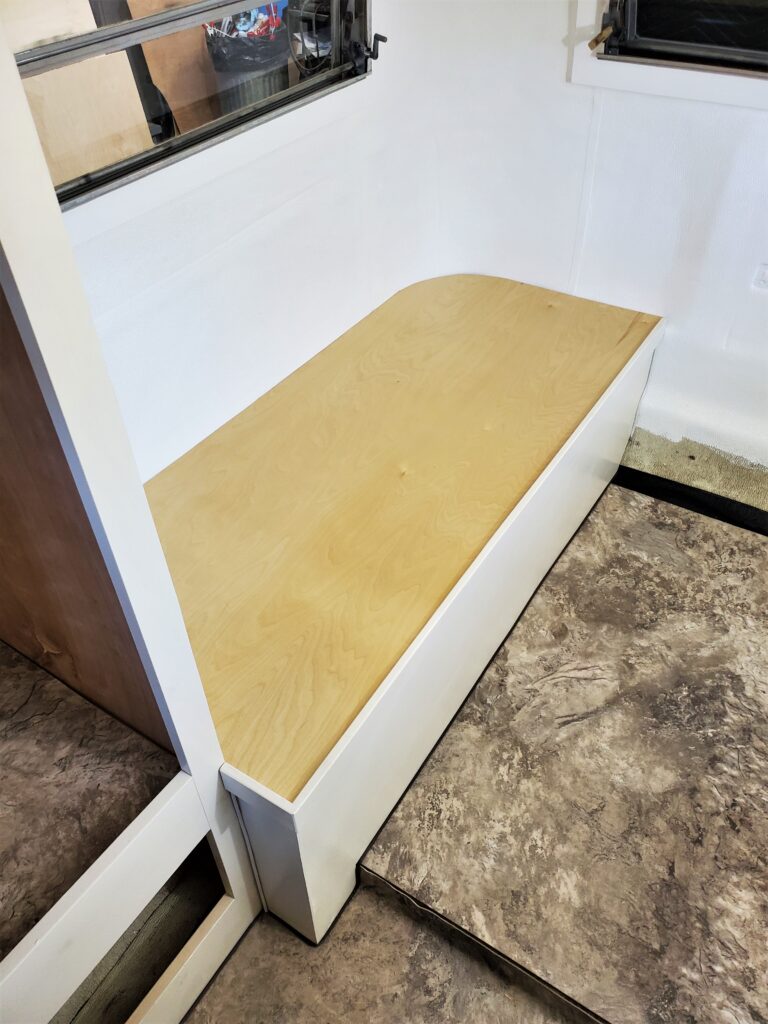
Well all that rippin things apart.. now it’s time to put it back properly. The bedroom closet used to intrude the bathroom space.. Now we are going the other way.. 10″ into the bedroom, making a bit more room for the toilet.
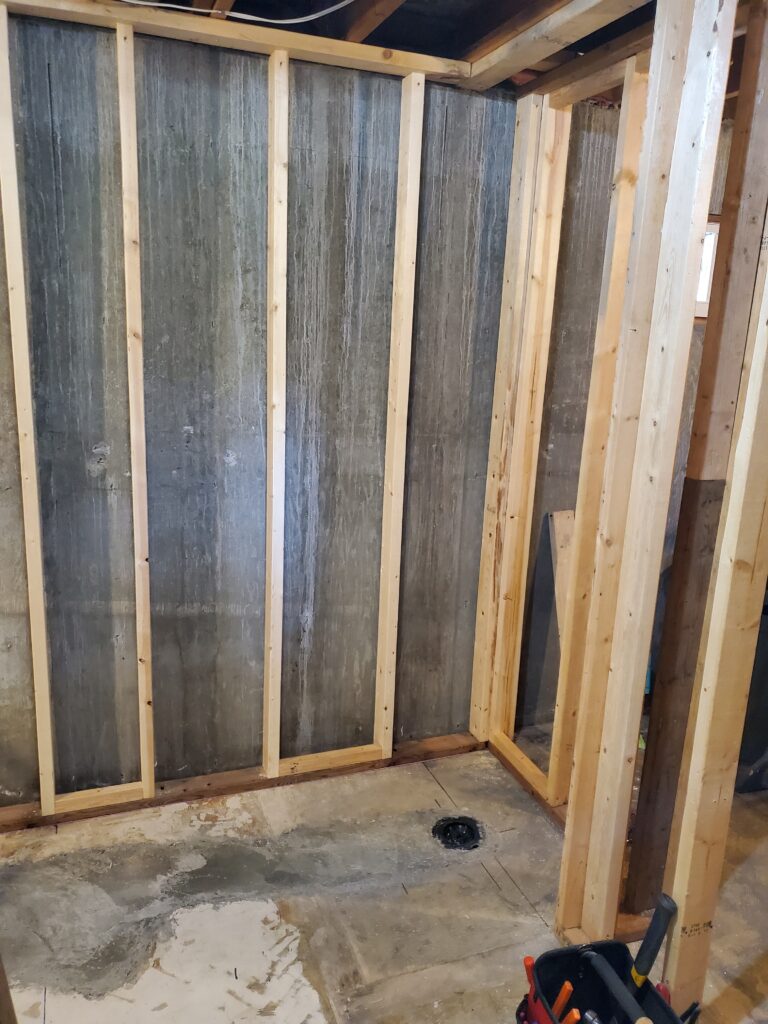
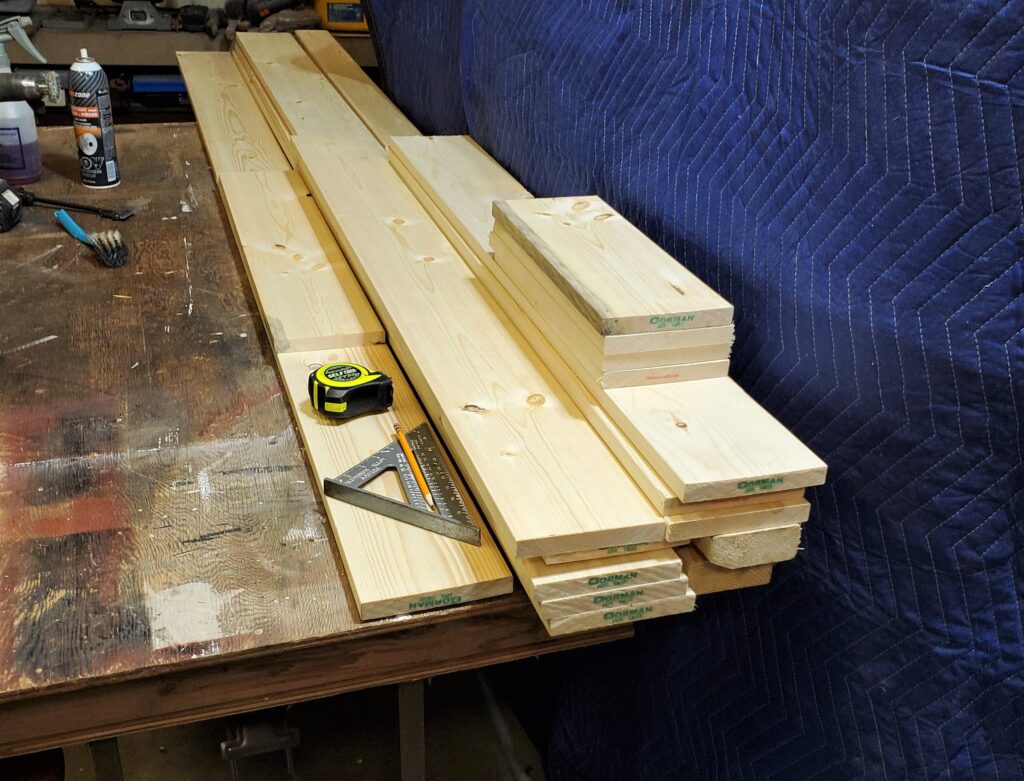
Treated lumber for the sill plates with gasket. 2×4 walls for better insulation.
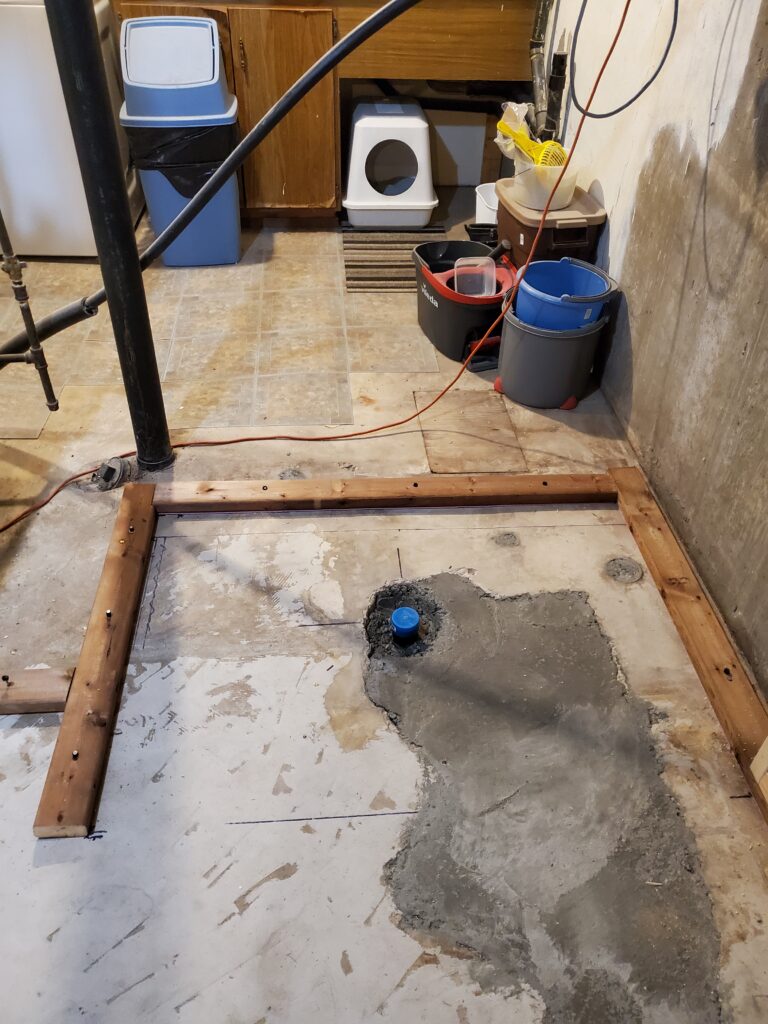
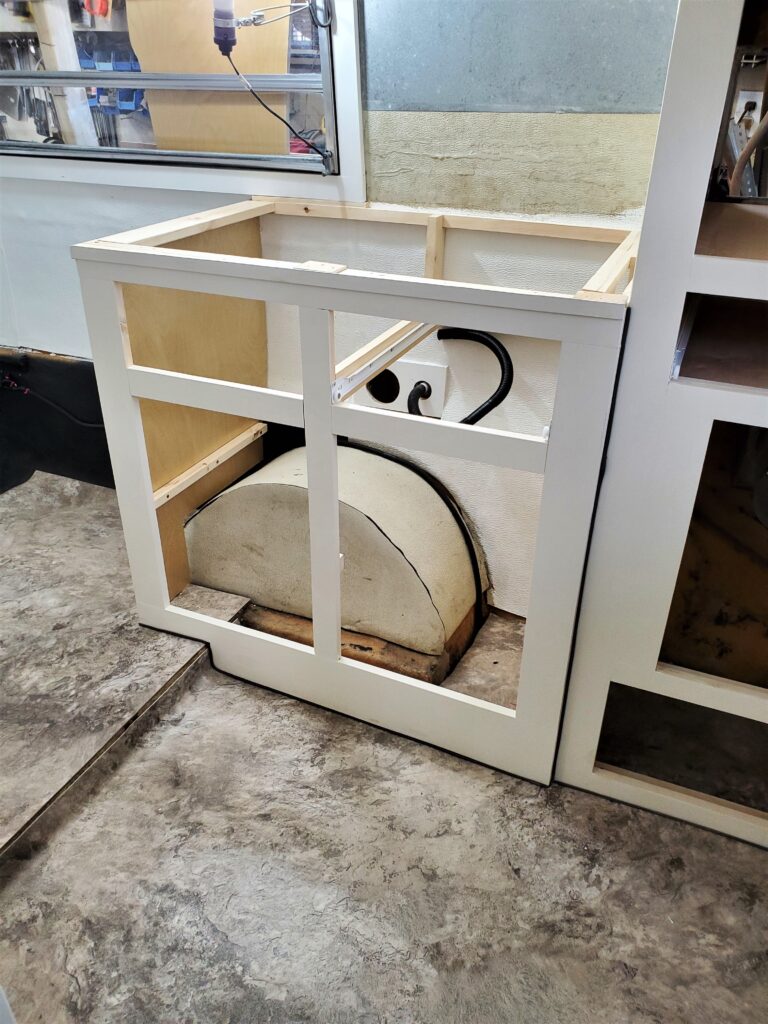
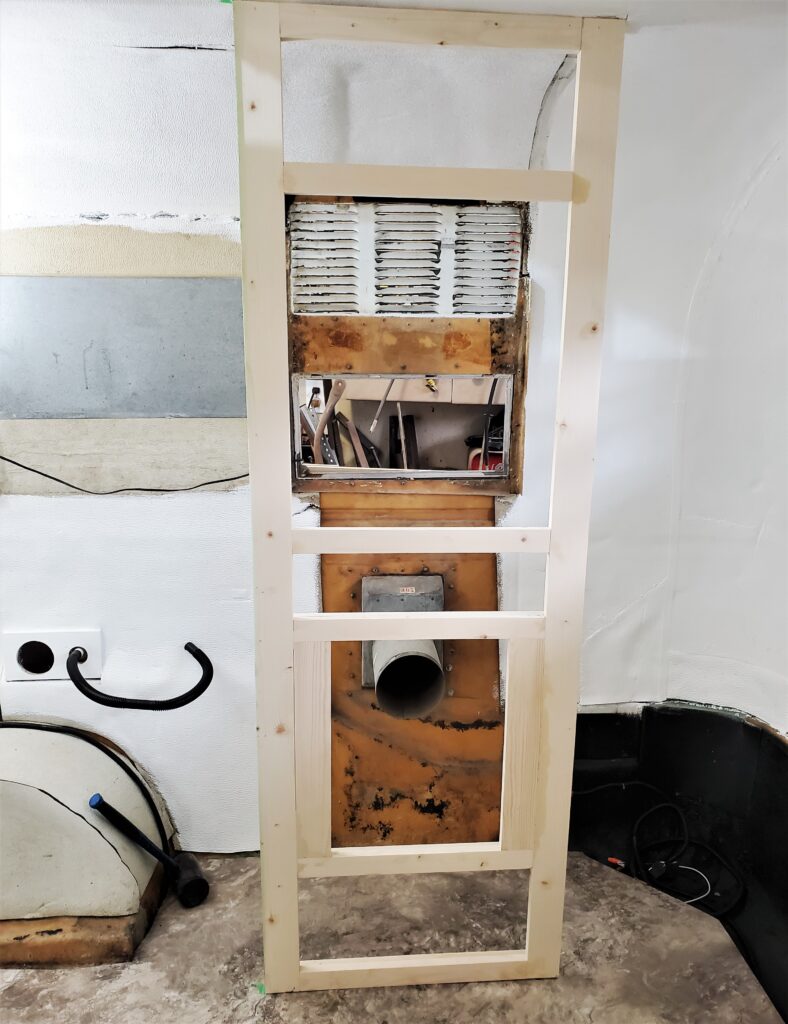
I have the shower sill plates down. And a bit more framing ..to a point where the old plumbing is in the way. Look up..
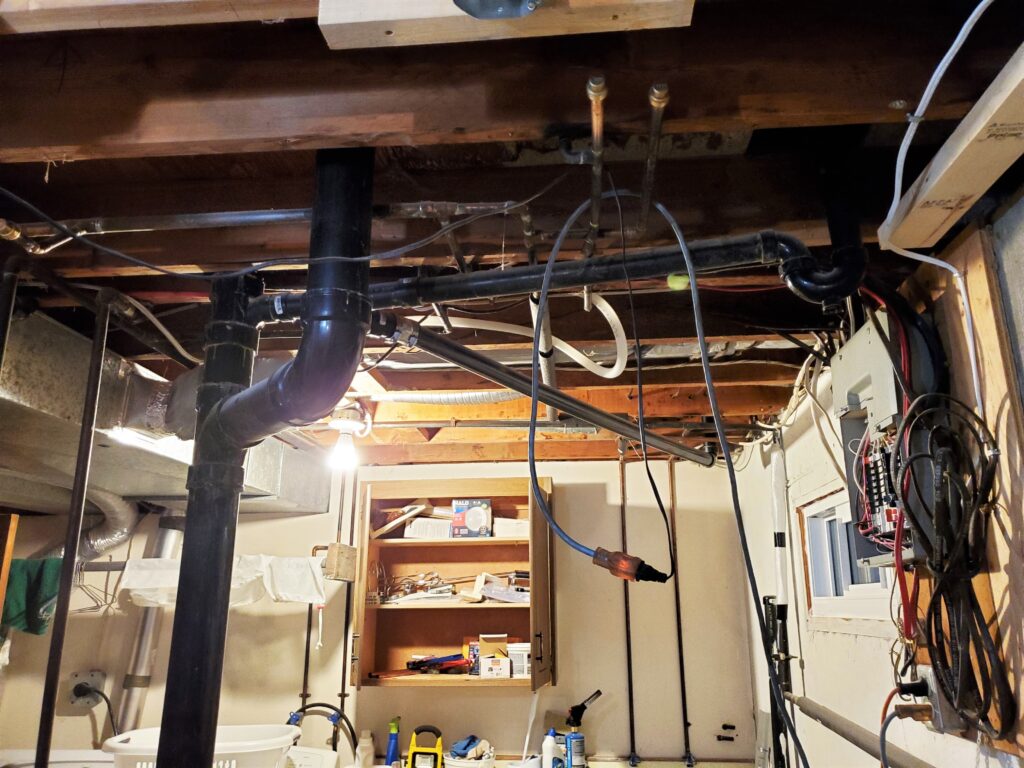
That mess needs to be dealt with.. Sooner or later I was going to get to the point where all the water pipes would need to get cleaned up and become PEX pipes. And I would need to do something about the upstairs toilet drain. This intrudes into the shower big time.. It’s working fine.. all the drains in the house work fine.. But this needs re-working . As well that 3/4 copper water pipe is in the way. Time for some… PLUMBING ! Let’s start a new post..