Nov 2 2022
Ordered a new E Bike !
We live in a trail rich area here in the Drumheller valley. It’s bike friendly for sure. Many kilometers of paved pathways through town and out to the burbs. And they are adding more due to the deal with CNR for the old rail grade through town. Already a section east from downtown has been paved, with plans to take it further. Hopefully this will include the train bridge over the river just west of town. It has been blocked off since the rails were taken up. I’m talking about this because we really could use more activities to keep us healthy. Accessing these trails are just two blocks down the street from us. That puts us close to a great activity that does not involve driving. We have two peddle bikes already , good ones that haven’t been used in many years. But it’s not as flat out here as you would think, so they may be more work then we want.
This is the answer..
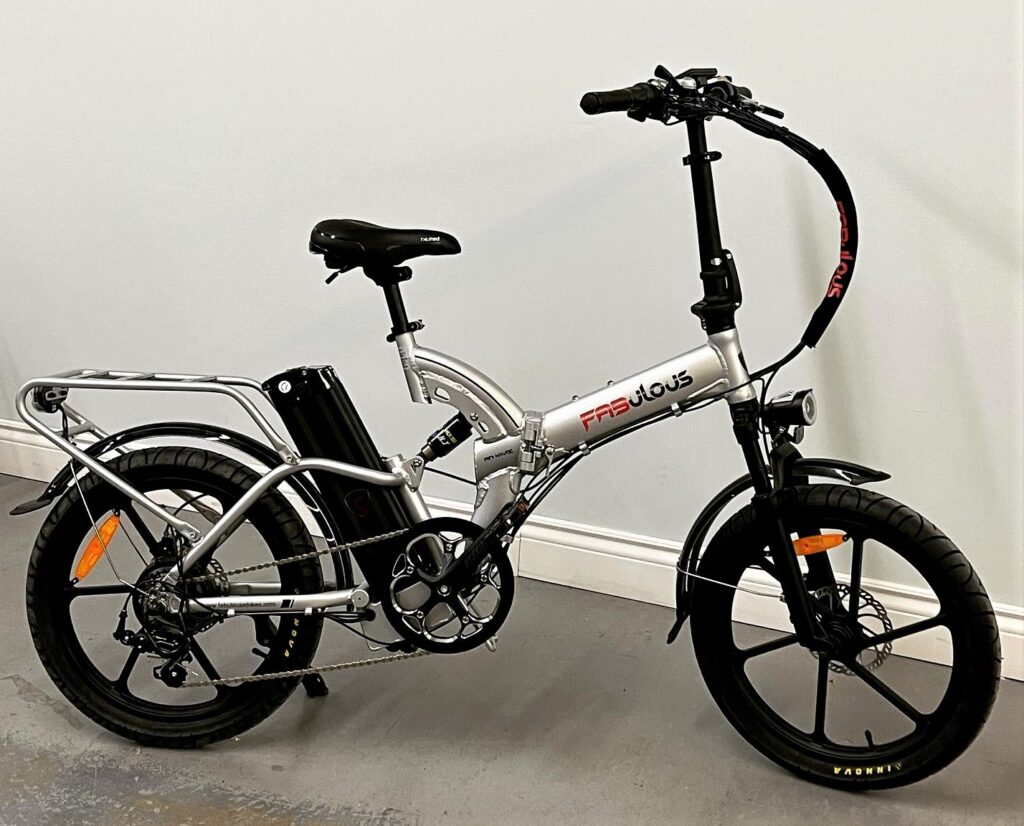
A folding E bike ! Why folding? Our new house lacks the storage we had before the move. And the fold up ones need less space. Plus we won’t need a bike rack to take these along on a trip. These bikes are fully equipped with powerful motors and large batteries with lot’s of range. The photo above is the exact model I have ordered. I will of coarse have better photos when this… the first one arrives.. Yes first one if we like what we see then we will order a second one.. But we are thinking maybe a step through frame. Like the one below !
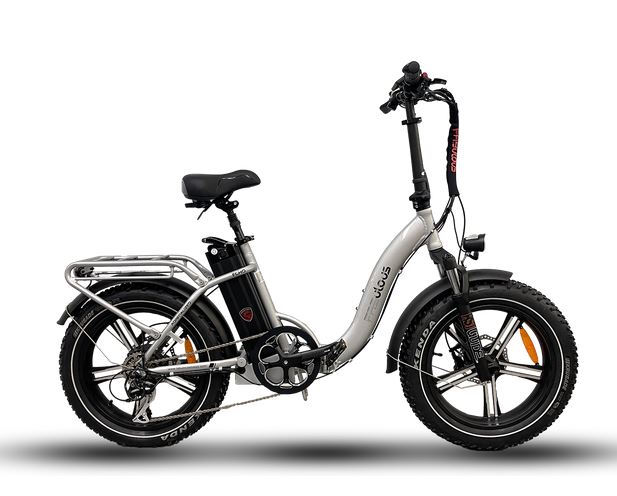
You can see the difference. On this bike the seat post has the suspension.
While I wait for the bike I’m still researching E bikes. Most of them are out of the USA . The exchange rate is not good and add to that cost of shipping. Even very few of the Canadian offerings are free shipping. So you must compare all costs. You also must compare the components used to build the bike. And not just the motors and batteries but the brakes, gears and the LCD screen for the controller and it’s ability to be configured. They just sent me the manual for the bike.. It blows me away how much I can change the bikes performance. Here’s the controller screen that comes with the bike I ordered.. Color !
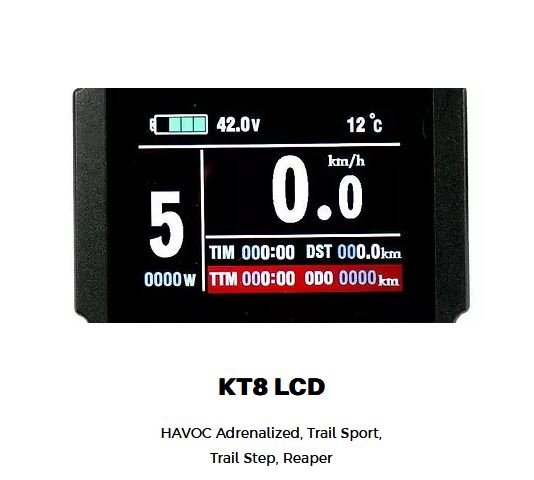
There’s a lot more info on these than other bikes have.. You can also see maximum speed and average speed. And like I said it’s customizable . The 5 you see is the highest peddle assist level. This one is feature rich, or loaded as we say. And here’s an interesting fact that I believe true. Even a long time ago when I was selling bikes. Most bikes except for the very expensive custom ones are built in China.. Or at the least the frame is. Even brands you know well go to China and have their bikes built to their specifications. When the bikes get here the company may unpack the bike and add custom things.. or at least go over the bike so they can offer a warranty. But more often the bikes come shipped as you see them. There in the hundreds of offerings you will see the same frame being used. If you are shopping around you will notice that. So I will review the Fabulous bike carefully .
Update: The bike is coming on Monday.. So two weeks delivery time from Montreal.. That seams right..
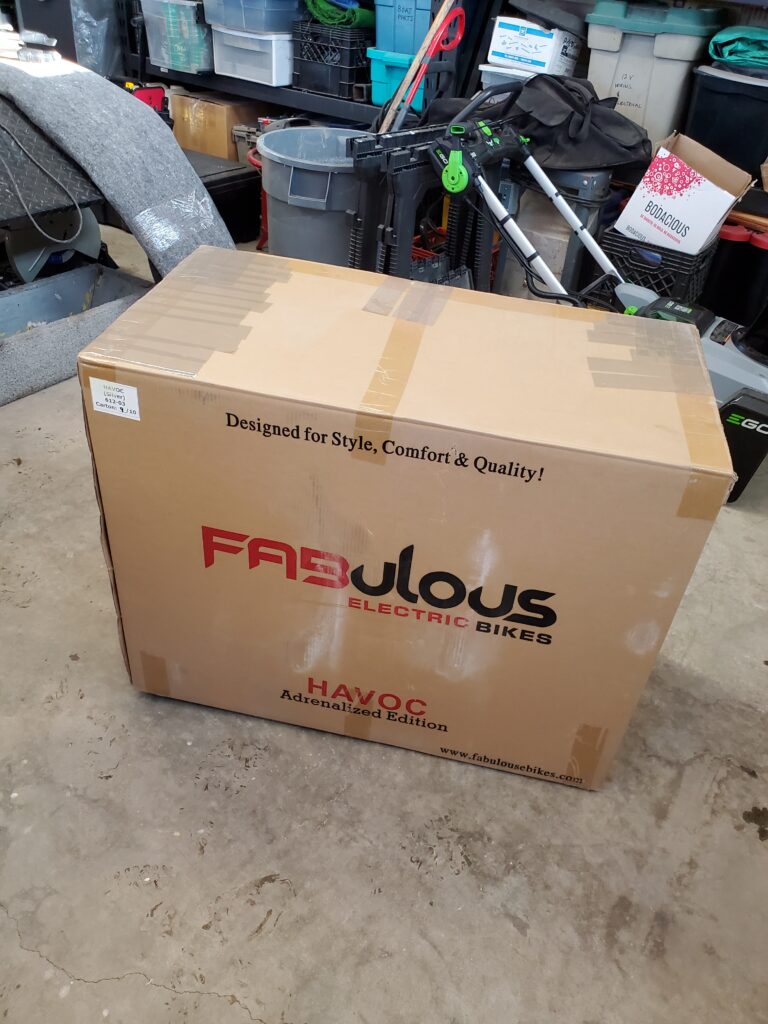
It’s here ! Safe and not damaged. Time to unpack and still look it over carefully. Well it’s great and came with a few surprises. A bag for the rear rack.. And a really neat tool that fits all the nuts & bolts on the bike.
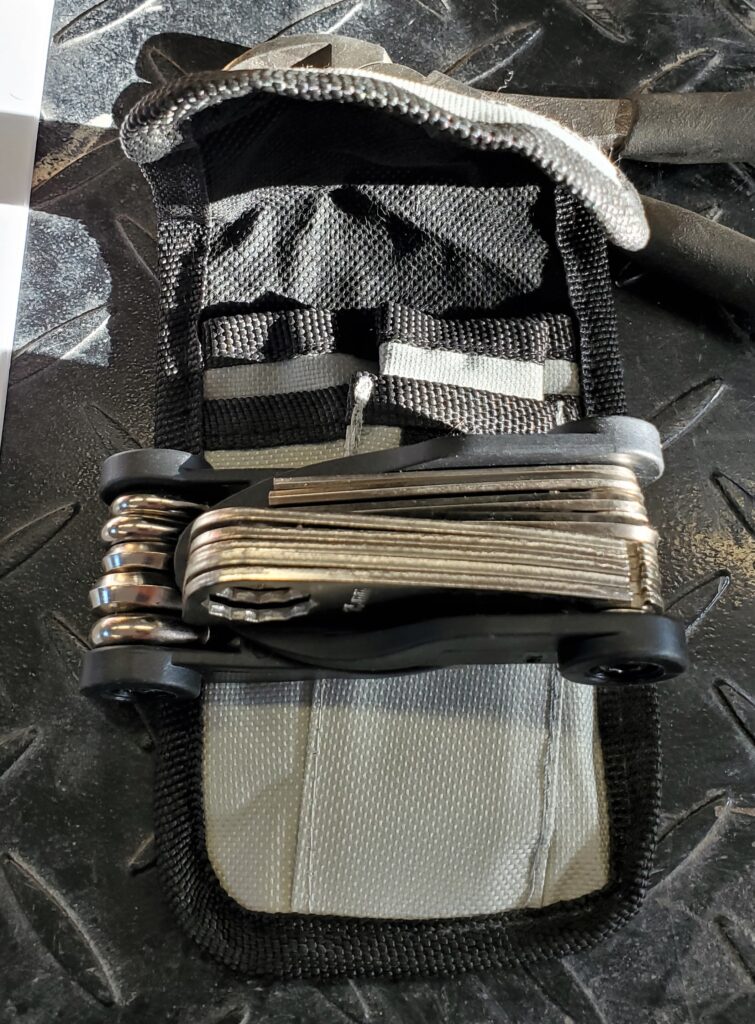
It’s Panniers ! Wow did not see that coming. The tool is great too. Comes with it’s own little pouch. Neat. And they changed the left hand thumb throttle for a right hand twist throttle. I asked for that. Thanks I like that better. Here it is…
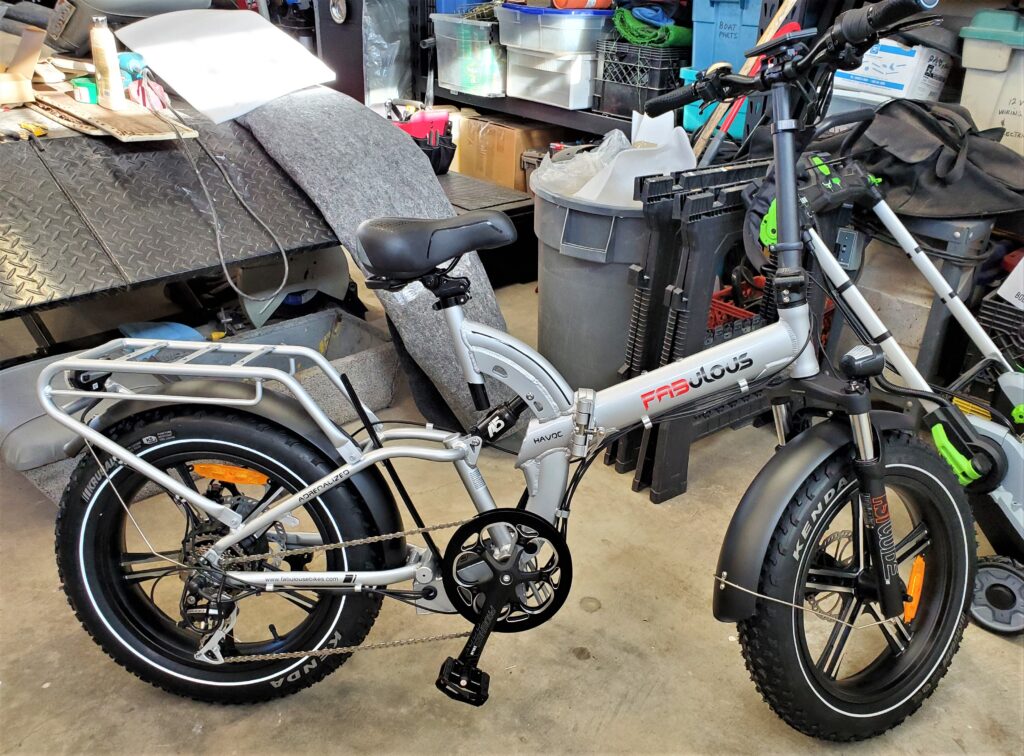
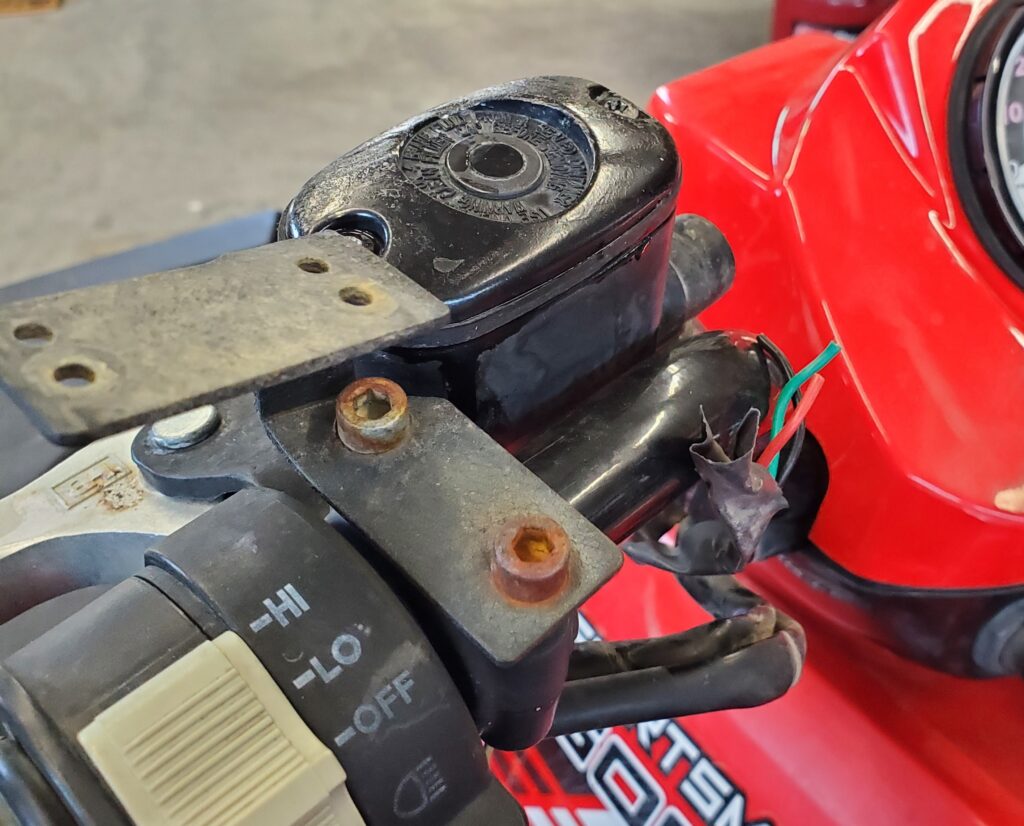
Without the battery,, that’s charging. I love it ! While the battery is charging I tweaked the handle bars and the stuff mounted on them to suit me.. I’m kinda fussy about my brake levers angled down a bit.
Time for a new page. Now that the bike is here. Page 2