March 28 2016
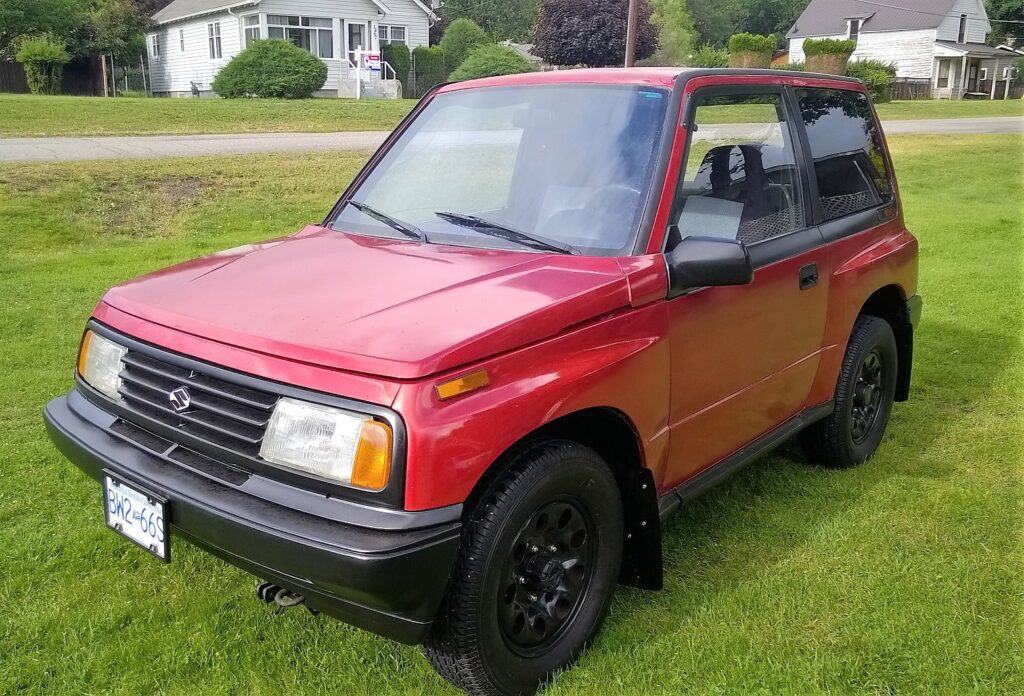
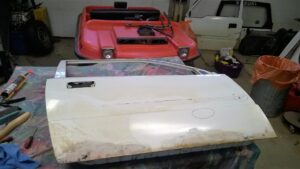
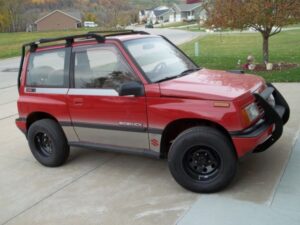
Painting the Exterior… RED !
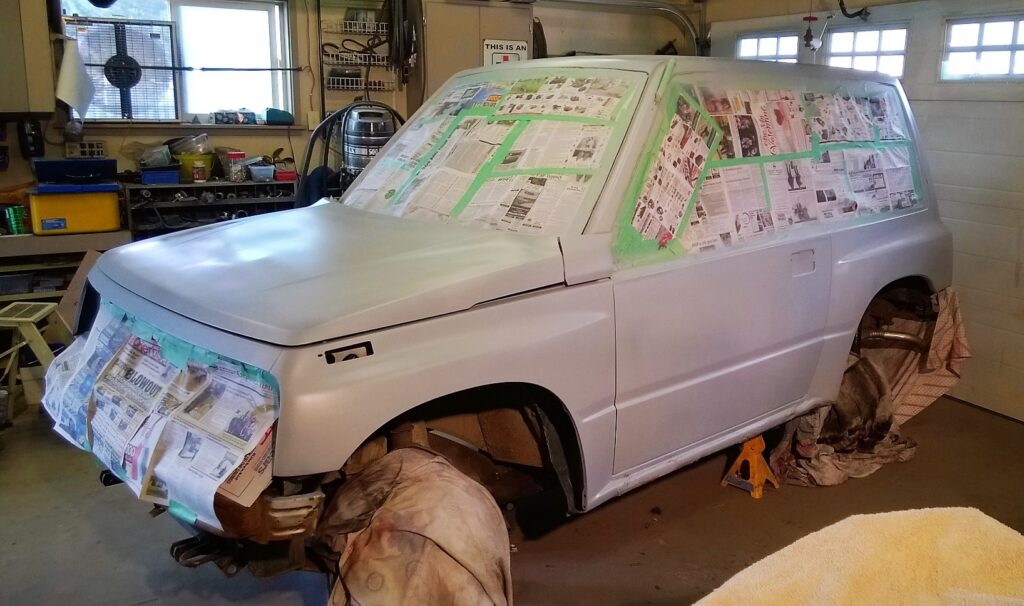
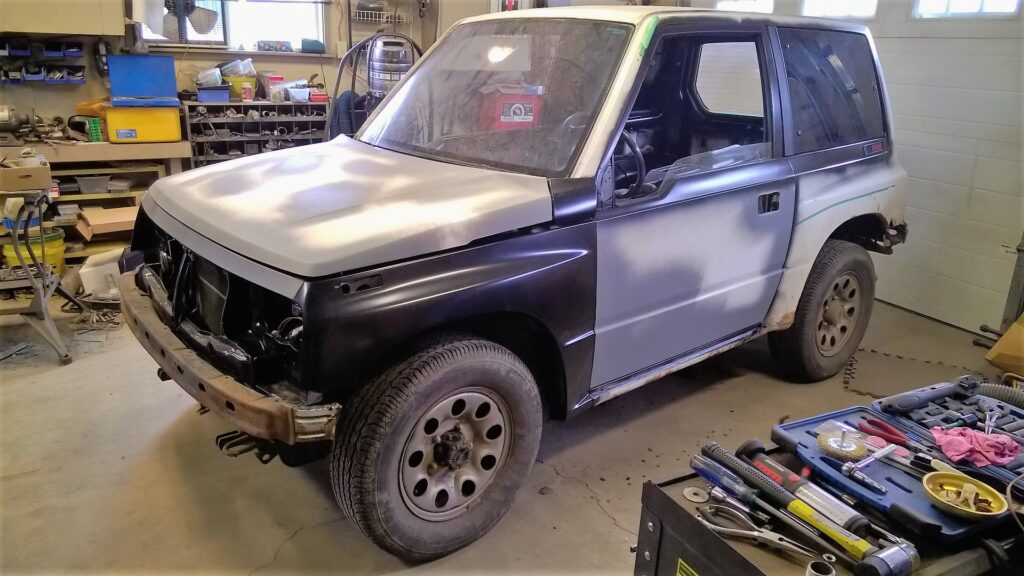
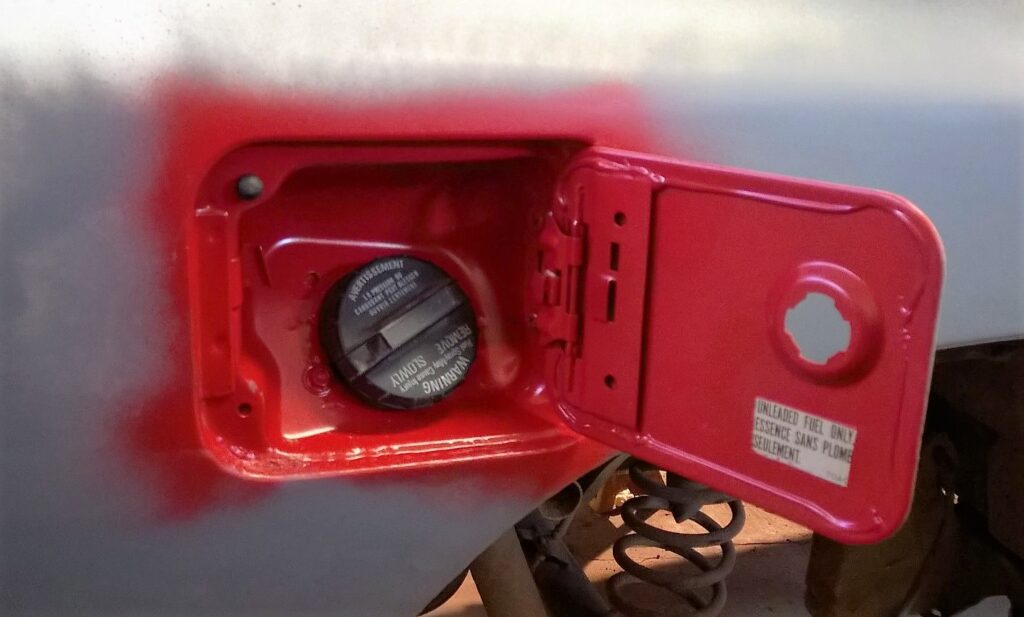
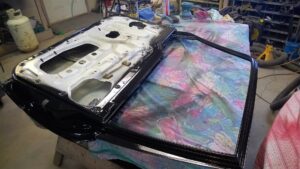
All Primed and ready for the color. I had trouble getting the color I wanted. So I settled for a Honda Civic color .. interestingly a slight orangy kind of red.. very different. Lots of pearl in this red.. so I’m hoping I like it.
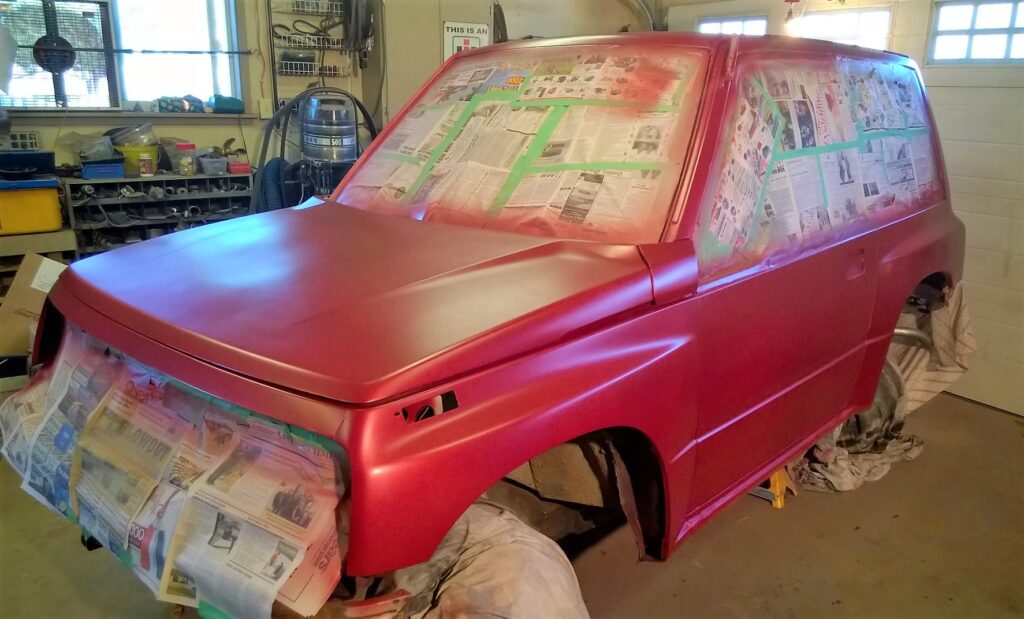
So far I do ! Have to wait 30 min and then the clear coat..
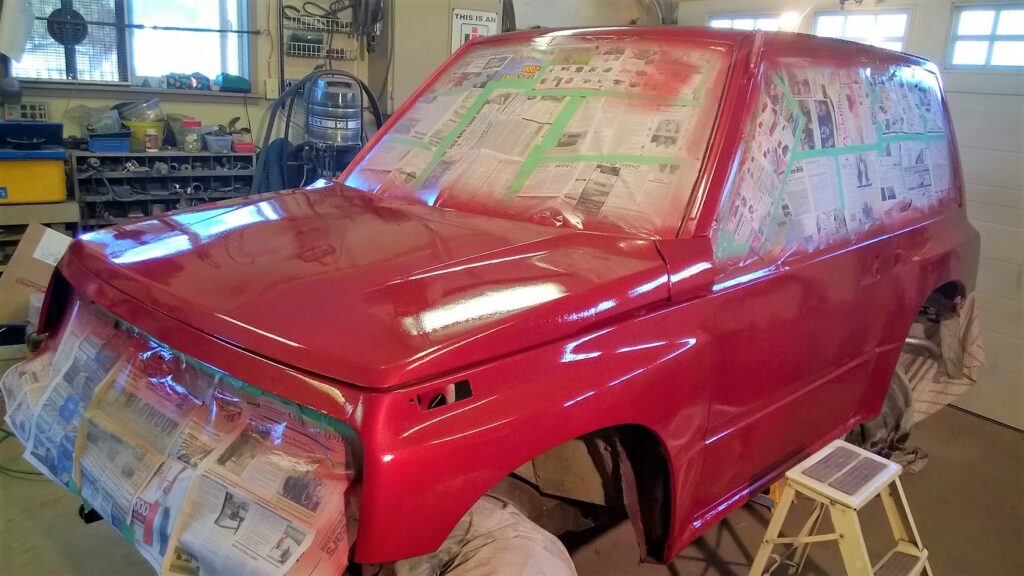
This is where I realize I’m not a good painter.. In my lust for laying the clear on .. I got a few runs ! Damit.. ! On the second coat. So Hopefully they will polish out.. This color is going to look different… in different light. looks orange here.. after I turned off the halogen work lights. Going to be interesting to see it outside.

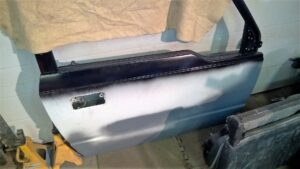
Anyway It’s looks good with the black trim. You would have to take apart stuff to know it was once white.
May 10 2016:
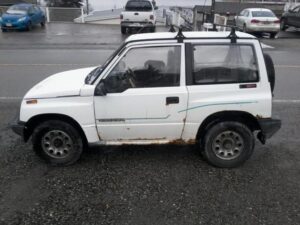
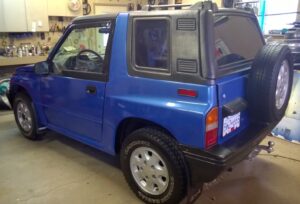
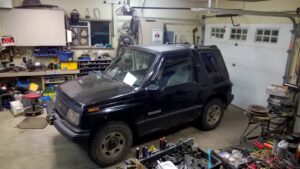
The Suzuki got kicked out of the shop for a month while the lawn tractor repairs were happening.. And now I have sold the blue Tracker.. and have potential buyers for this one too.. So ! Finally got the Suzuki back in the shop.
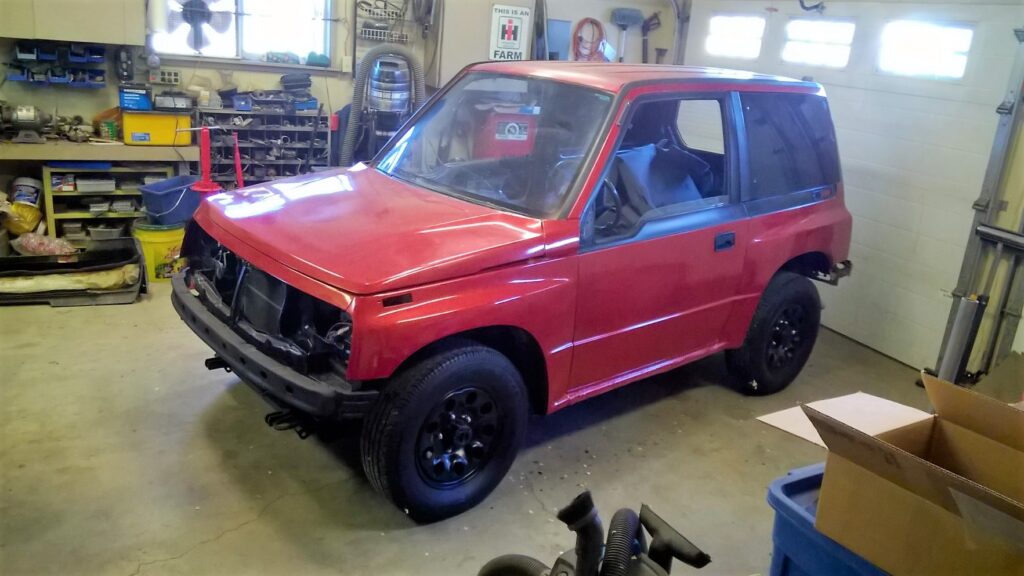
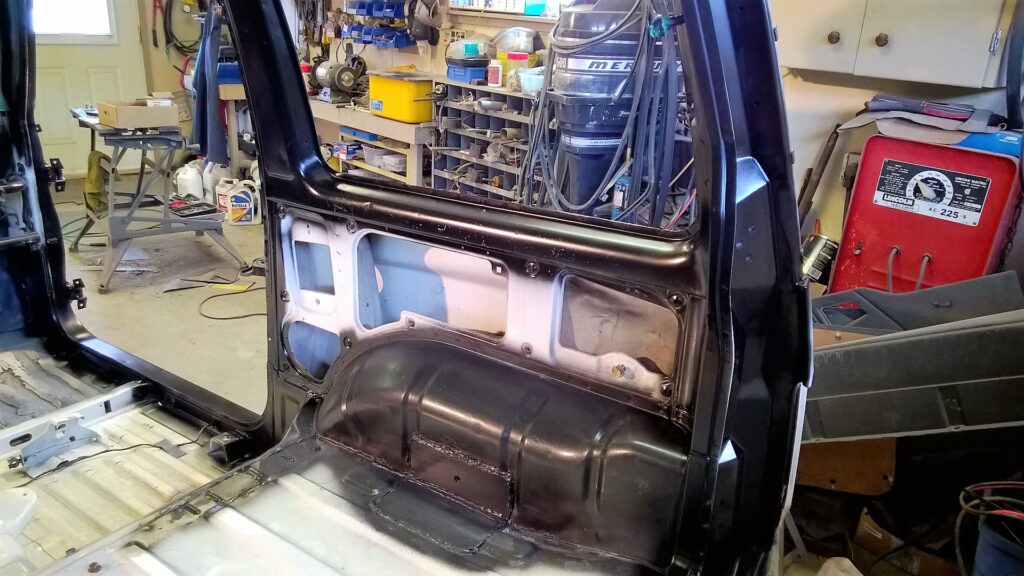
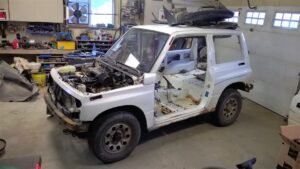
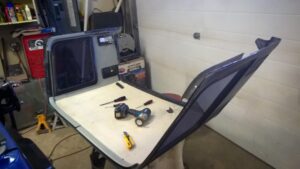
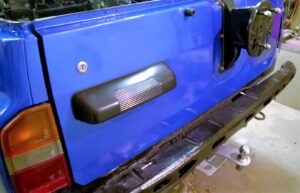
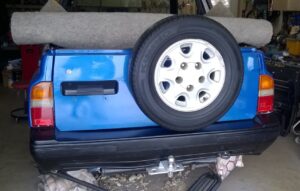
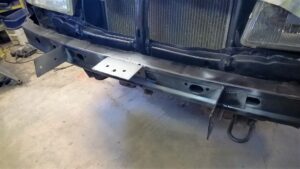
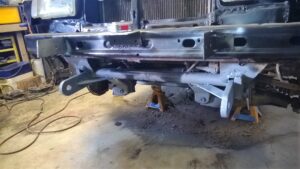
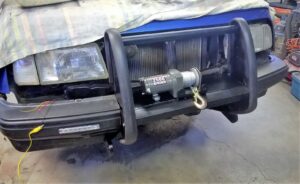
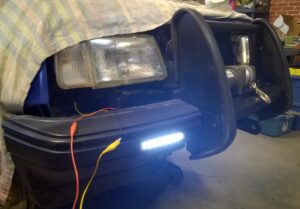
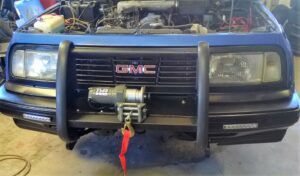
Welcome back.. time to Get R Done. I’ve transferred the insurance from the sold Tracker to this guy.. so once we are on the road I can get a new window. and I’m determined to keep the momentum up on the finishing. I’ve now got the exterior all back together.
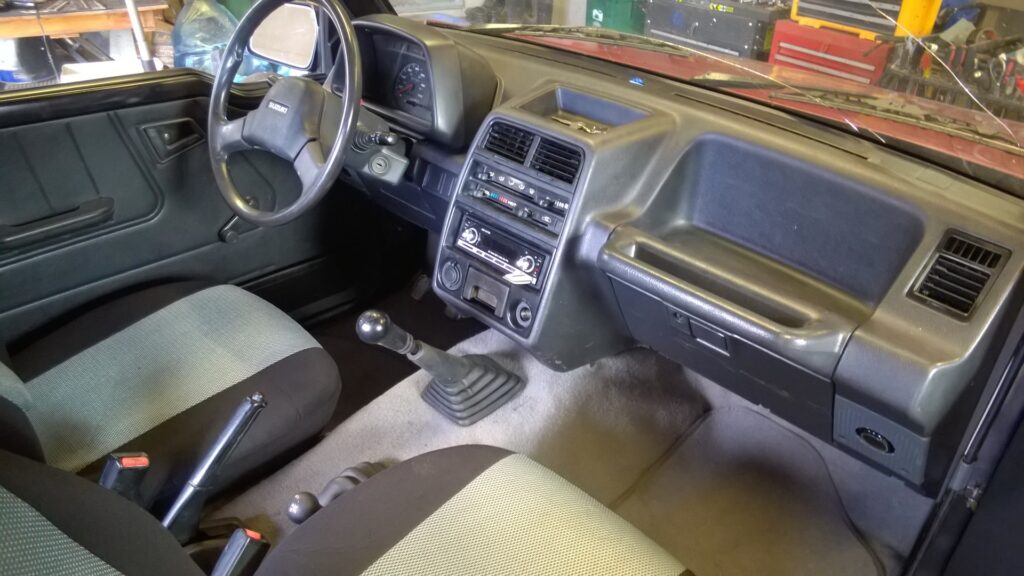
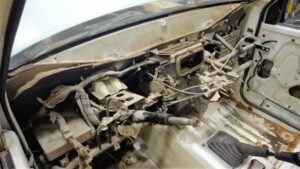
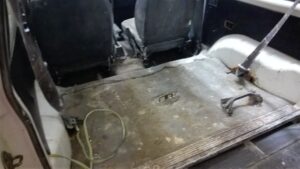
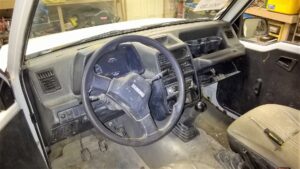
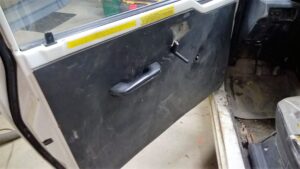
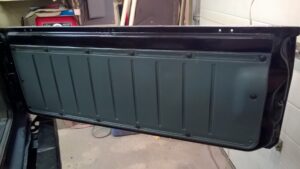
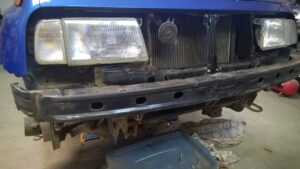
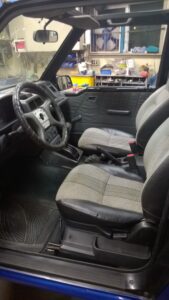
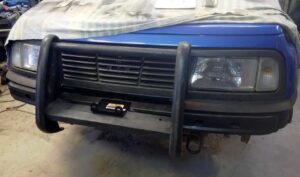
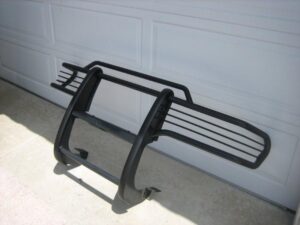
Bumpers, grill, rocker panels and mud flaps on done. And the mirrors too. So now I’m moving to the interior. The power locks are first.. The carpets and the rear door panel all done now to.. I’ve been working on the dash.
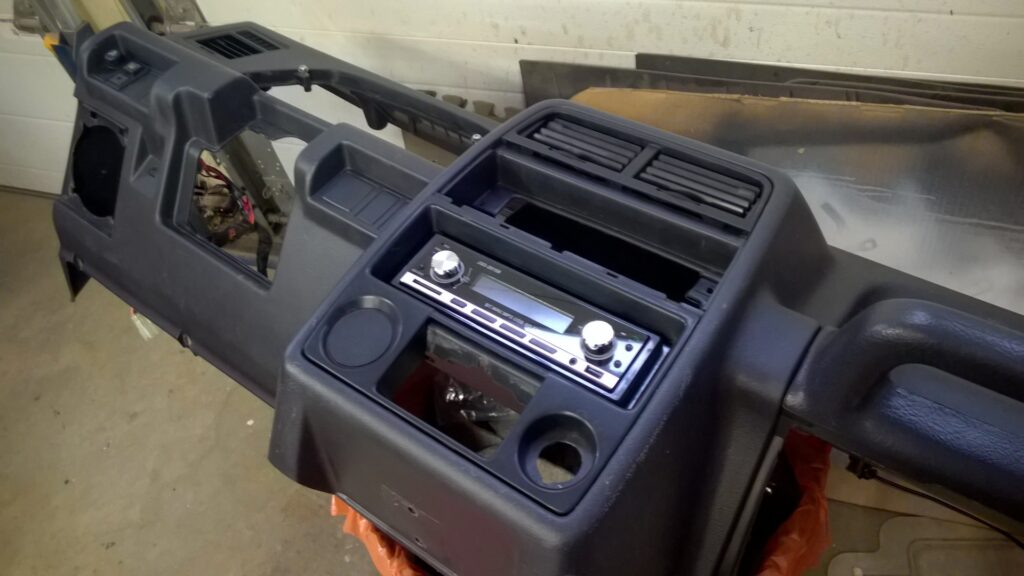
Had to wire in the locking system.. and install the new muti-media stereo. The ash tray is going back. Only a USB port and a 12 volt power plug. I’m keeping it simple.
May 19 th 2016:
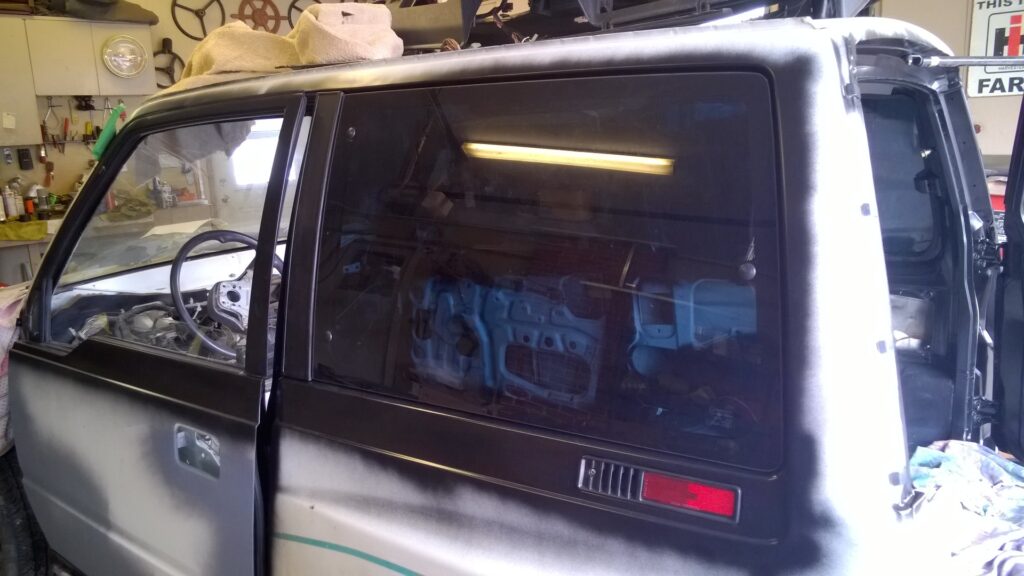
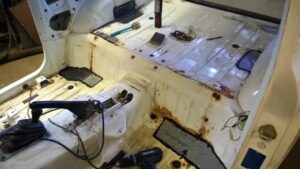
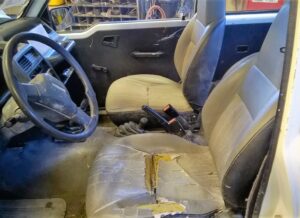
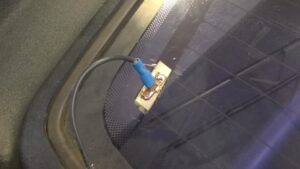
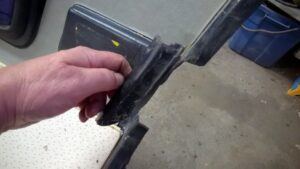
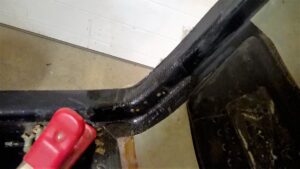
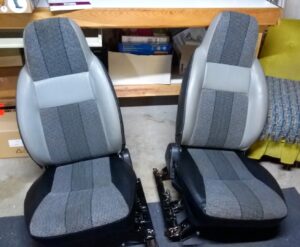
I’ve been busy.. Got most of the interior back in.. and the locks working good… just the door panels and the seats to go.. When I tested the electrical I found that none of the rear lights work.. Then I remembered I skipped over the broken wire behind the left tail light.. sure enough the connector was in bad shape.. So I rewired that and all is good.. Here’s a new video..
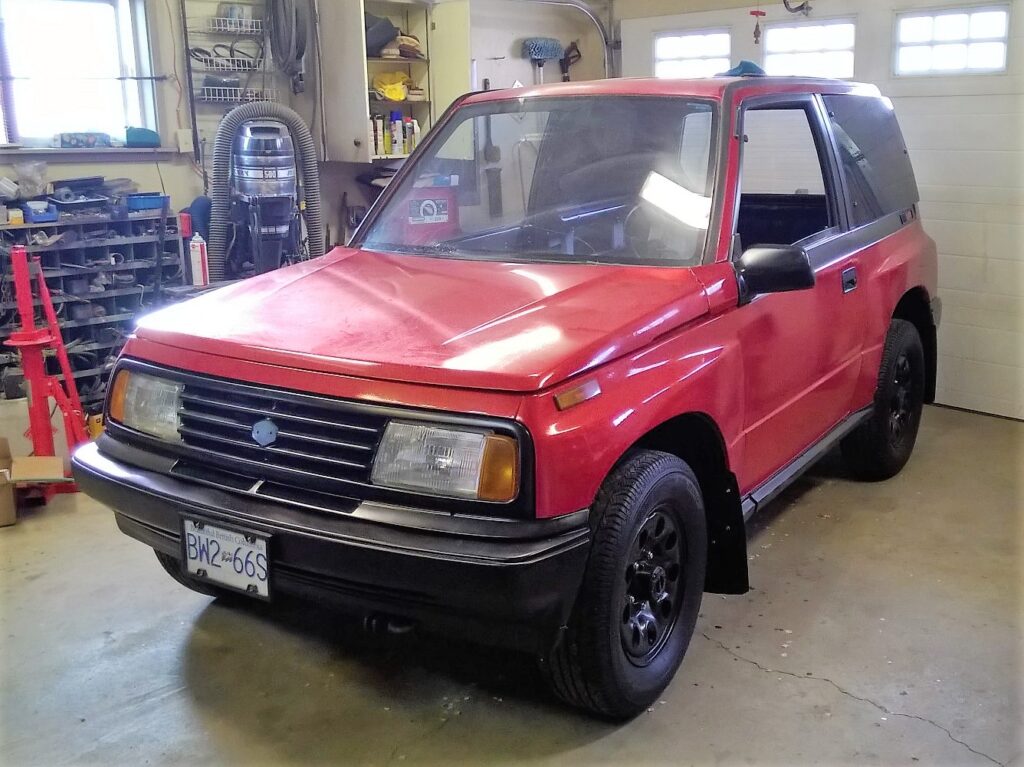
All Done !
I really put in a full day and got all the rest of the Sidekick finished up. All that’s left is to take it to Kelowna and get a new windshield.