March 28 2023
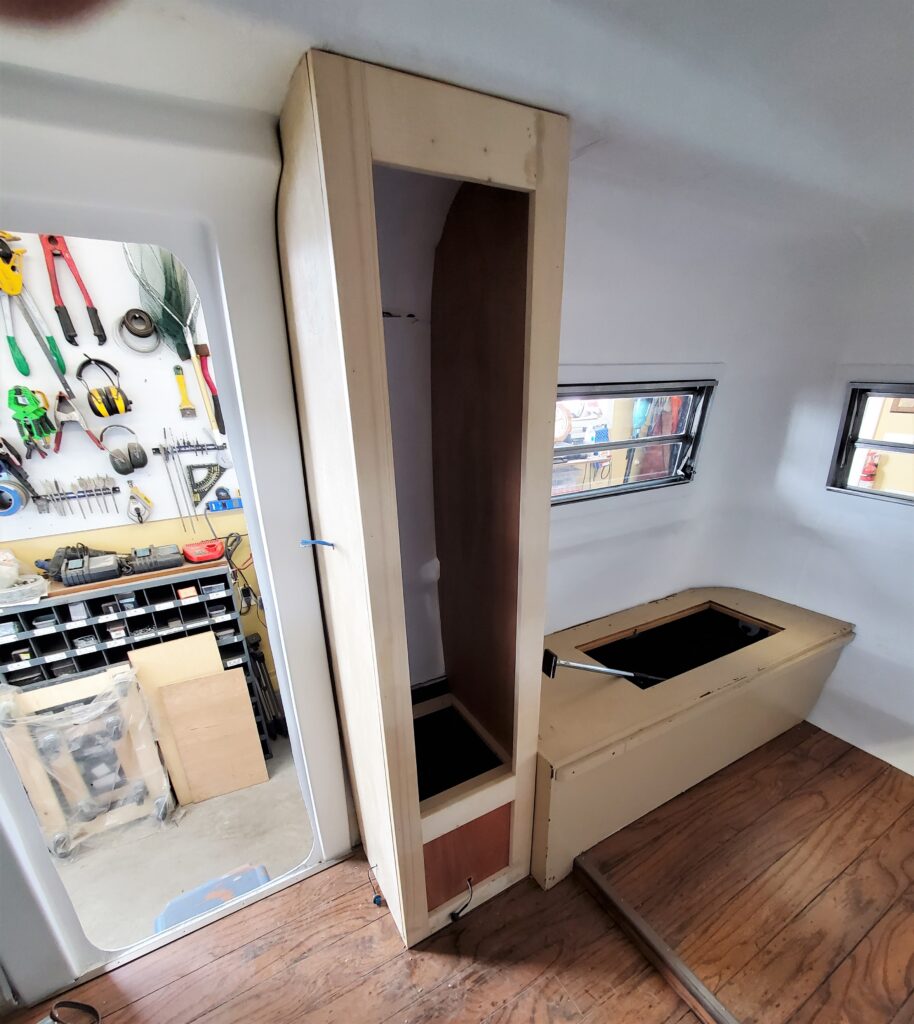
YES.. more places to store things.
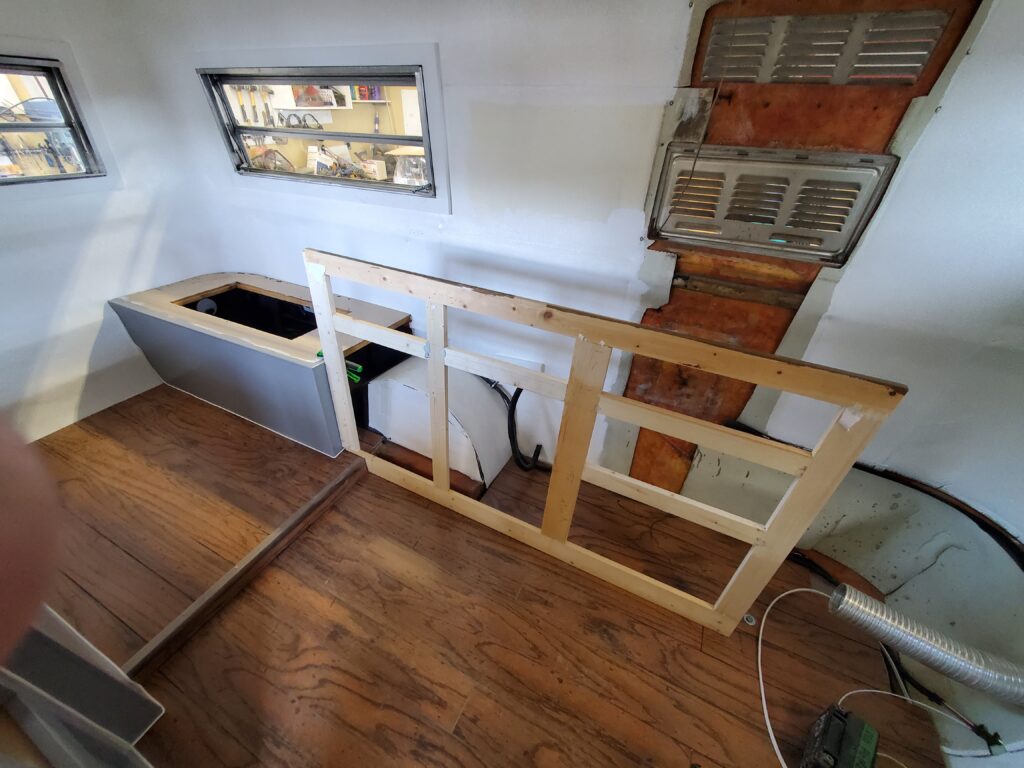
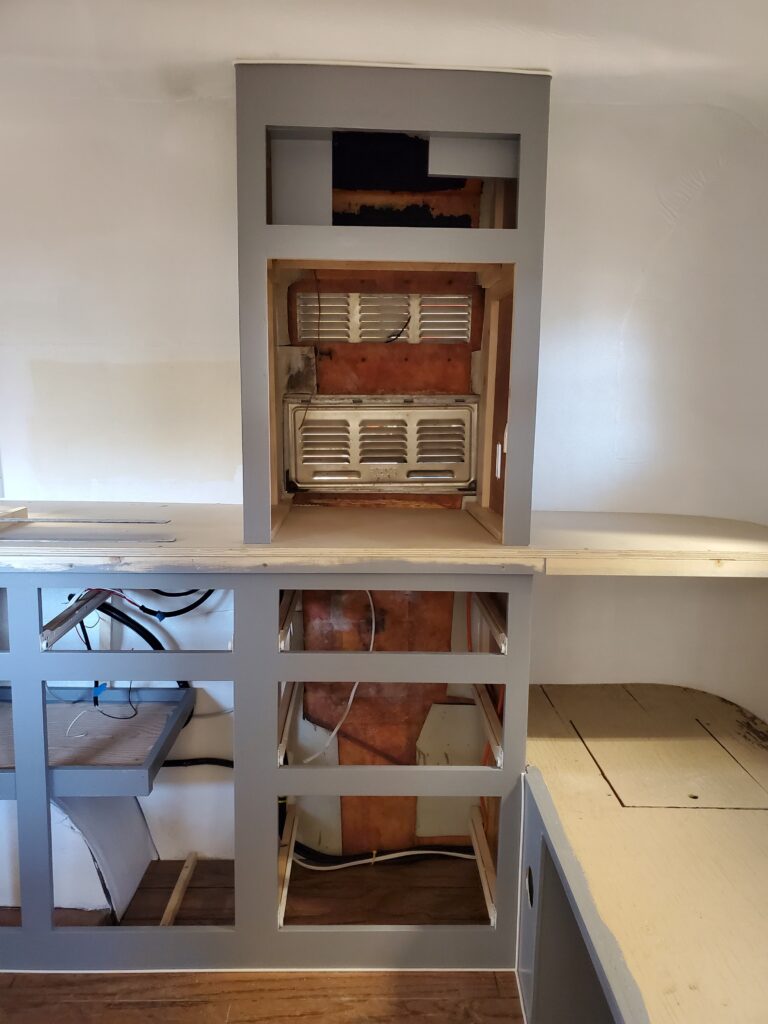
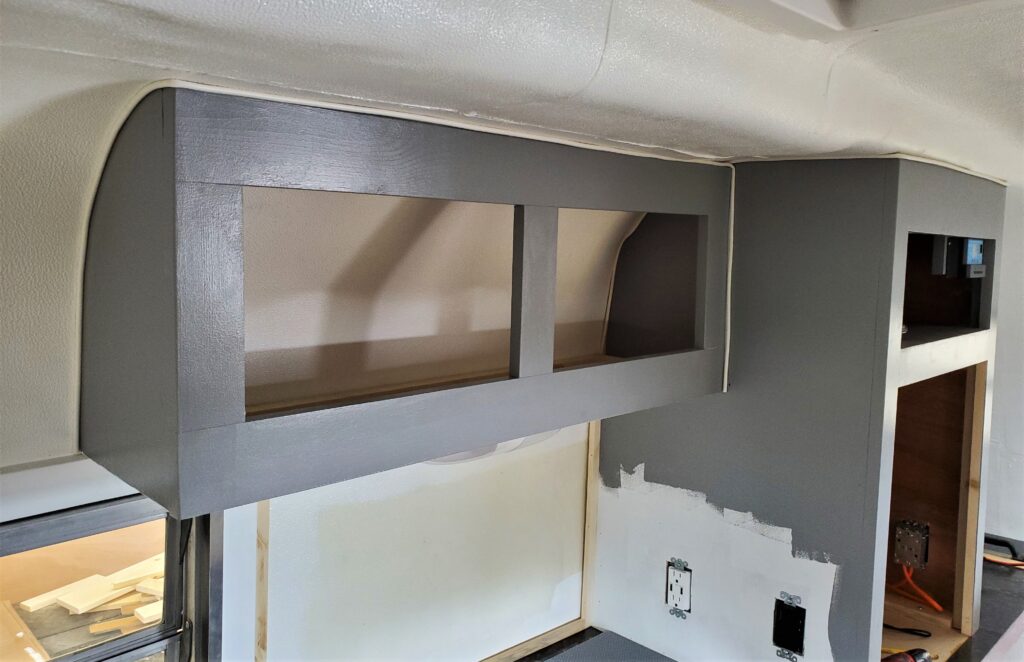
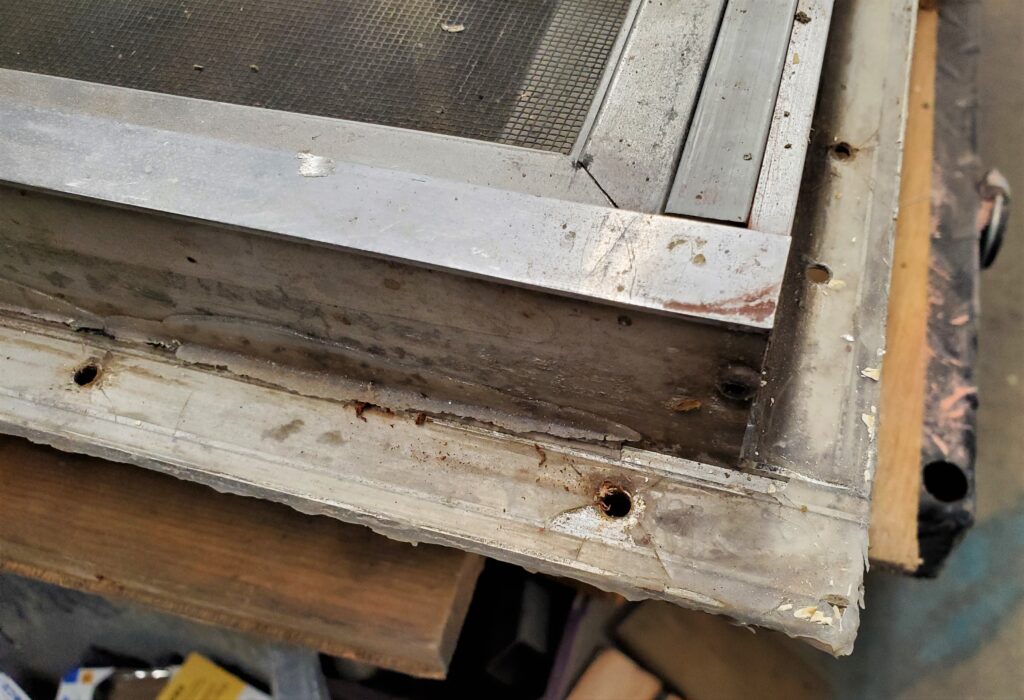
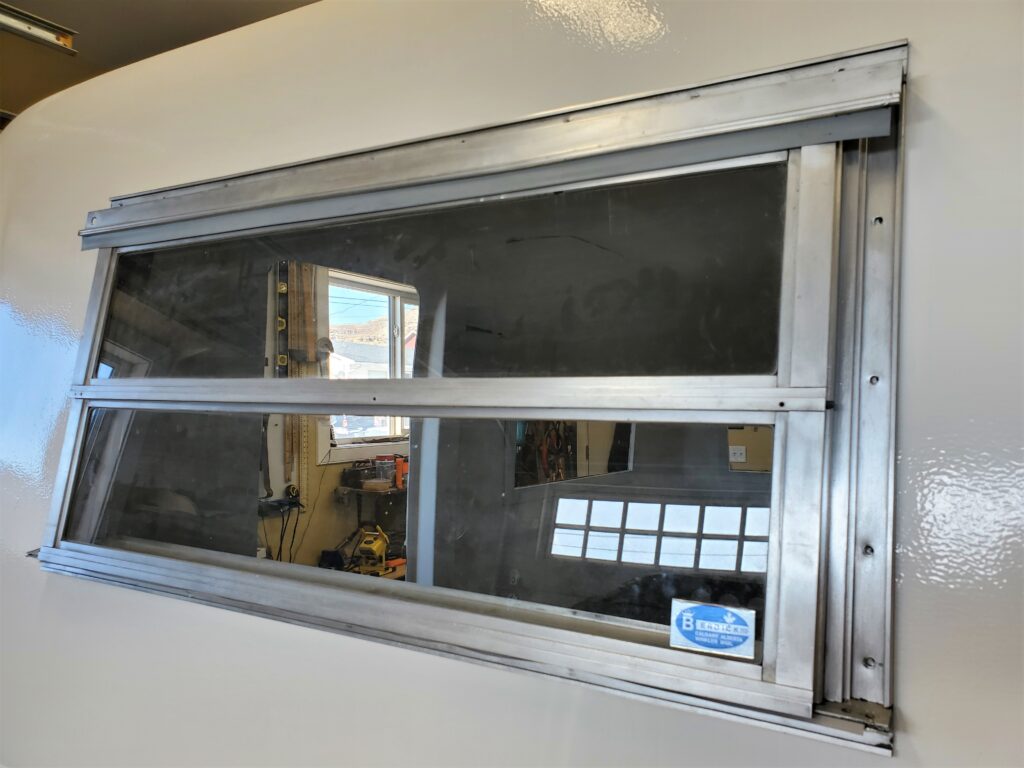
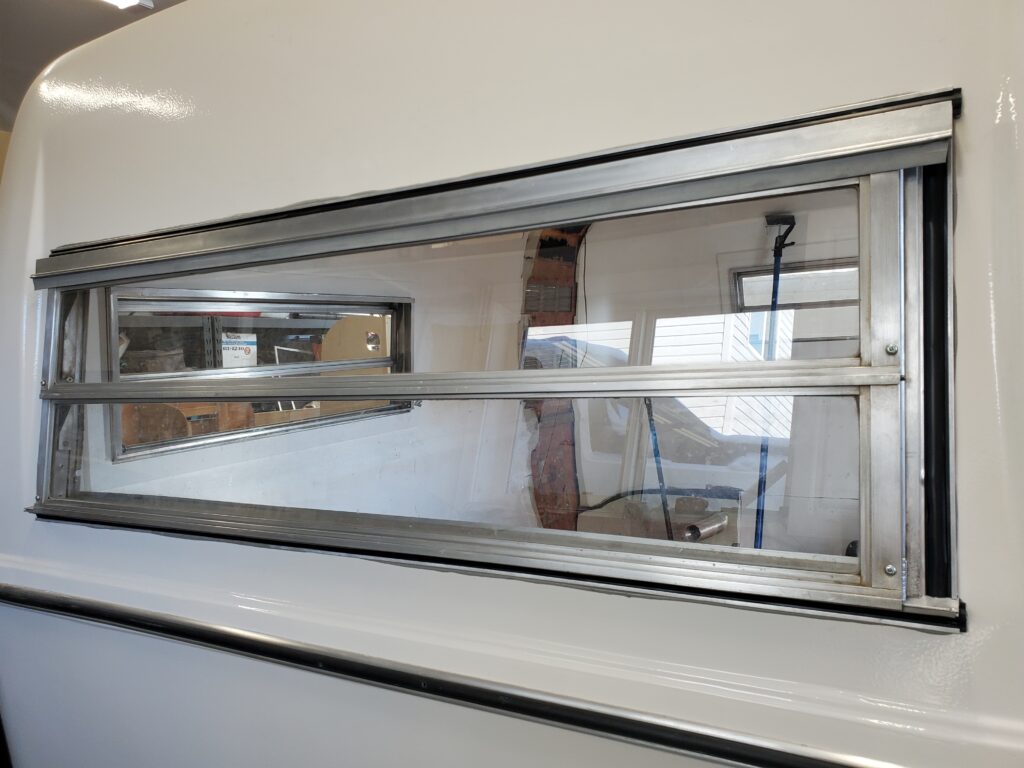
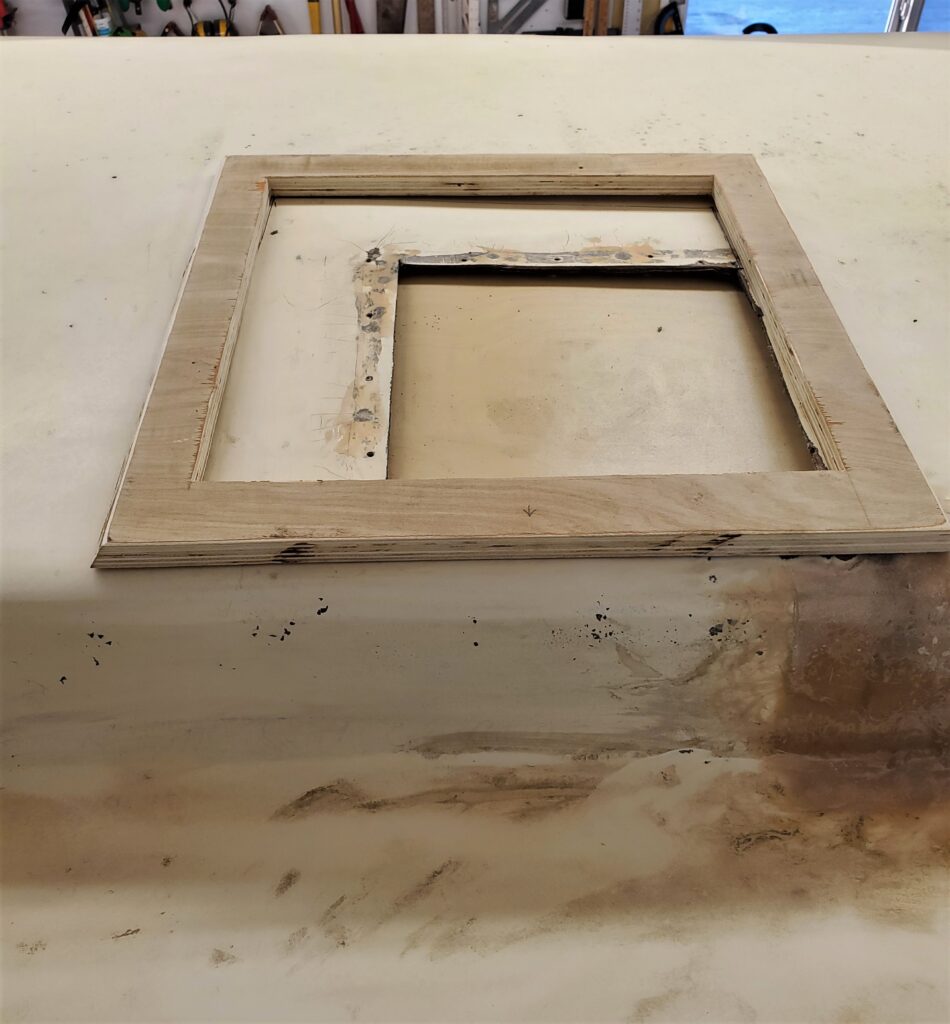
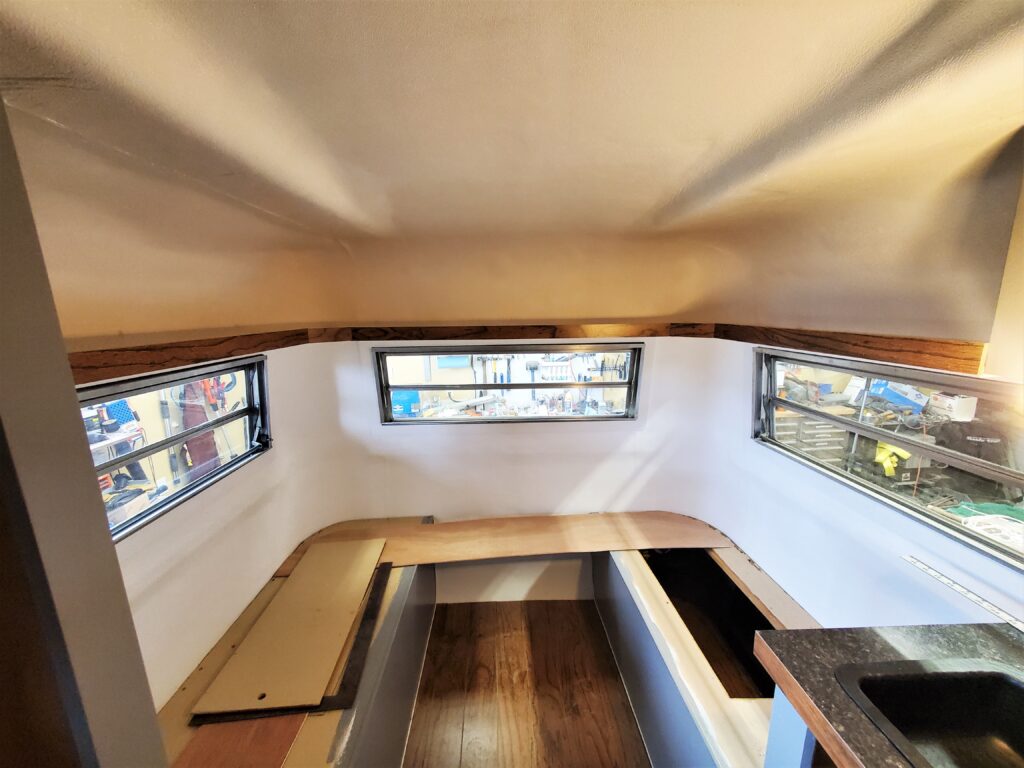
And let’s not forget a place for the lighting too. I just can’t let those window frames go without using them to attach shelves too. They are perfect for this.. with the added bonus of providing a place to mount lights and run wires.
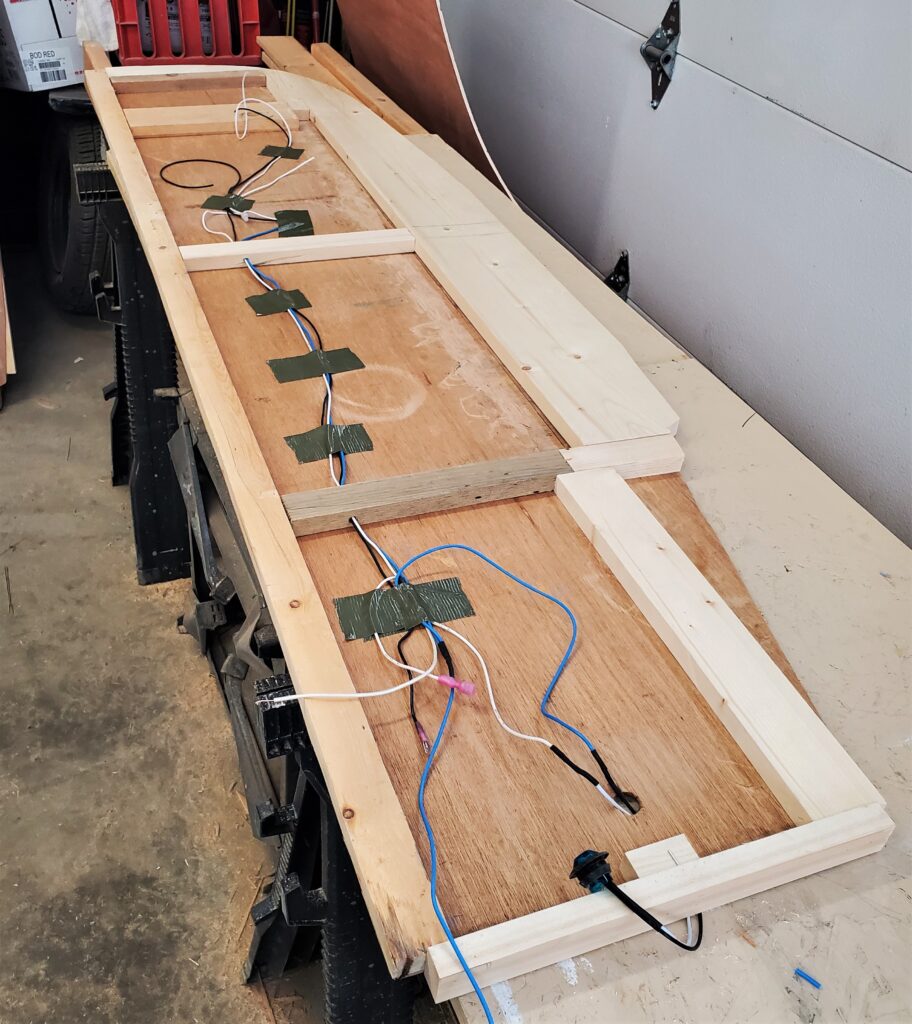
And just like the bottom of the kitchen overhead cabinet.. These are hollow too. This construction is strong and light, and you will never see the wiring for the lights.
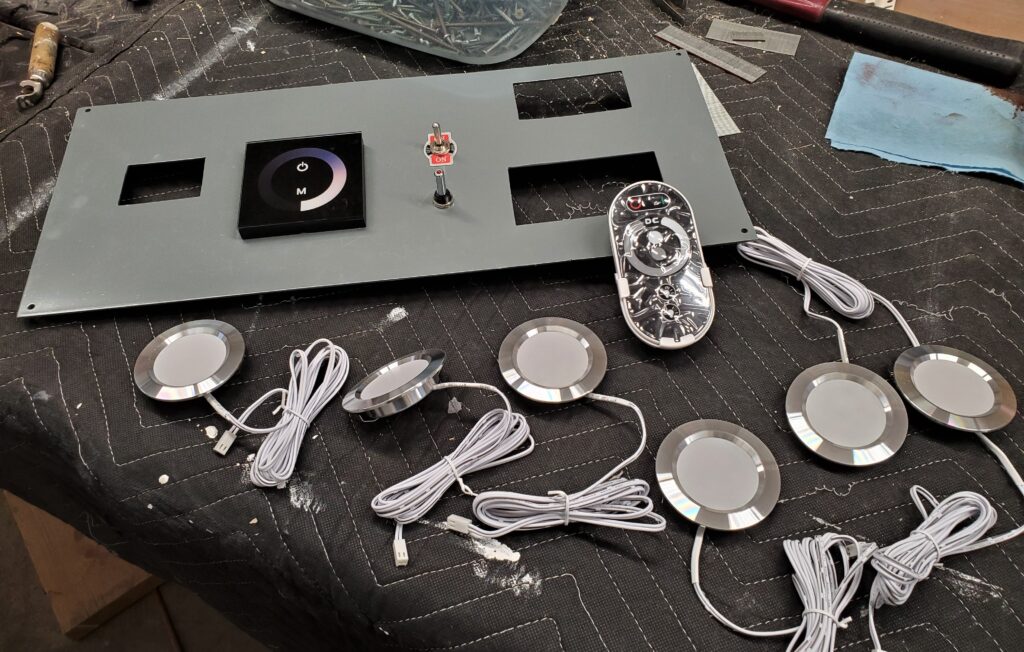
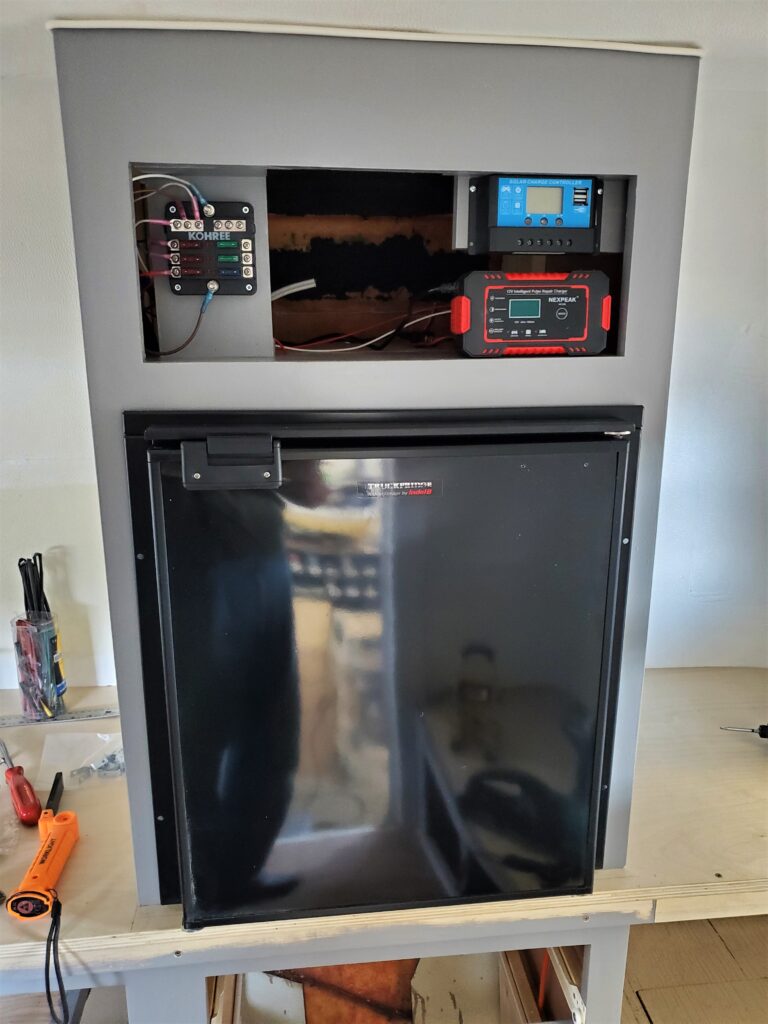
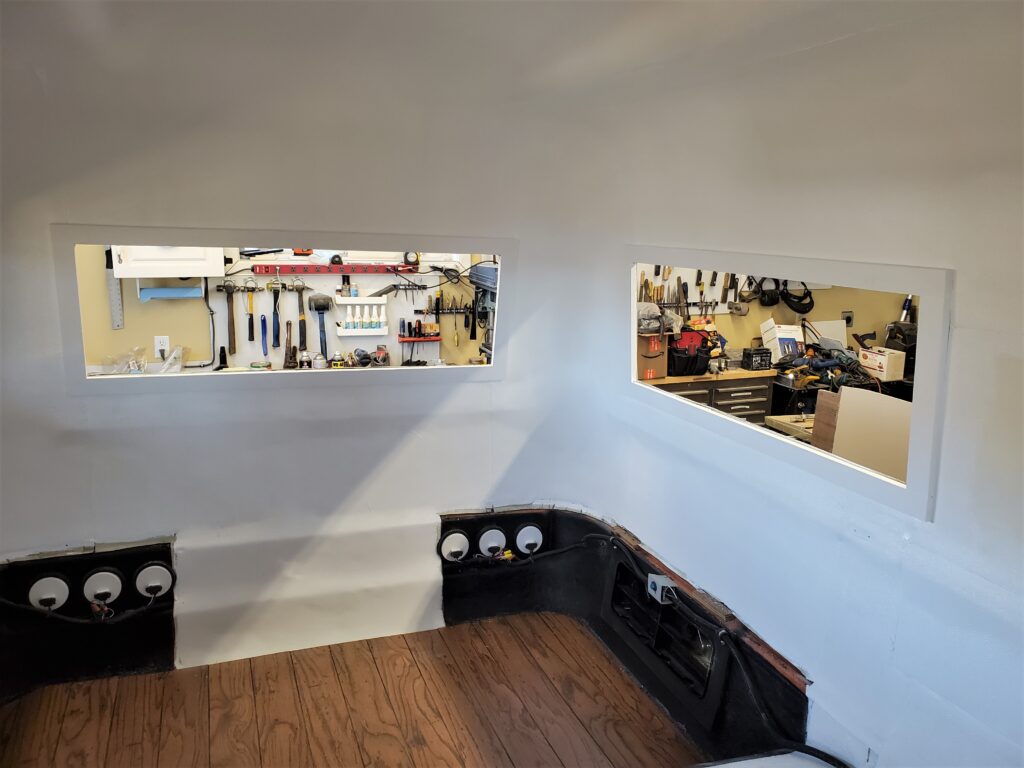
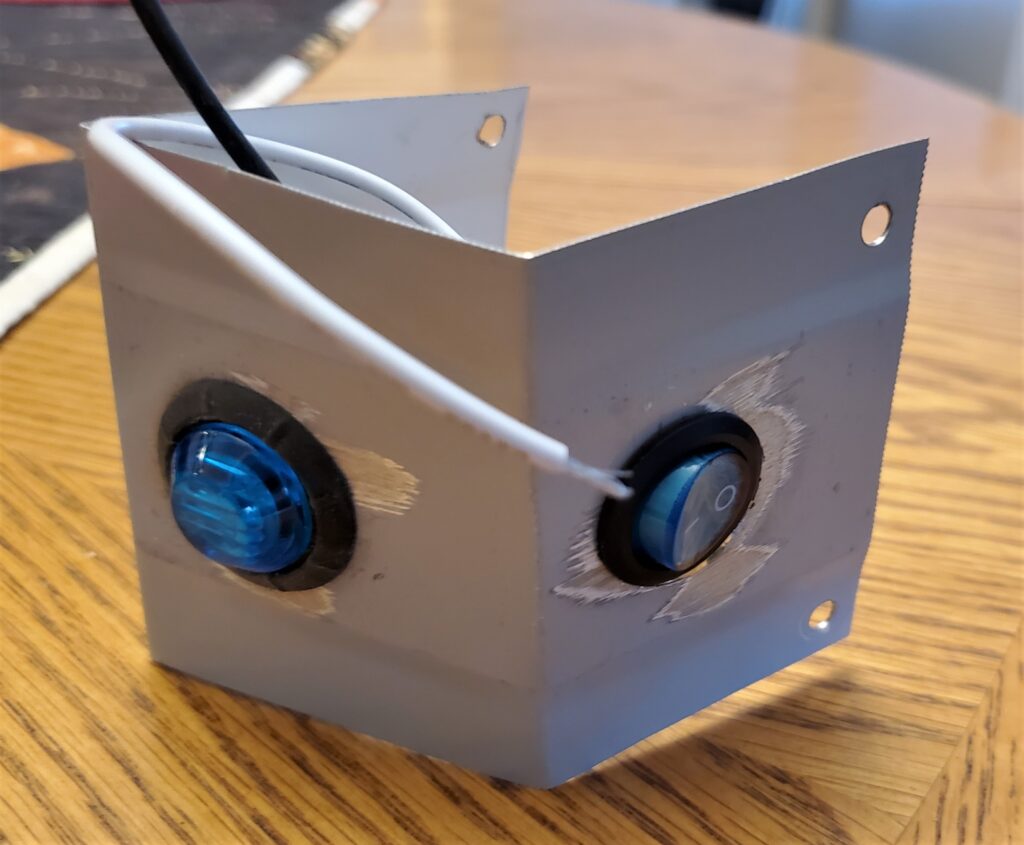
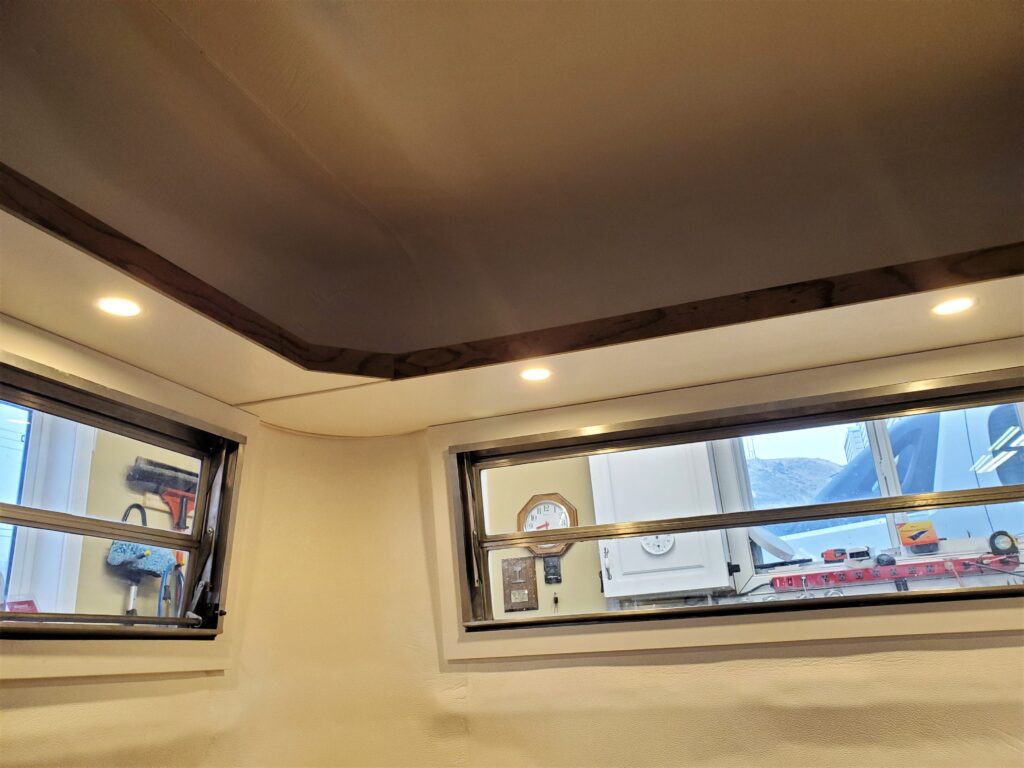
These are the under cabinet LED lights I bought. And they are controlled by the fancy touch dimmer you see on the face plate for my electric panel cover. Plus! there is a wireless remote that I can mount on the closet wall above the bed.. or carry it around. Four of these lights will be under the rear shelves. Two of them will be under the front shelves …with..
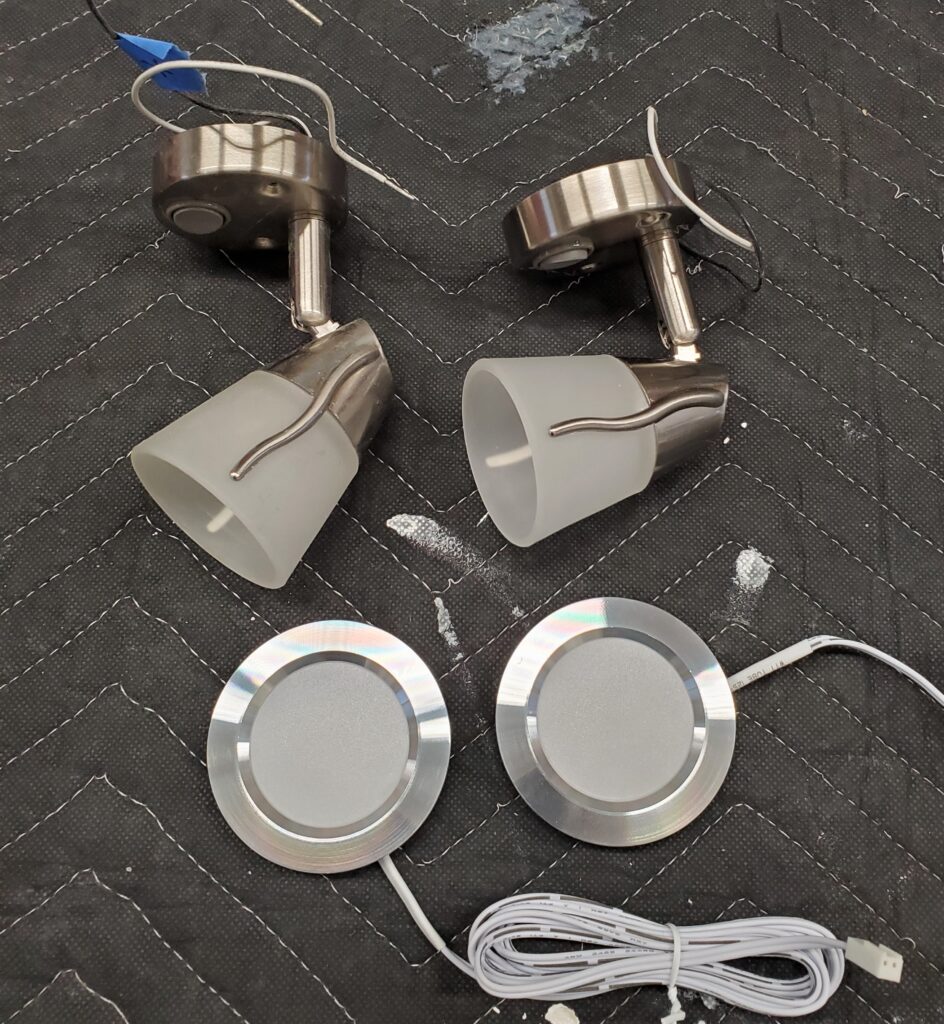
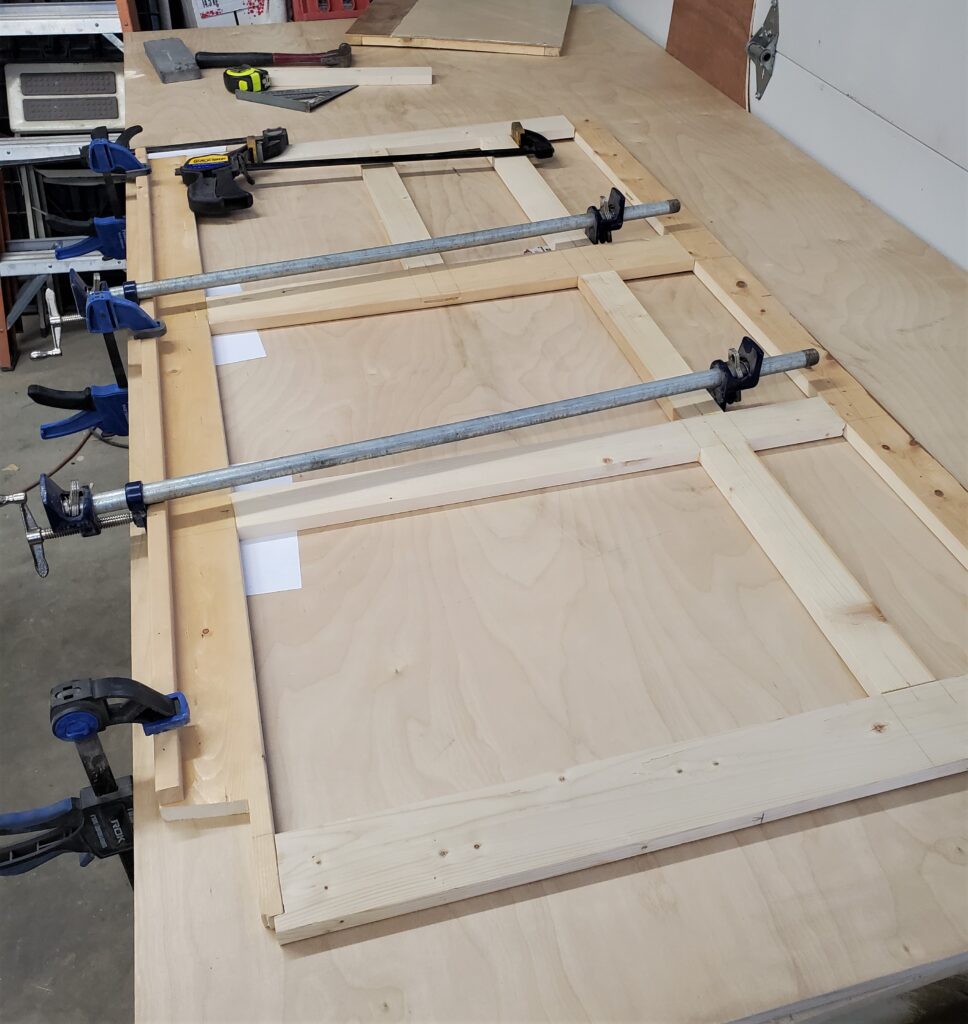
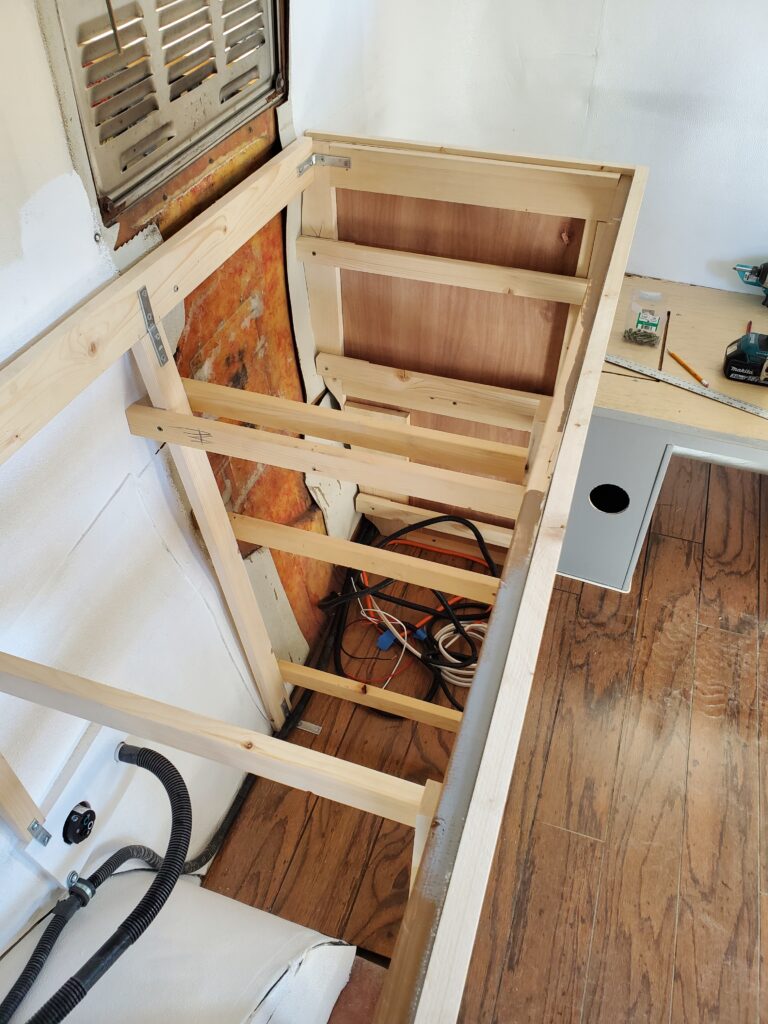
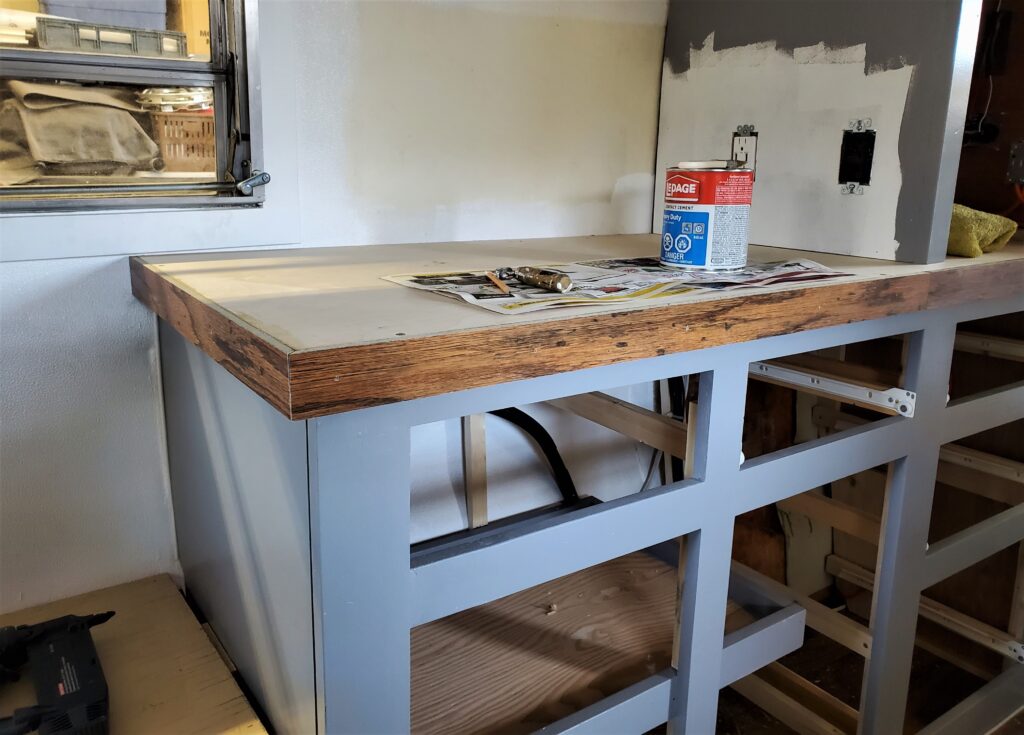
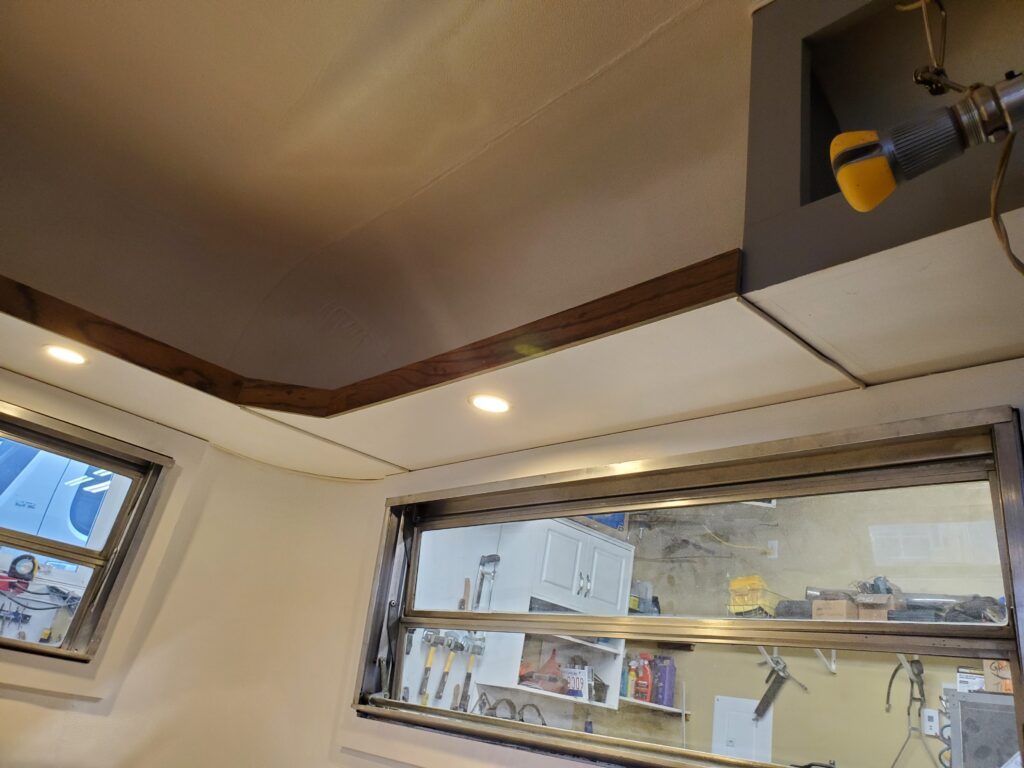
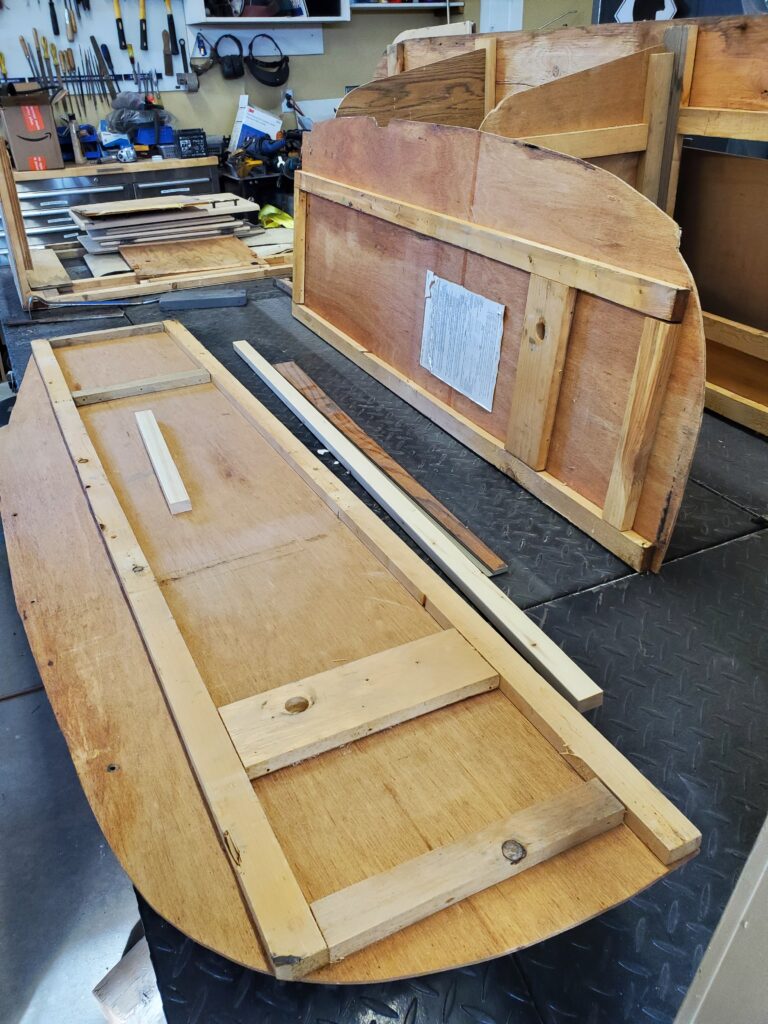
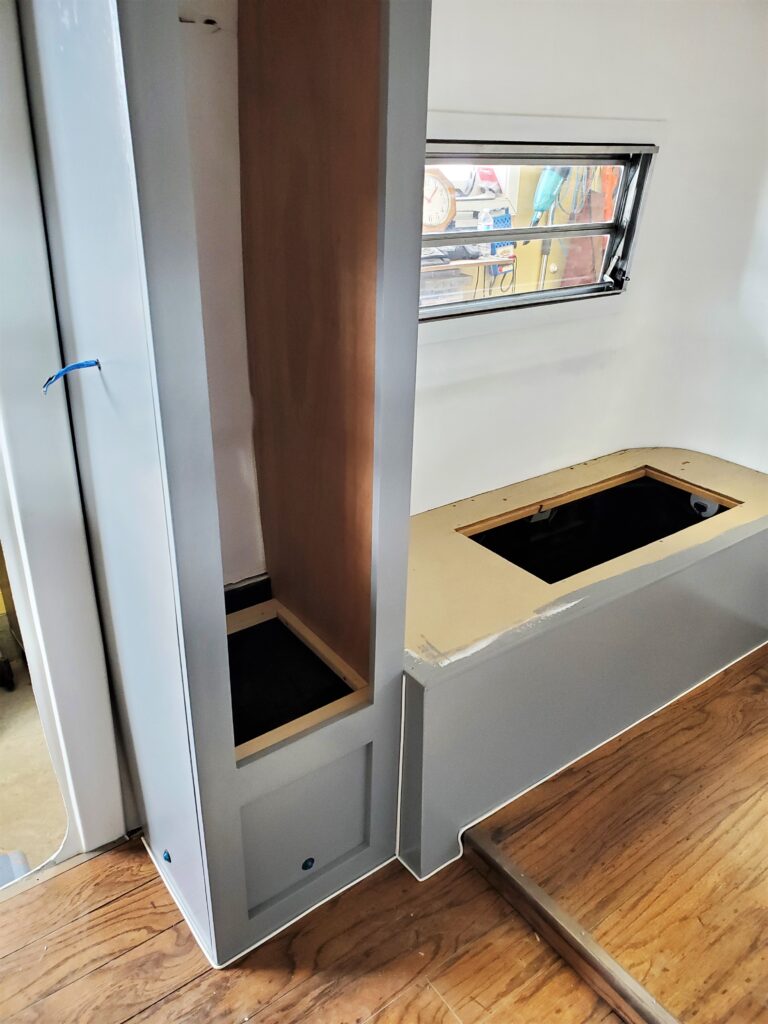
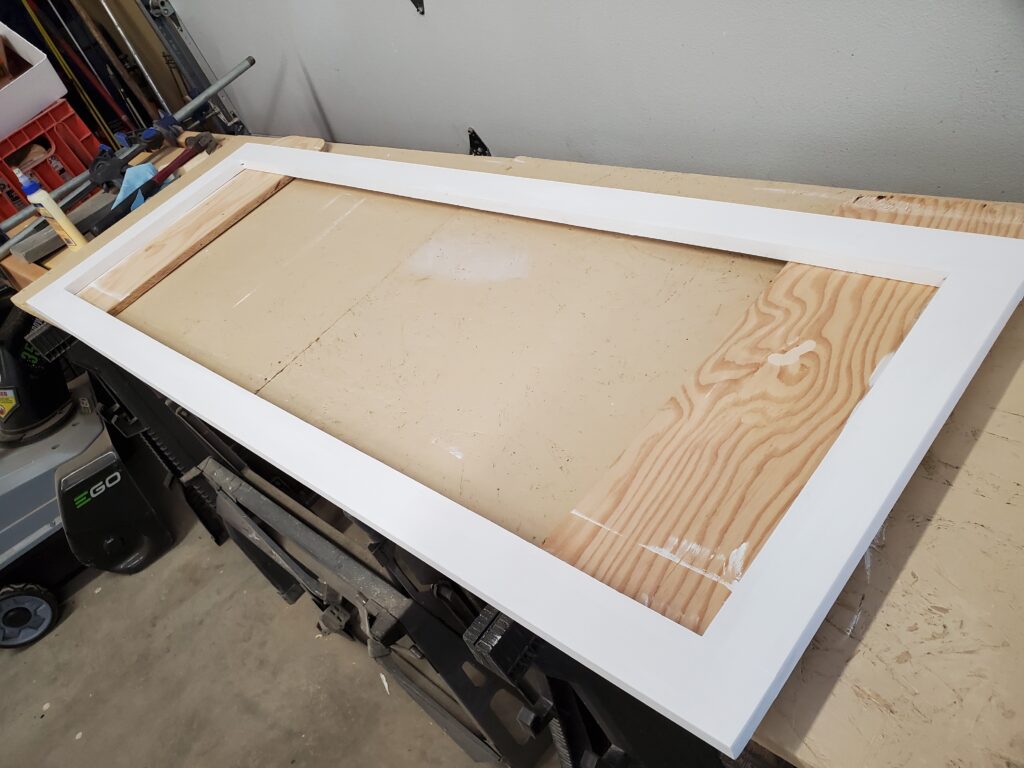
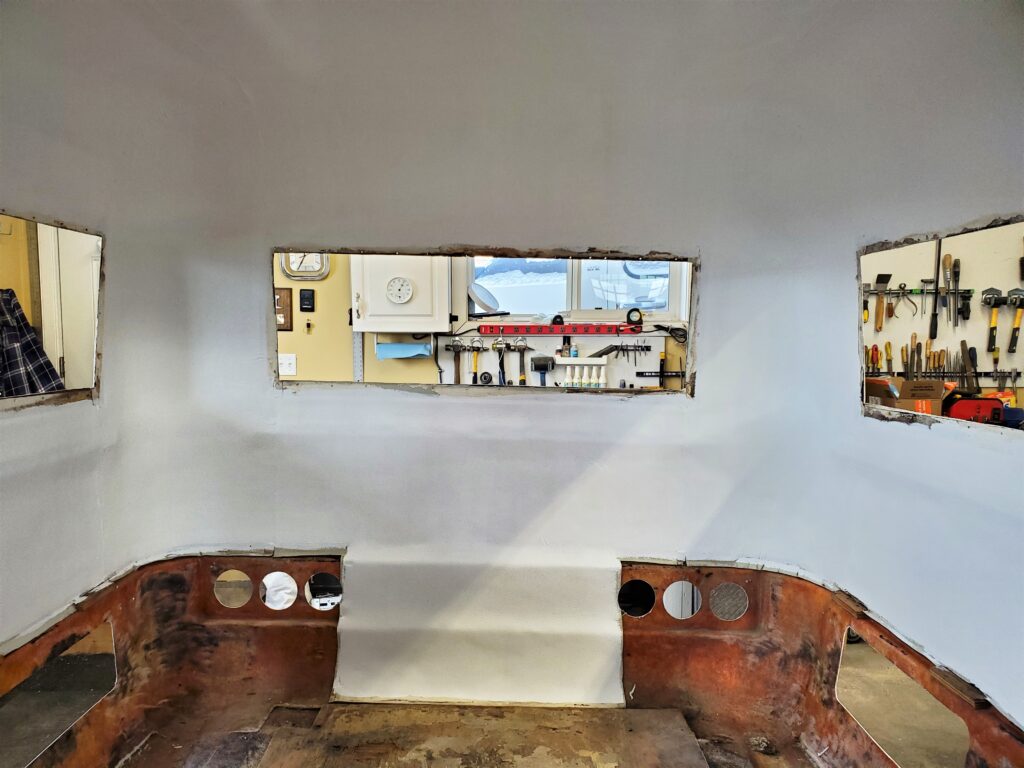
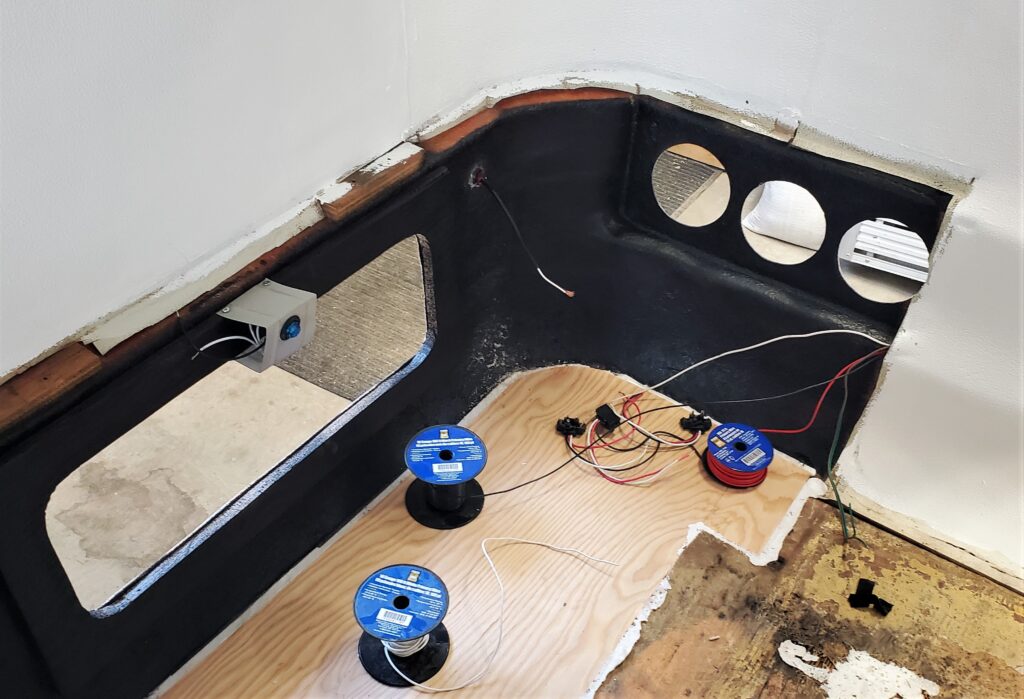
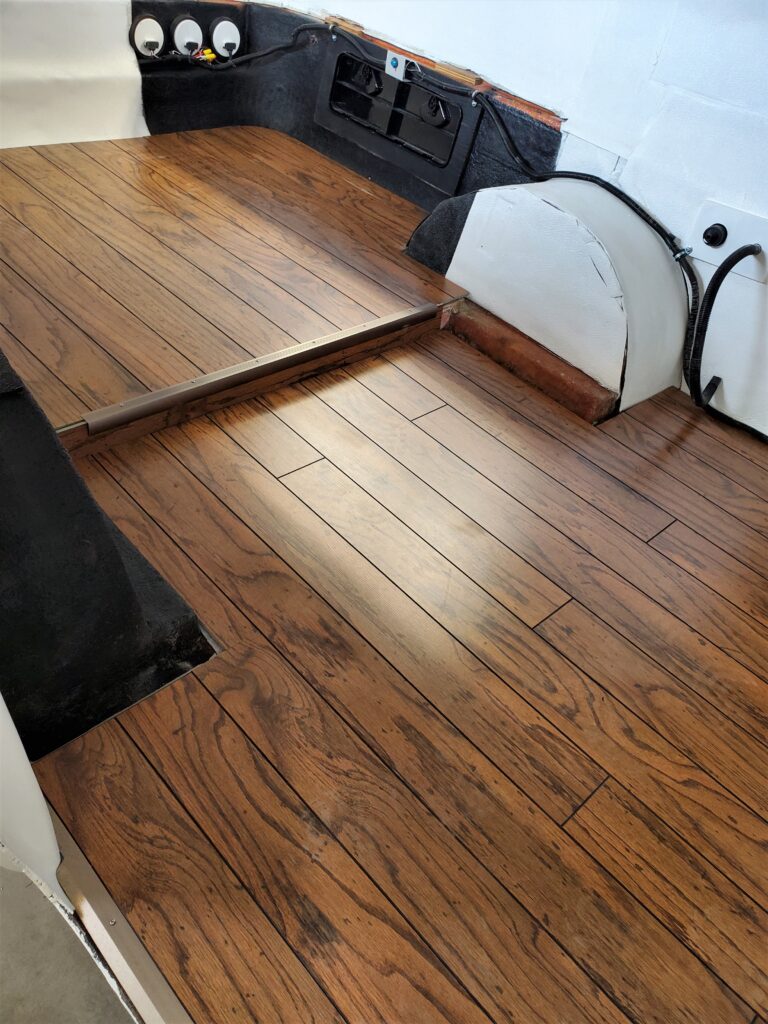
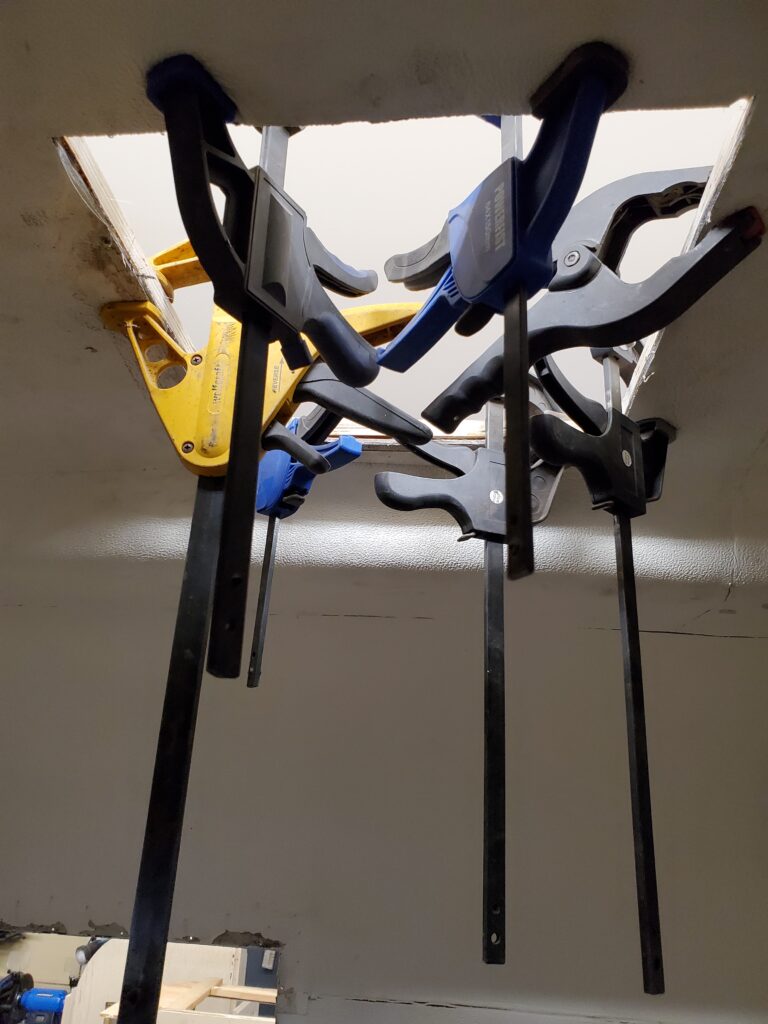
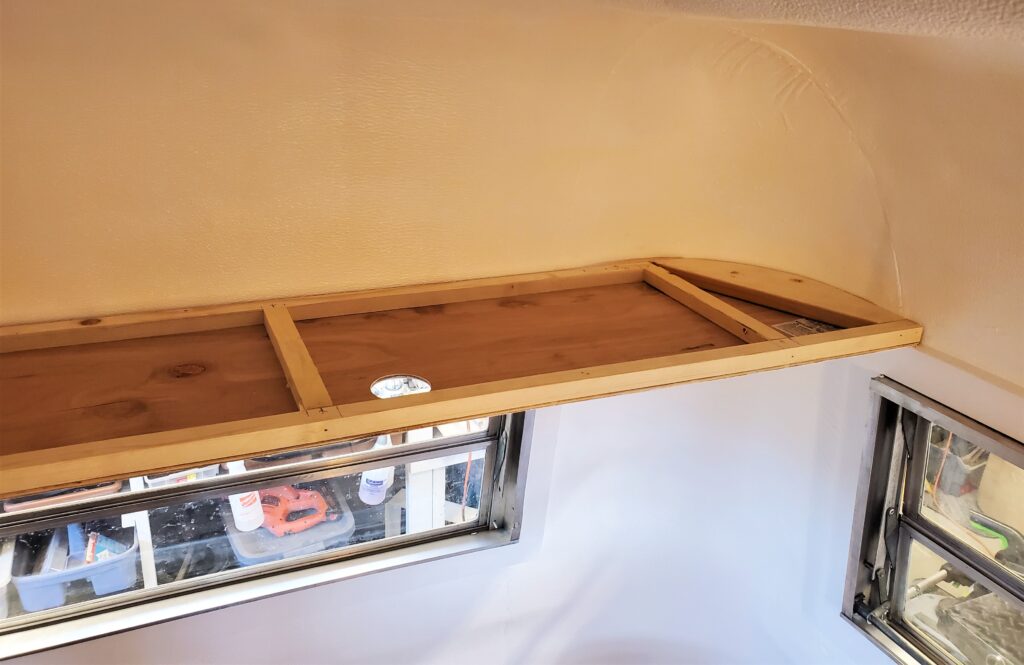
These two LED reading lights. They will be independent of the flush mount lights. Meanwhile at the rear of the trailer.. Here’s the shelve across the back done.
The top is already cut. It will get shelve liner glued on then fastened in place ( after the wires are run ) .
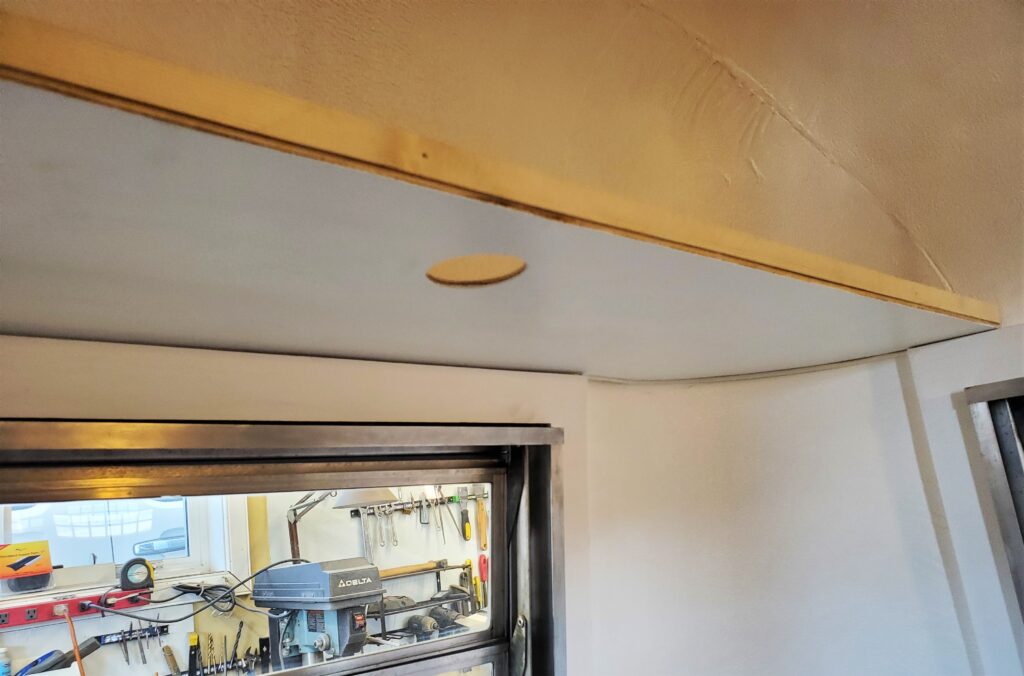
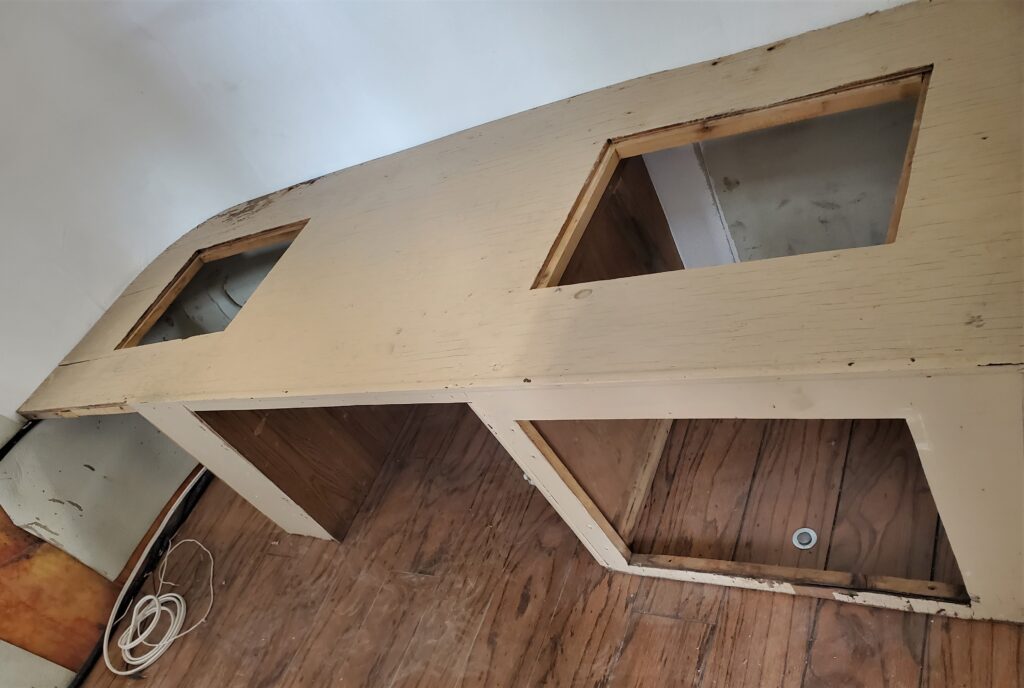
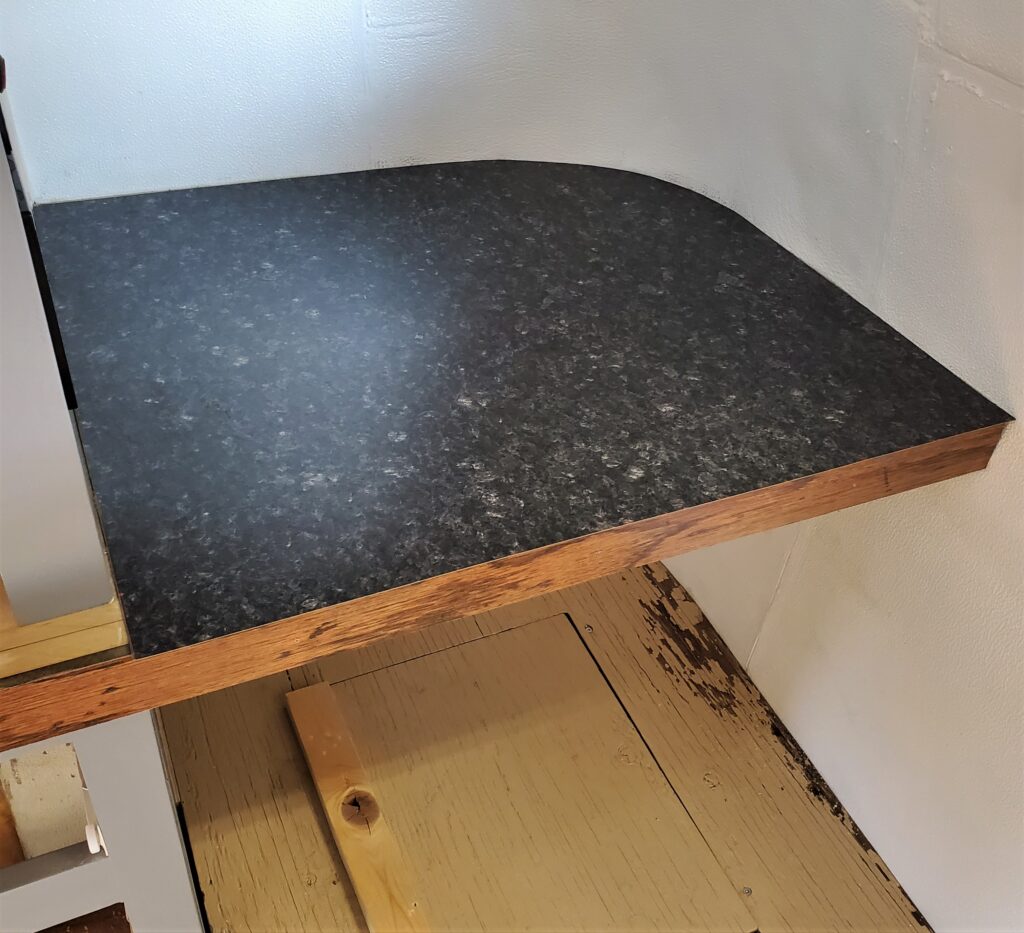
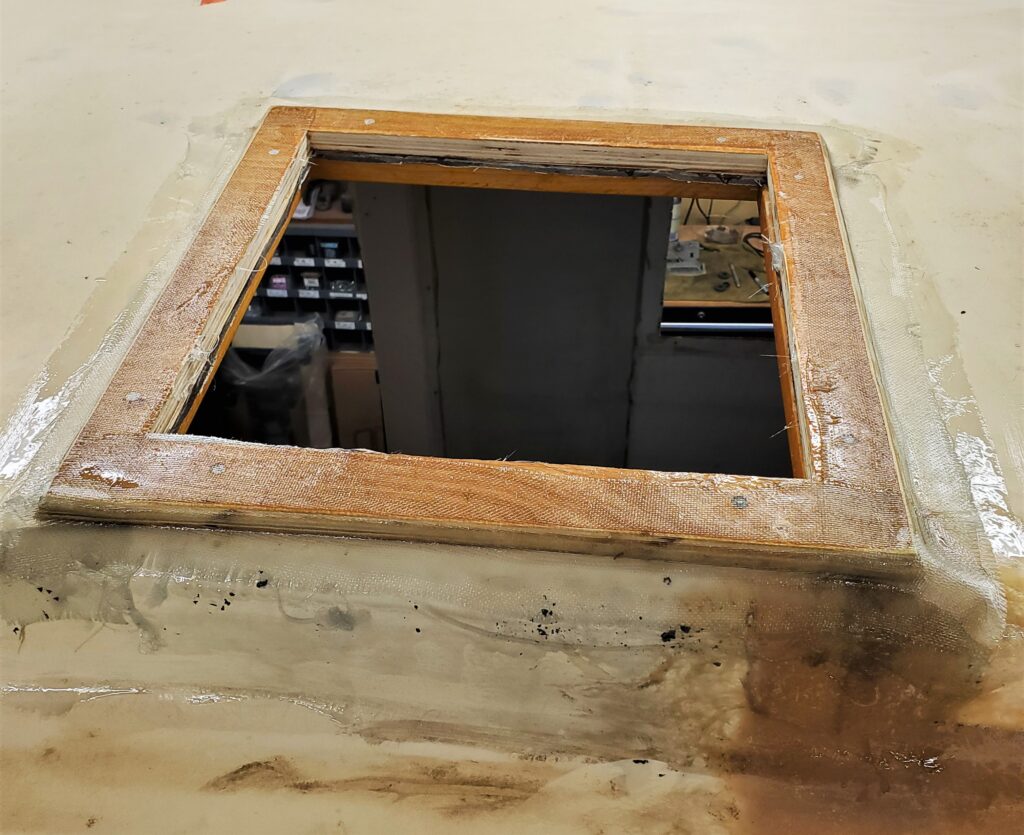
And of coarse I cut the holes for the lights. Gimp in the corner too. I’m getting really good at fitting the curves. It did not take long to build these shelves, because they are so simple.
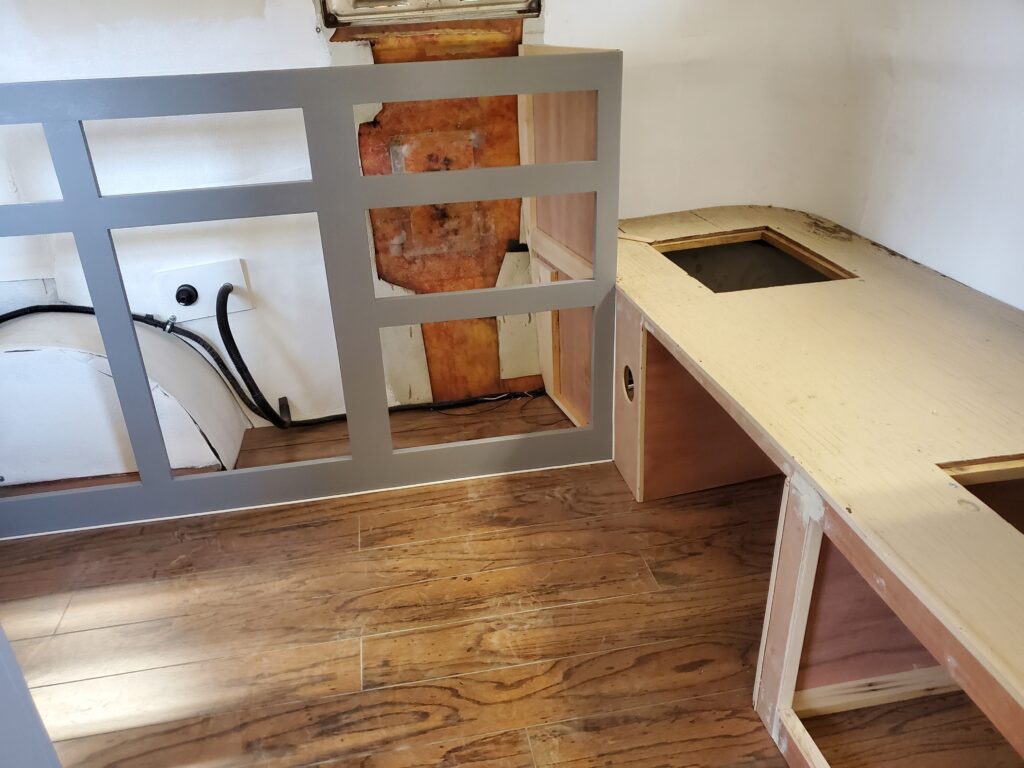
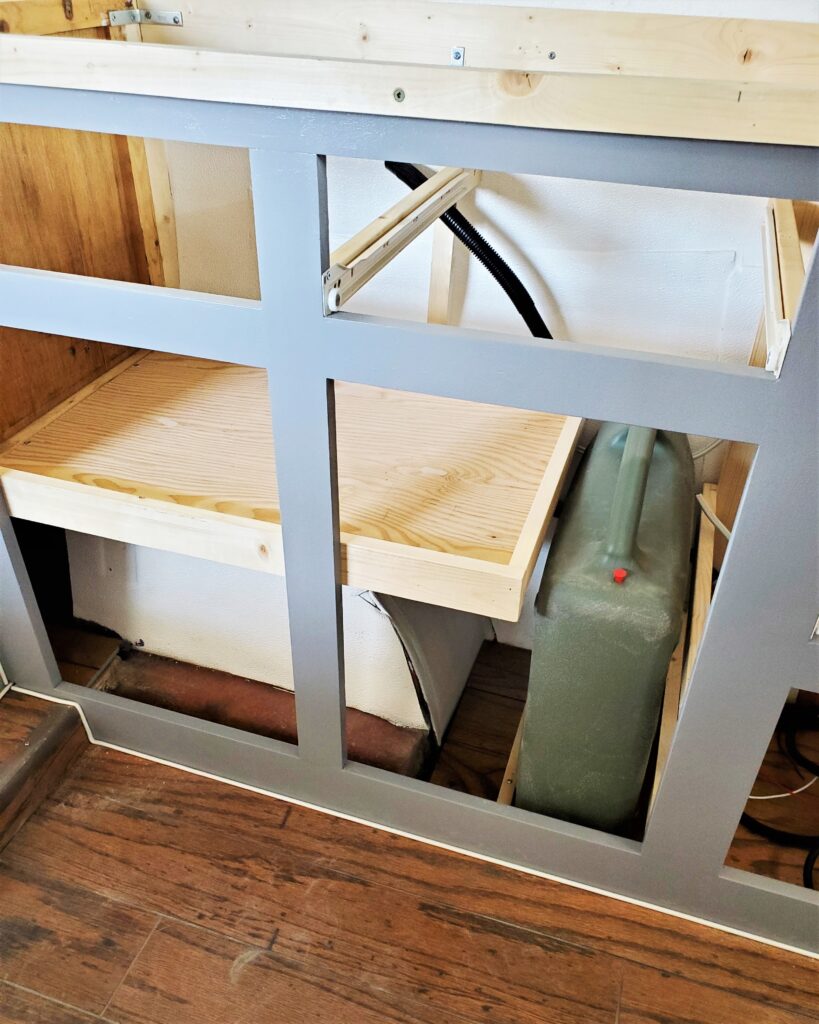
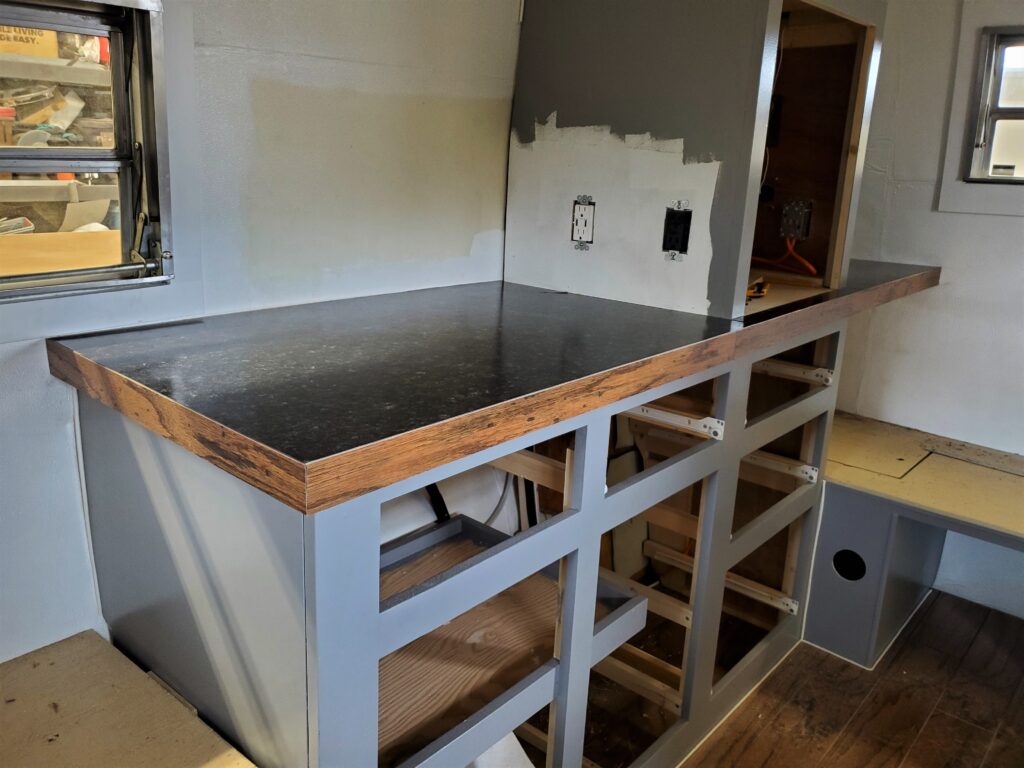
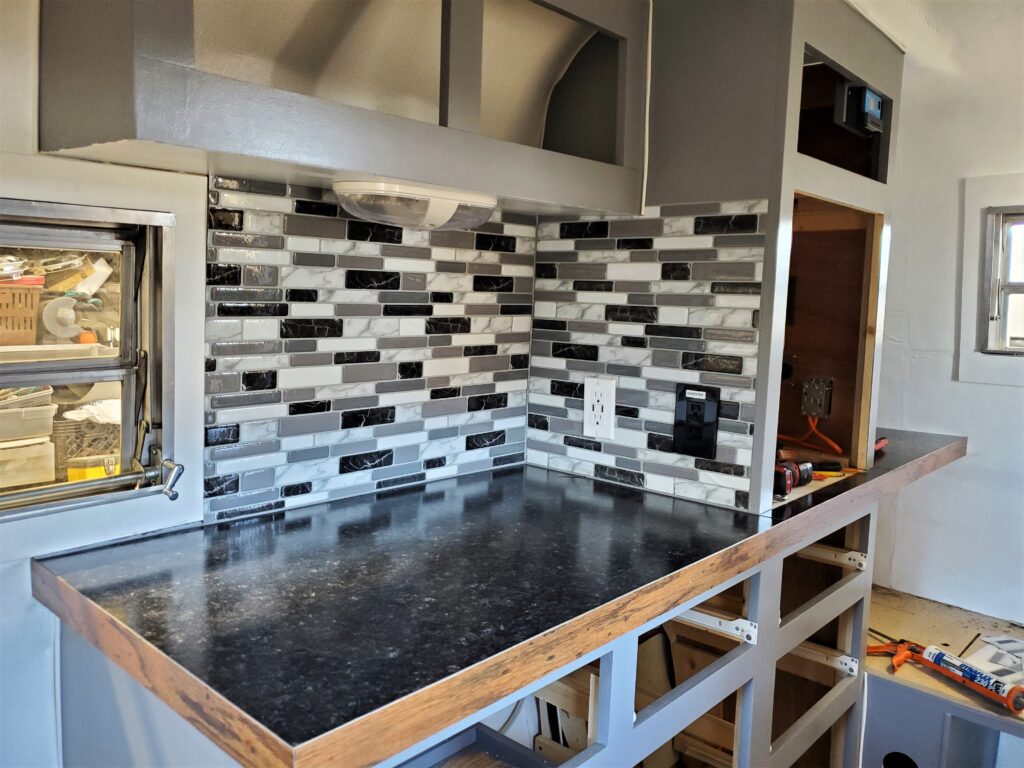
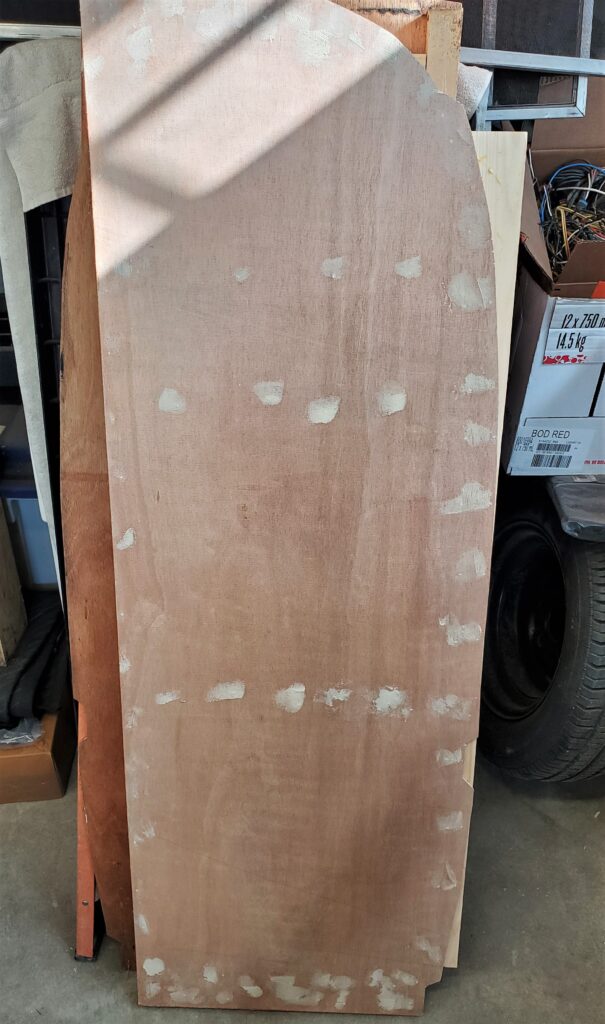
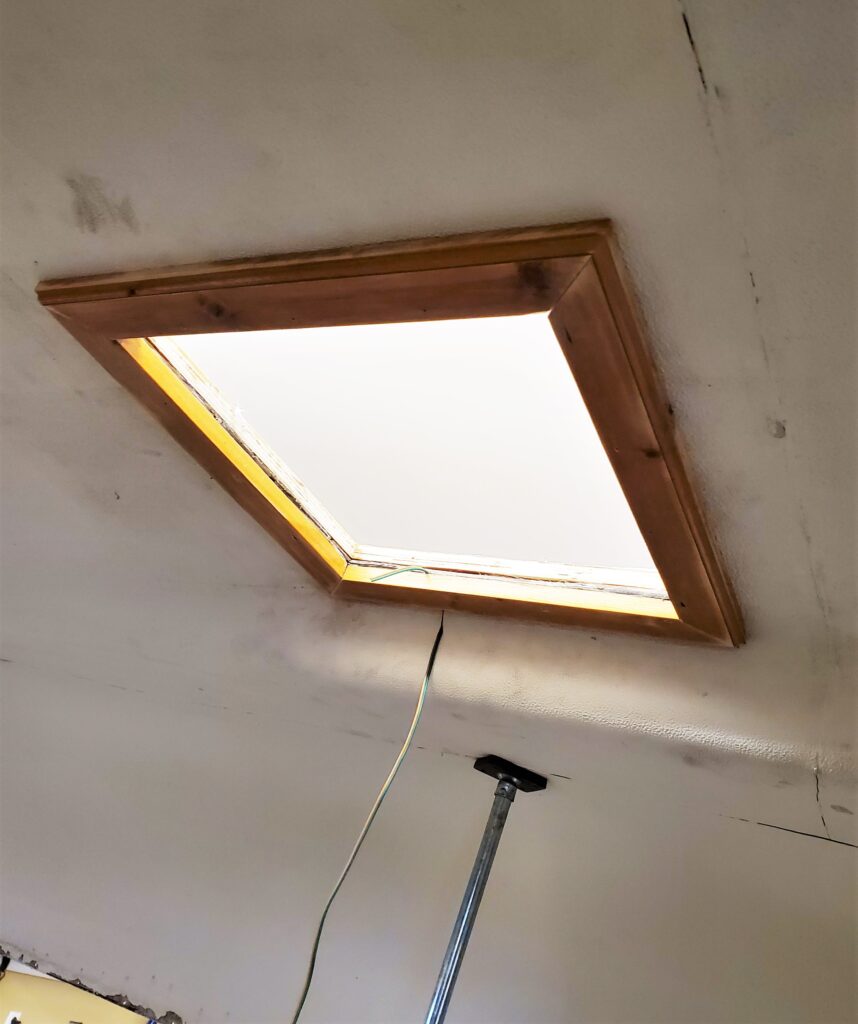
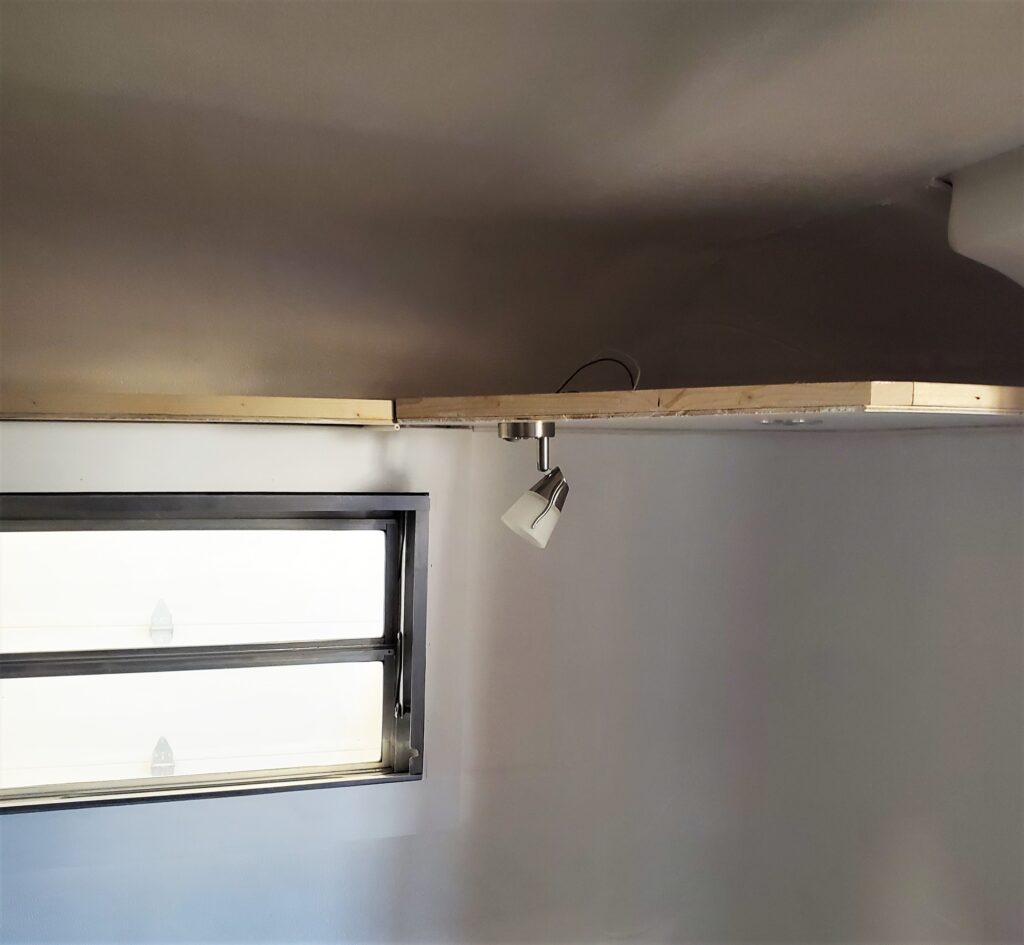
And there you have it ! The wood trim that makes a lip is made from the flooring. All that’s need now is the gray glued to the top peice and that nailed in place. Here’s the underside.
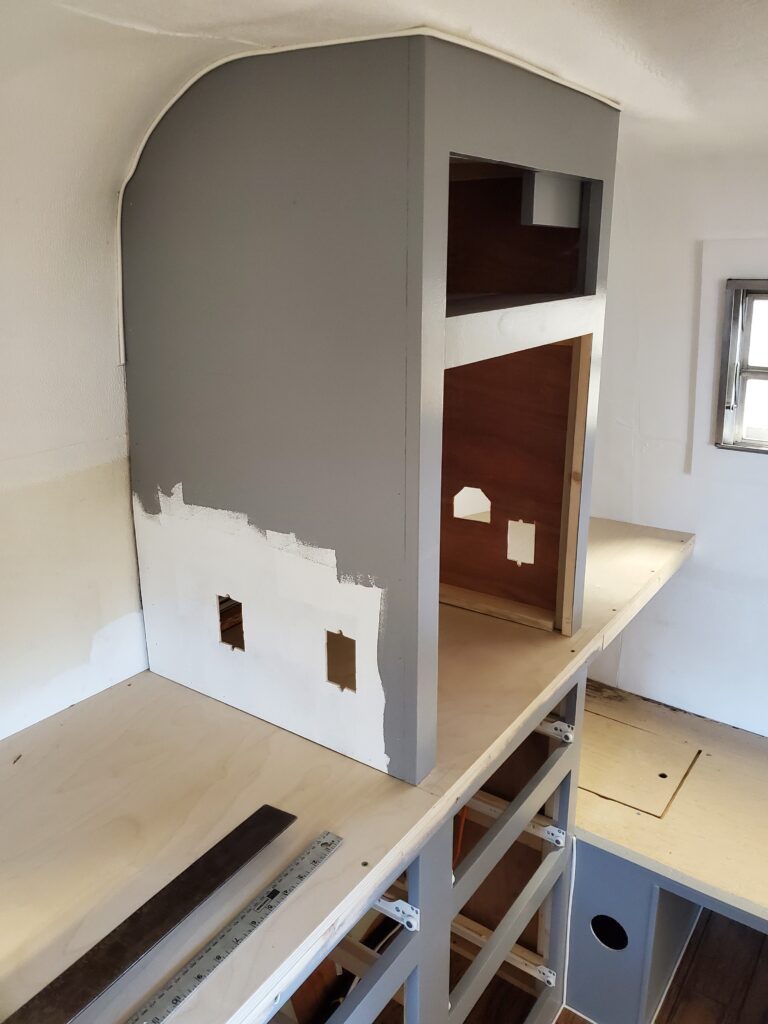
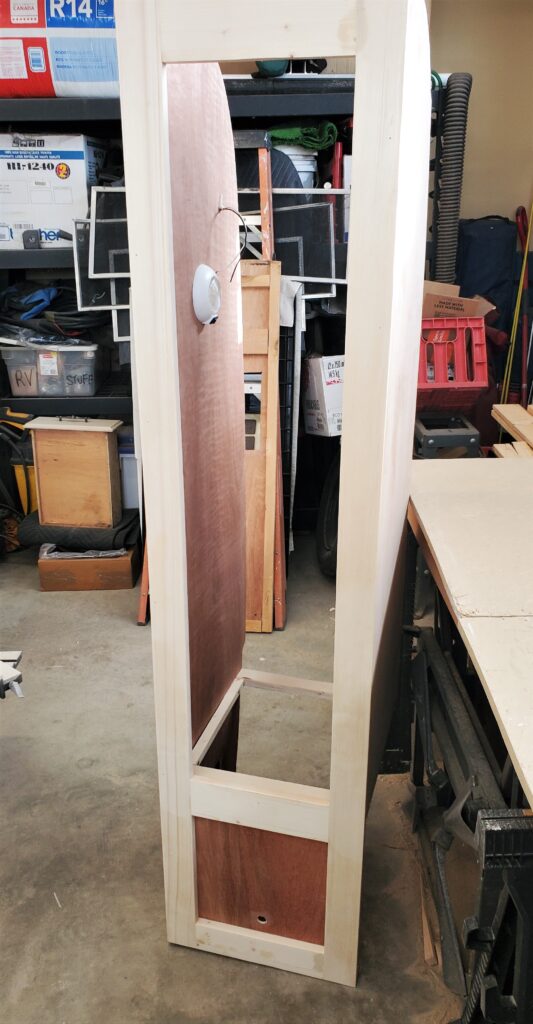
This is how you do it.. These will be on a dimmer and a remote. On to the front shelves. It’s taken a while to get those done due to other things needing attention. Ok mostly done now.
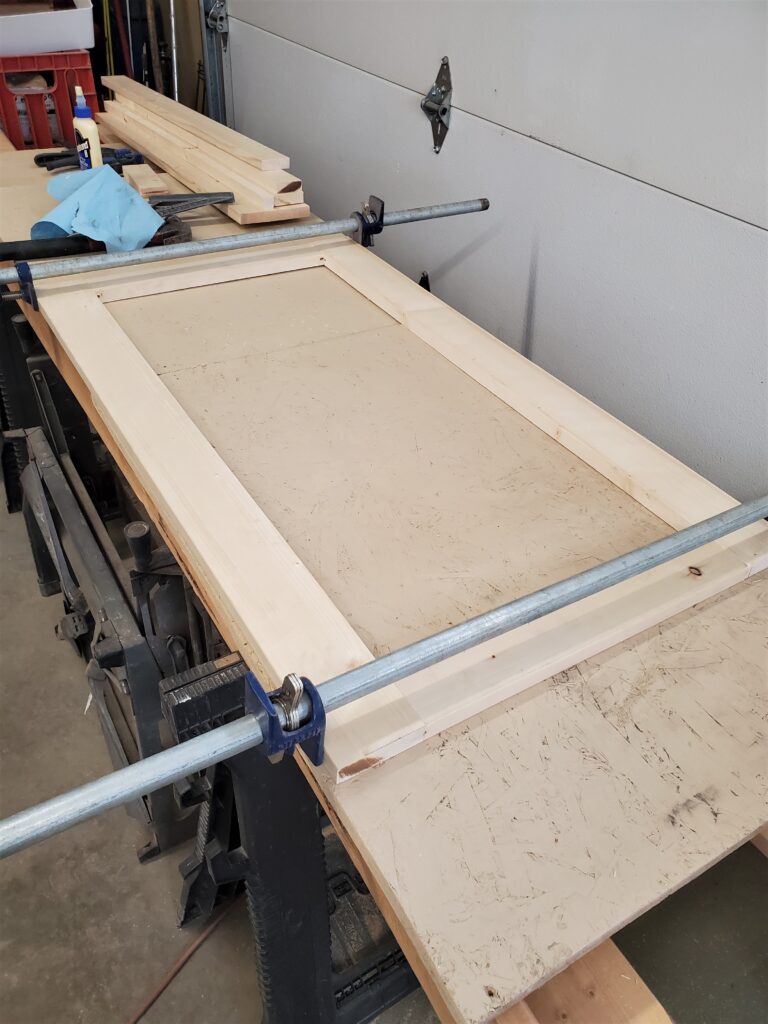
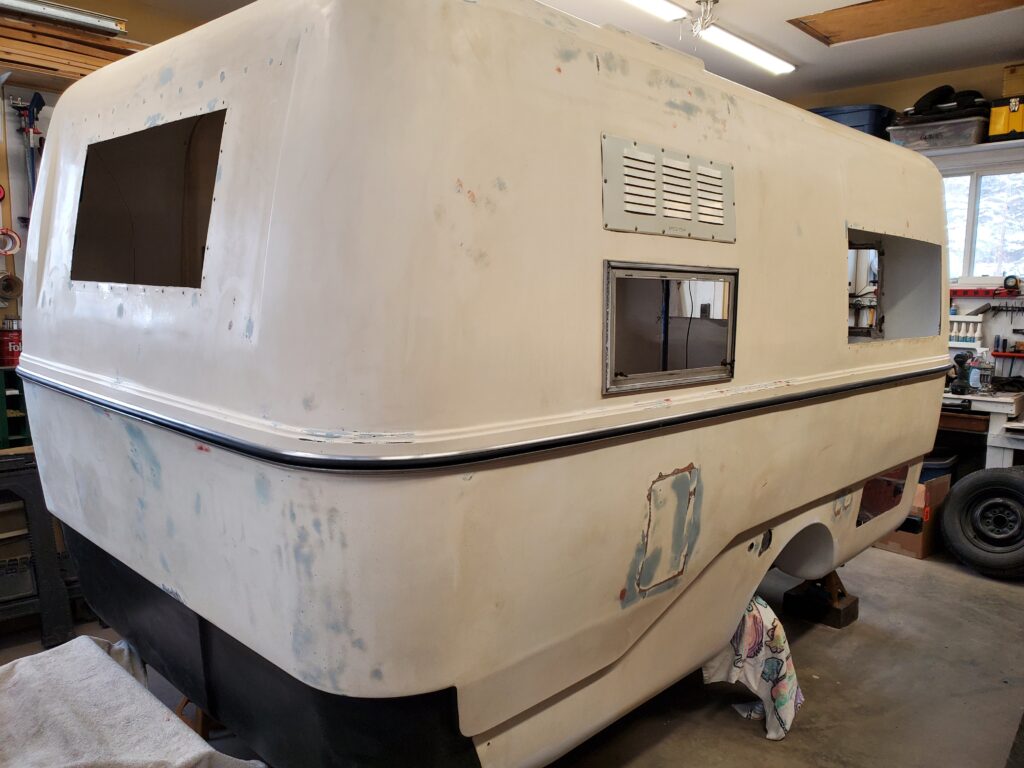
Still got to put the edging on.. I need to figure out the solar panel wiring . And that means I need to get the solar panel installed. Meanwhile I’ve been building drawers and doors. So let’s start a new post for that work.