Dec 9 2022
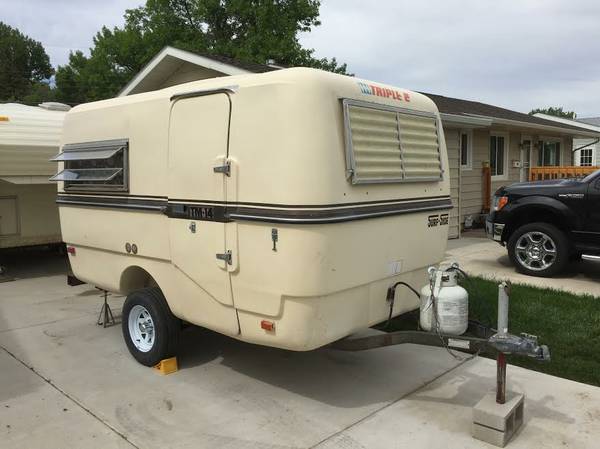
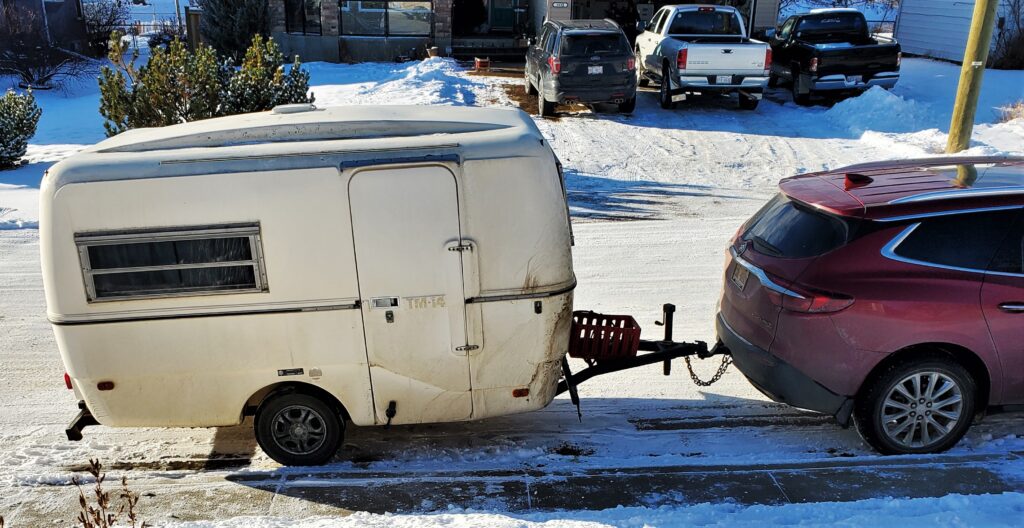
If you want to tow…You need confidence in the frame, axle and wheels. New stuff should work for that.
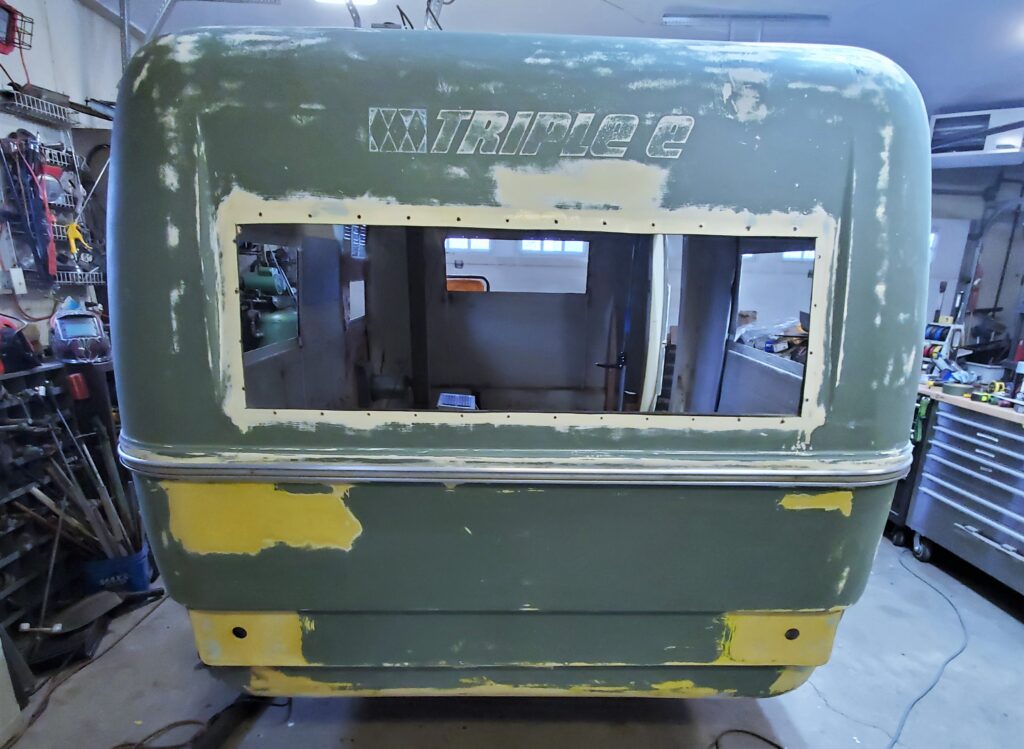
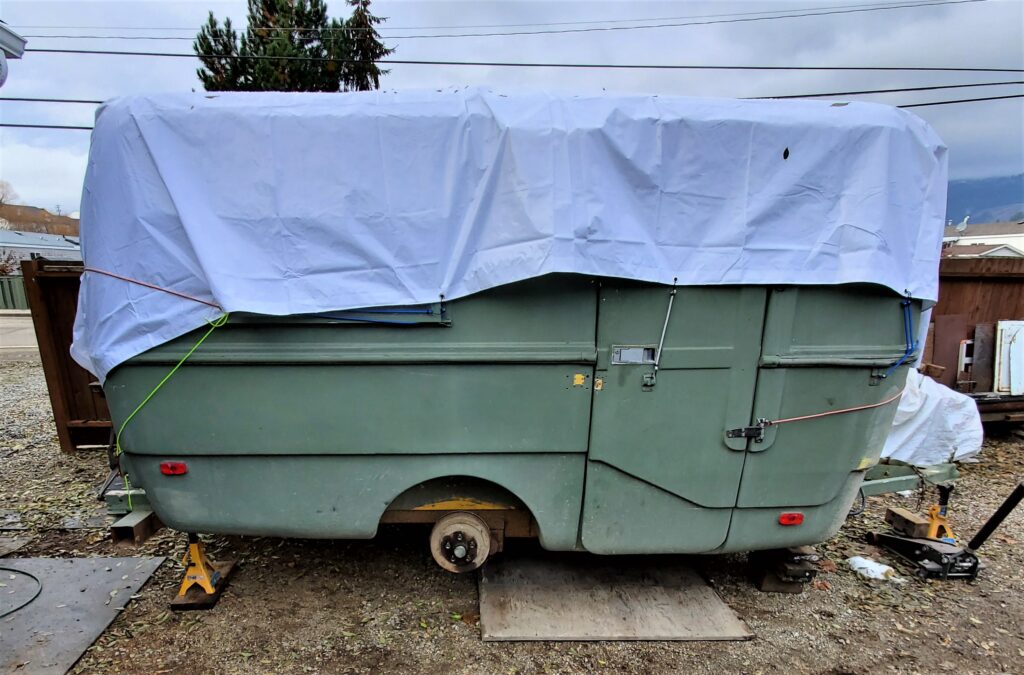
How do I stress the importance of worry free towing and safety. The first thing always is start from the foundation. And because I believe this axe is old and wore out, we are ordering a new one …Not cheap but very important. So I will pull the frame out and replace the axle and modify the rear bumper…and some things on the tongue. Plus of coarse a new coat of paint.
So here we go ..
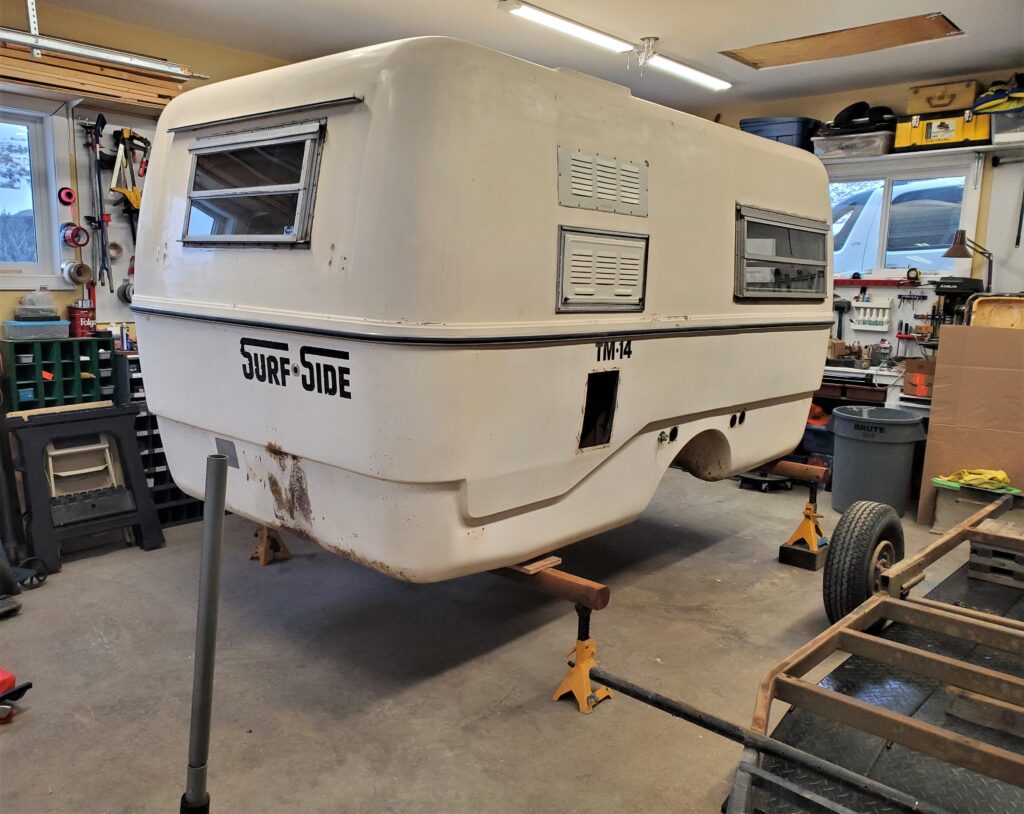
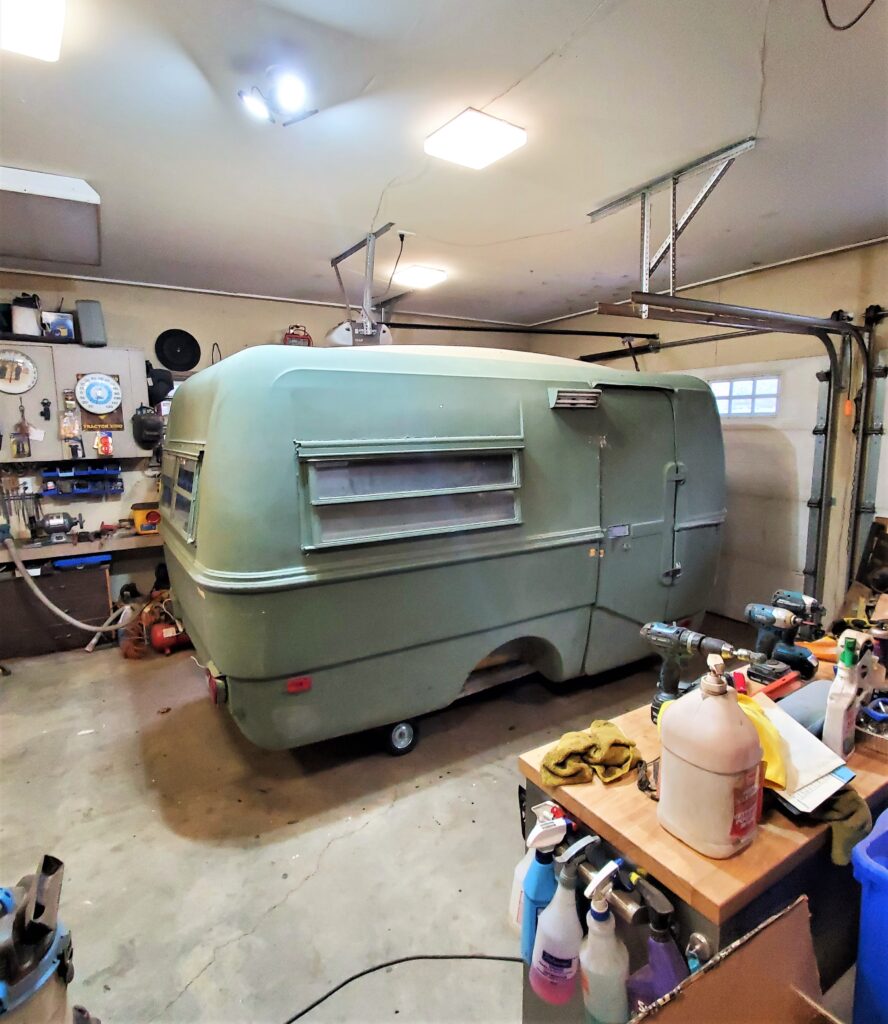
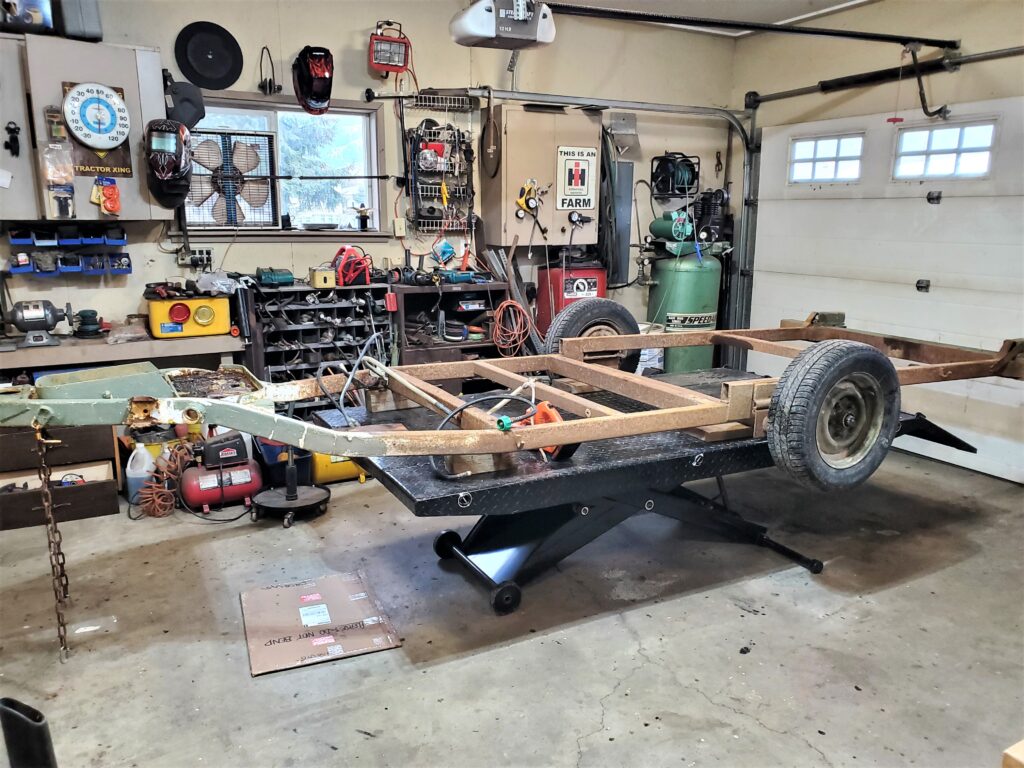
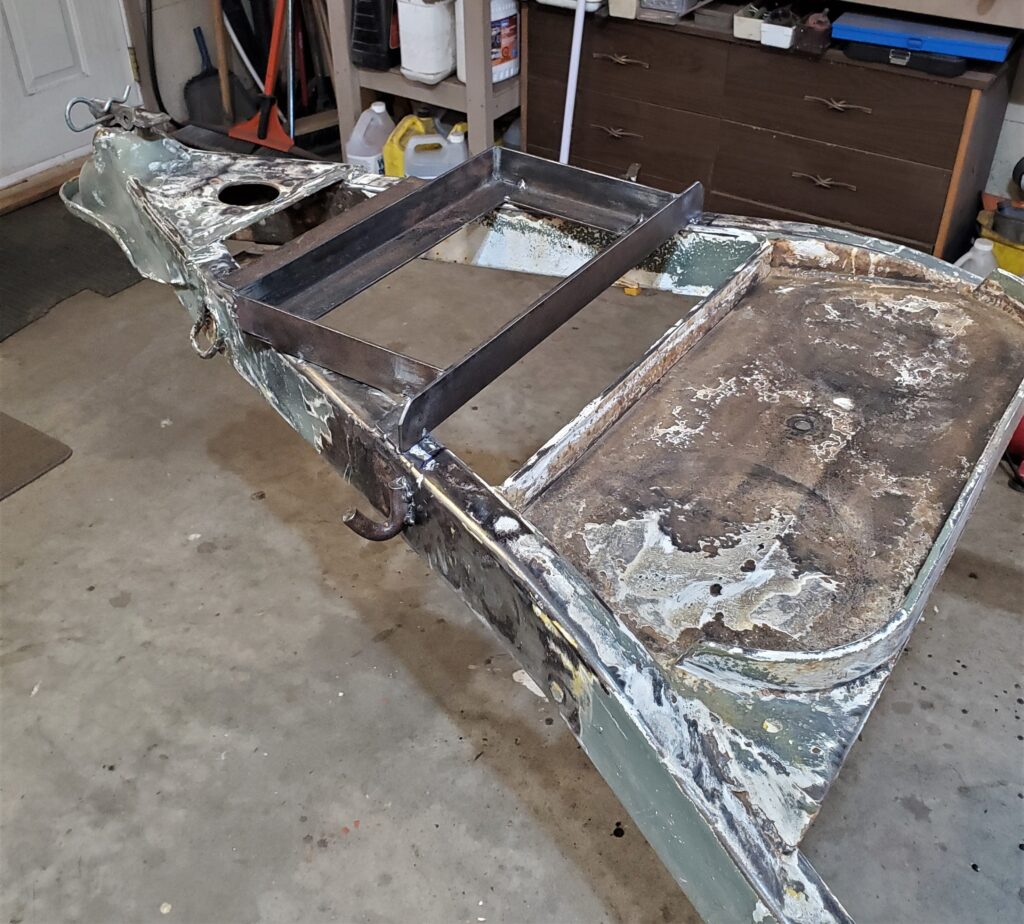
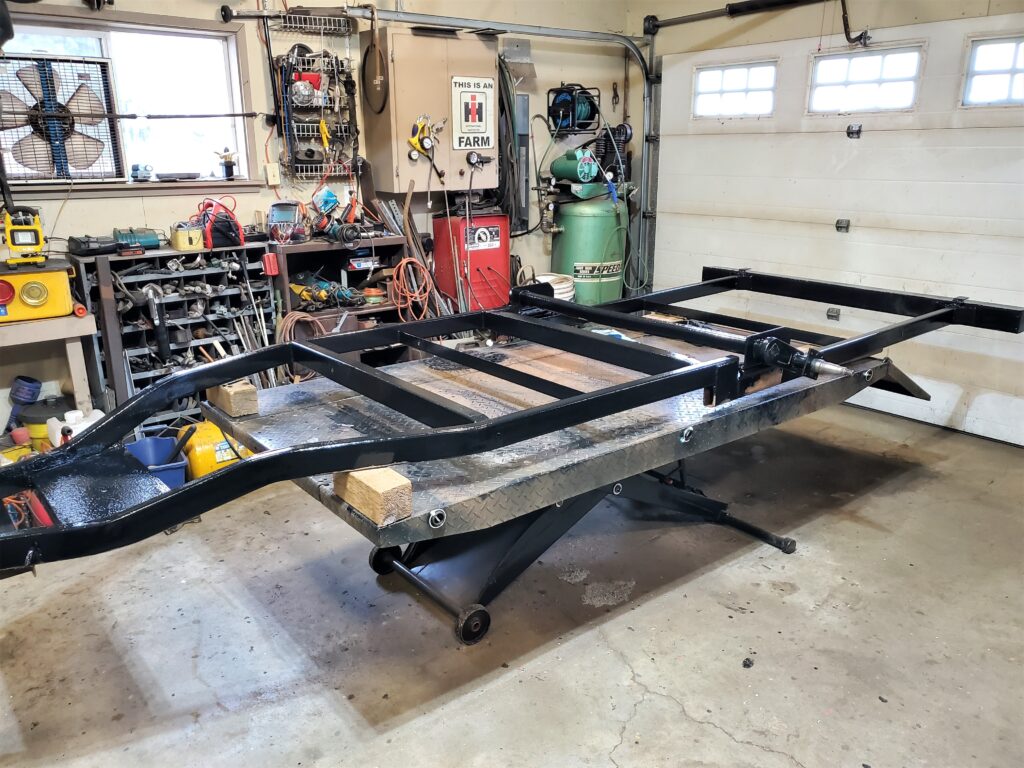
Sure is nice to do this on a concrete floor and not a gravel driveway. And look I have room for both the frame and the body. Took me about an hour to get to this stage. I was working alone and thinking carefully about each step.
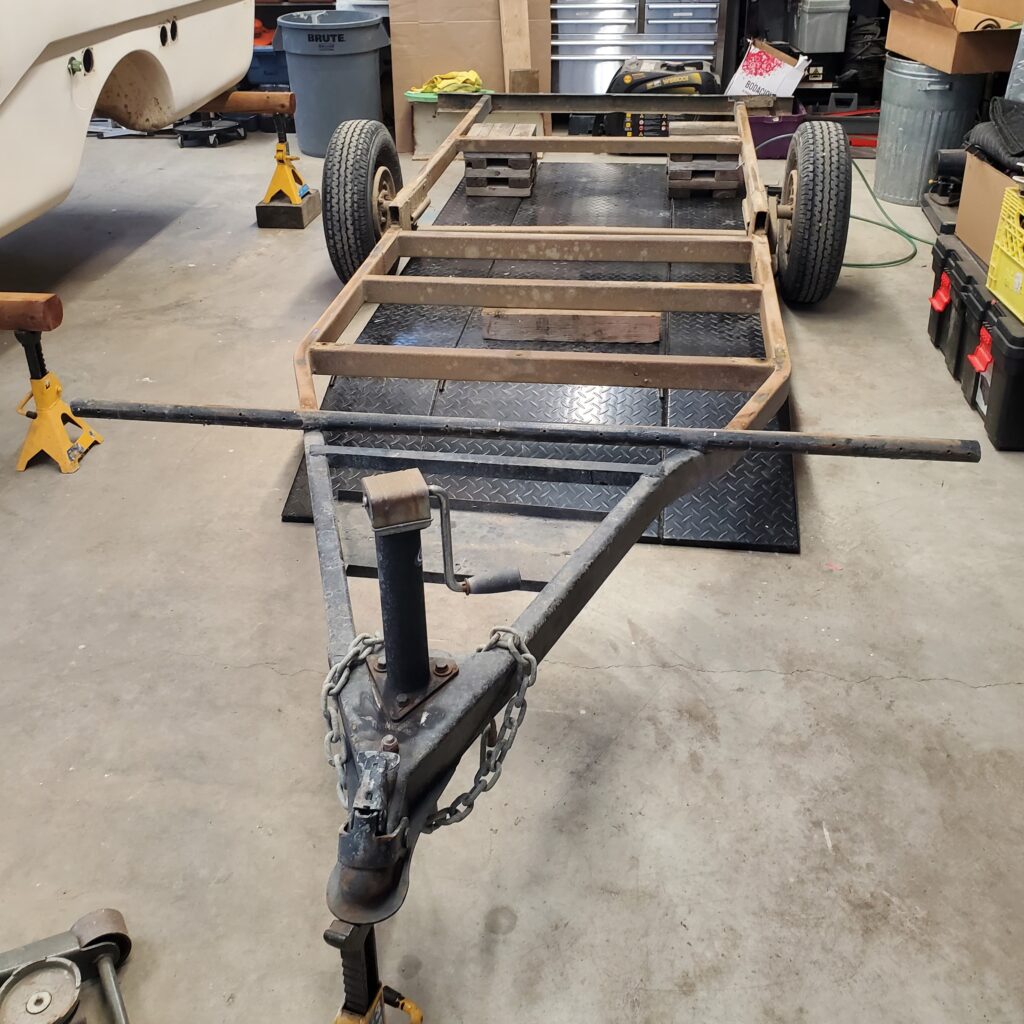
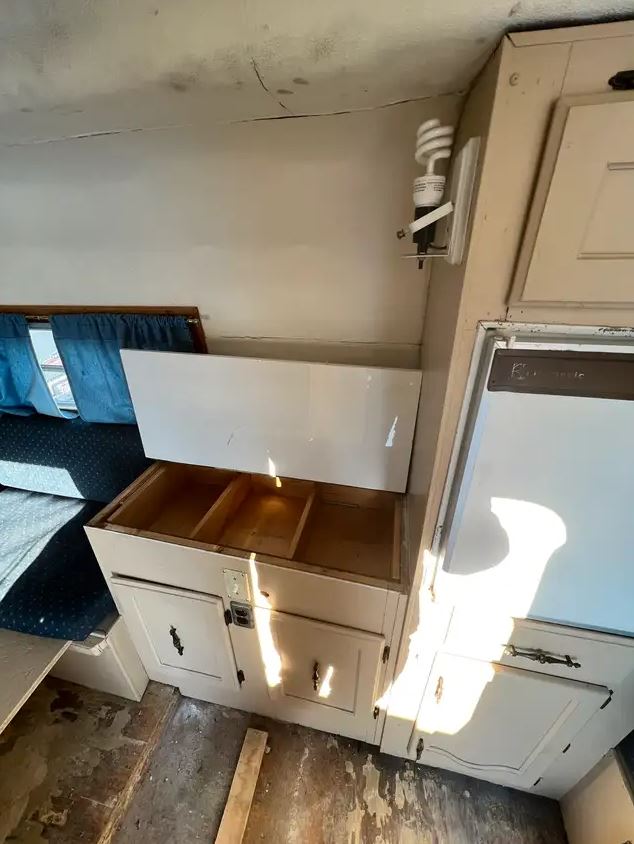
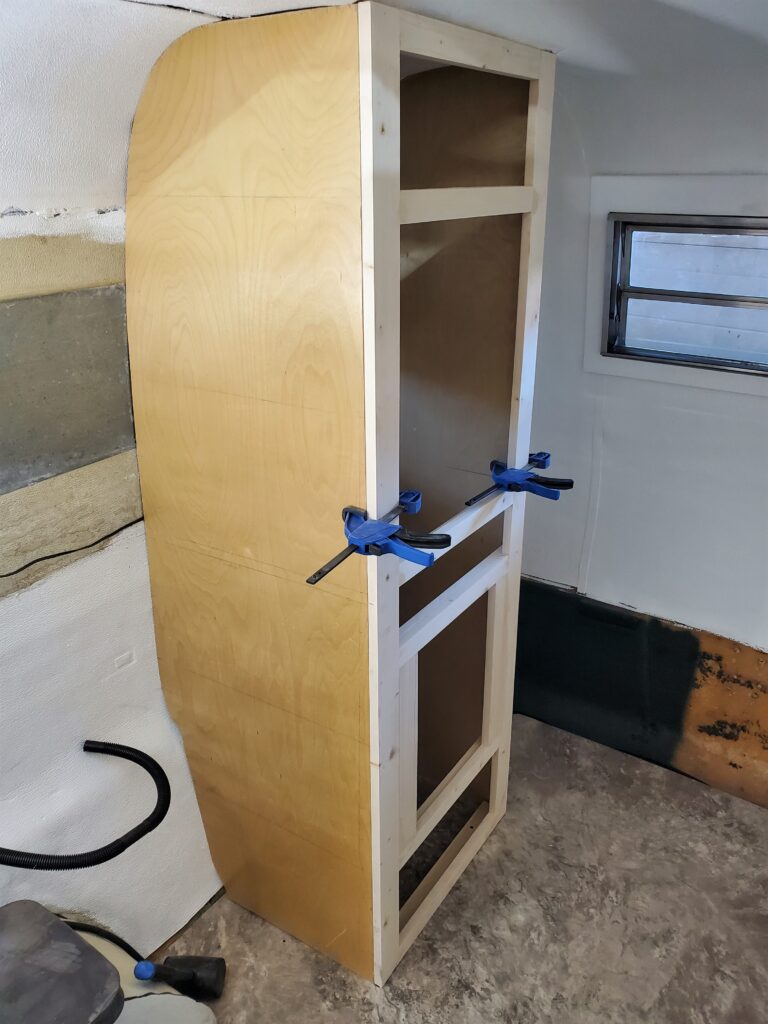
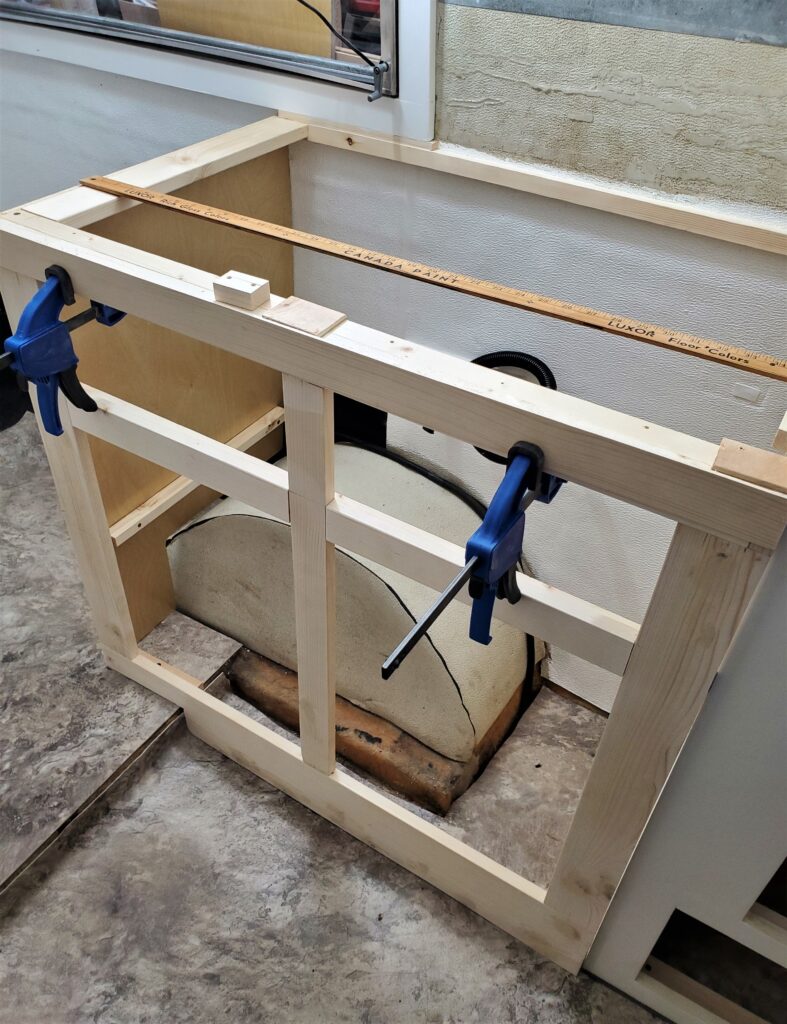
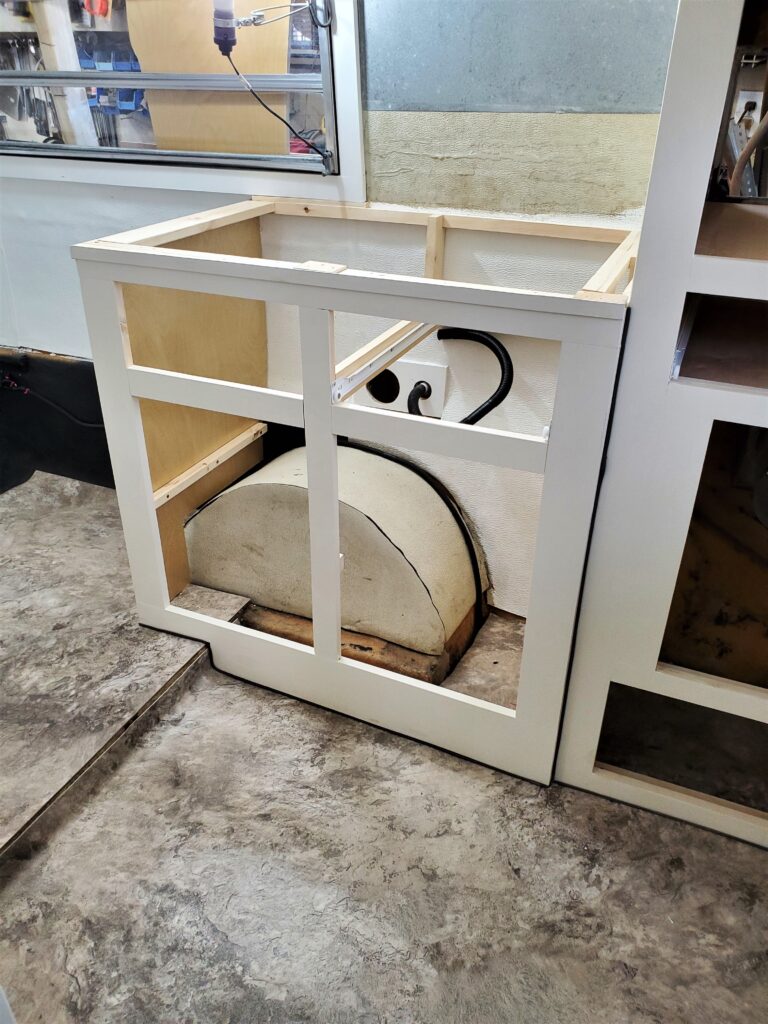
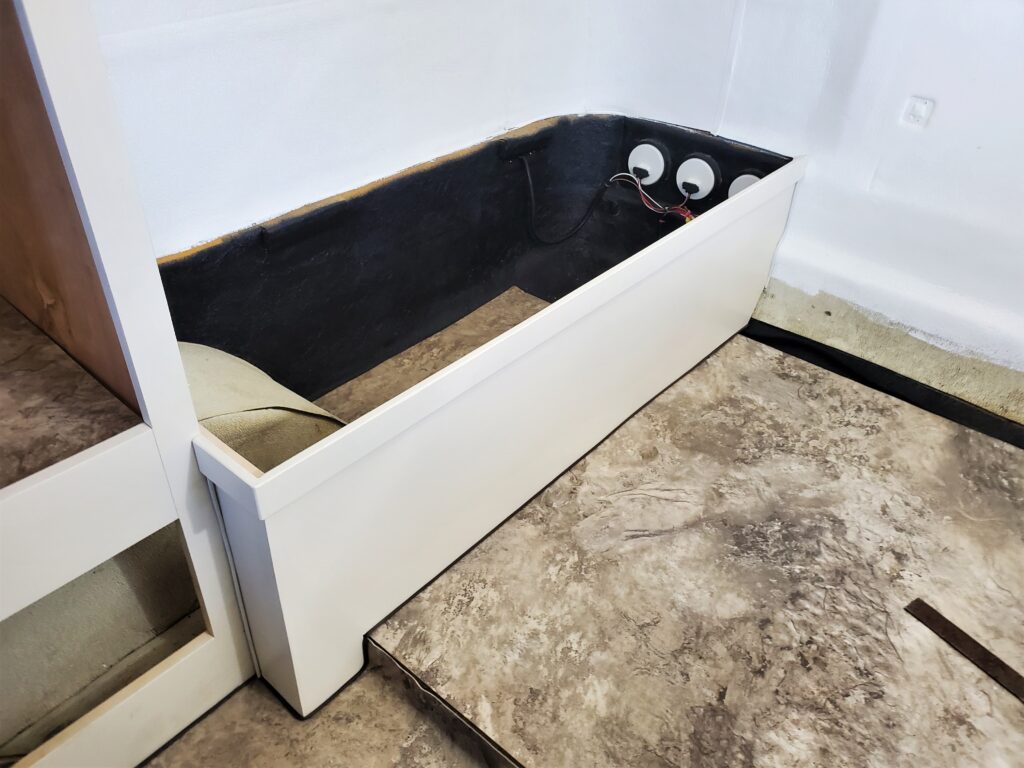
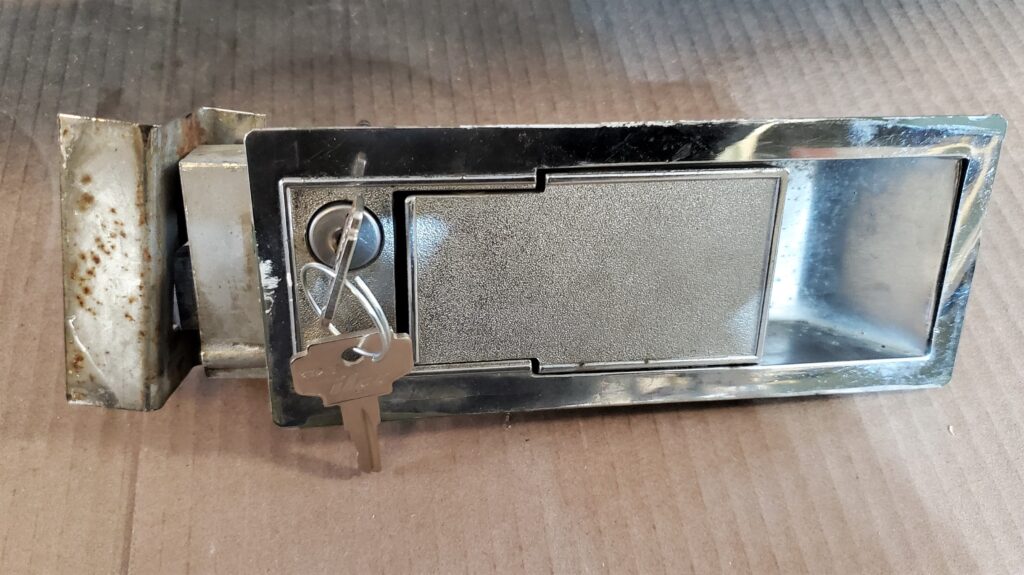
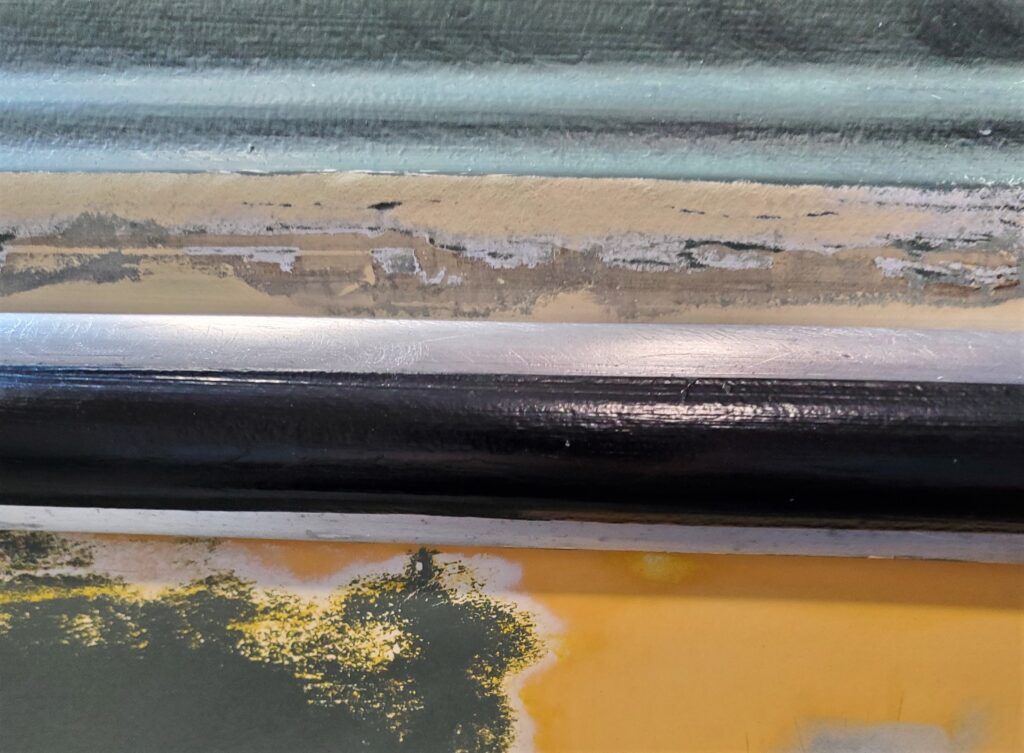
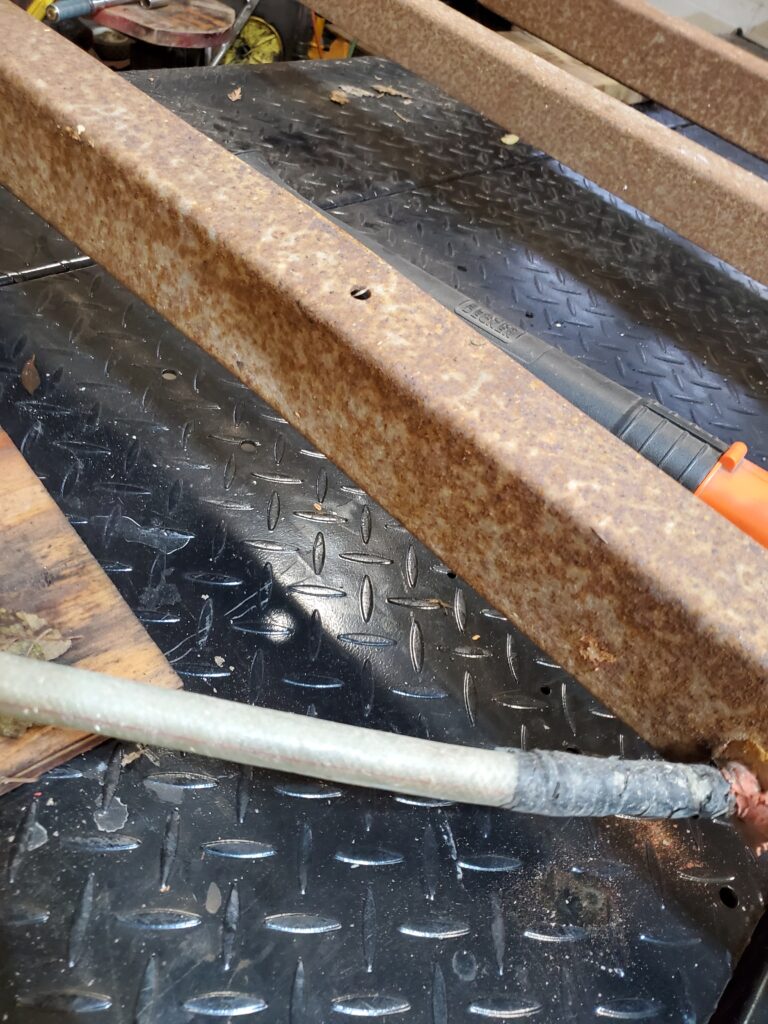
I’ll take the wheels off and lift the frame up where it’s a comfortable height. Next step is to measure the axle for ordering a new one.. Interestingly the tag on the old axle is still legible. It says 1500 lb made by Ingersoll.. Called a Rub-R- Ride. Too funny. It’s now a wore out ride. New axle is ordered , and I’m sourcing a rear bumper. I now have the box for the front of the trailer.
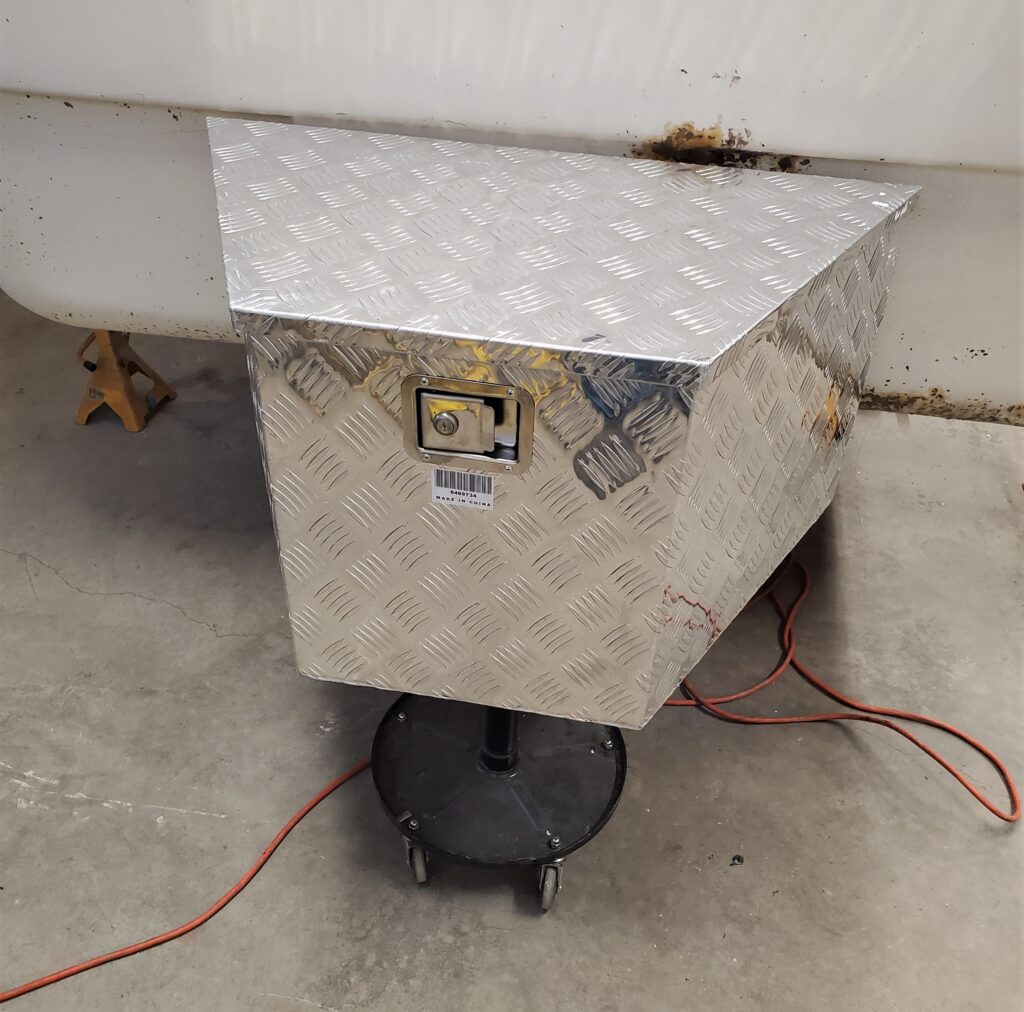
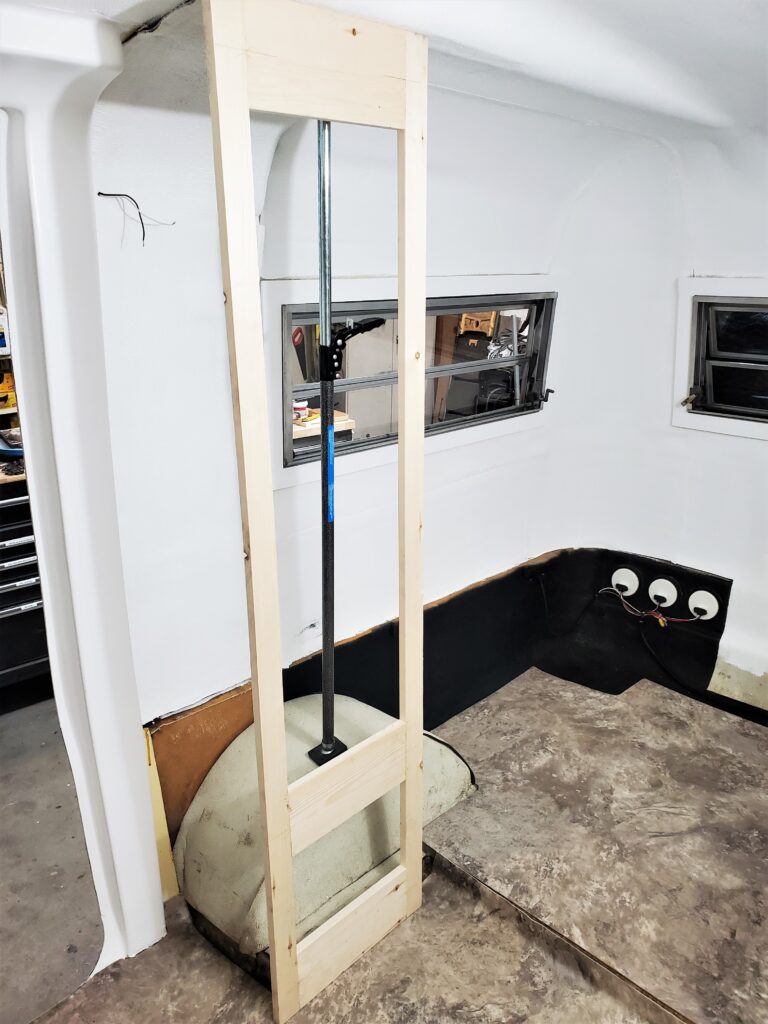
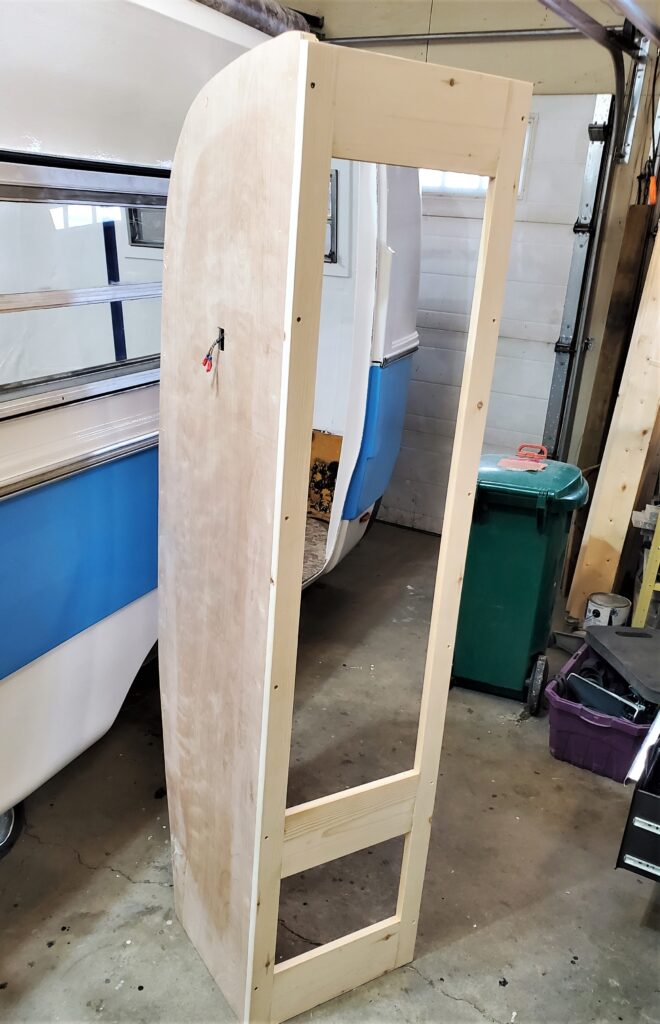
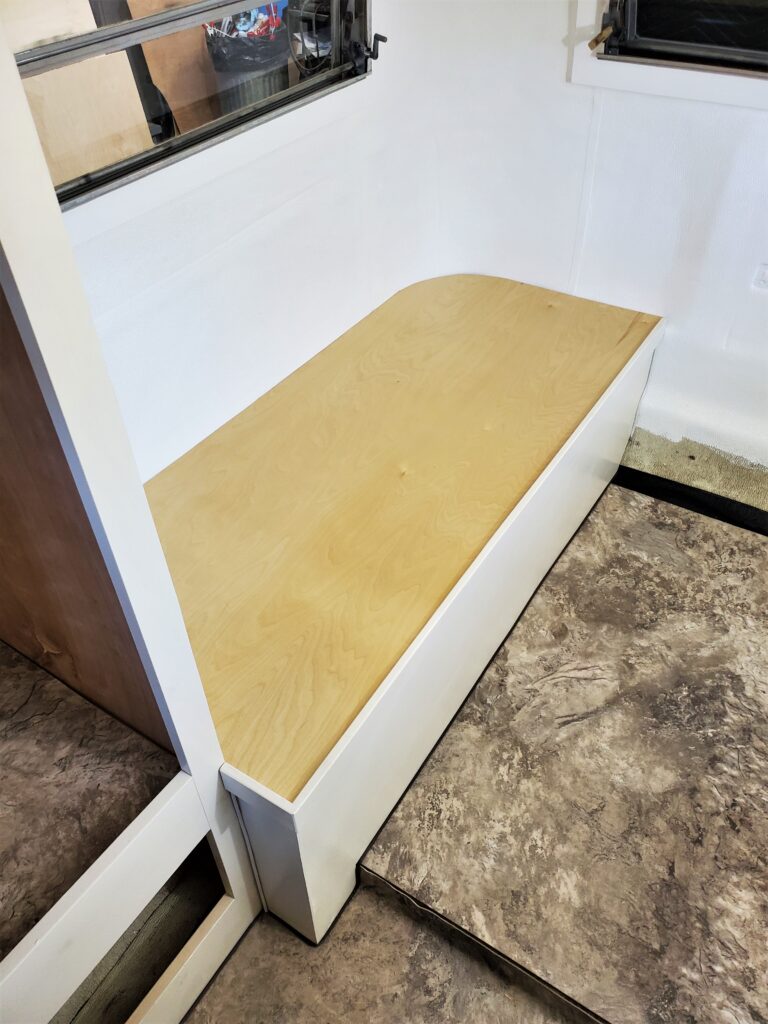
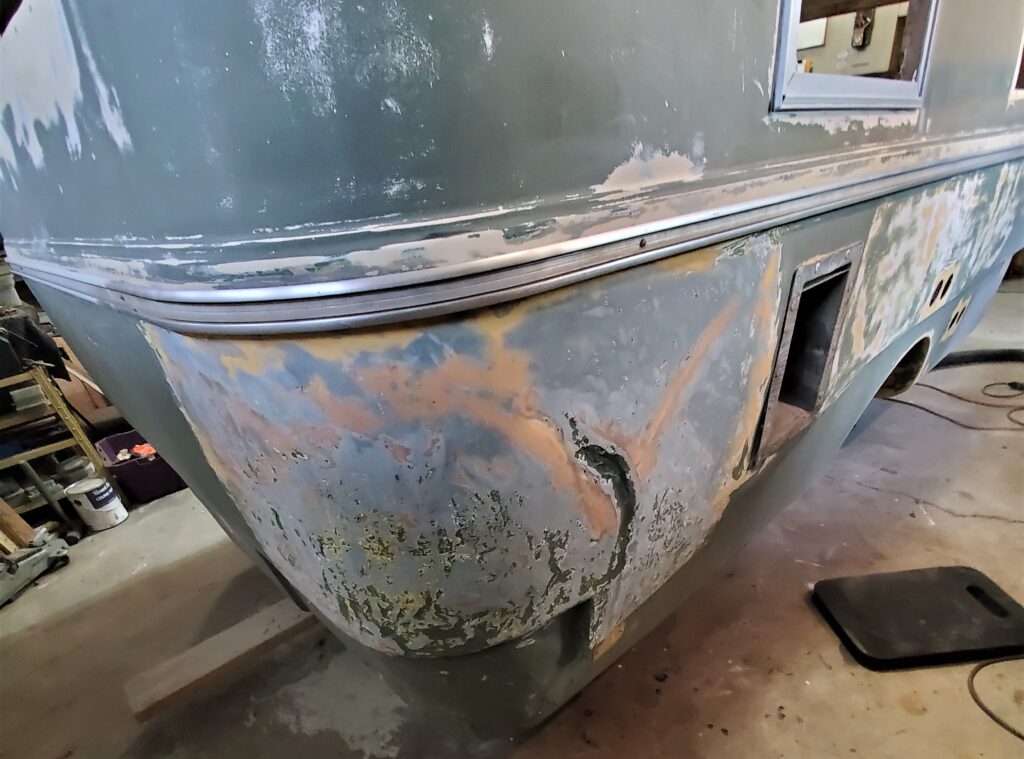
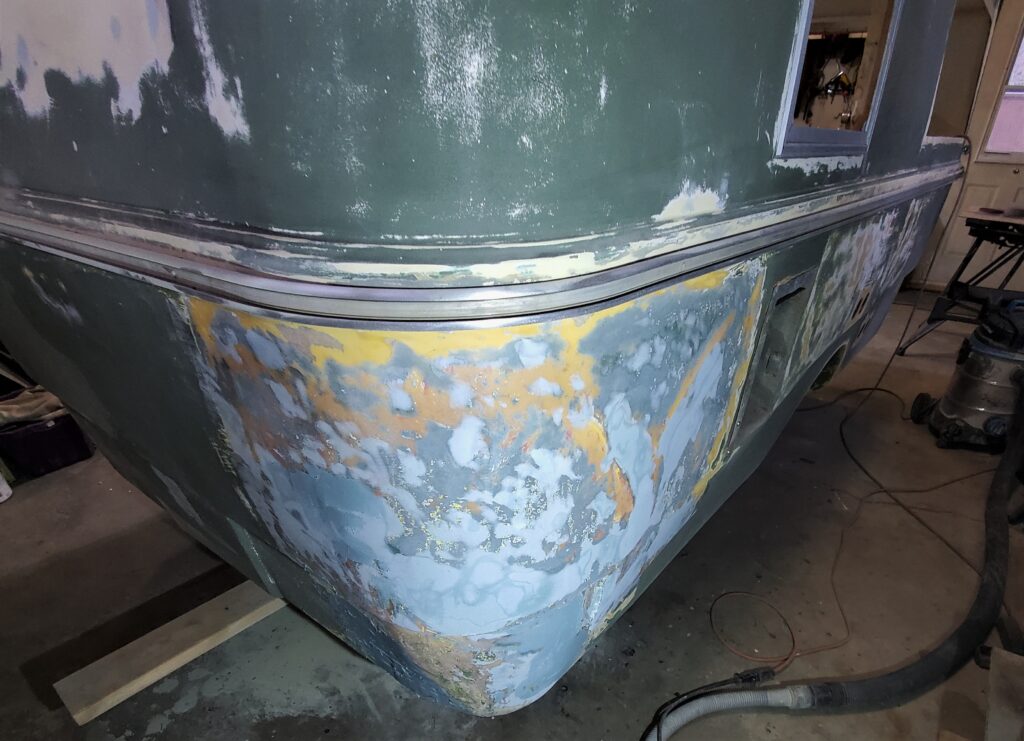
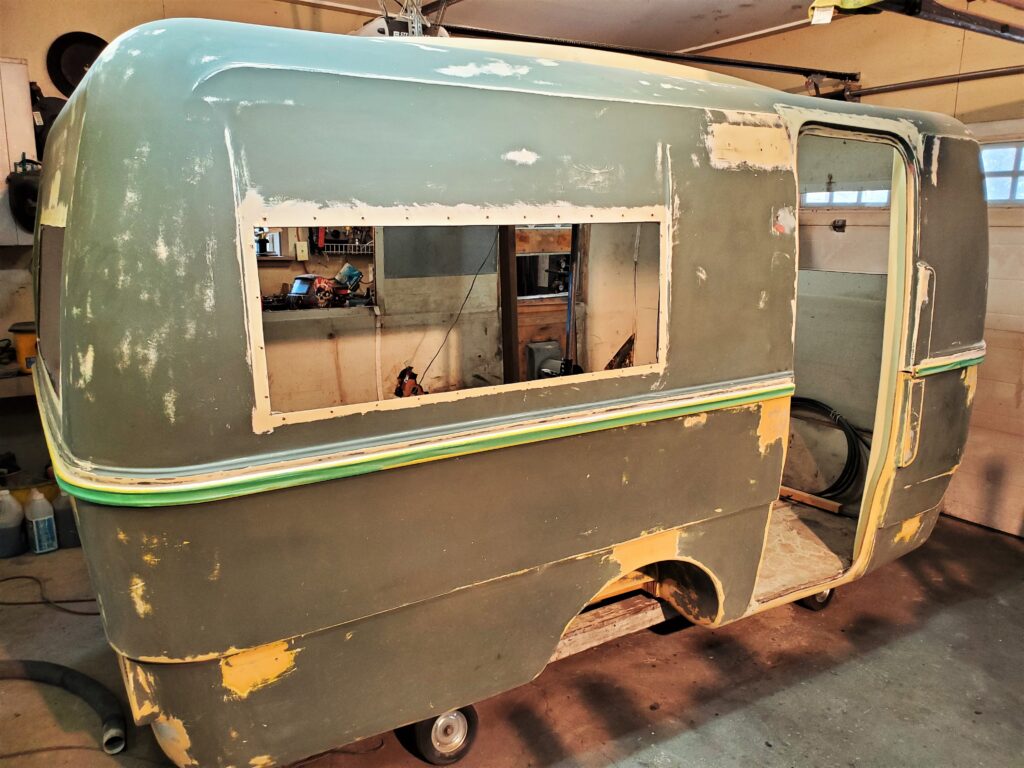
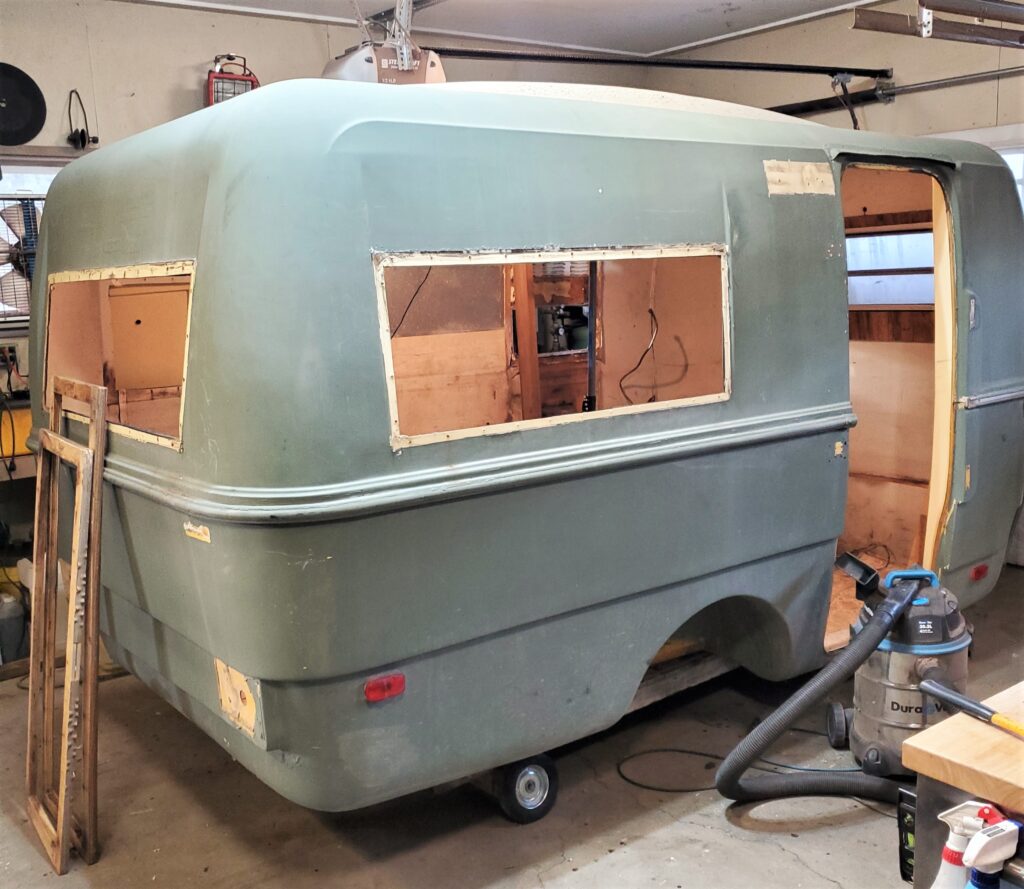
That’s a good size, should hold all the goodies I want. Time to clean up the frame.. Plus I’m doing some of the body too. Here’s the latest Video..
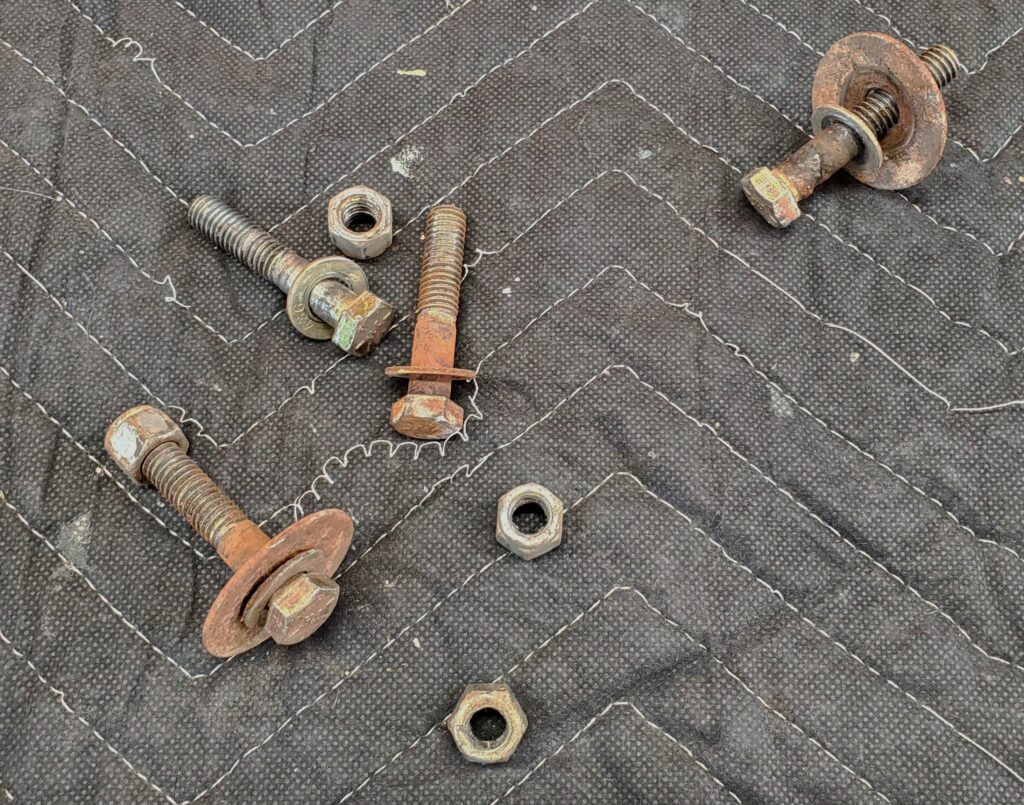
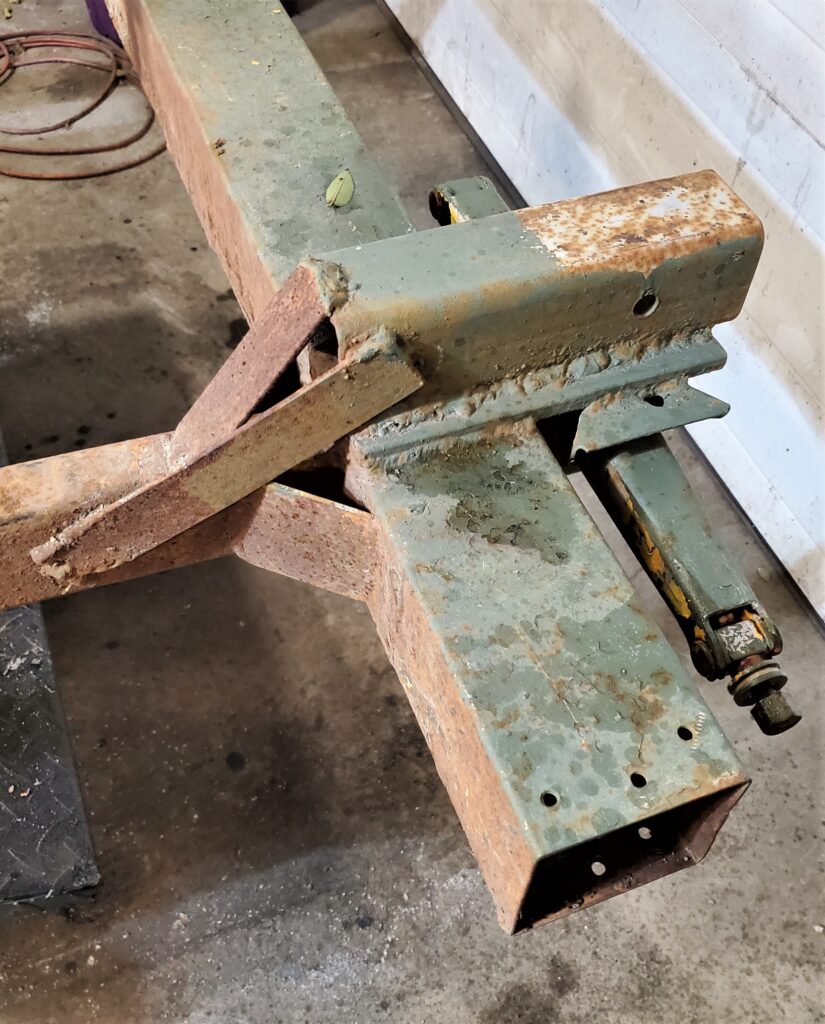
Picking up the axle tomorrow. Just need a rear bumper and I have all the bits for the frame. Removing the old hitch was not fun.. Welded very good. Hopefully I can do as well.. I will be bolting it on as extra precaution.. I like a good back up.
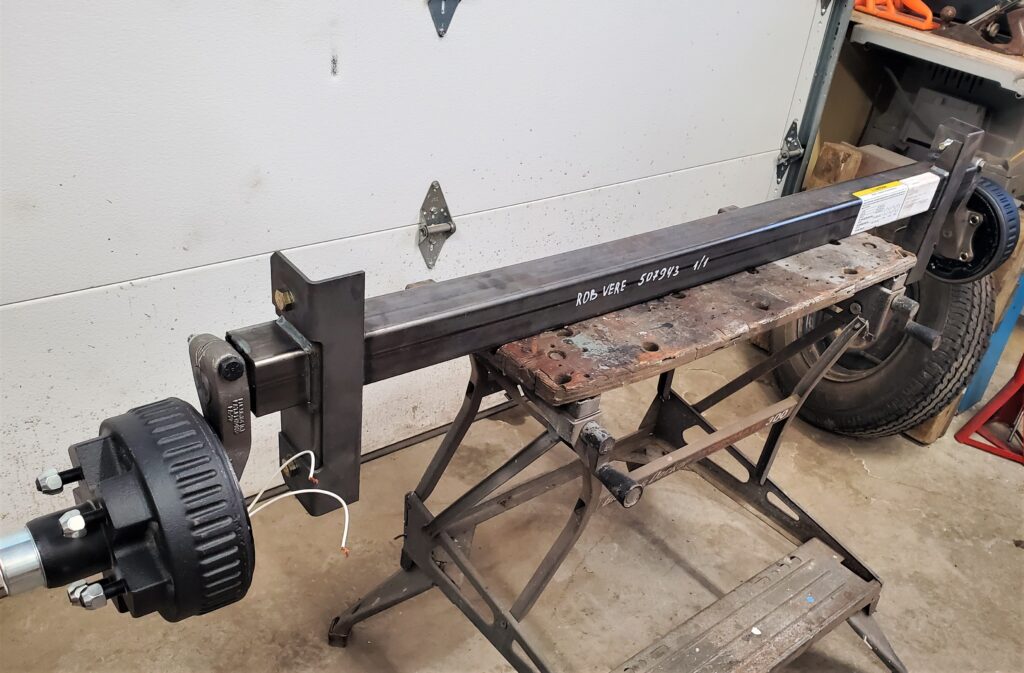
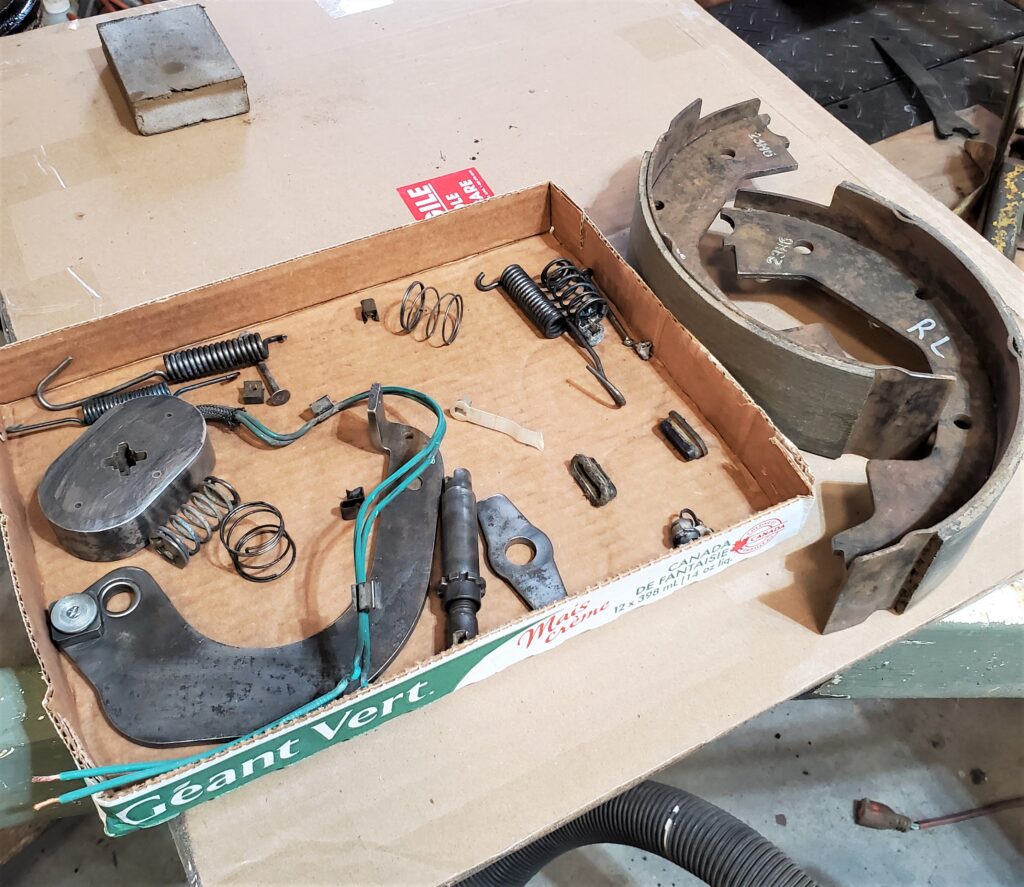
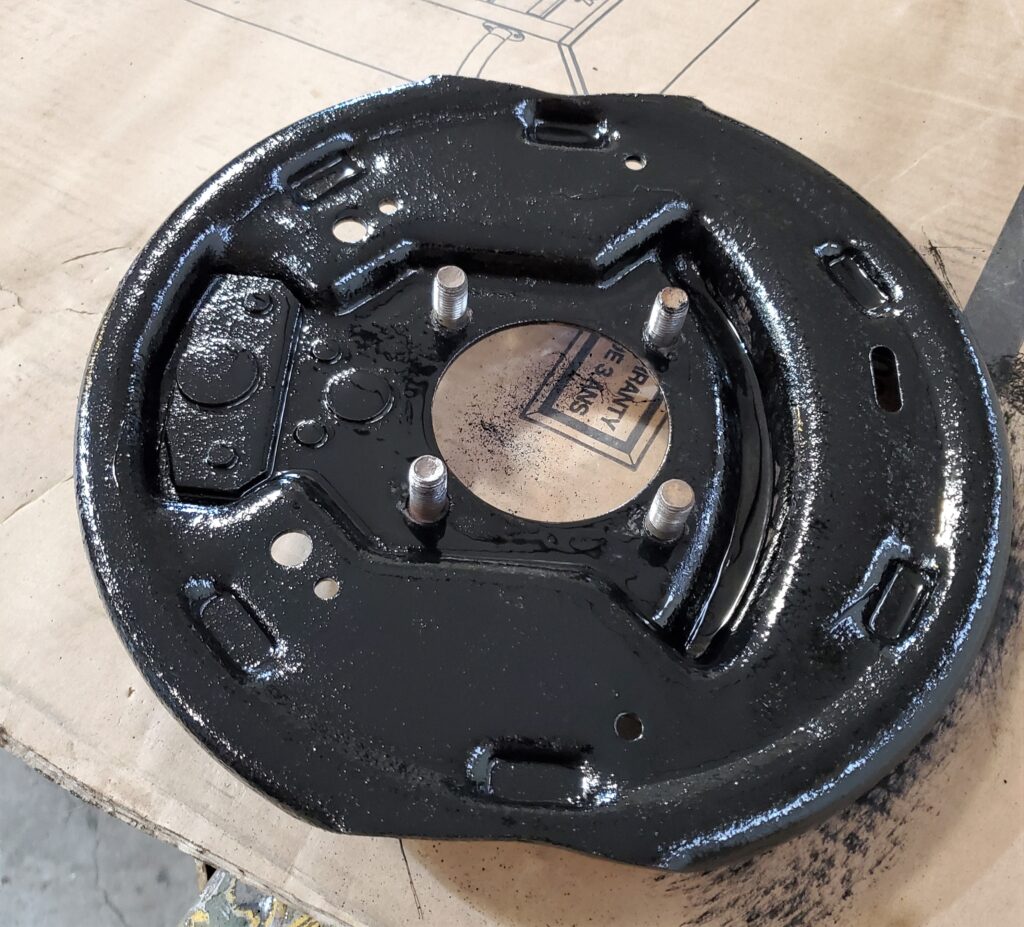
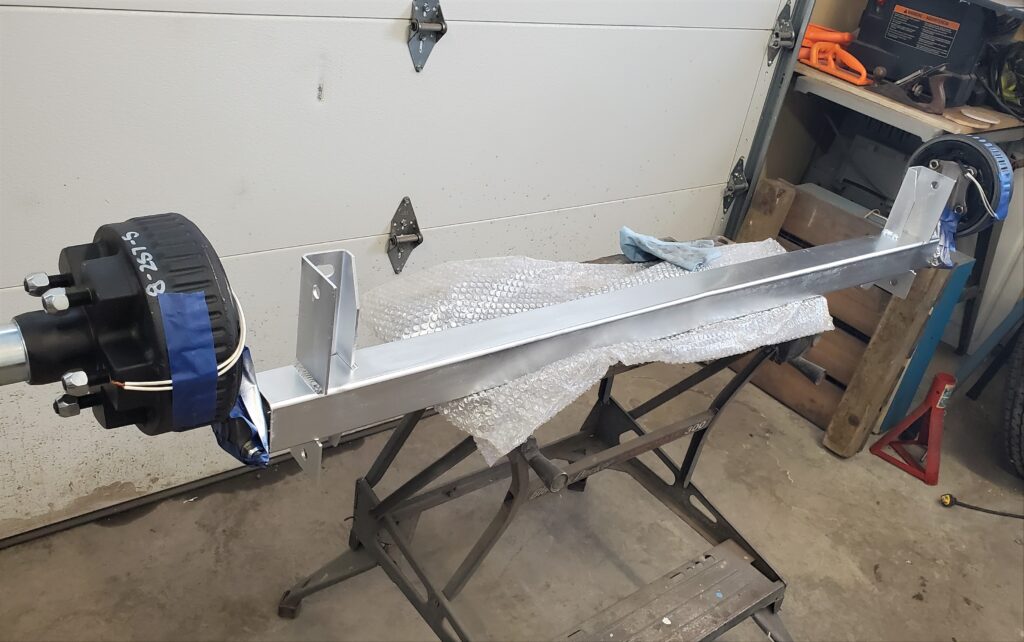
It’s here ! new custom made axle. adjustable ride height, EZE lube bearings and new E brakes. I also got a six foot piece of square tube for the bumper. Now I have every thing needed to finish the frame. A good place to start is to paint the new axle. It was just bare steel and would rust quickly.
Next up the coupler / hitch… whatever you want to call it. I’m bolting it and welding it .. That should be double good. The one big nut you see will also hold the safety chain.
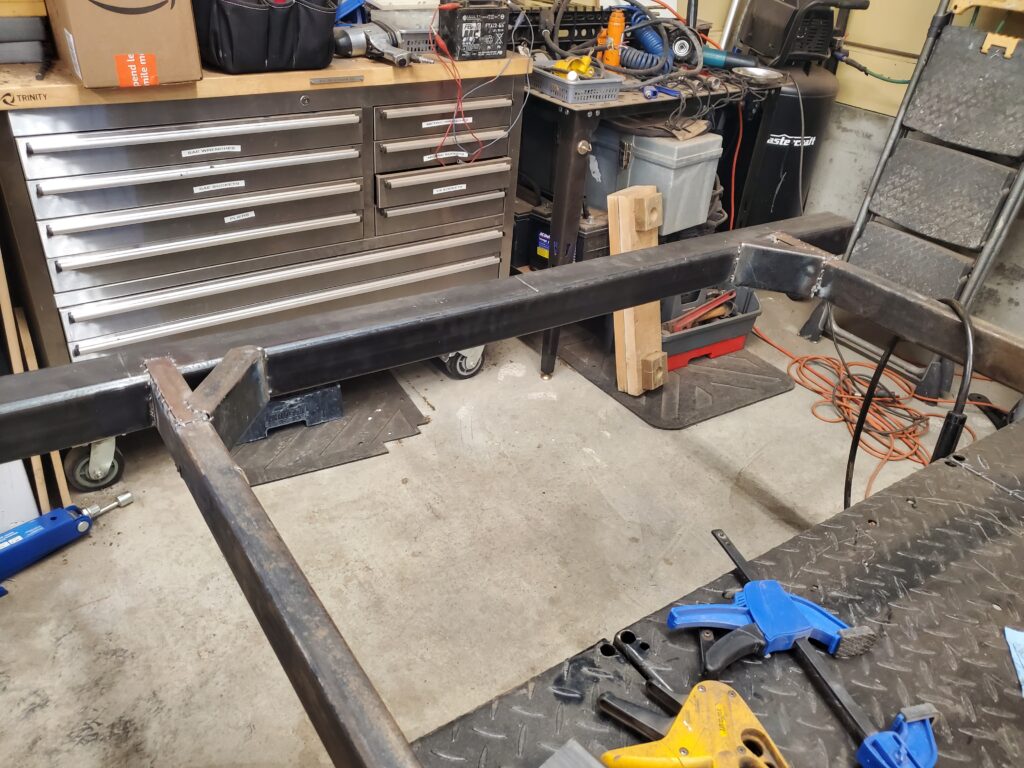
I got the new rear bumper tacked in place, with extra braces to keep things straight. I’ll finish up the welds tomorrow.
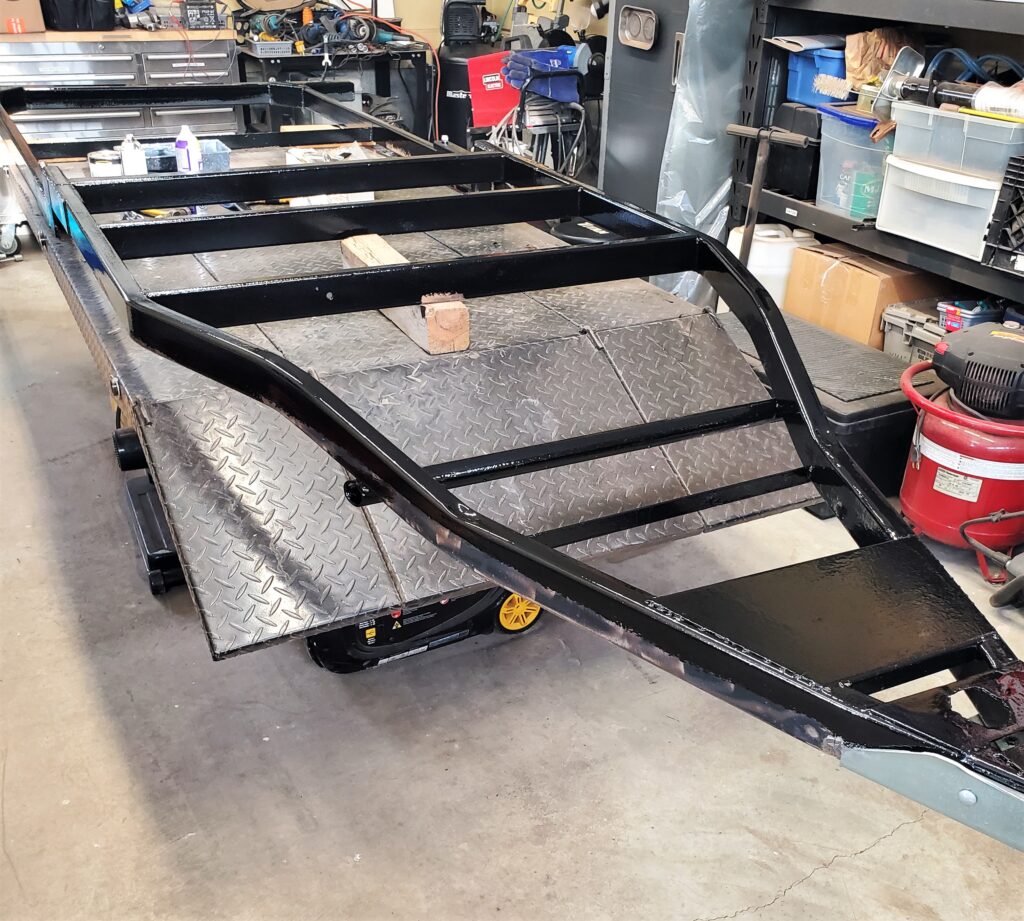
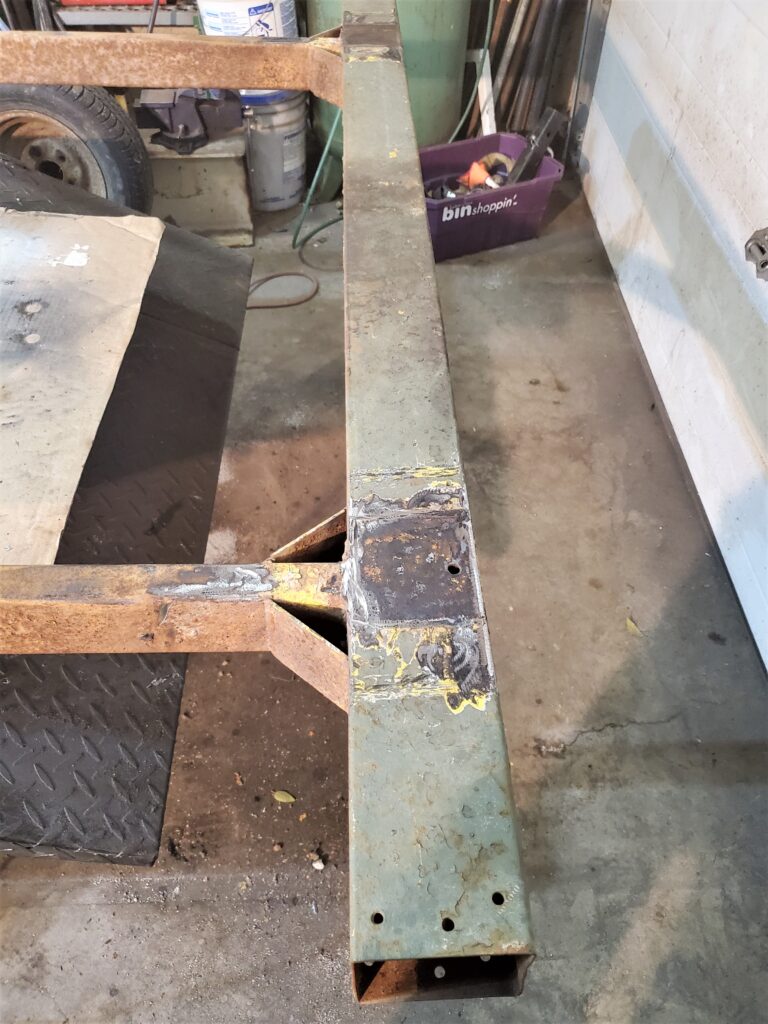
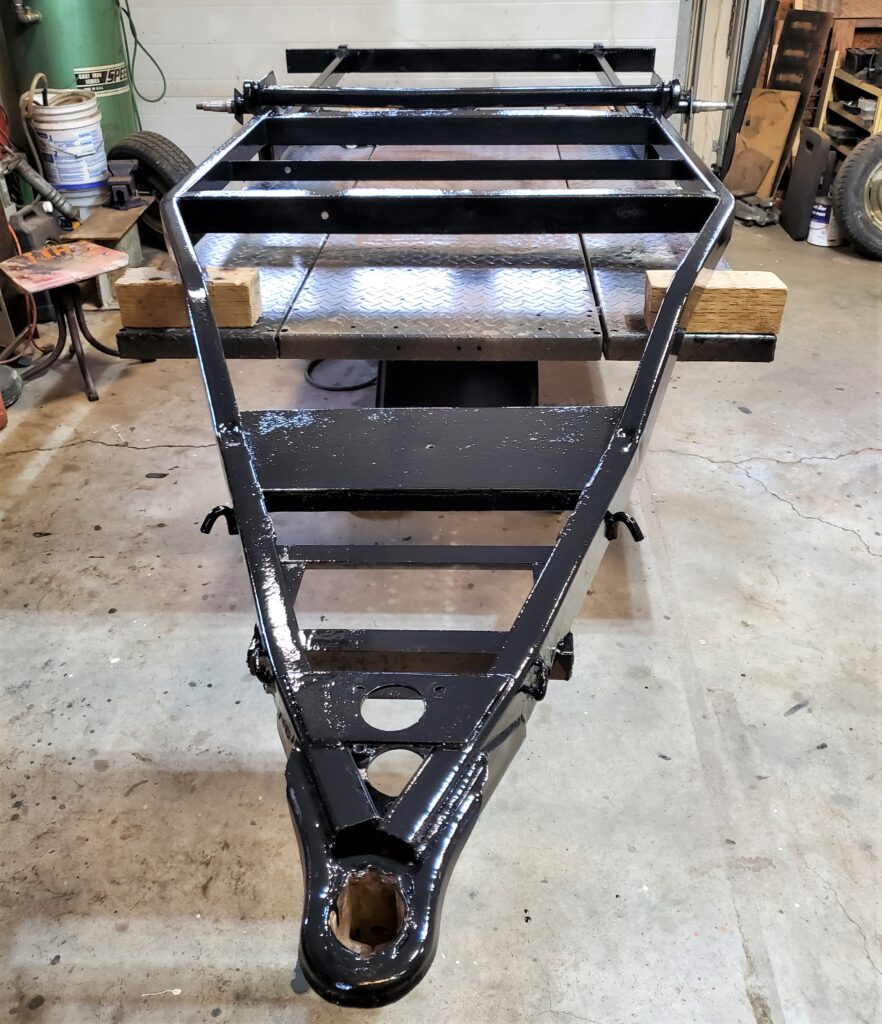
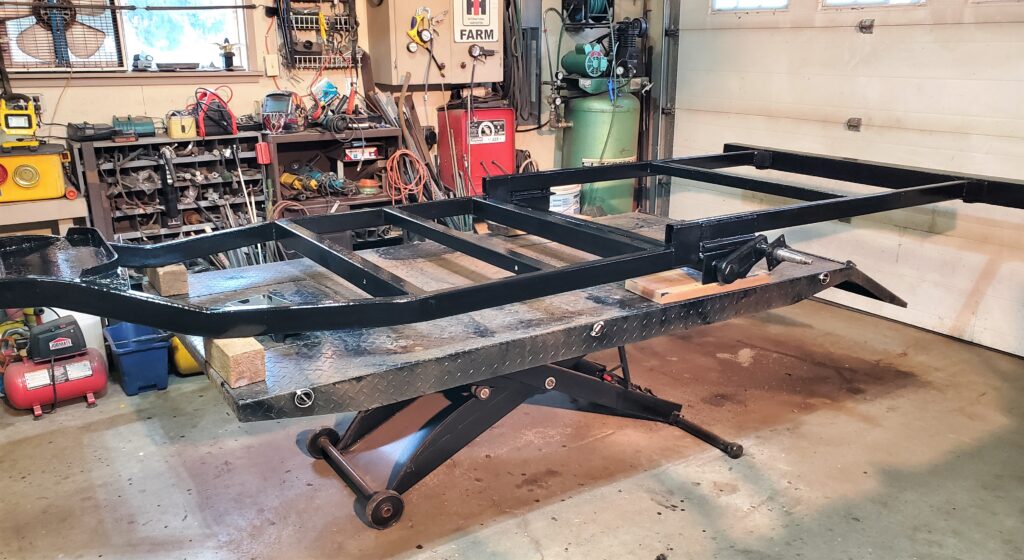
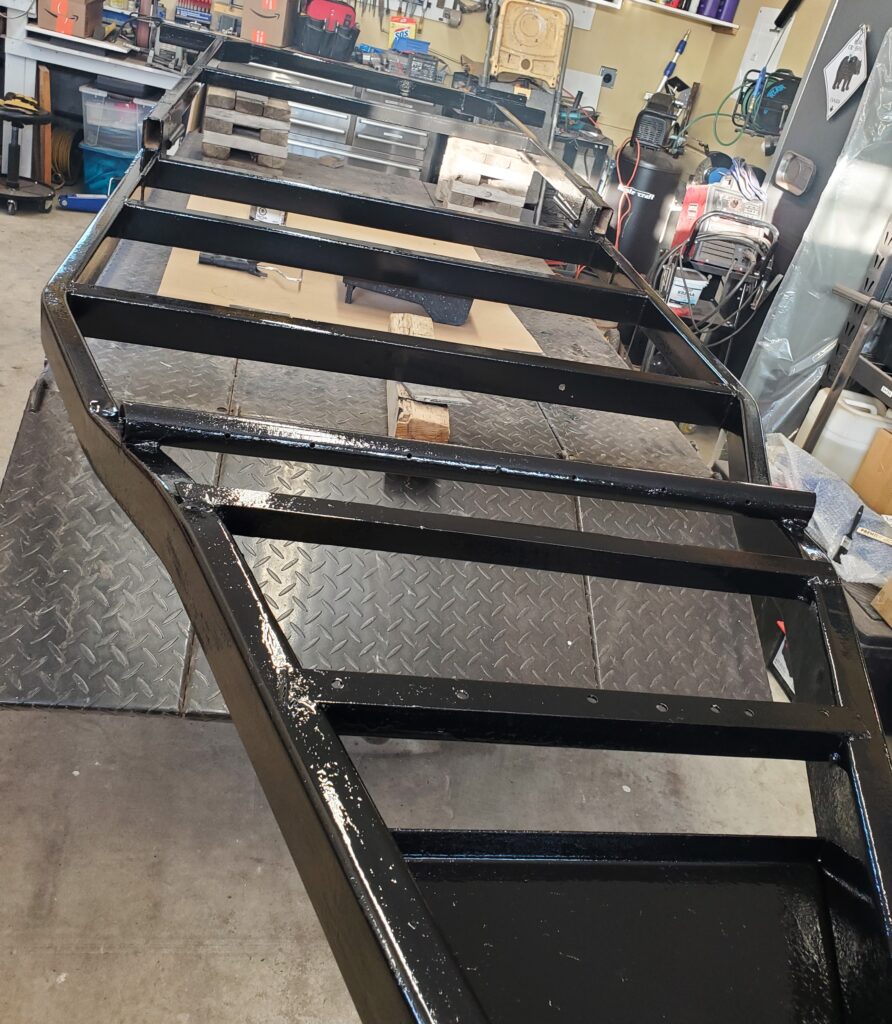
It’s tomorrow ! I finished up the dirty work and cleaned up everything. Got the bottom of the frame painted. And once it’s good and dry I flip it and finish up the top side.
The axle will go on too. Flipped the frame over, and finished up the last of the welding. And now with a fresh coat of paint it’s looking good.
All the modifications are done. Once the paint is cured good I’ll get the axle bolted back in place. It’s great that I could use that coupler I had stashed in a box of hitches and stuff.
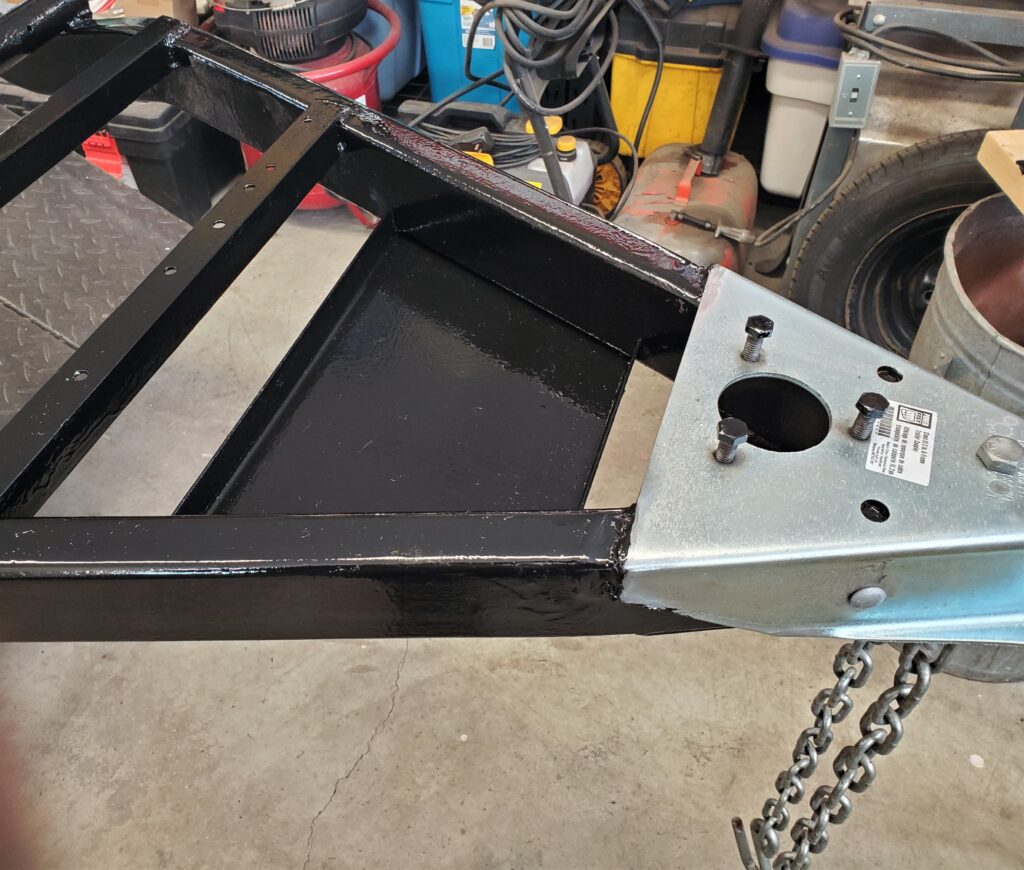
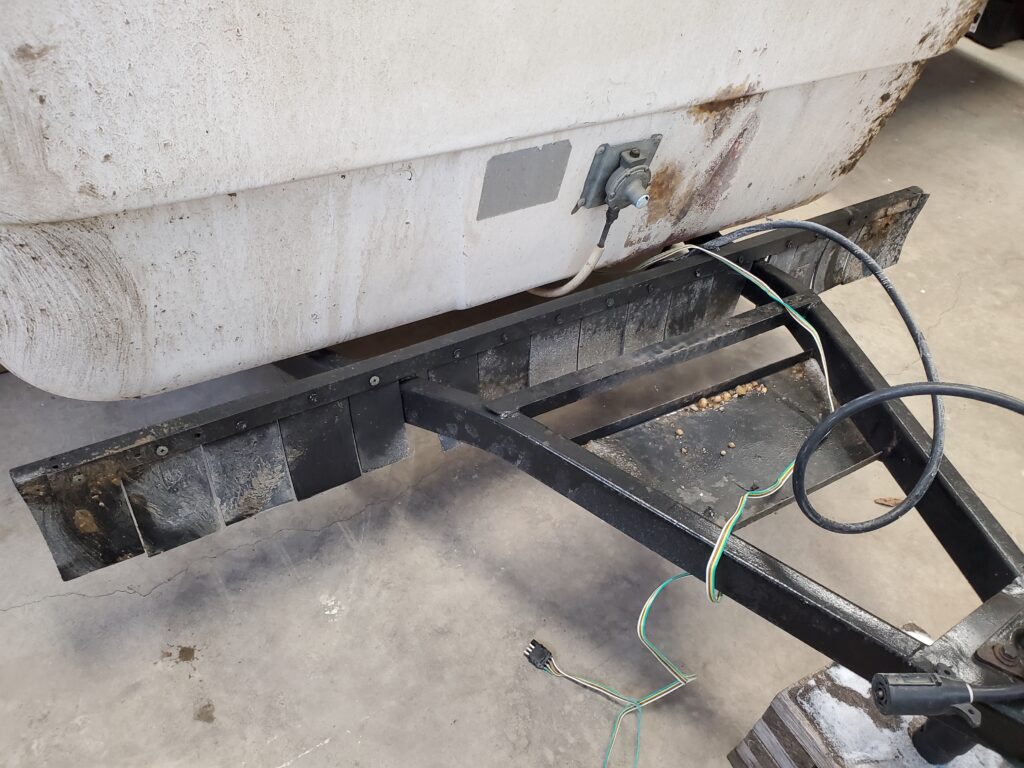
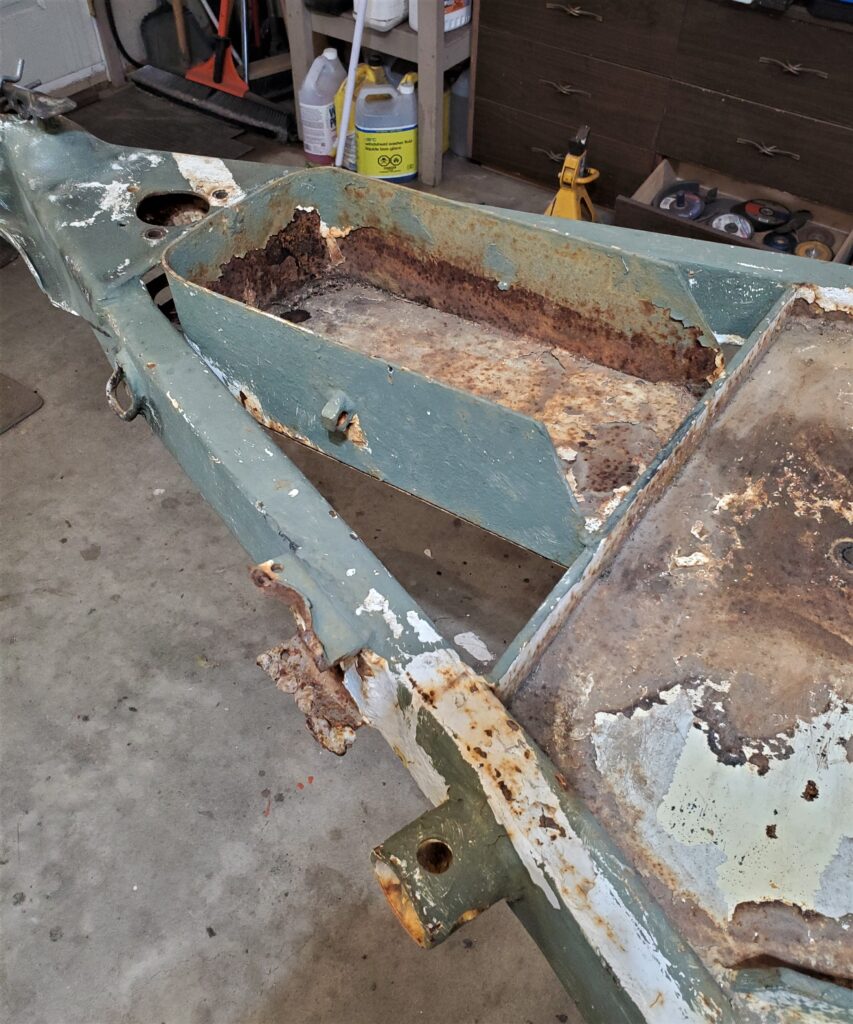
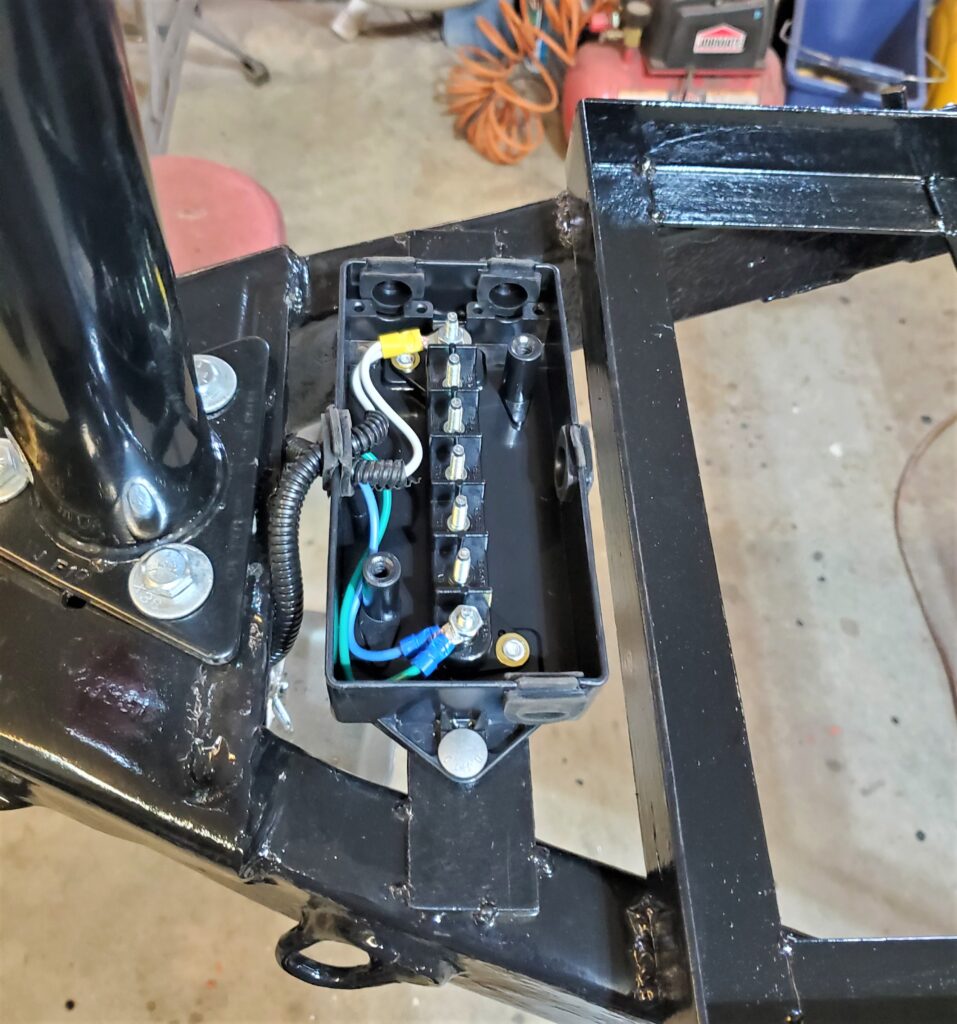
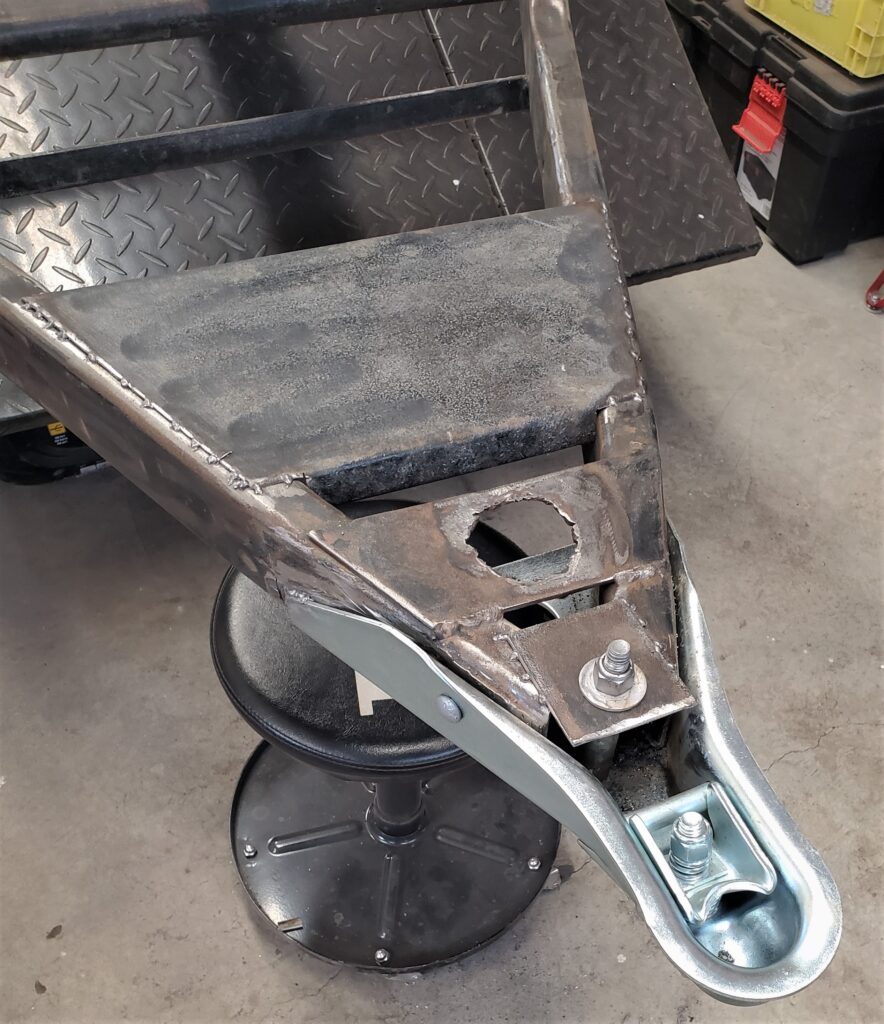
A newer safety chain is installed now, and the bolts are ready for the new jack. That tray could hold a propane tank, Or the battery. I just need room for my 7 way junction box.
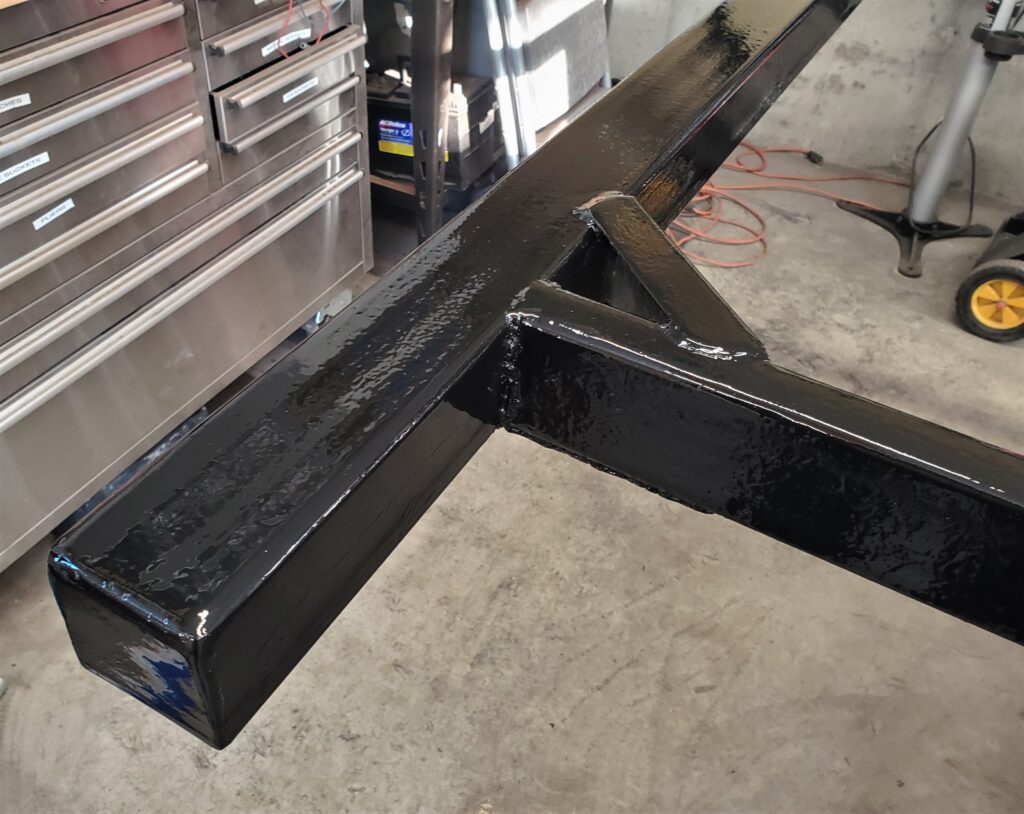
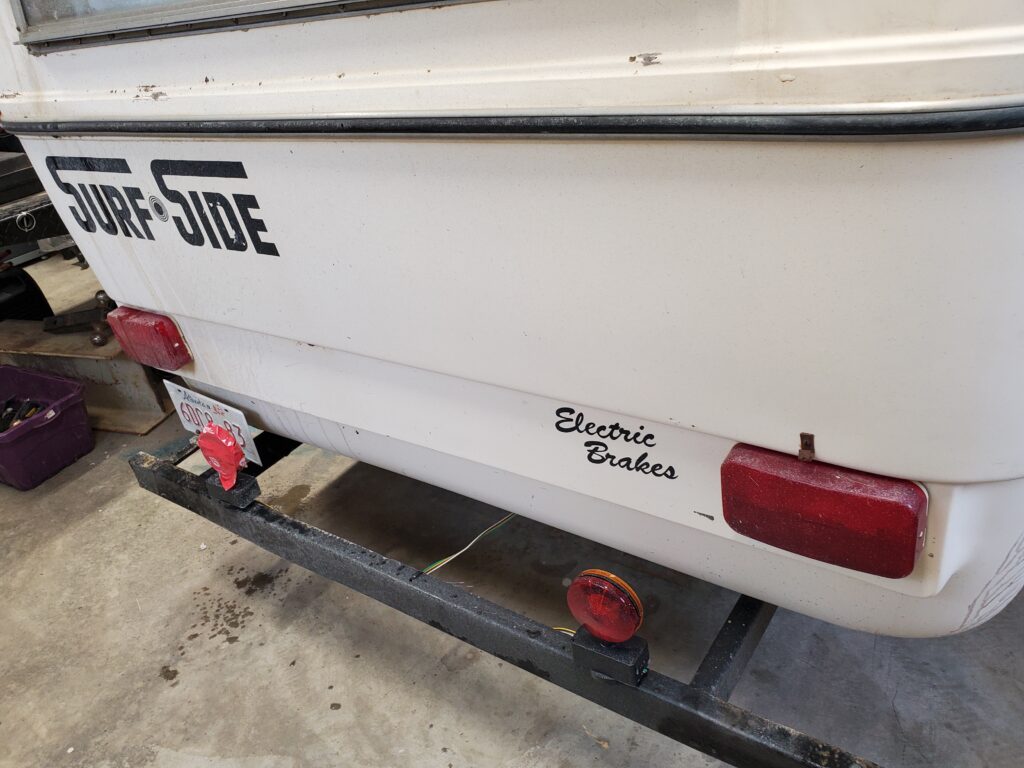
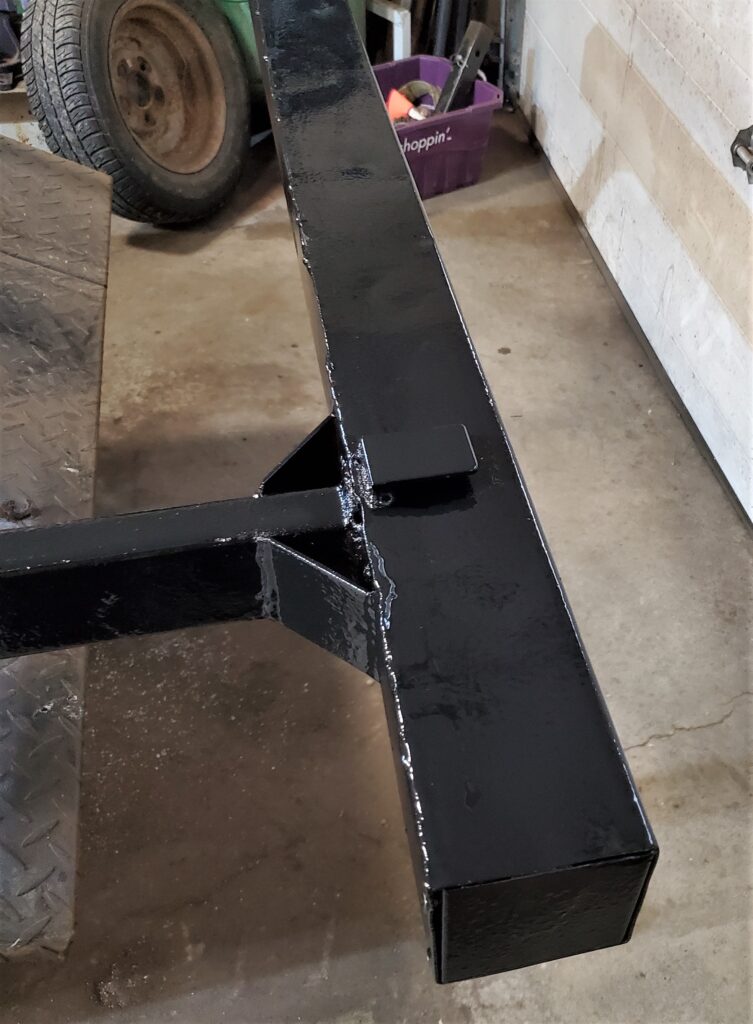
The 3 x 3 bumper turned out good.. even closed in the ends. This is thicker metal than the rest of the frame… so it should hold the spare tire without any problems. Possibility survive a bump or two.
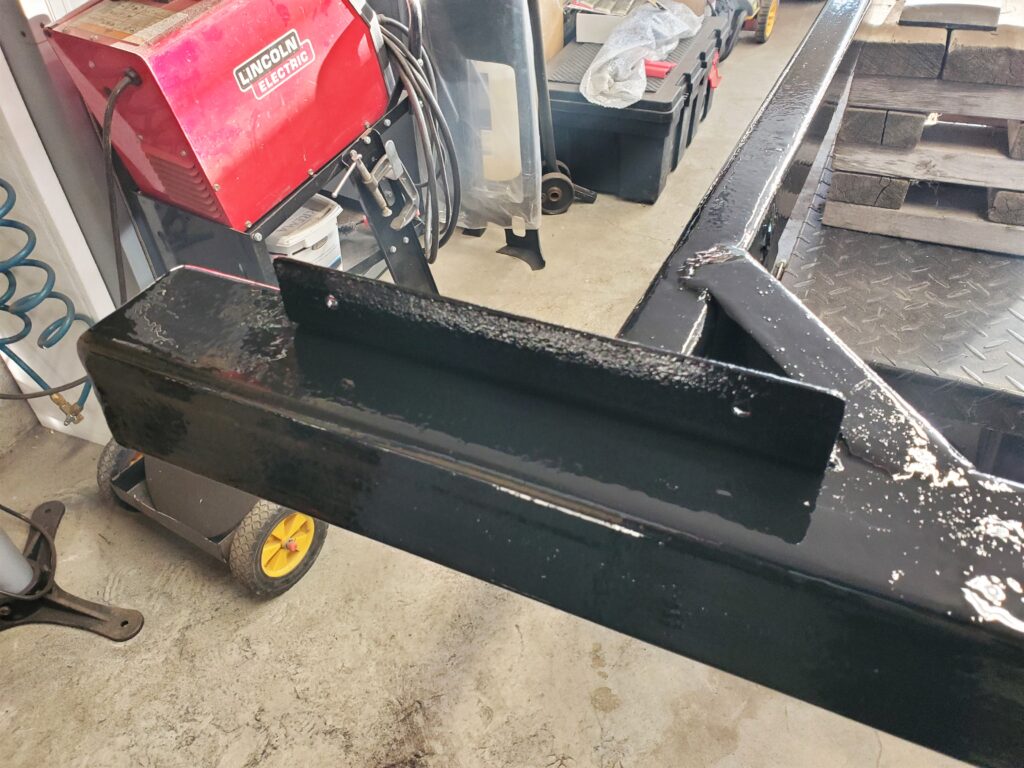
I even made a new License plate holder. And an update video.
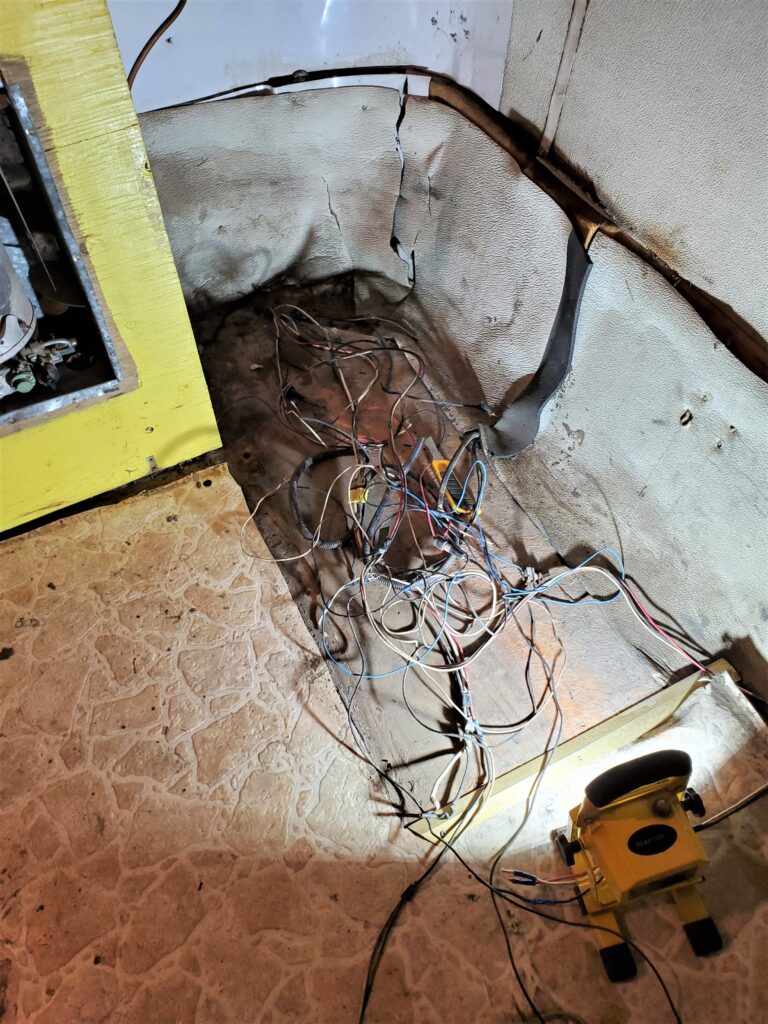
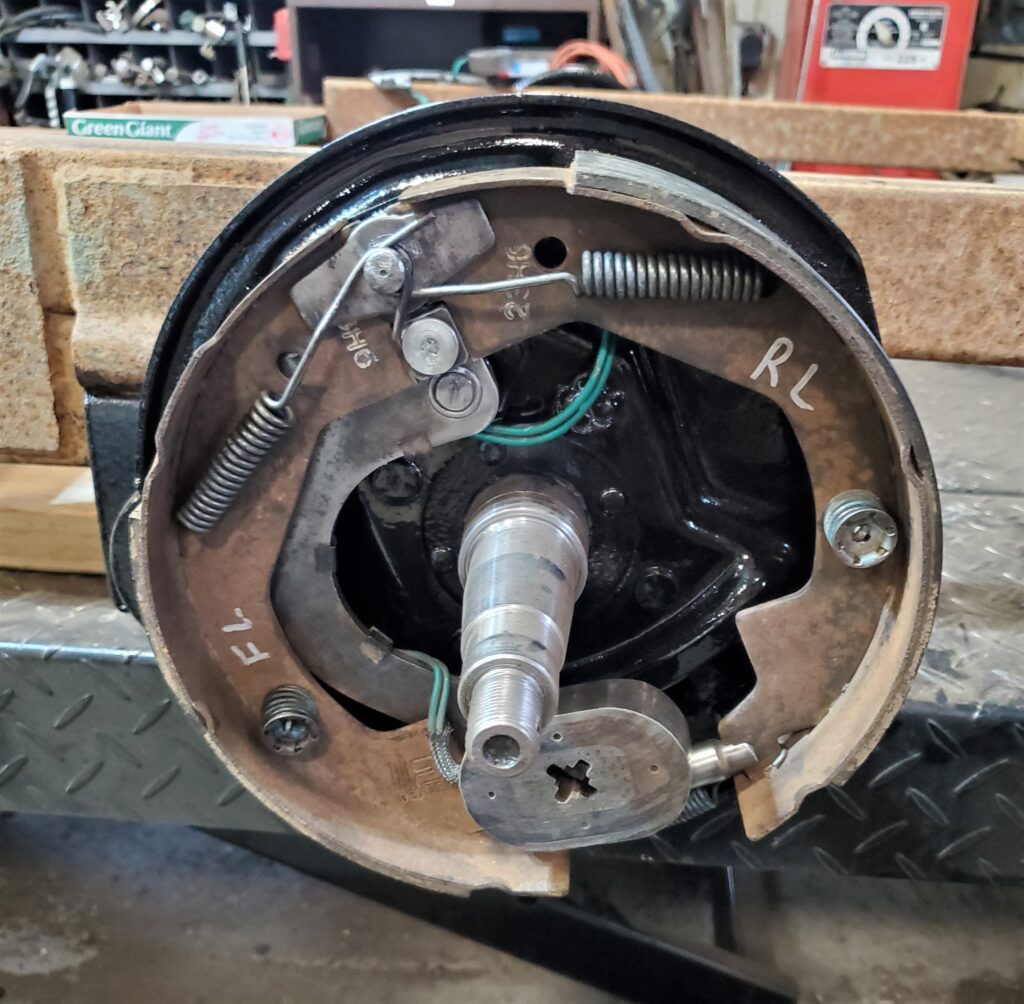
One thing this video shows is the new axle installed and the brake wires routed to the front. It’s always the best part when you are putting things back together. Once the wheels and the jack are back on the frame is ready to go back under the trailer.
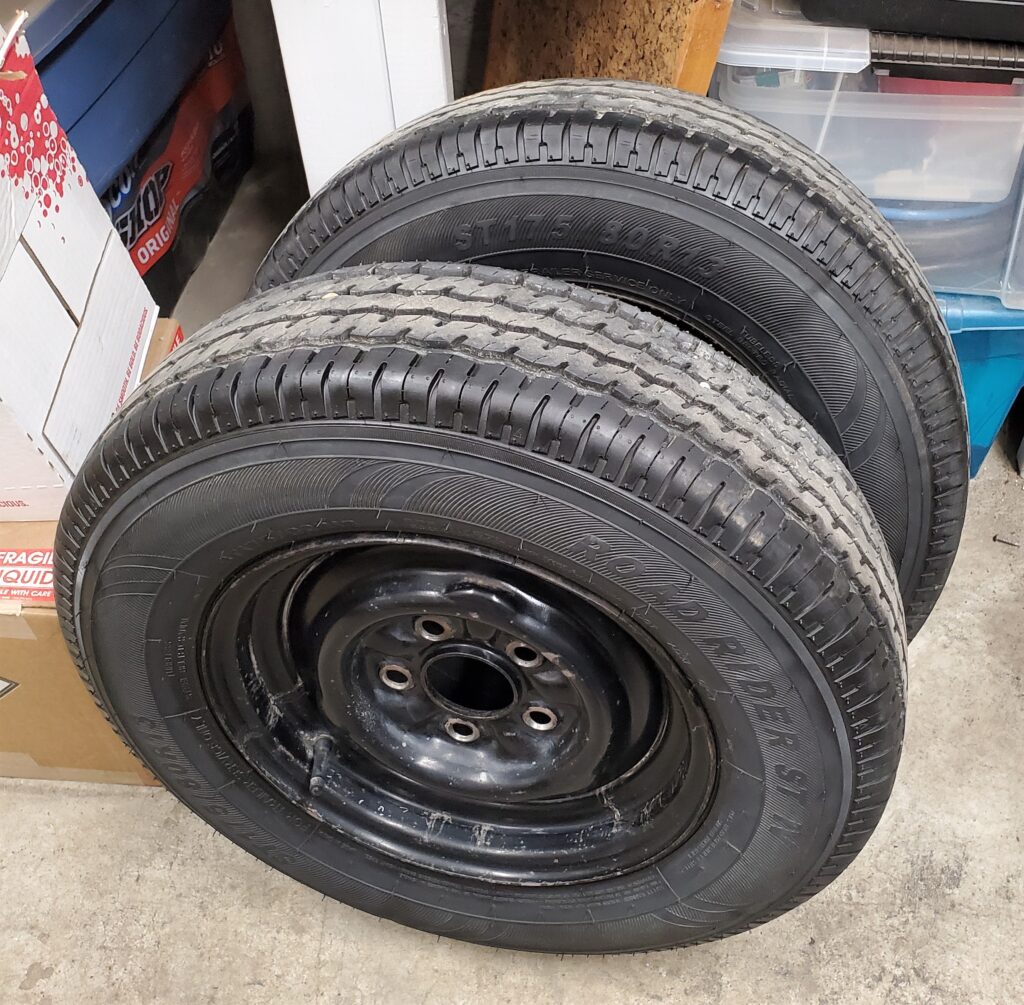
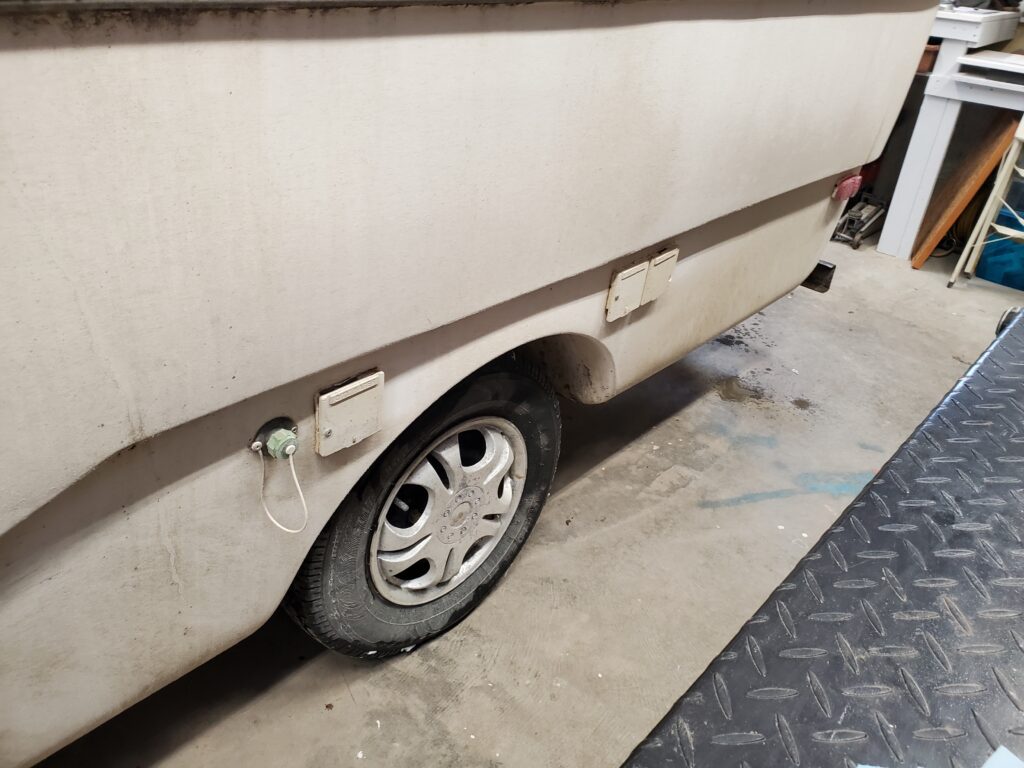
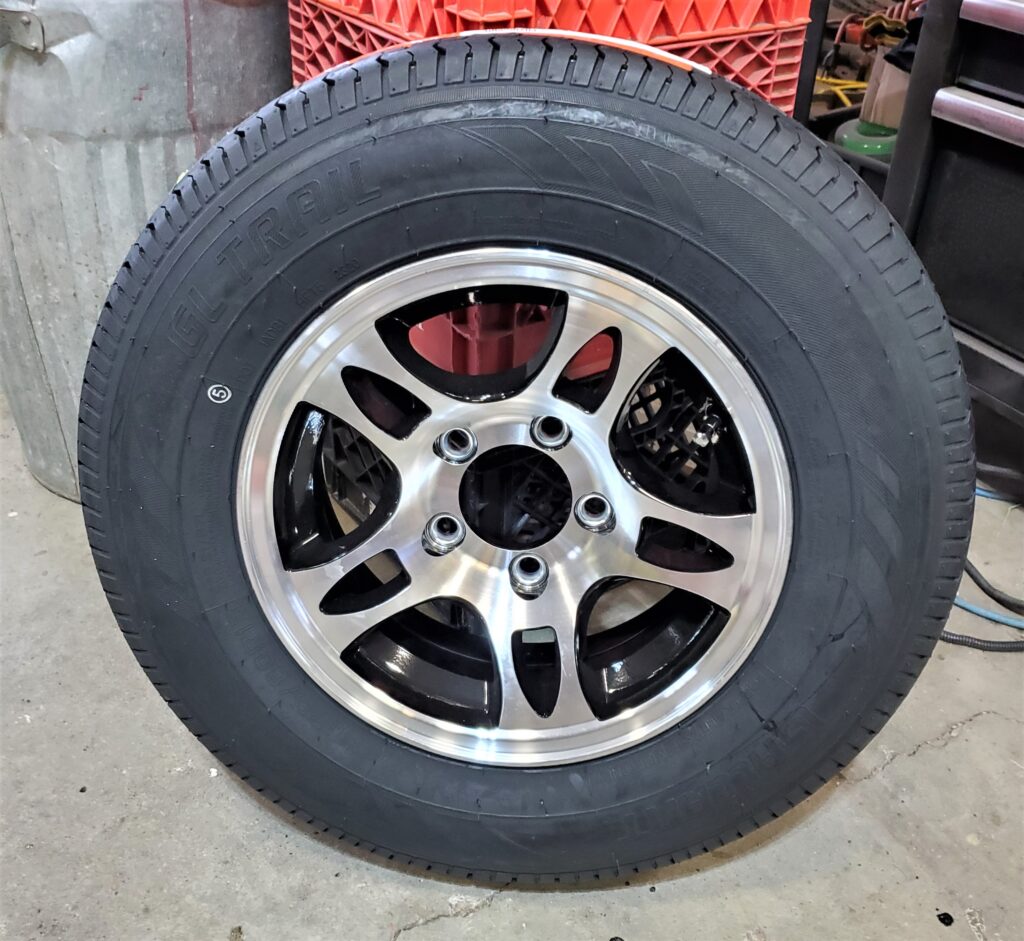
Just a quick photo of the cleaned up tires. I believe these are only a year old. No Cracking , No Air loss, and they are radial. good to go!
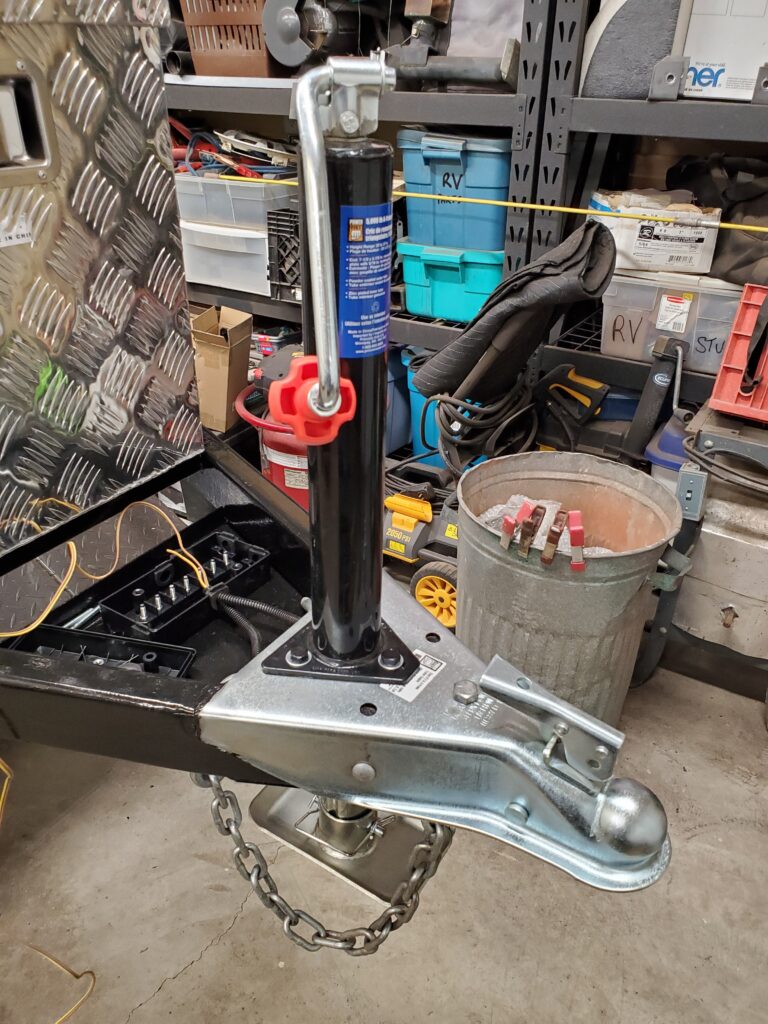
Also a quick photo of the new jack installed. I like these because the handle folds out of the way. Now it’s time for work on the body.. First there’s some work to do to the under side. That will be in a new post