Sept 14 2017
This Post will have 7 pages:
-
1 Introduction You are here
-
2 The Frame
-
3 The Body
-
4 Painting
-
5 Exterior Re-Assembly
-
6 The Cabinets
Introduction:
This summer a few of us were “talking projects”.. and what was worth the time and money. The boler trailer always topped the list. I said I should just do RV’s .. because I have lots of parts and a resource for new parts. Well I bought one.. cheap enough to spend some bucks on it. First I need to get the LeSharo RV running before starting on the boler. And then I park it till spring. but let’s get the blog going anyway.
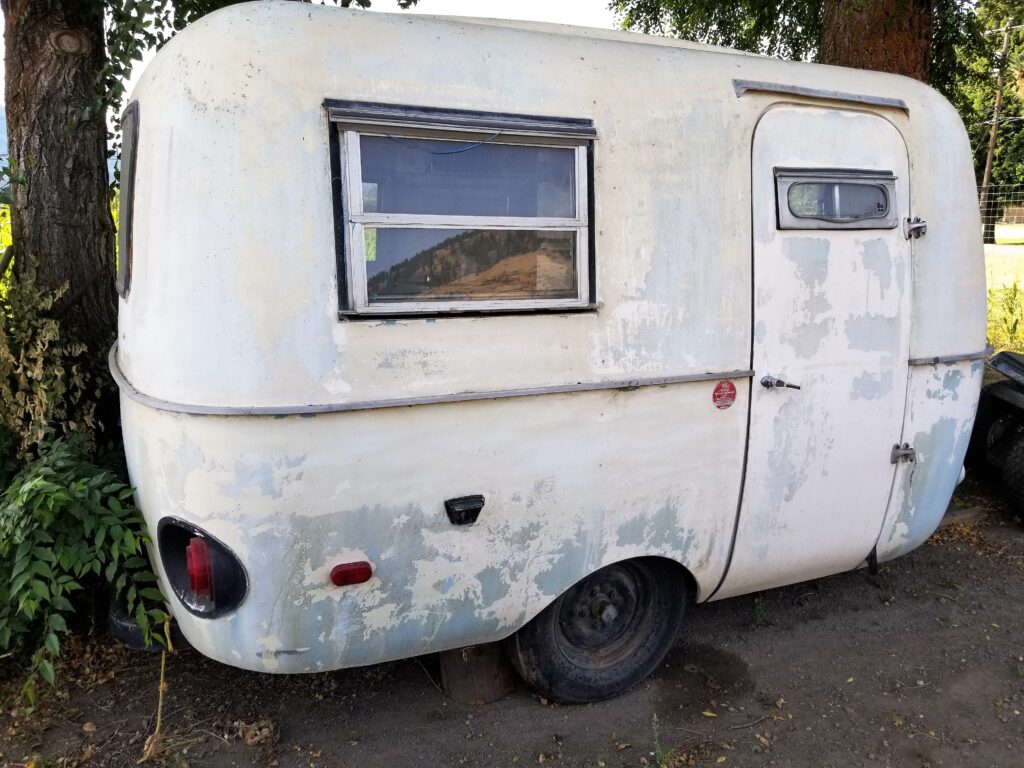
And this is mine.. a bit of a mess. been stored for many many years. But it’s mostly there. It will likely need work on the frame first.. and then the body has way too many holes.. I plan to strip it down to the shell and start over.. The list of things to do is long.. however this trailer is still in good condition for it’s year. And so we begin.. with a video..
There’s a few things I forgot in the video.. like new suspension as well as wheels.. So it’s going to be like pulling a new trailer. Plus this is like a blank slate for colors and décor. We are already talking about those things.. And I’m thinking of ways to incorporate some of the parts I have. Also how to bring it up to date with things like LED lighting, power monitoring and better fabrics. All while trying to keep a bit of “nostalgic” ness to it. But the frame on these is always been the weak part. So if it’s never been replaced then you have to start there.
Frame: (problems under there)
How fortunate that there are lots of folks who have built new frames ..and shared their designs on the net. So I’m taking their ideas… and my ideas, and making a whole new frame. I’ll be using the main part of the Colman tent trailer frame that I was about to use for a new utility trailer.
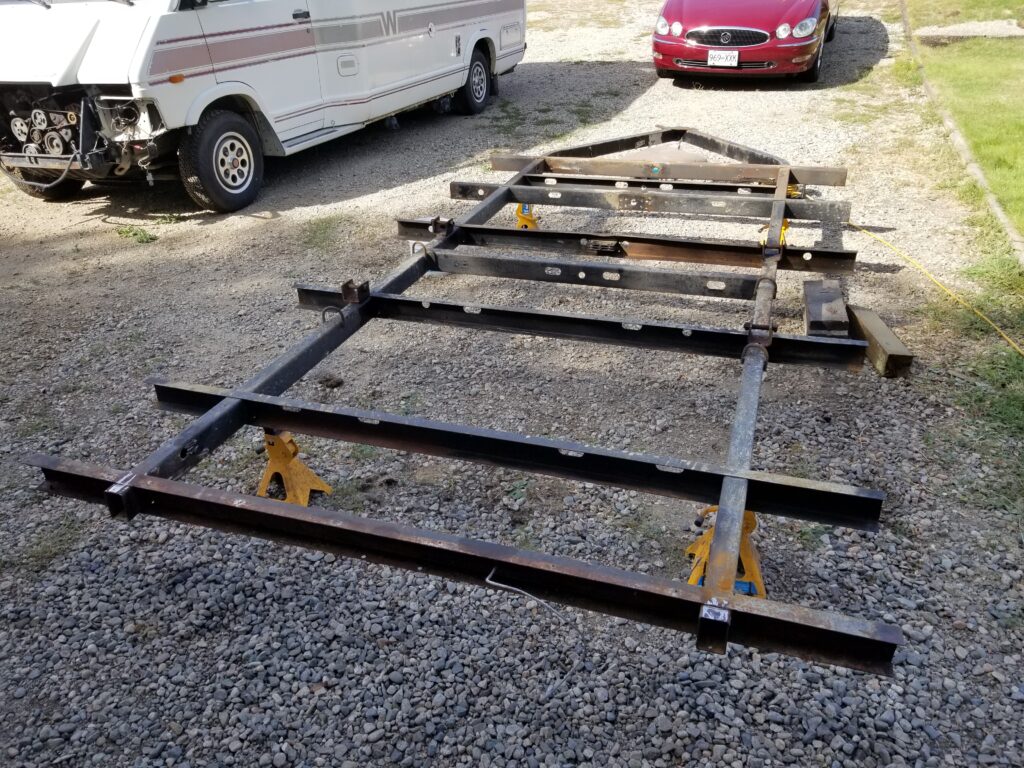
This ( above photo) is a beefier frame 2″ x 3″ box steel compared to the factory boler frame 1-1/2″ x 2-1/2″ box steel. As well the bigger frame is bent not cut and welded to the angle for the hitch. I plan to add a third piece in the middle and have the hitch mounted to that.
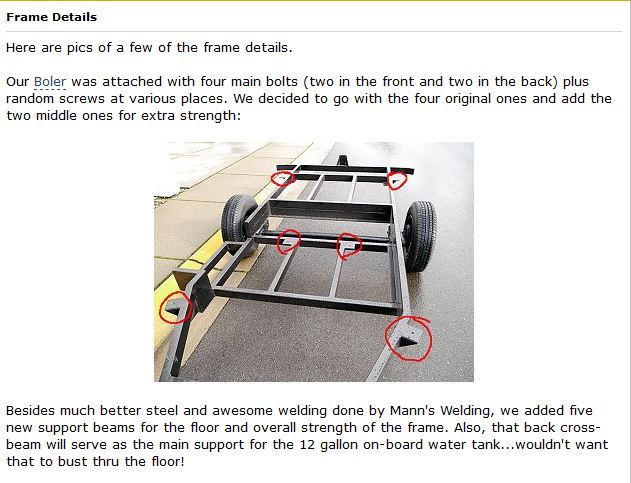
I like this frame, mostly the body mounts. But I will add a few more pieces.. Adding a little weight here will not matter.. just means no problems down the road. The original boler design was to have a light frame and use the combination of a fiberglass / plywood sandwich floor to ADD strength to the frame. So they both need to be in good condition to work. Over time things would sag.. and weaken. And that’s the case with the frame under there now.
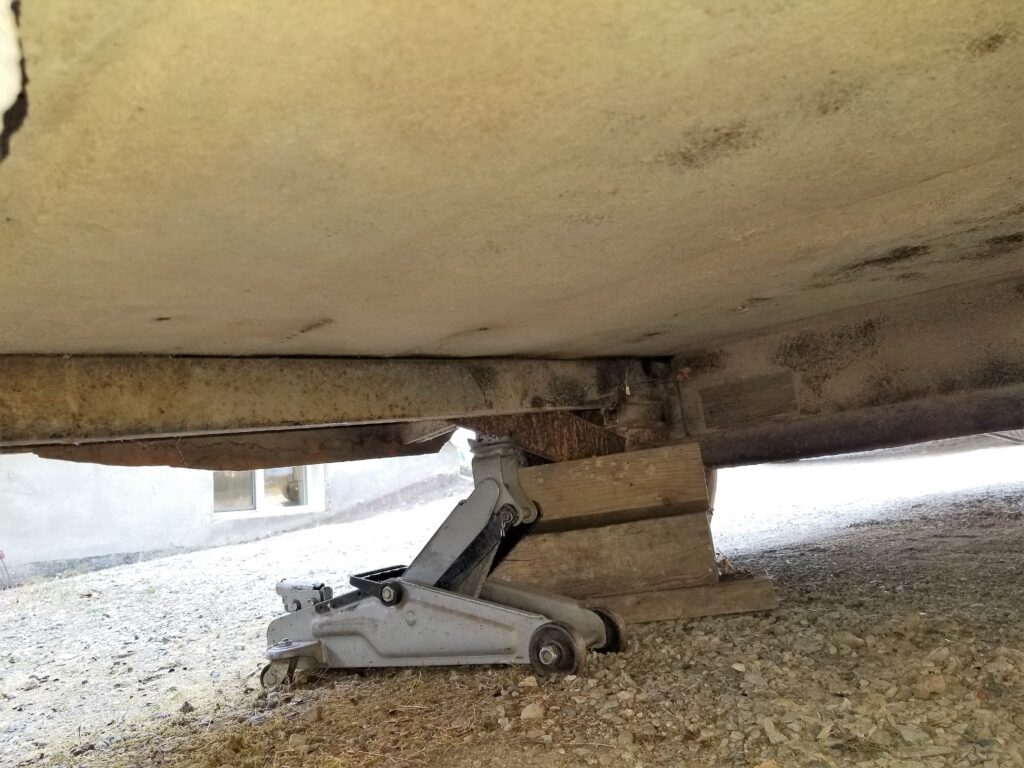
Yes I crawled under to see what’s up and shoot some photos. Above is the rear floor. And sure enough the left side has sagged. Someone welded a angle brace … but that’s not a fix. I’m surprised to see no other framing … just the two little beams.
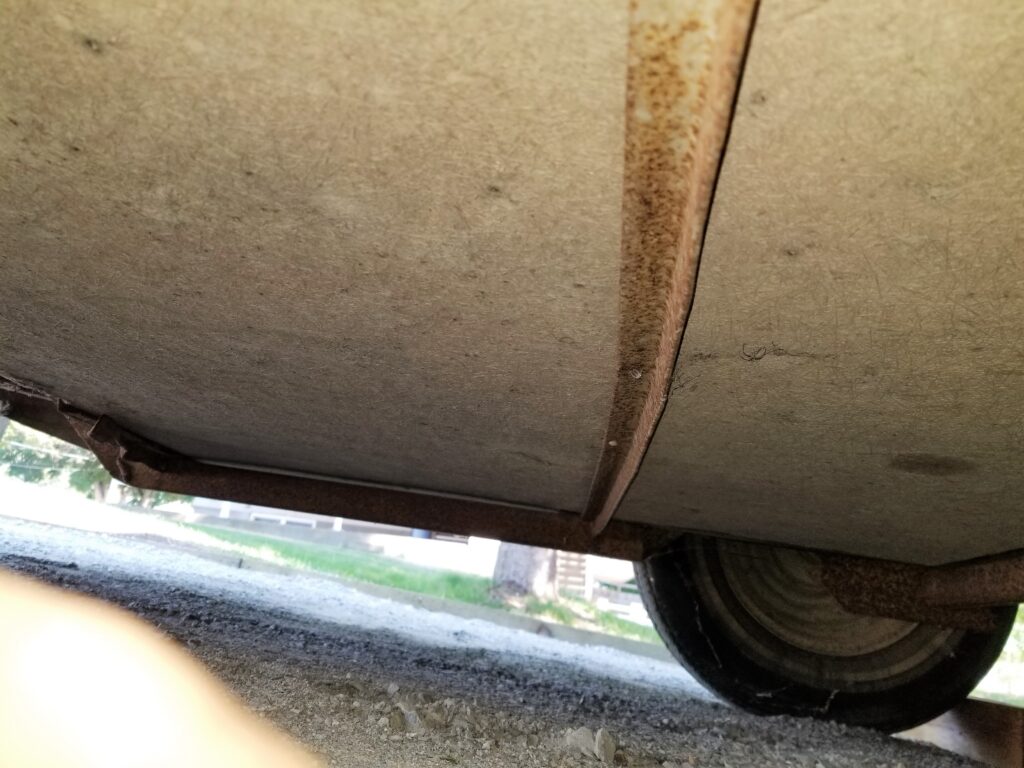
And here’s the middle floor . ( where you stand and walk ) again it seams like no support.. That plywood / fiberglass is very strong ! It does not flex when I walk on it. And I really doubt that rusty bent piece of angle is doing much.
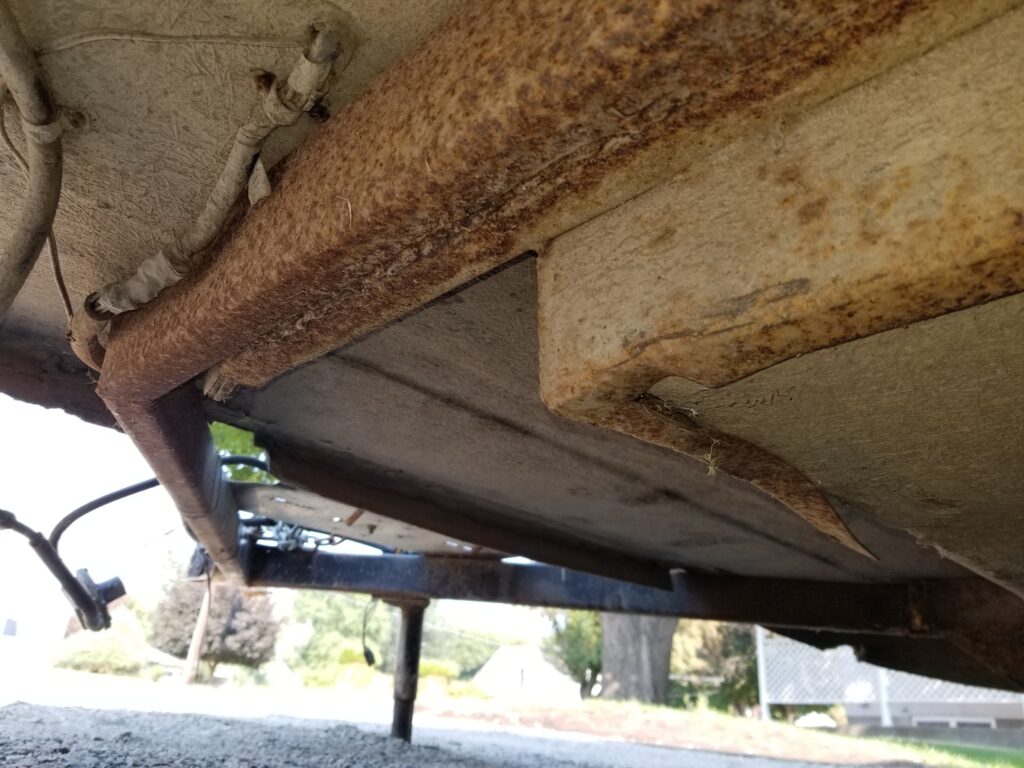
So looking toward the hitch it’s obvious that the frame was repaired. Long time ago judging by the rust. All these problems and the torsion suspension is very much wore out.. That’s why it came home on a trailer. I know I said I would not be starting this project for a while… but I’ve got a little spare time and just can’t leave it alone. I lifted the whole trailer off the ground.
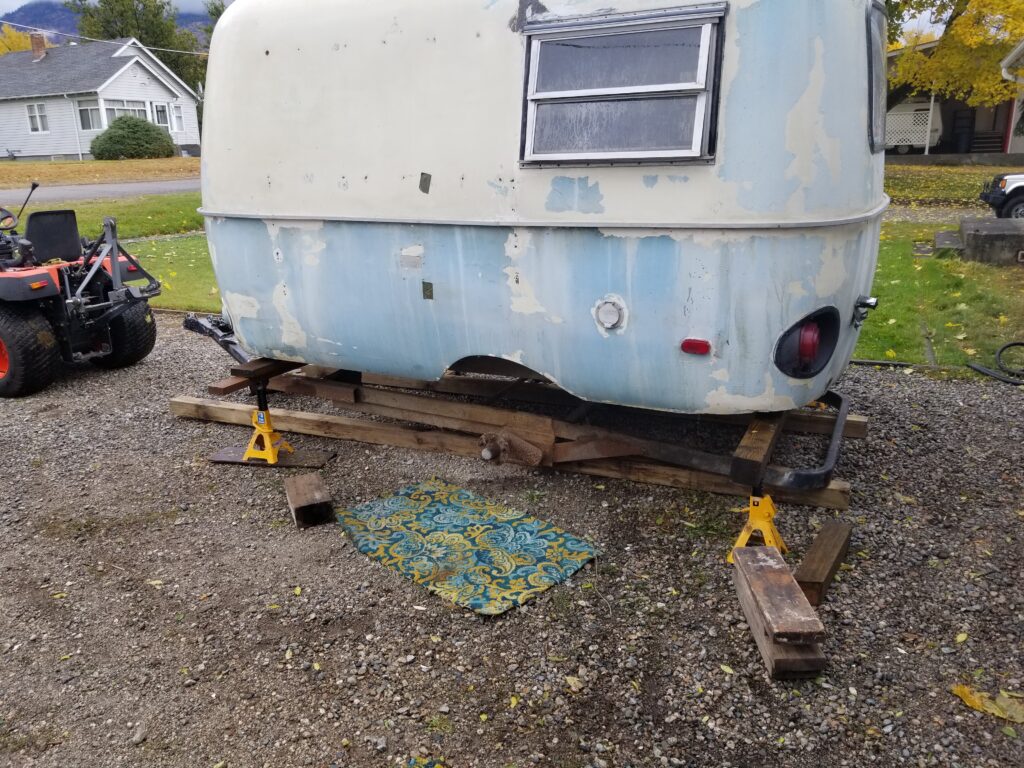
Supporting it with my jack stands. Interestingly this took the sag out of the frame and show me that the whole back of the body was not tight to the frame anymore. Wow..
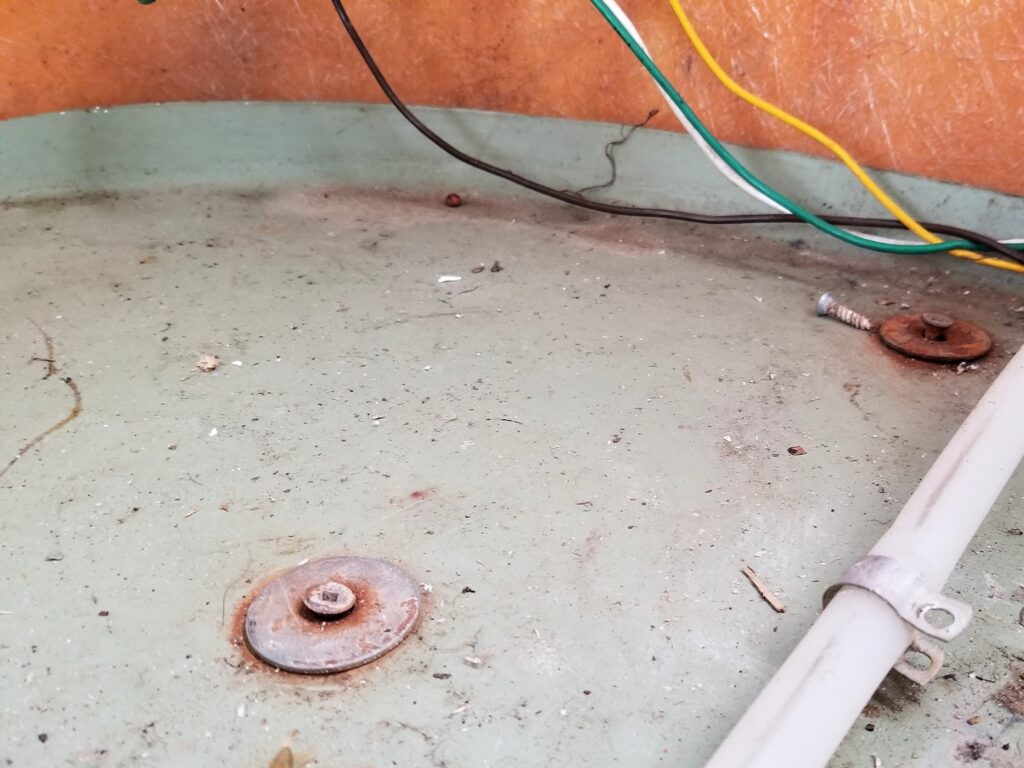
This is the floor under where the dinette cabinet was. The body is attached to the frame with these screws and washers. They were pulling out of the frame ! So when I lifted the rear they popped up.. This is NOT how I do things.. Those skinny little screws are most likely rusted and at some point would fail. That is why my frame will have mounting flanges and carriage bolts to mount the body.
Yes I had some fun removing stuff from the interior.
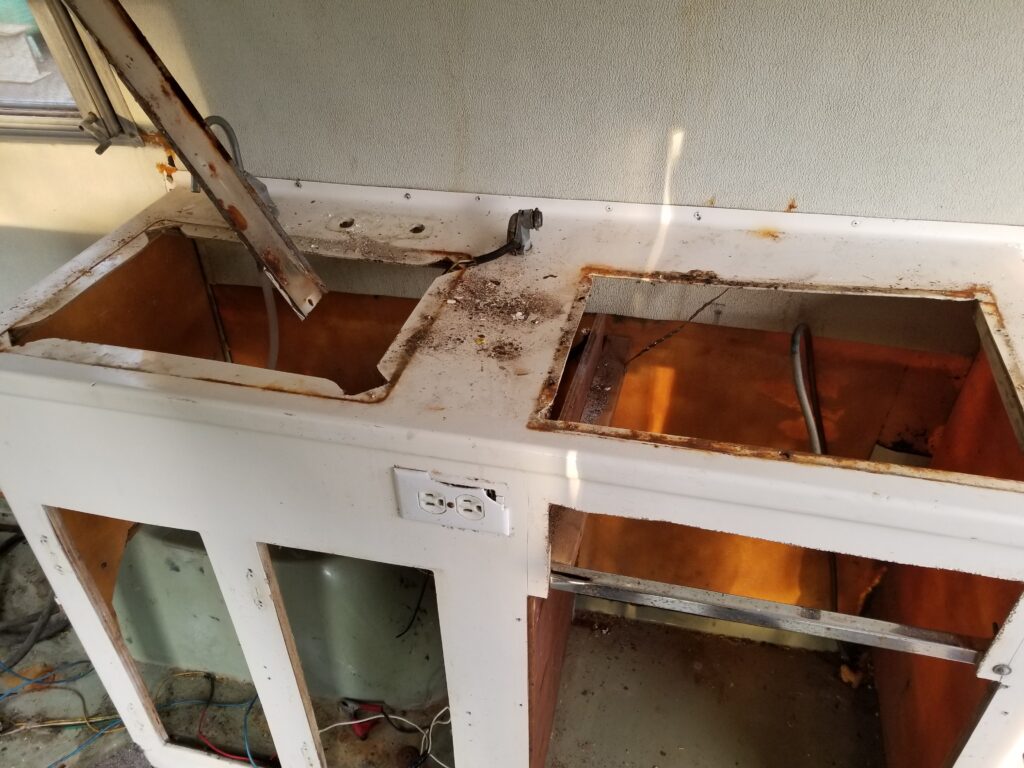
All the cabinets have to come out anyway.. They need repairs and will be repainted. May leave the closet alone.. it’s mounted very nicely with cap bolts. The rust that you see .. I believe was caused by moisture inside the trailer.. not leaks. If you close these fiberglass trailers up, then they condensate inside.. best to leave vents and windows open a bit.
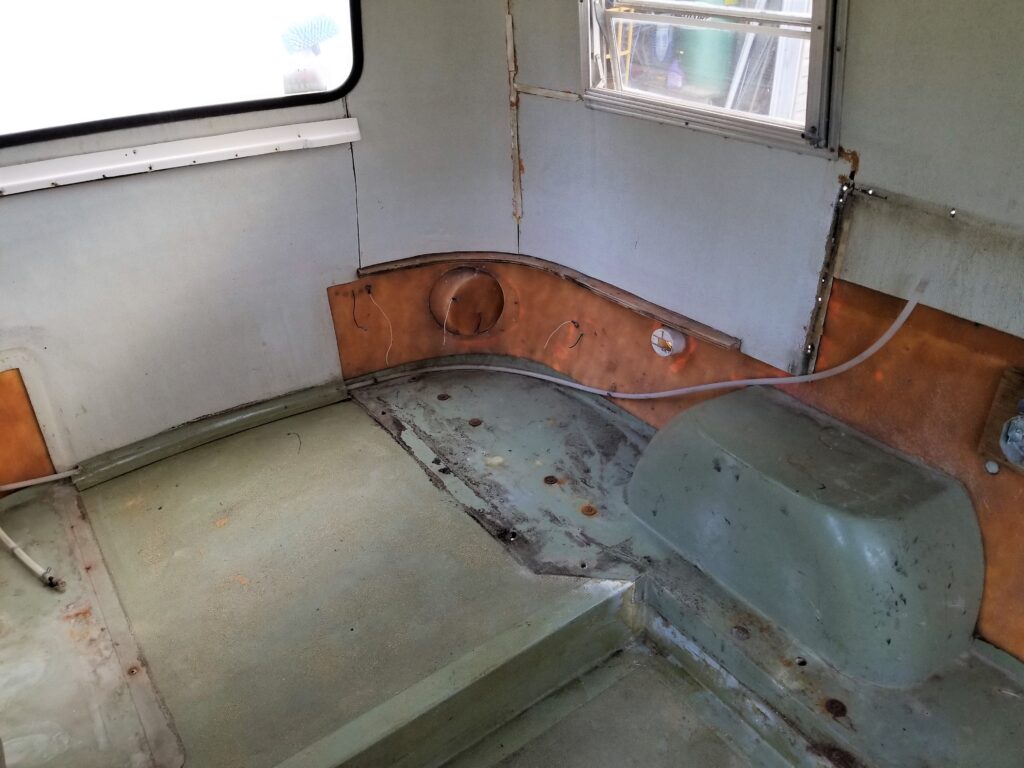
Well everything is out.. Real easy to get at the mounting screws now. It can sit like this till I’m ready to tackle the frame. I got new suspension on sale.. so that’s another big part of the frame.

These will be joined with heavy angle iron before becoming part of the frame. For this blog I’m going to divide the work up into three more parts / pages. Most of my projects have more than one page ..cause I don’t like long posts. Next page will be the Frame. Then the Body.. and finally the Interior.