Dec 17 2017
More fun then sanding.. Painting:
I have chosen to go with paint that I’m very familiar with. Paint that works good on fiberglass.. I can roll it or brush it and it’s very glossy.
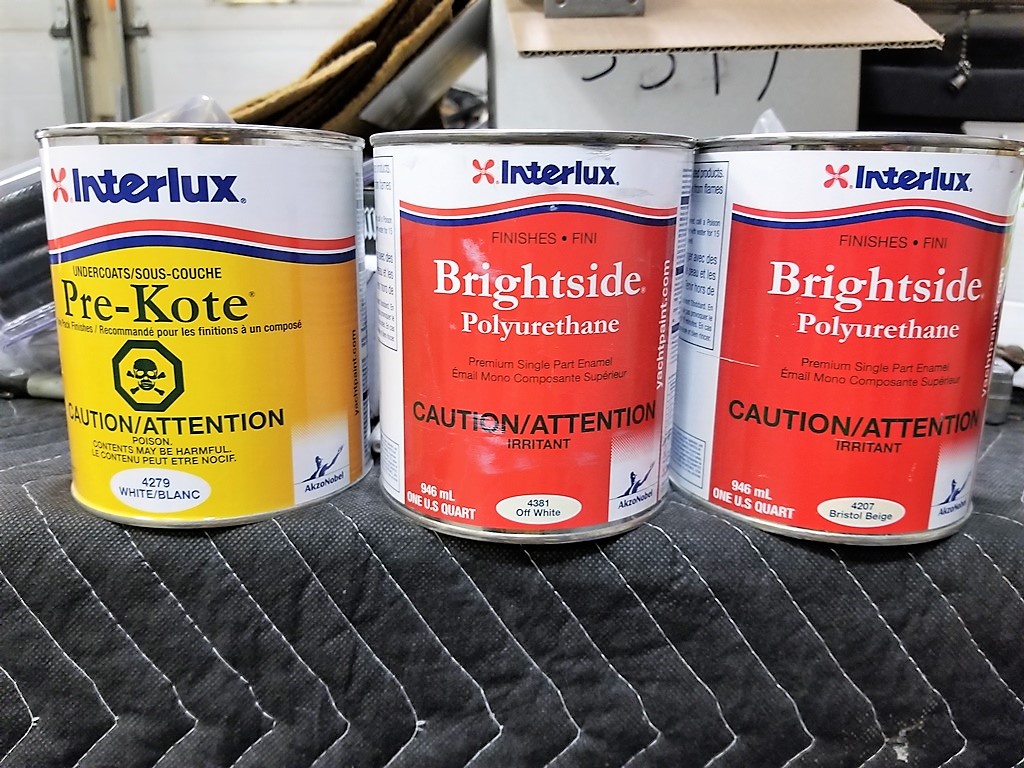
Yes it’s boat paint! How fitting for the boler. A few years back I chose this paint for the Bazooo 6×6 . Because the body was fiberglass. This time I have the sand-able primer too..
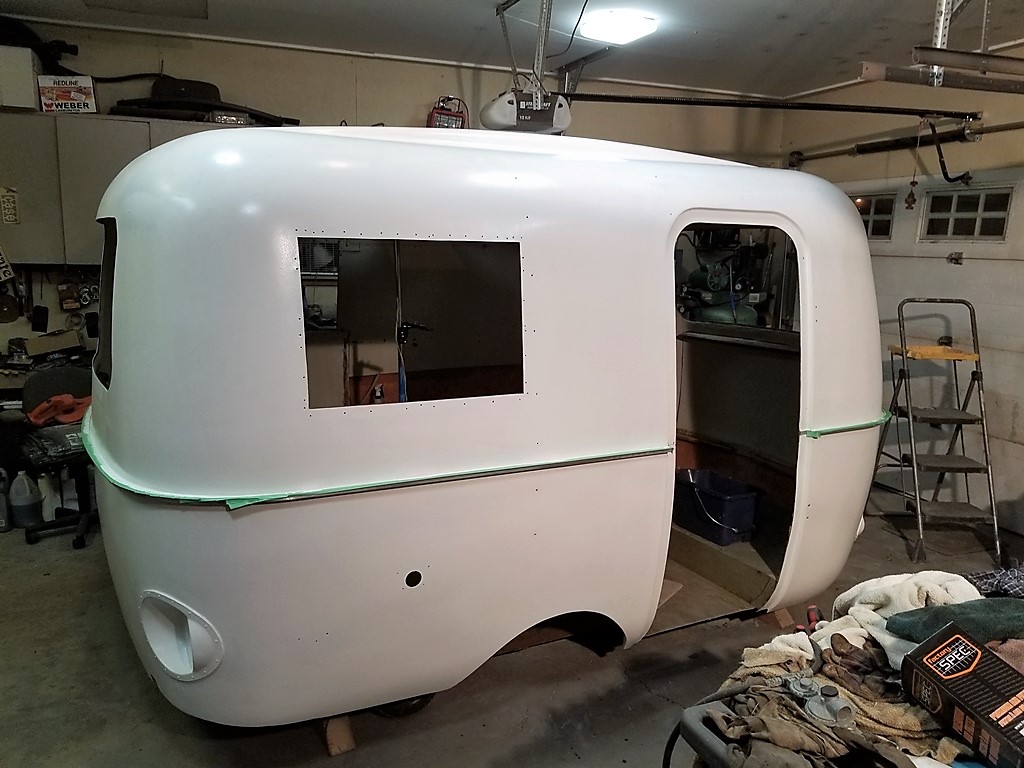
And here’s the primer on. Took most of the quart.. so now I’ll have a good idea how much two finish coats will take. This primer is great at covering everything. I found a few holes I missed ..so I’ll fill those and touch up the primer. Needs 24 hours drying time and then a fine sanding.
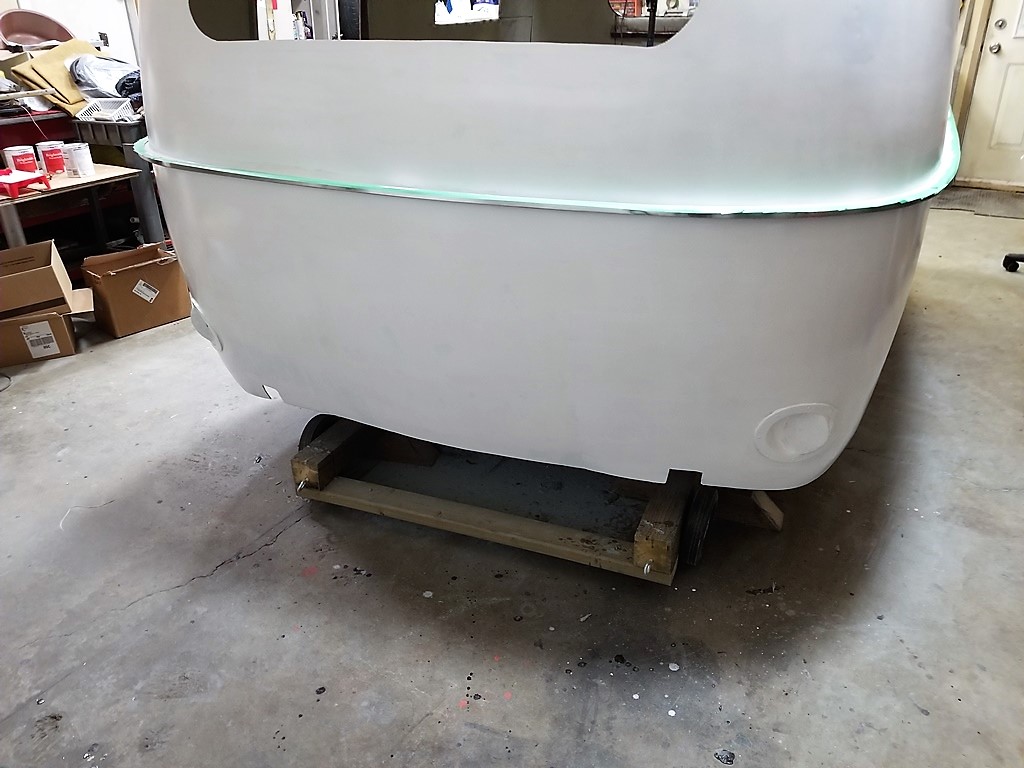
The front of the trailer looks like new ! Tomorrow I’m going to apply the first coat on the top half.. Off white.
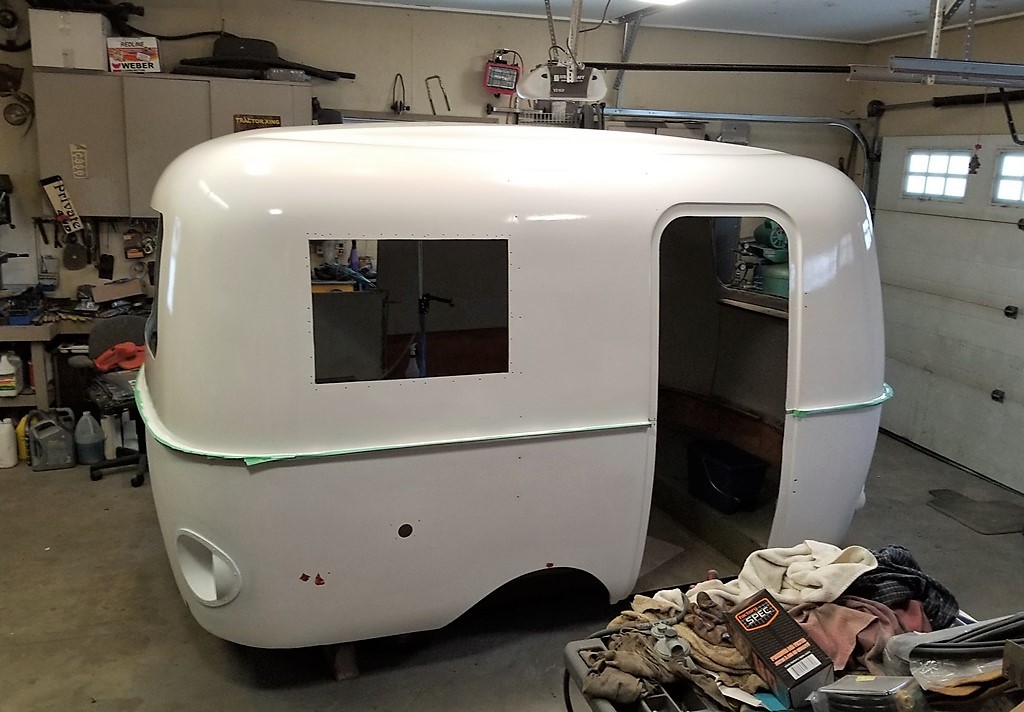
Very little difference in the off white from the pure white. And that’s good.. cause I want it to still look white. And shiny too ! Tonight I’ll put the first coat of beige on the bottom.
But there was a debate for the bottom color.. I was favoring blue… but the person who will use the boler liked the beige. She wins and now I like it too.
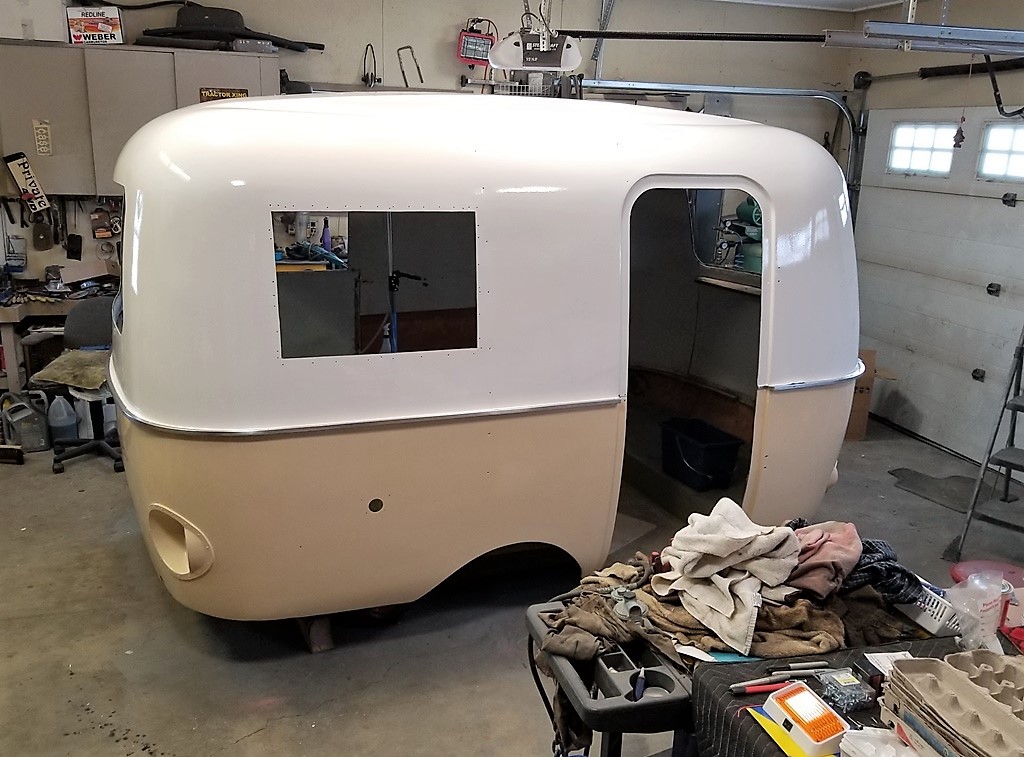
Ya. it’s kinda retro looking.. And classy too.
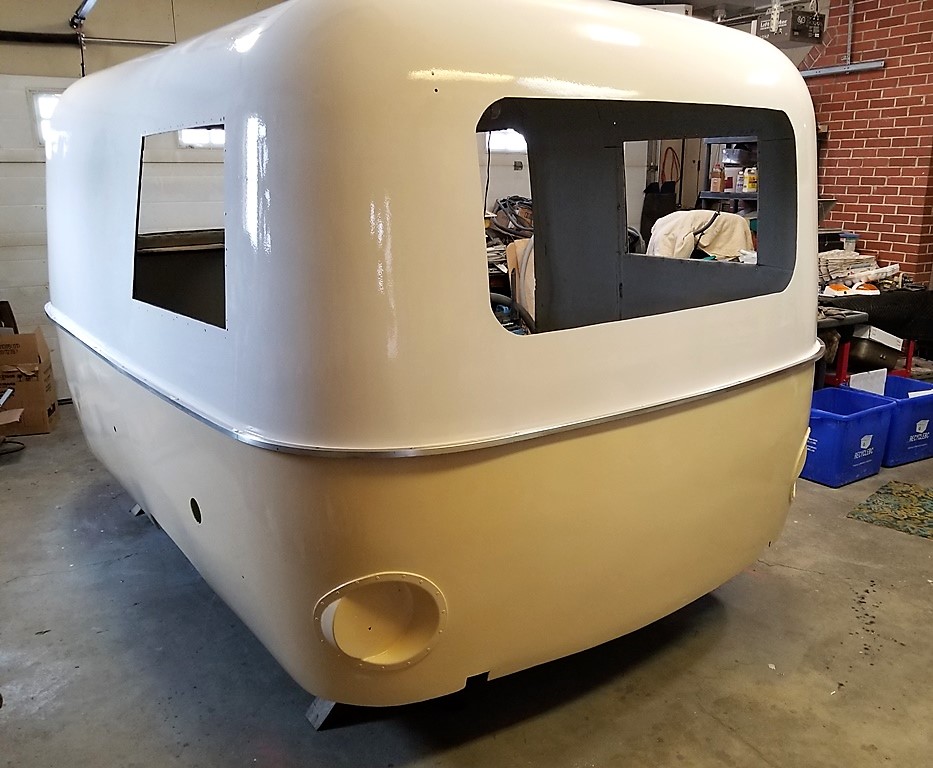
Soon I will have the second coat on the bottom.. then I’ll bring the door inside and paint it.
And while the paint cures…. I’m thinking of the lighting… Ya the electrical will be covered in a new posting ..further along. But I have finally collected all the lights.
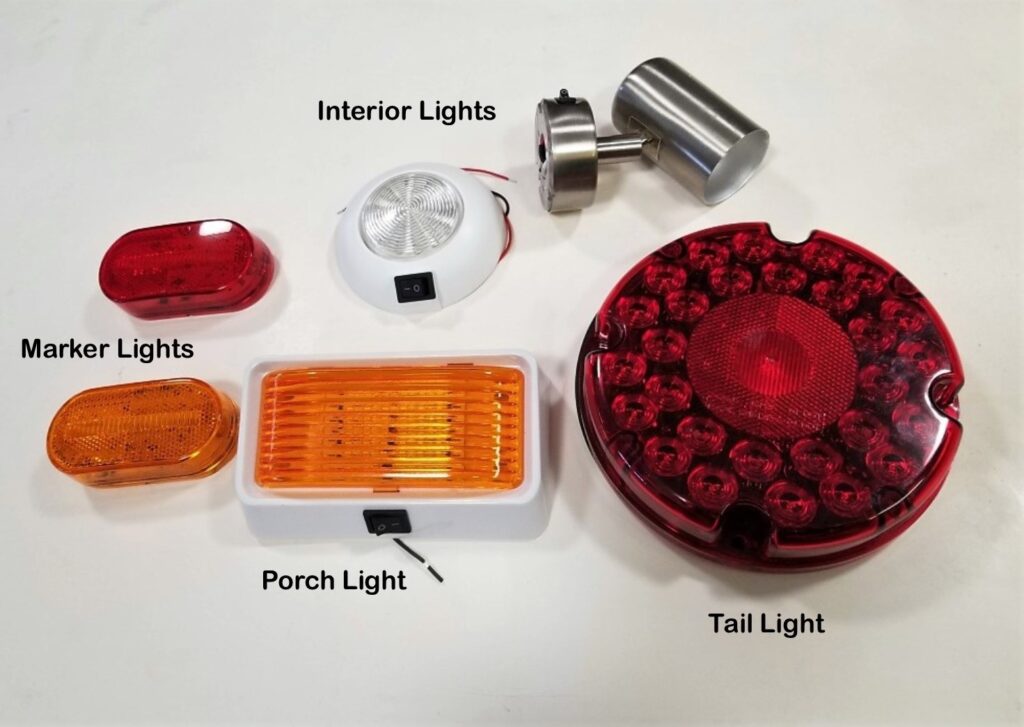
Ta Da.. All are LED’s ! and things of beauty.. Those 7 ” tail lights are hard to come by. The interior lights all have the switches on them.. We all know that LED’s in your home save money… in a RV they save your battery. Back to the paint thing….
I’ve actually got the painting on the body done before new years. And I’m super pleased with how it turned out. I went back to using a foam roller for the last coat of Beige bottom paint.. And wow nice and smooth. I’ll buy more foam rollers for the cabinets. The door is primed and ready for the off white.
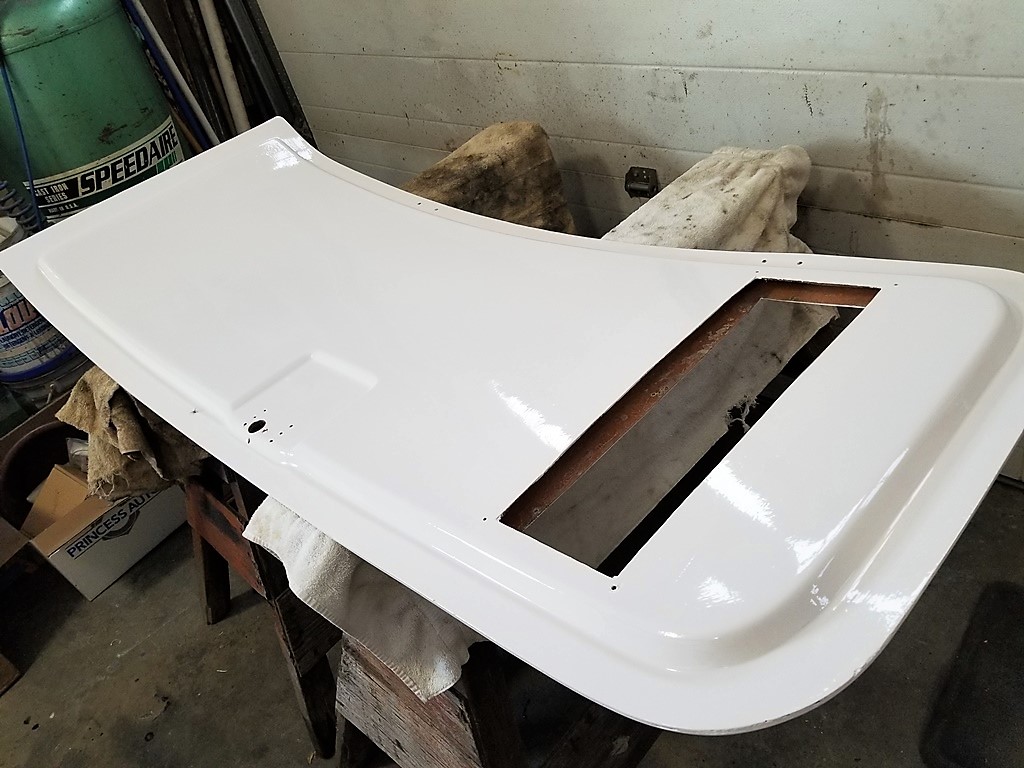
And here is the second coat of finish on the inside of the door. Looks like it just came from the factory. Once this is done both sides then I plan to install the roof vent and the door.. and wheel the body outside ..still on the dolly. This will make room in the shop for the interior parts to be repaired and painted.
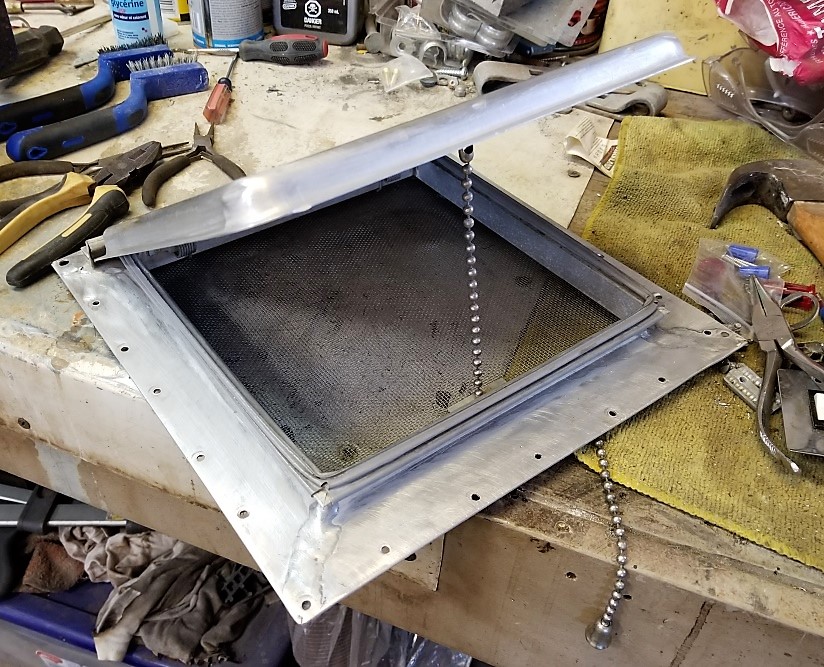
Here’s the vent all cleaned up and ready to install. PROPERLY with butyl tape.. not silicone. And no rivets.. I’ll be using Stainless Steel screws.
Change of plans.. I now have Dave here to help with attaching things. Need a person on the inside and on the outside. So I would like to finish to the point where the body is sealed ( won’t leak ) and put it back on the frame too.. Because when it goes out it’s gonna get cold.. So the boler will be complete except for the interior cabinets. And for this next step I will start a new page..