March 9 2023
This is where the big changes happen…
Starting with the lower part being full length to the front seat. Four drawers and two larger doors.
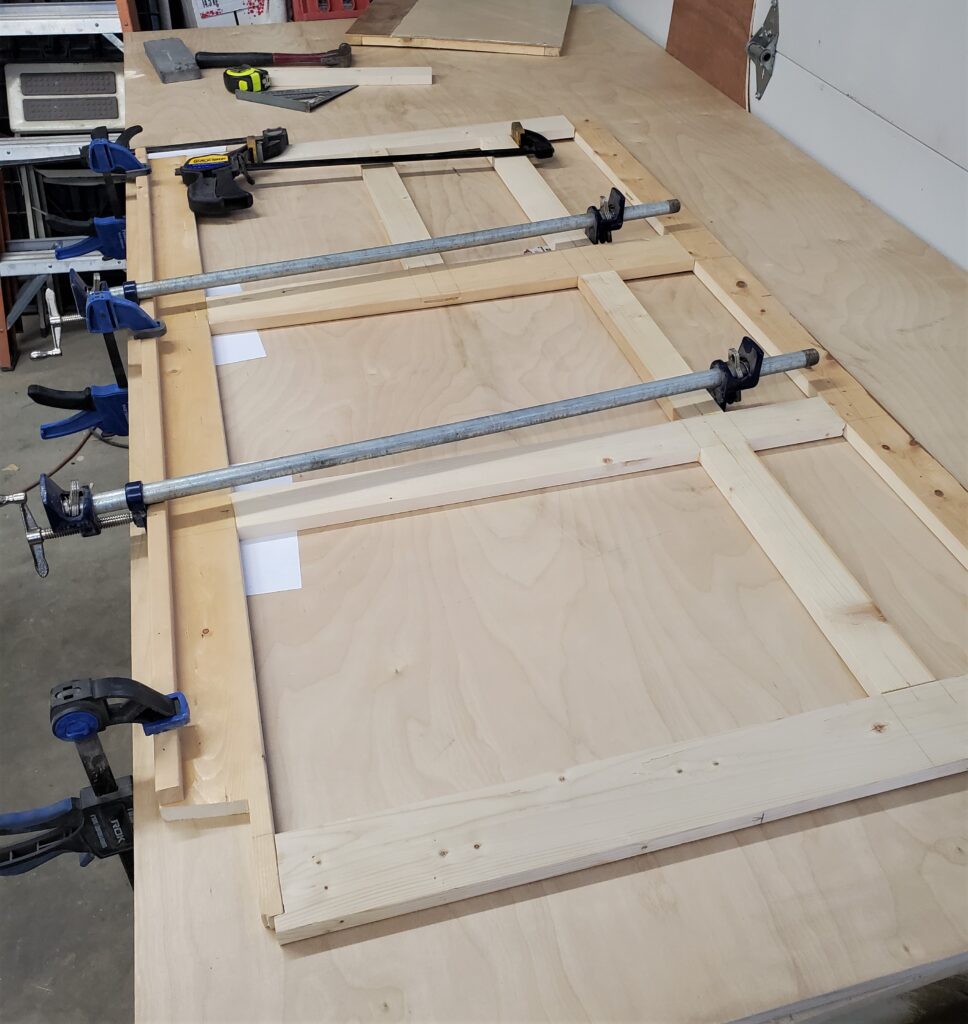
The same way I build all the fronts, with biscuit joints and glue. Then I see how it looks in place.
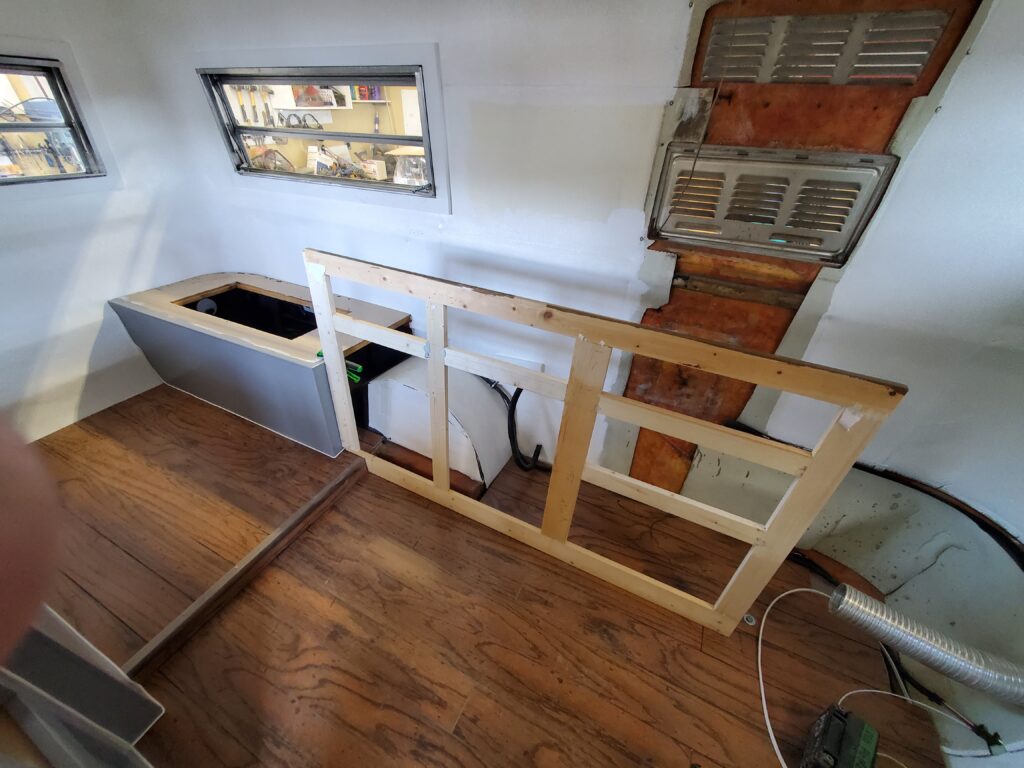
Hmm. Not bad ..just need to shave a little off the bottom next to the seat. This photo gives many clues to how I’m configuring the drawers and doors. Starting from the left: The door is partly blocked by the wheel well. Above that is a false drawer front because the sink is there. The next door is for the 6 gal water jug with a drawer above to hide the induction top when not being used. Lots of free counter space. Then under the fridge we have a bank of three drawers , with the largest at the bottom. I now realize that the front seat should be in place in order to accurately fit the kitchen. So I need to work on that.
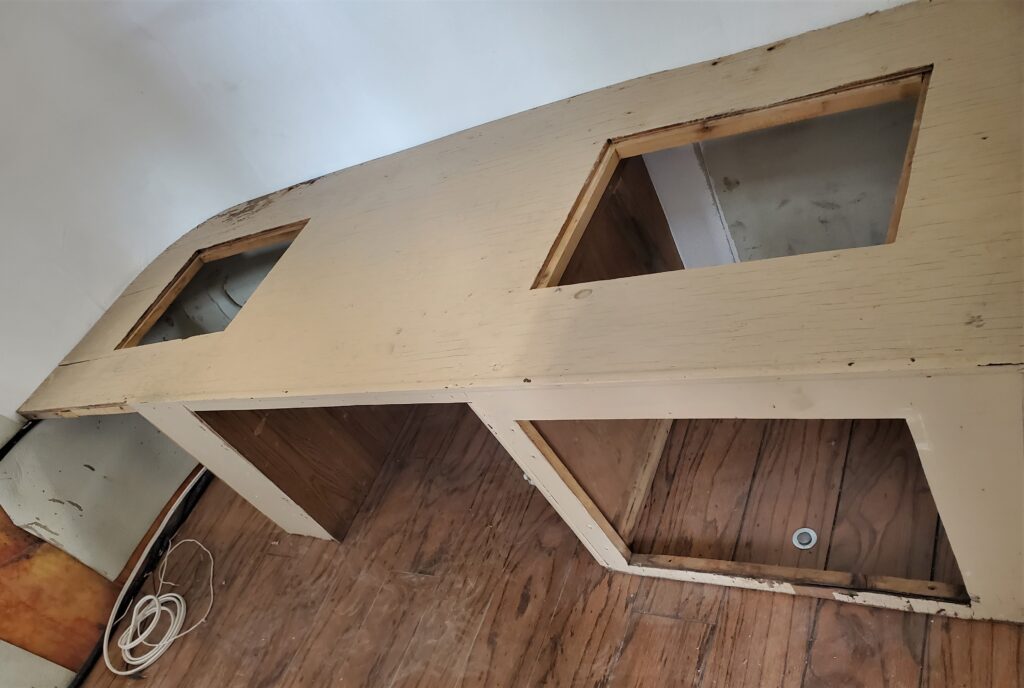
Sure enough I had to trim a bit of the front to fit the space. No worries now is the time to do that. I got busy rebuilding that front seat. New fronts !
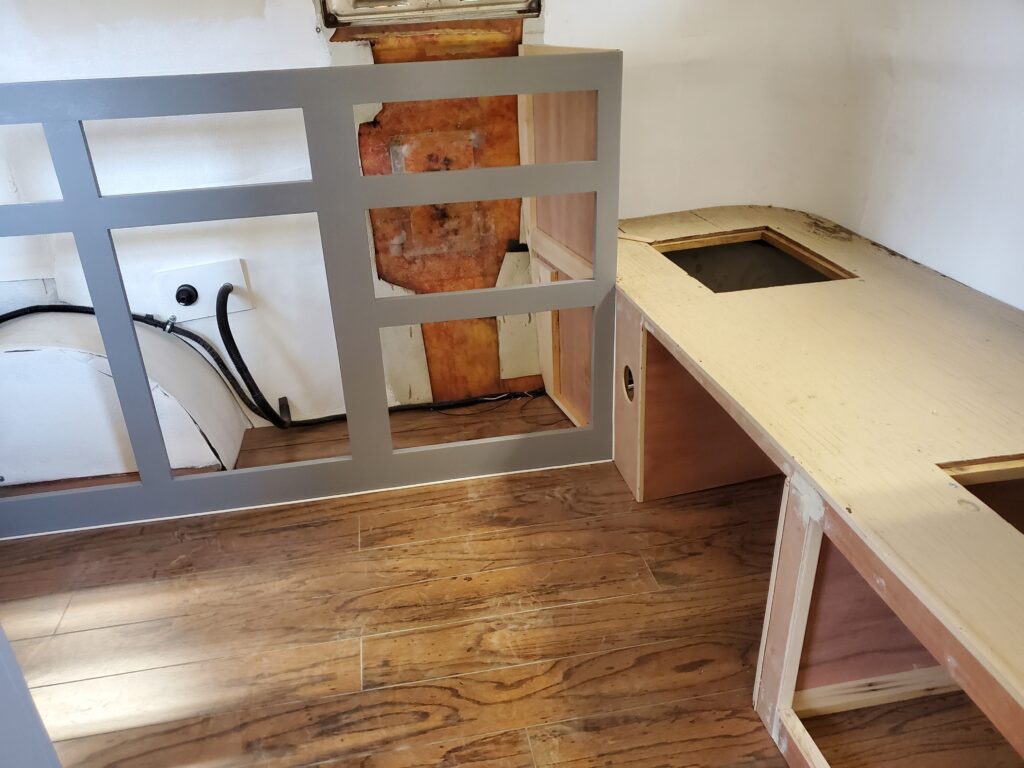
And here you see things fitting nicely. Time to paint all these things and Get them installed. Then I need to work on the guts of the kitchen. Drawer slides and a shelve under the sink. Much easier without the counter in the way. Here’s a video update of where I’m at :
Today I got busy on those “guts” of the cabinet. Figuring out how to make strong drawer slides. Nailed It !
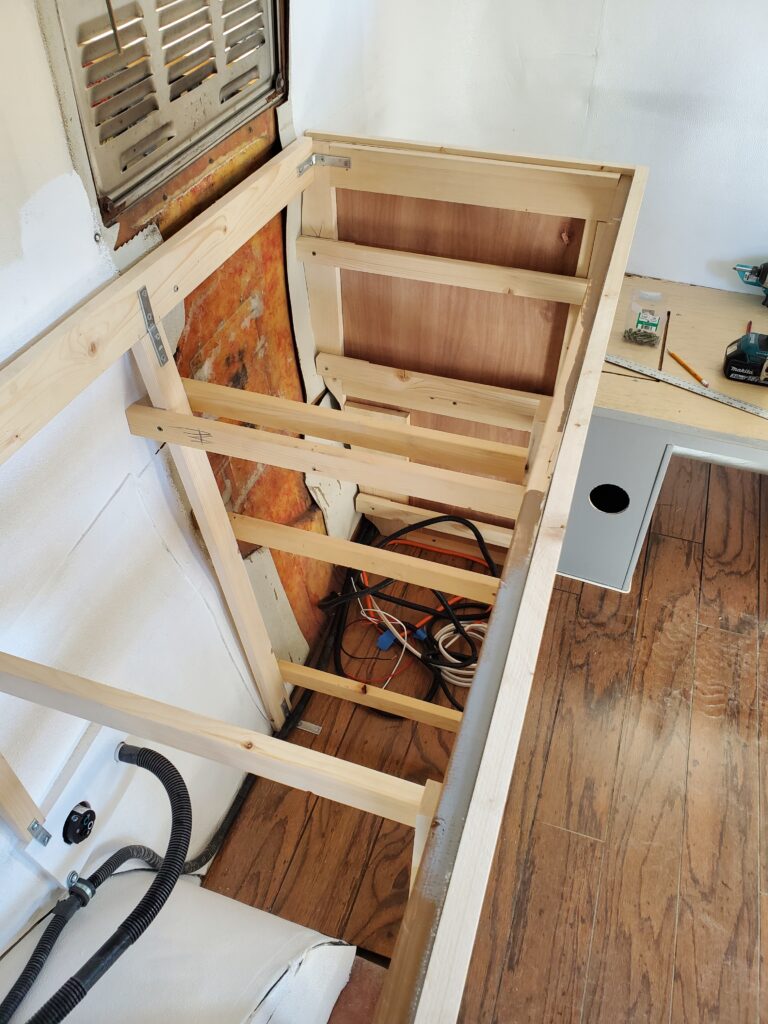
Now I need a shelve and help to keep the water jug in place. And this is what I did.. Plus the shelve.
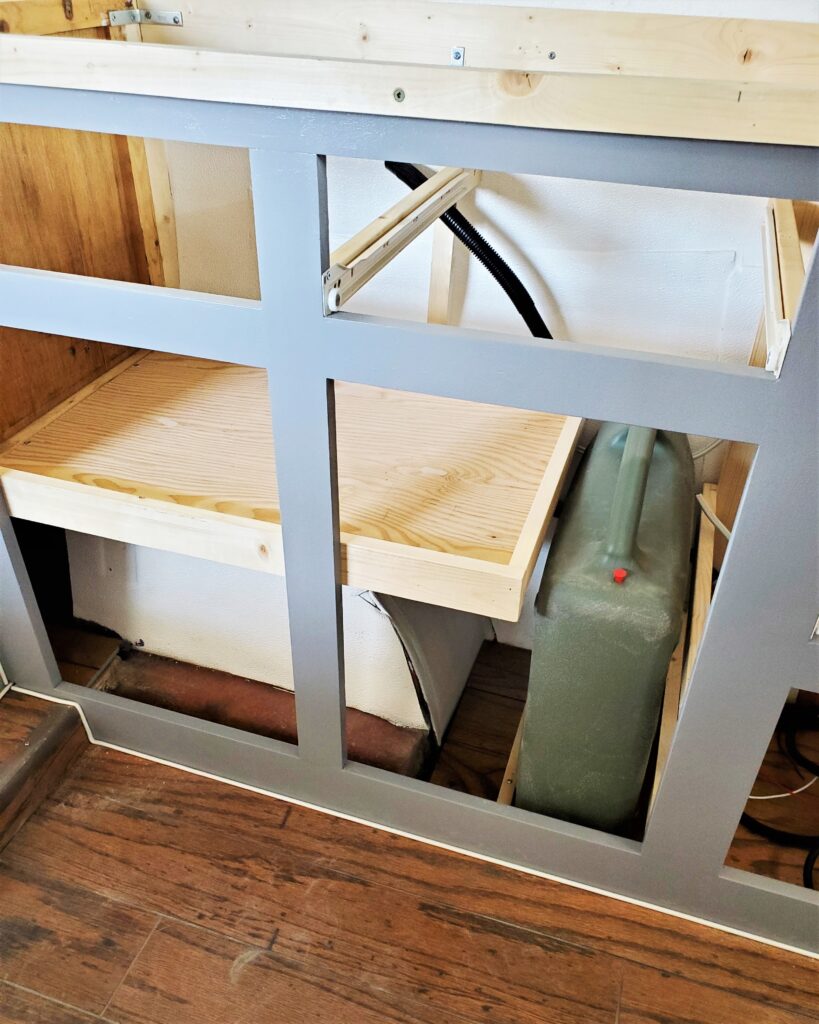
This is a great alternative to a water tank. It holds 6 gals and you can take it to the tap, fill it up and it fits nicely here. Anyway I got to work on the counter top. (just the plywood for now) This allows me to build the cabinet for the fridge.
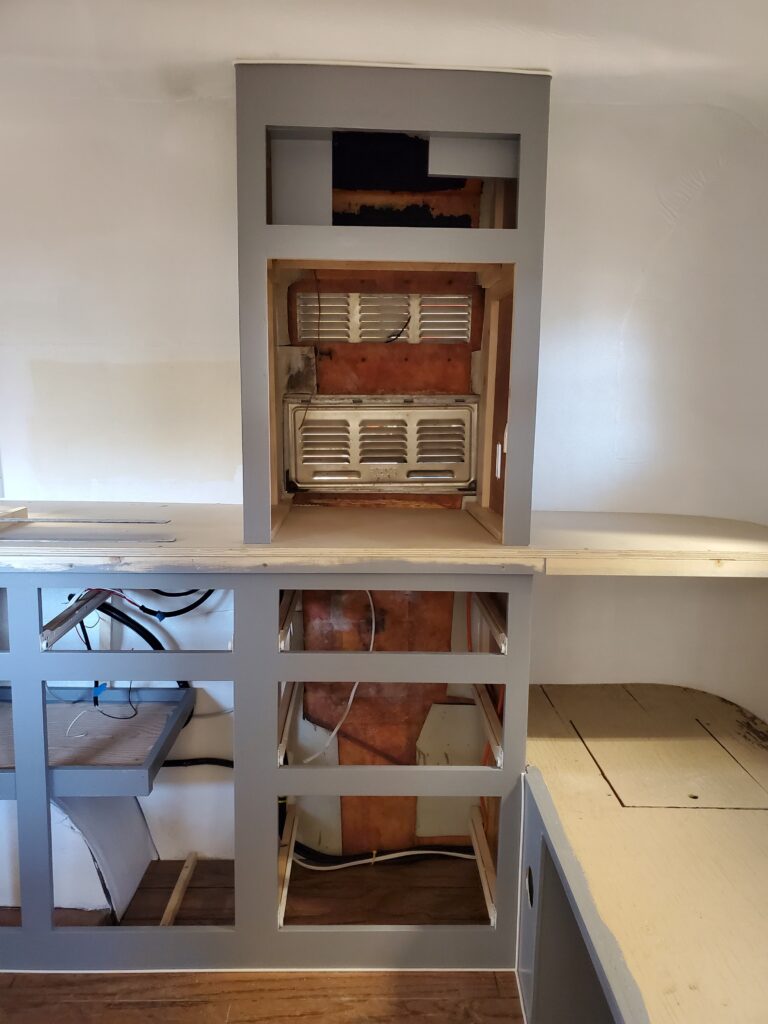
Perfect fit .. You can see my different way of constructing this. The fridge will sit on the counter. And the counter goes through to the front of the trailer. No bunk in this trailer. Above it is my electrical cabinet.
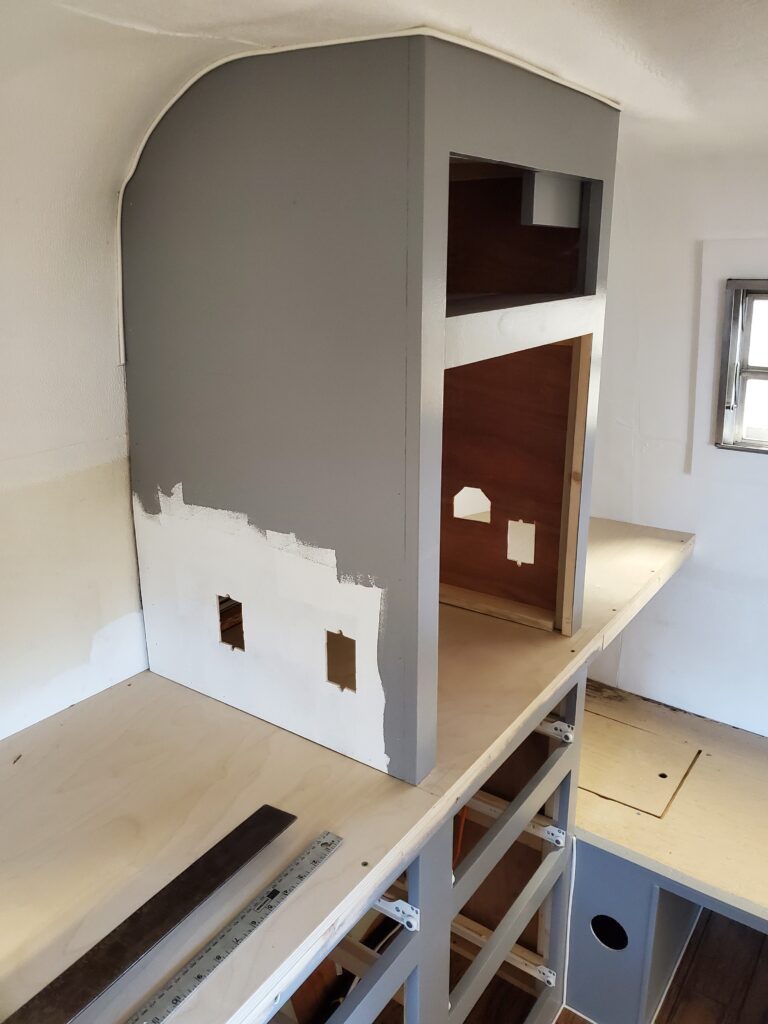
Different look at it.. Those holes are for the 110 plugs.
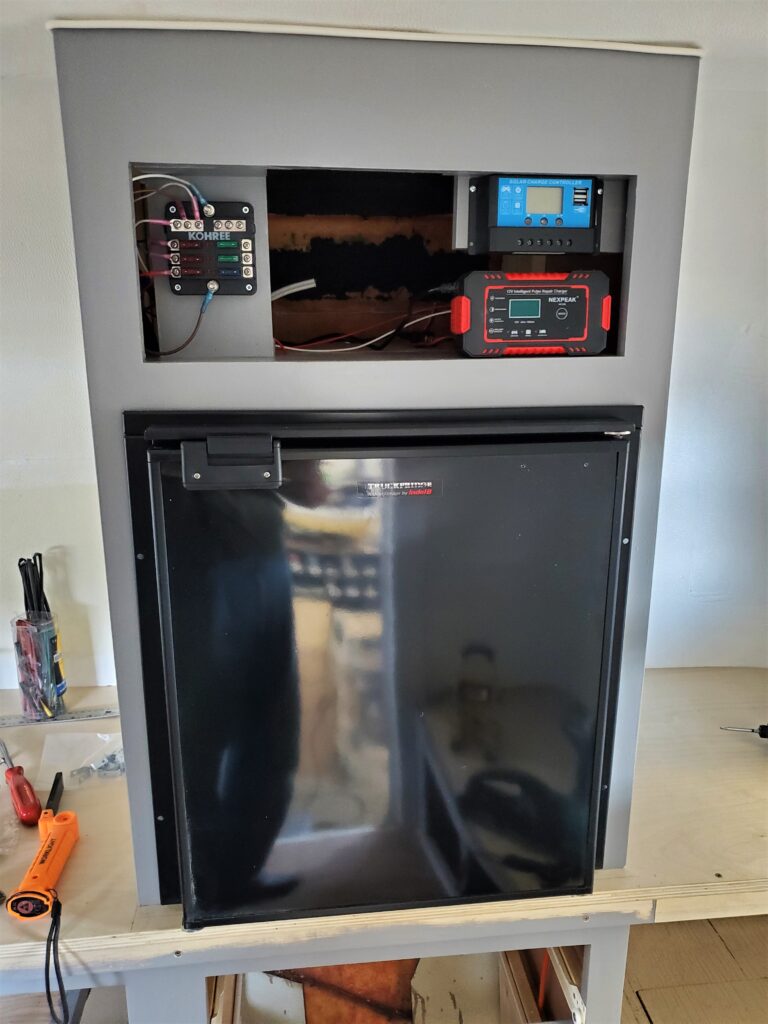
I’ve been doing some electrical work… And a test fit for the Truckfridge. My power and fuse panel on the left , and solar charger and 110 charger on the right. The cover that will go on will have holes cut to see the lcd screens on the chargers , and a switch to chose which one to use. Also a switch for the heater and a dimmer control for the main LED lights.
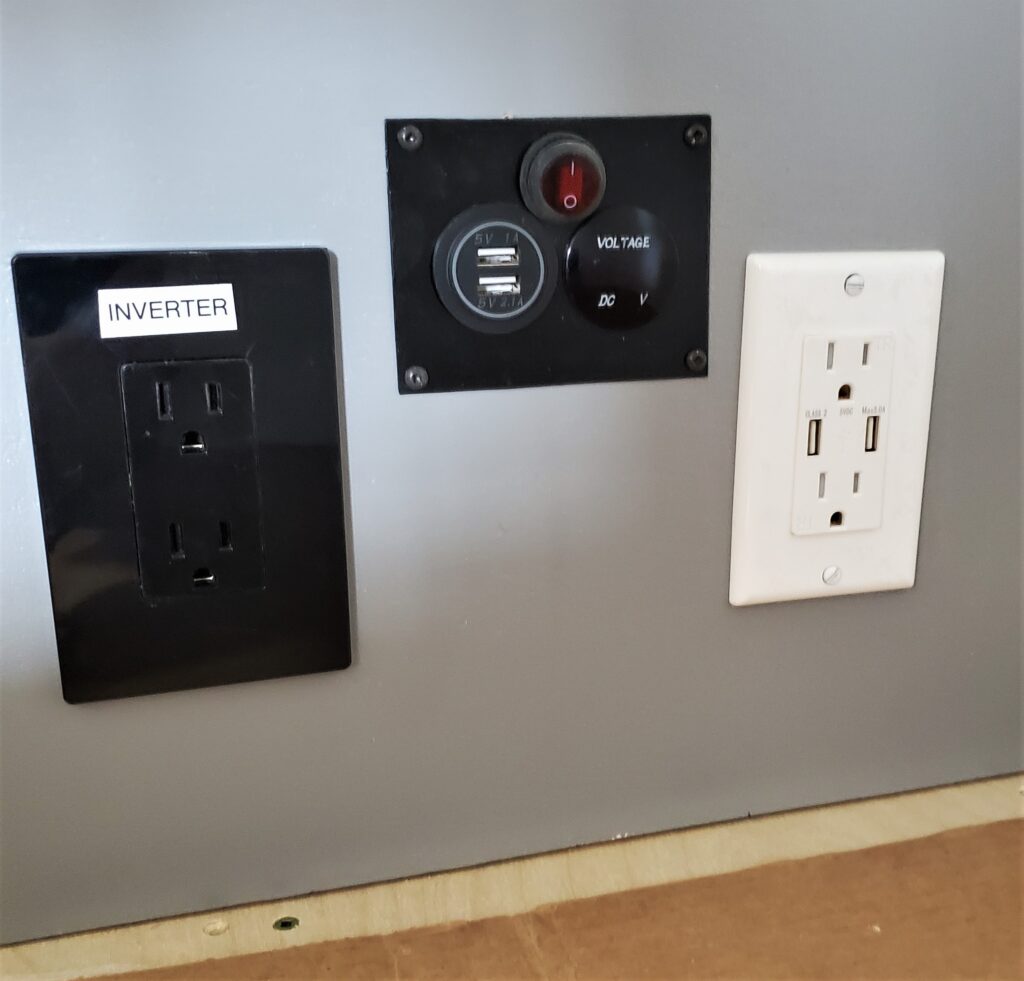
These are the plugs and things on the front side of the fridge. (right side if your looking at it ) I have my extra counter here and lots of charging options. One of two Inverter plugs, and the same for the 110 plugs with USB ports. If you are camping without power then you can turn on this USB station with a battery condition read out.
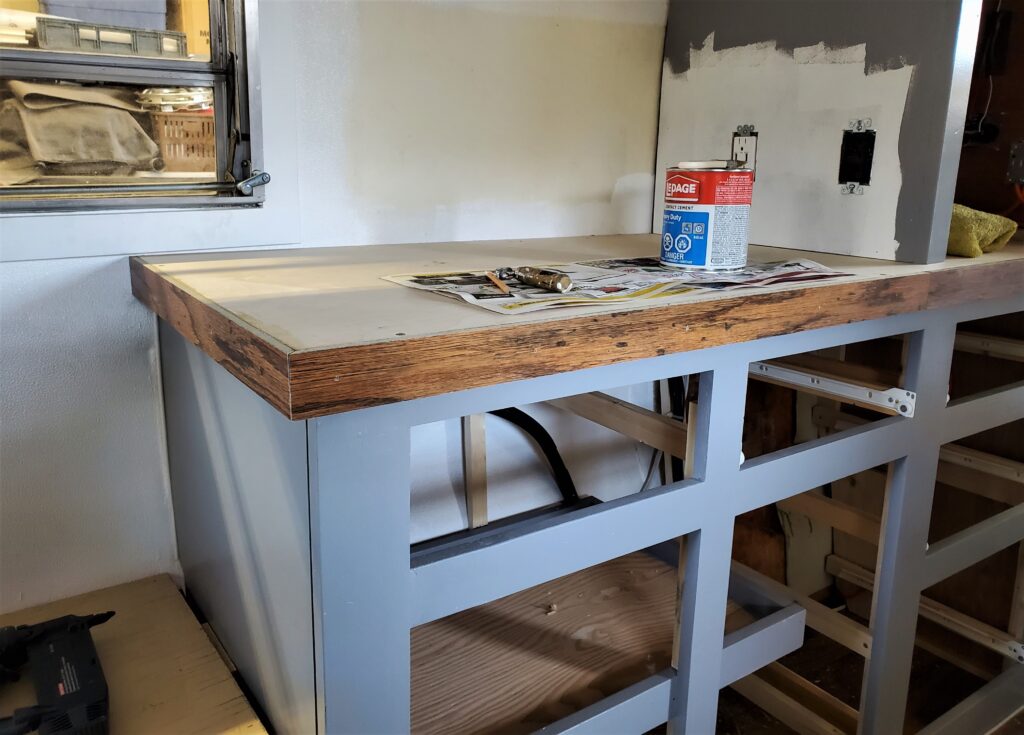
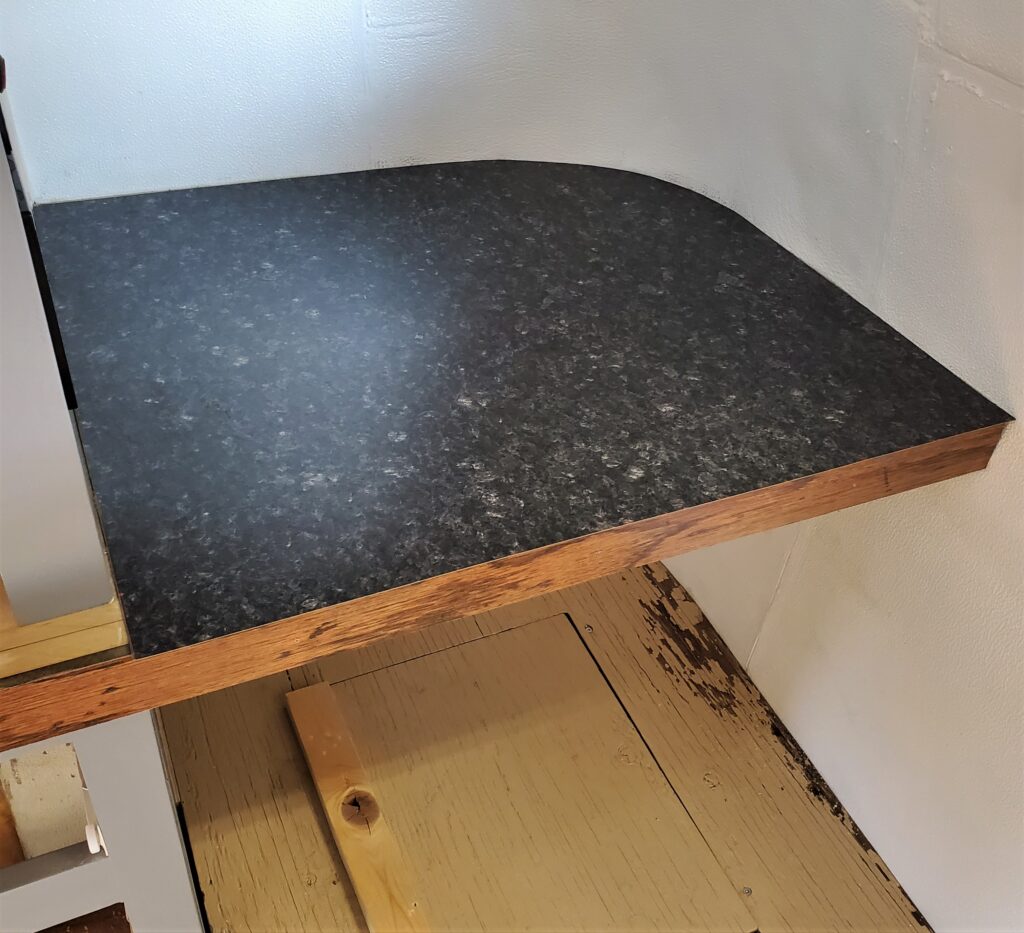
Today I got the counter top edging on. This same edging will be on the shelves over the windows. And now I have the laminate glued and trimmed. And it’s looking like I wanted it too.
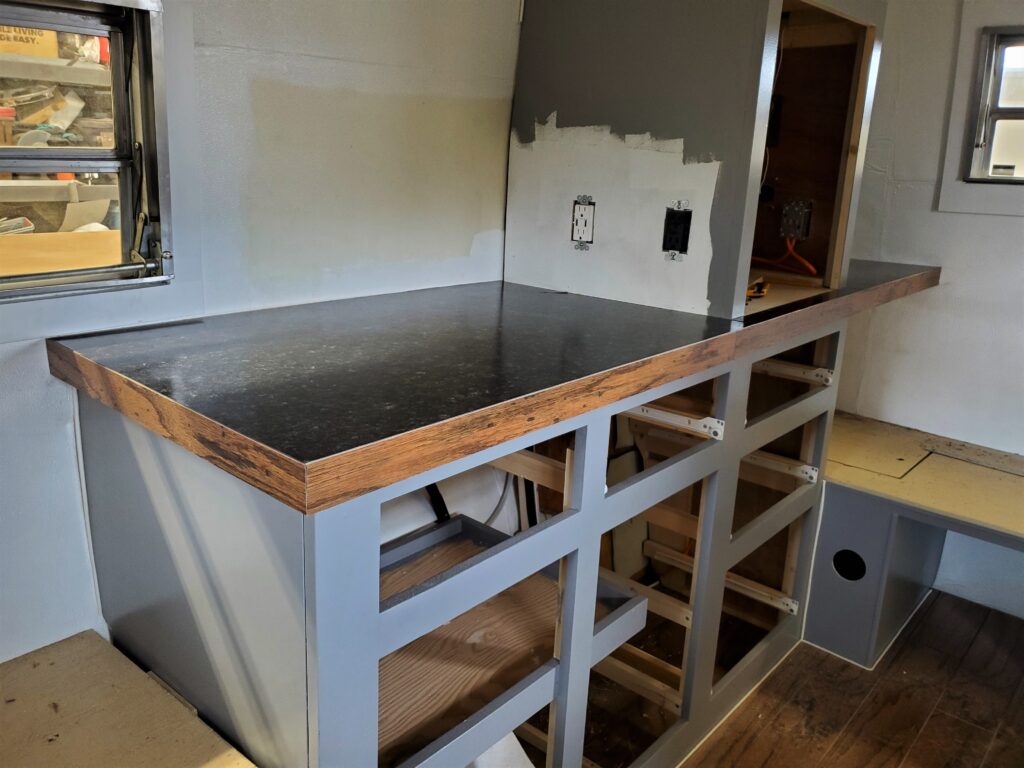
Now it’s time for the overhead cabinets. The next one is the kitchen overhead cabinet. It’s the last grey cabinet, with doors. All the shelves over the windows will be white on the underside with a wood trim.
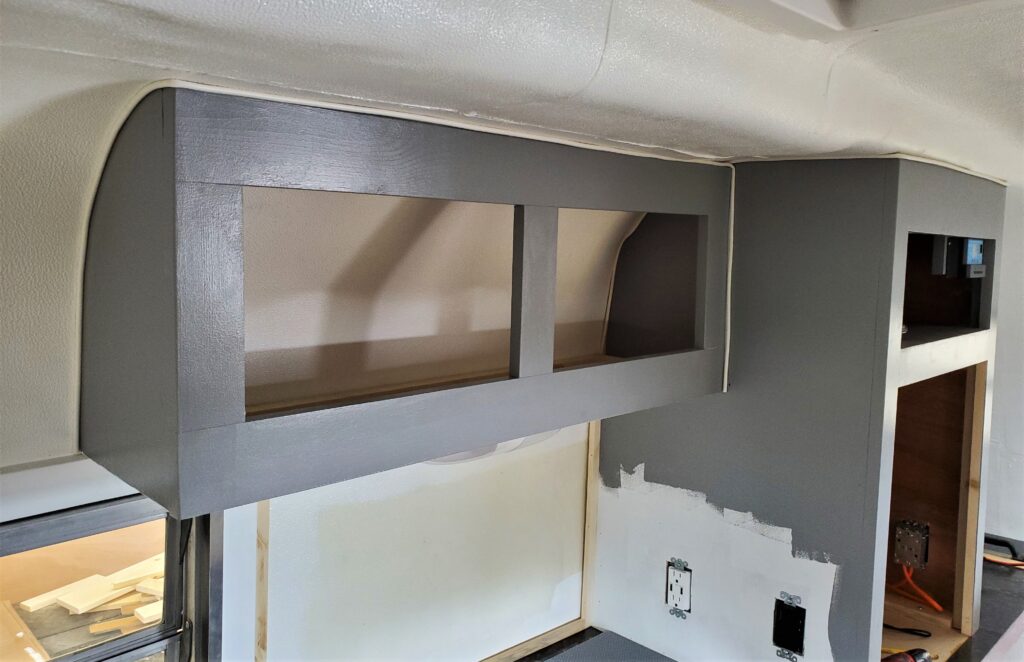
With this done I could call the kitchen cabinets finished..
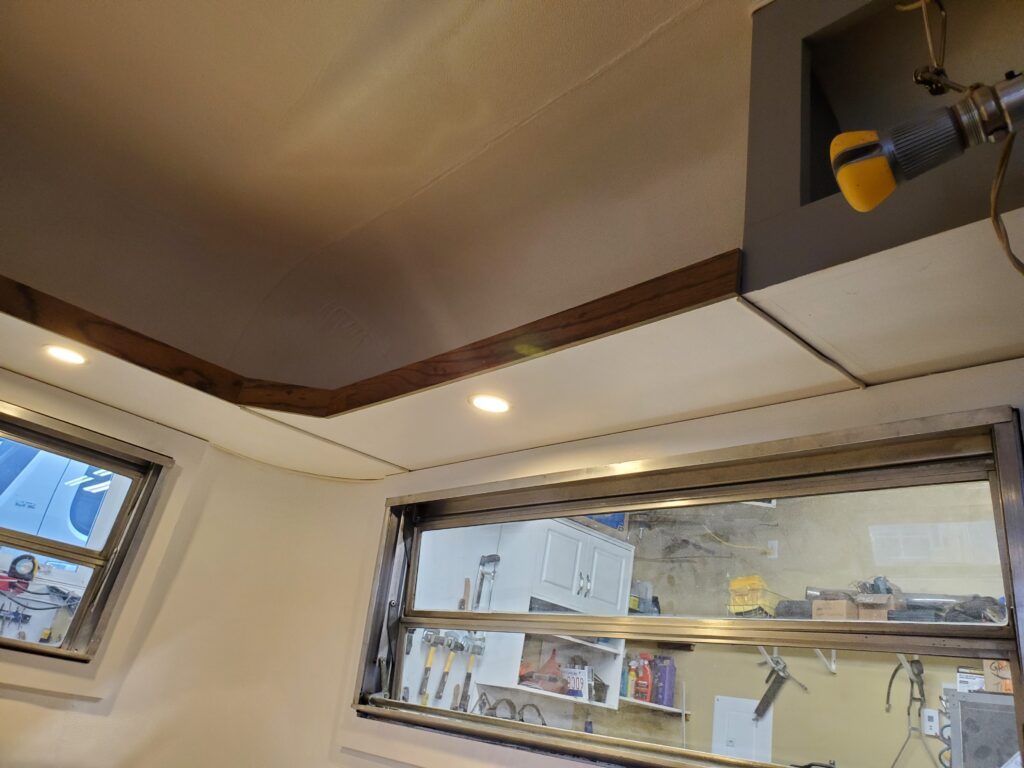
But there’s lots to do.. I can now do the backsplash. However there is drawers to build, doors to make and the sink to install. All in good time. And those can be new posts too.
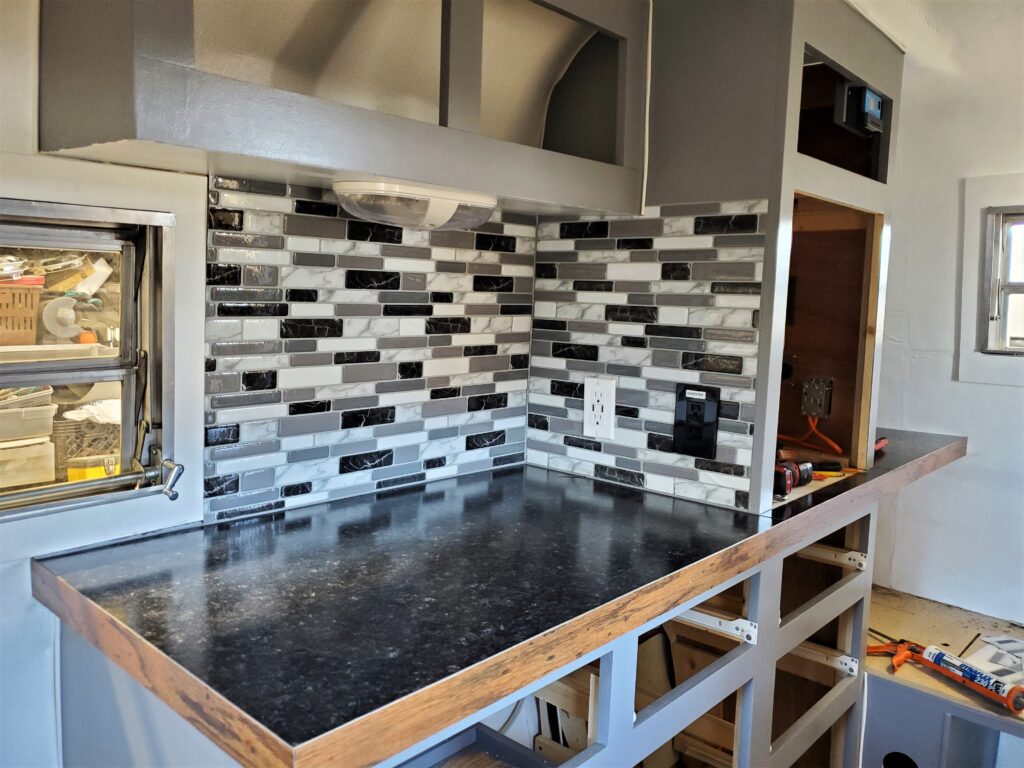
Backsplash is done ! And looks great.
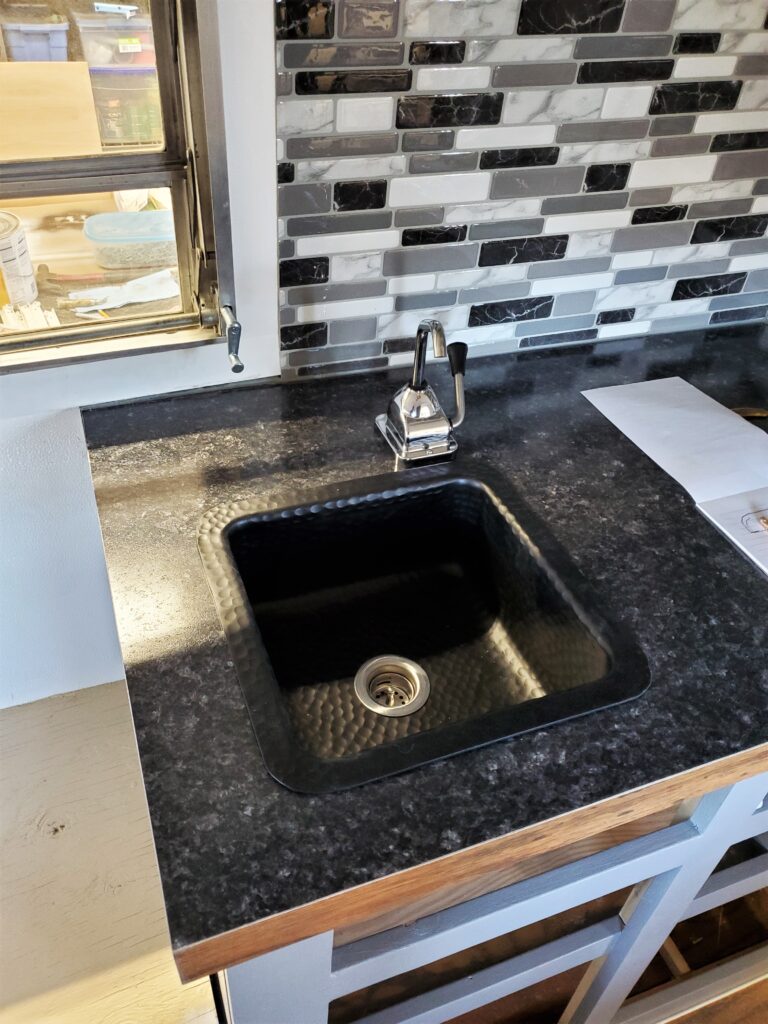
And I got the sink installed too.
The position for the sink was important.
I’m going to call the kitchen done for now and start the new post for the overhead shelves…