On this day.. I decided it was time to finish the cuts and get that new door installed.
Yup that’s where it goes.. In order to install the new door …I had to remove the hinges for the old door. So that got fixed in place with screws. I’ll paint it white and trim it out so It won’t be so noticeable.
And remove the handle that’s doing nothing now. Sure going to be nice using a proper door with the light switch handy.
Here’s an inside view showing the old door and the new door. I have some plans for that old door. For now I want to get all the OSB wall finish done. It’s only needed where I’m hanging tools. On half the wall space I only went down the wall enough to go just below the tops of the roller cabinets. But on the wall beside the door and around the corner I went to the floor. Because there was extra OSB.
It’s getting two coats of white paint before I call it done. This helps brighten things up in a shed with the only widow on the door. And here’s the painted walls..
That’s of coarse a bit of wide angle.. but you get it.. Today we moved the old landing around to the new door side, and levelled it. It sits on four pier blocks with concrete slabs on the low side.
Here you can see the top step frame, and it worked out perfectly. The boards will fit nicely under the door sill. I’m using the old boards from the wood sidewalk for that top..
See how this works… Nice wide / sturdy steps.. Need paint ! And a bull nose too. Today I did some painting , but not the steps. Just the door frame and the trim.
And here is the final result… Looks like that door was always there. New lock set and I have keys.. Now to get the interior done.. How about a new page for setting up the inside.
And that starts with a handy thing in our bonus room / hobby room.
This plug on the west wall under the window is a 20 amp plug on it’s own breaker. I’m thinking for an air conditioner.. We won’t use this. There is lots of outlets in that room. SOOOO With a little surgery I will ad an outside plug to this circuit. And from there an overhead cable to the shed.
That 20 amp circuit now goes outside.. Need a piece of drywall to fix my hole. My supplies came so now I’m finishing up all the wiring. Starting with that new 20 amp outdoor plug.
Right where I wanted it. And off of that comes the heavy duty 12 gauge out door wire that goes up and runs across a line to the shed.
Just like that I have power to the shed. And what do I do with that…. first another outside plug.
This is on the east end of the shed next to where the door will be. These are the newer boxes with the cover that allows you to leave a cord plugged in and still out of the weather. That will be handy because this is my outdoor work area. The rest of the wiring is inside.
This is next to where the door will be too. The switch turns on the lights… Duh. And there is four outlets around the room. Also handy.. A lot of what I have is cordless.. So mostly charging stations. Once I put a bit more OSB board up to cover the wires I’ll be ready to move my cabinets over from storage. Just one more photo of the finished walls with their outlets.
And now let’s do a PAGE 3 for the new door and the finishing touches…
Here’s my first look at the shed in the real state listing photos. 10 x 14.. That’s the biggest we are allowed in the park rules. But this one has a trick up it’s sleeve.. It’s extra tall and there is a storage loft. That’s Handy always need storage… Plus this is not an old shed and it’s built very sturdy. In fact I think it’s OVER built. Could be moved but it’s in the best place on our lot, so it’s staying put. I like where it is.. 2×6 walls that could be insulated but I not caring about heating it, so that’s not in the plan. However I am going to power it up ! When I first looked in it …this was an empty space no lights no shelves. Just this ugly door, and a stained bare floor from gas mowers and things.
But that will change soon, because stashed under the shed was a very nice steel exterior 36″ steel door and the frame.
Almost too good for a shed… But this is my shed and the door was FREE and I have no other use for it. And so I’m relocating the door around the corner to the end wall. That will work better for my needs. Plus it opens inward to the corner, not taking up valuable space.
Right here next to the ladder. I already have some of the cuts made. This is the side of the shed where the ground levels out and makes a good outside work area. You can see it’s already closer to the ground here.
And yes I will move this deck to that side. This area is under a row of fir trees, just dirt and nothing grows. It’s on the north side of the home that has only two windows, and is shady most of the summer. So if I’m working on something ( like the ATV) this is the place.
This area is important to me because it is the only space I have.. Here’s another view.
And as you can see I’ve set up a shelter and a small shed for the outside tools. The only thing that you could fit in the shed to work on has to fit through a 36″ door. The floor space will be limited ( once all my tools are in there).. Right now is a mess of me bringing stuff over from the storage to work on other stuff.
Time to get organized.. I did put some OSB board up to hang things, and I have LED lights so I can see . That’s a start.. And just before I took this photo I ran the wires and mounted plugs where they would be needed. More OSB will be needed to finish things. But first let’s get some power in the “Mini Shop”.
Now that I’ve got my strength back…( Long story ) It’s time to get a few things done before winter. It’s only two projects. This ended up being the first. The second one is get my shed in order with a new door and some power. This first one came from the desire to get rid of the wood sidewalk…
Yes that one you see looking so nice in the real estate photo. NO! It’s not nice the paint was coming off and some of the boards were loose. So for the sake of low maintenance WE prefer a concrete sidewalk. And that grew into a plan to increase the size of our parking area. So I removed the wood walkway. Stacked the pieces up for future considerations. The park management had already removed the pear tree that would have been in the way.
I hired a small tractor to remove the sod and the excess dirt.. And away I went, starting with a border of landscape ties. As you can see I aimed for the bottom of the porch stairs. That gave us twelve feet of parking up beside the home.
And wider by the road. There was a depression in the yard there too.. And I have the dirt to fill that. I got tired of walking on the dirt left from the wood walkway… So I started on laying the sidewalk pads. Here’s the before photo..
And this is after starting the walkway.
A bit narrower than the wood walkway but it’s all we need. Also easier to trim the grass. Twelve more slabs to go..
Most of the eleven yards of what’s called road mix. This stuff will pack down like cement. You can see I’m also filling the low part with screened dirt. I’m surprising myself with how quickly I’m moving the pile.
I’ve got the space between the home and the paved parking pad all done. So I’m starting to fill the corner of the home and the first porch. Lot’s of shovel and wheel barrow work later.. And I’ve used what I needed from the pile.
I bought a whole truck load.. ( was cheaper) And look at the big pile left over.. No worries the park has a Skid steer and we will move in to the storage compound. Look at this nice parking area close to the house.
AND.. I got the new sidewalk in place too !
Much better to walk on this.. Planted grass along the edge too.. Only thing left to do is rent a tamper and get the road mix like concrete.. Done.. Only took a few hours with the tamper and we are done.. Here’s the final two photos of this project.
Could pull in further .. But this was an early morning photo op.. Quite the change for this part of the yard.
Now we have lot’s of parking. Now I can move my truck out from under the tree where the birds eat the berries and crap on it. Now I will turn my attention to the next project and start a post for that..
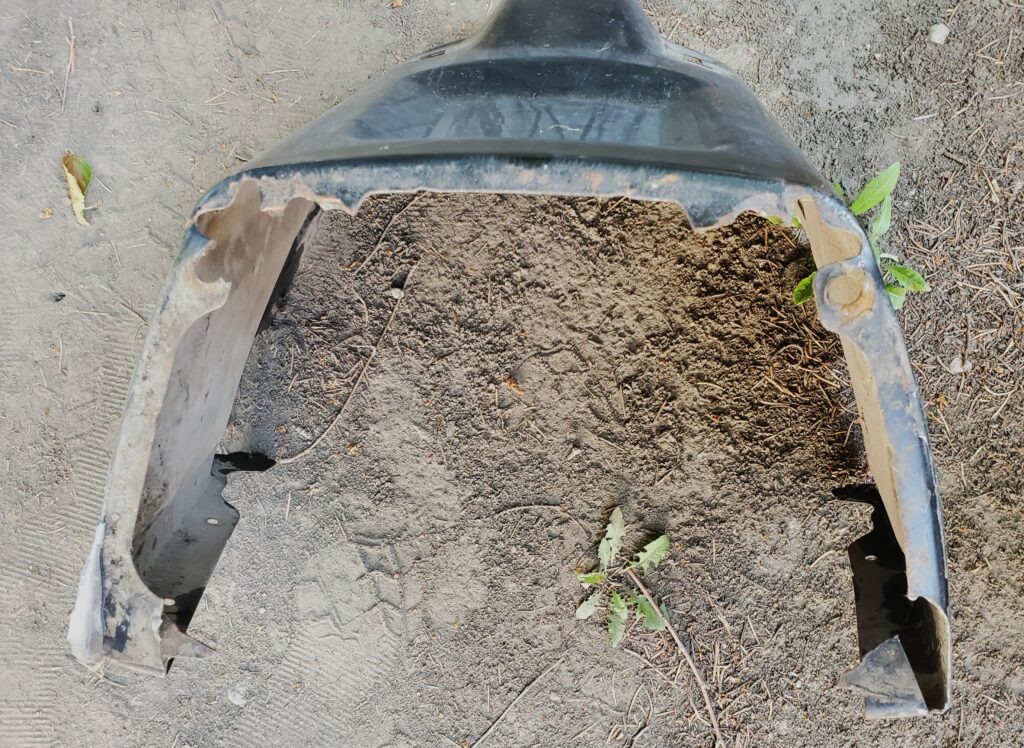
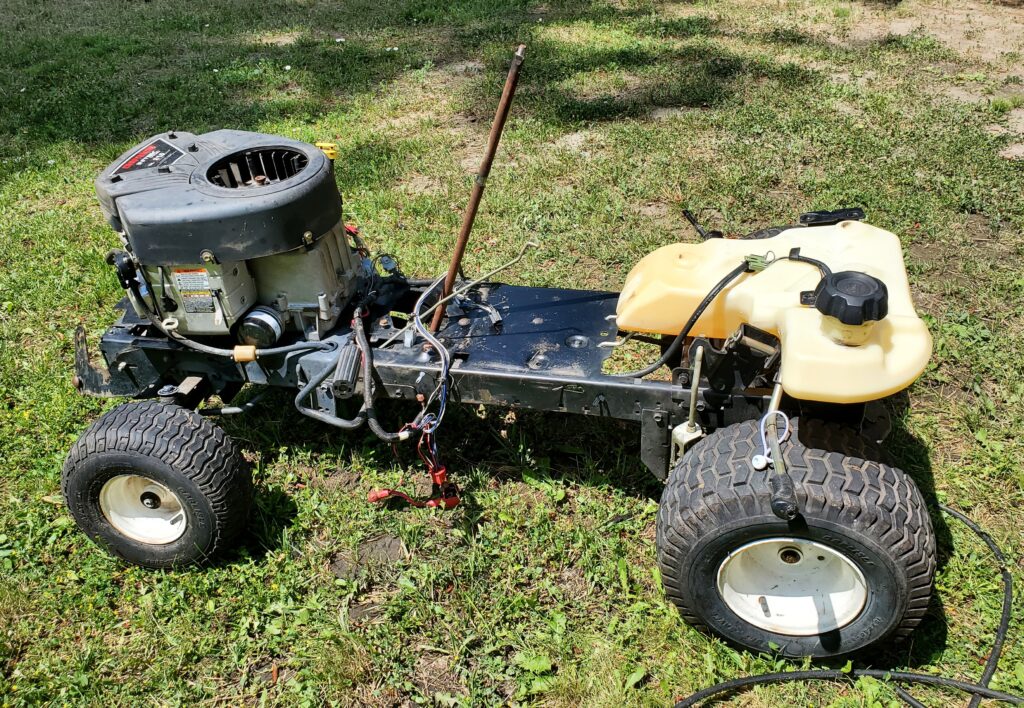
Now that all.. or most of the parts are clean.. It’s time to get things back together. I’m starting with the rear body / deck.. fender.. (whatever) This needs to be in place to create a new base for the dash bottom.
A WAAAAY more metal than the factory had. This will be welded to the base of the dashboard pedestal. And here we have done the welding and painted the base too.
That should fix the bottom.. Now to do something about the bushing halfway up.. Turns out that the bushing is not bad.. There is only a little play in the steering.. Mostly on the gear and steering horn under the tractor. So I’m putting things back together.
Back at it late Sept .
And here’s where I’m at.. New battery, seat cover. And I fixed the hood hinge. One of the other issues with this tractor was the shut off with the key not working. The problem is a typical one with the fuel cut off solenoid not working.
This little doo hicky…Shuts the fuel off when the key is off..(no power) the plunger on this one is not returning to the full up position. New one is ordered. And now installed… And that’s working. I can hear it working. Now I have no power to the starter. This tractor has four safety switches ! Brake/ clutch, seat, mower engage and “mow in reverse ” switch. The later wont prevent a start. But it will shut the motor off if the key isn’t in the “mow in reverse” position. In my opinion TOO MUCH stuff to go wrong. So now I need to trouble shoot at least three of these switches. I do get the push the brake/ clutch in one but the rest I question. Let’s start a new page as I get this tractor ready for prime time..
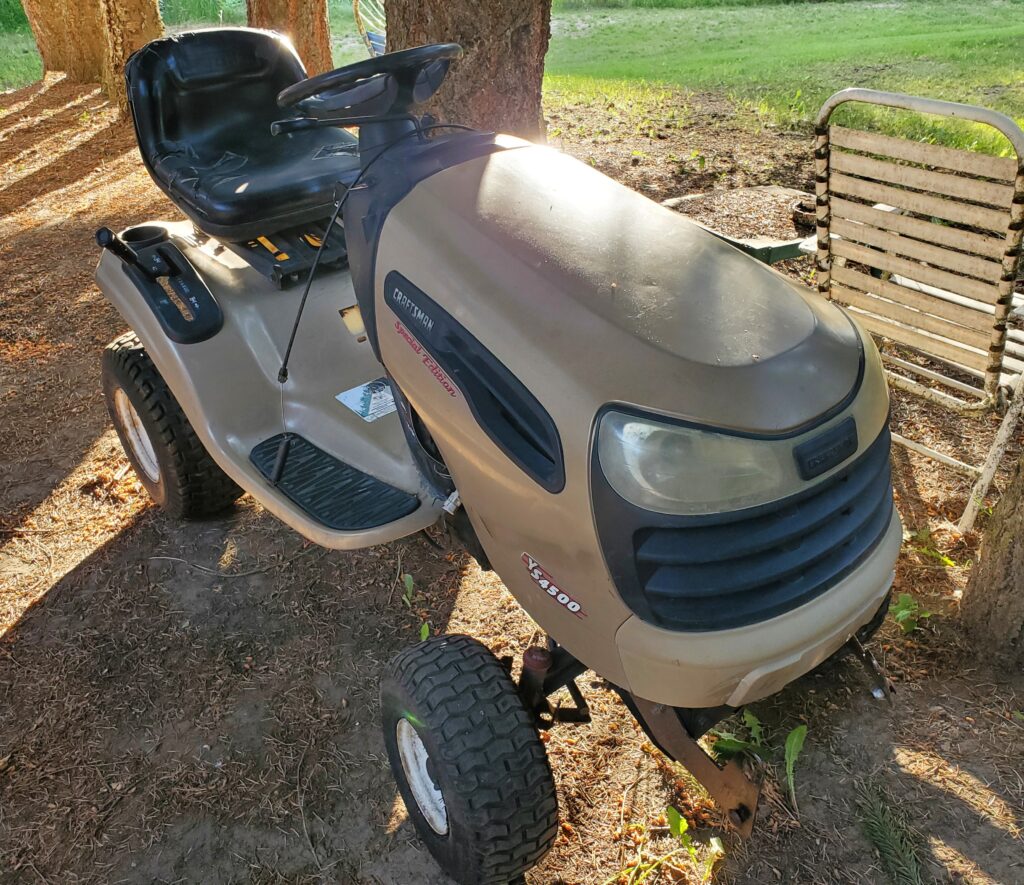
Do I need a tractor to cut the lawn ? Well sort of.. My right leg isn’t working as good … so pushing my EGO mower I run out of steam quickly. Hills like we have are hard. I borrowed one just like this and way easier for me. I feel like I could cut everyone’s grass. So there. Also I got this one cheap.. And yes it needs some work, but we drove it onto the trailer.. It runs ! Yes it has a mower deck. I removed it because they get caught on the ramp of the trailer. This tractor has the “special edition ” decal on the side..And I don’t know what is different ?
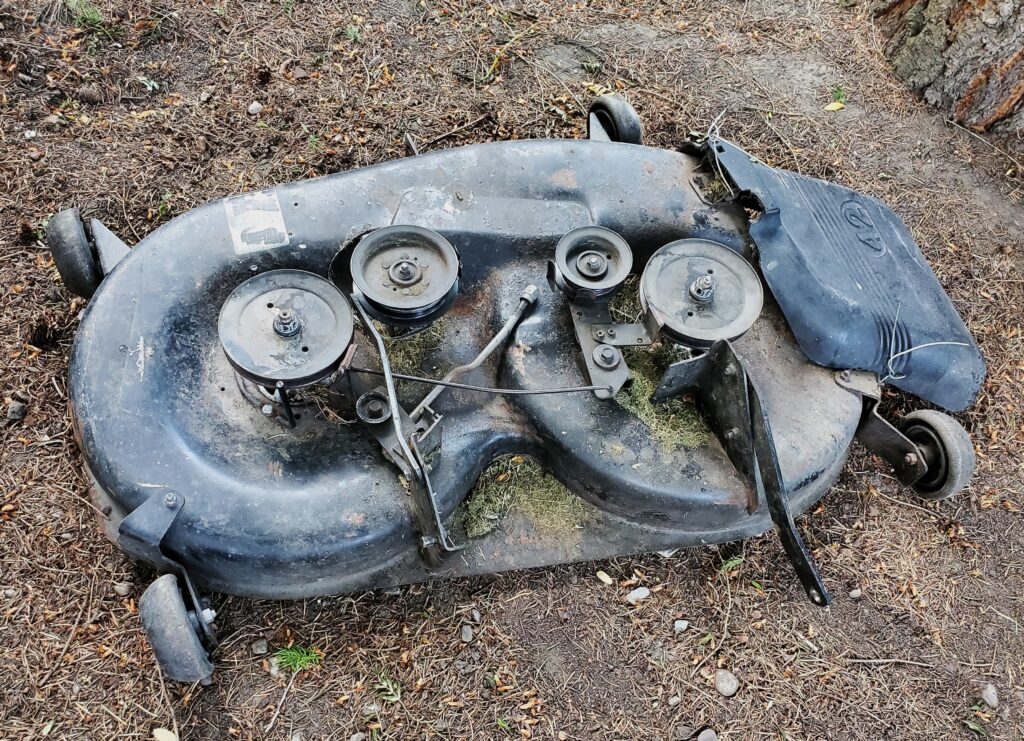
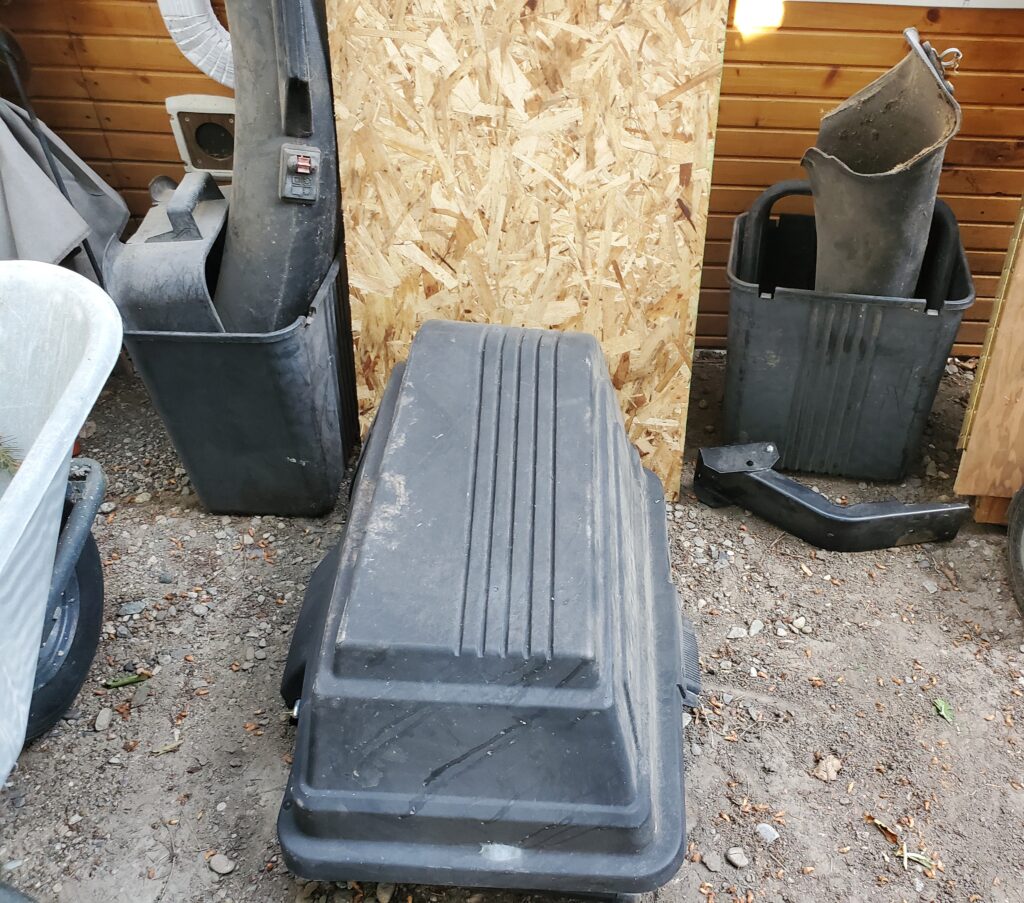
Just your typical 42 ” deck. Not rusty, not missing parts.. Only the plastic chute is held on with wire ! Oh and it came with a bagging system.. BONUS..
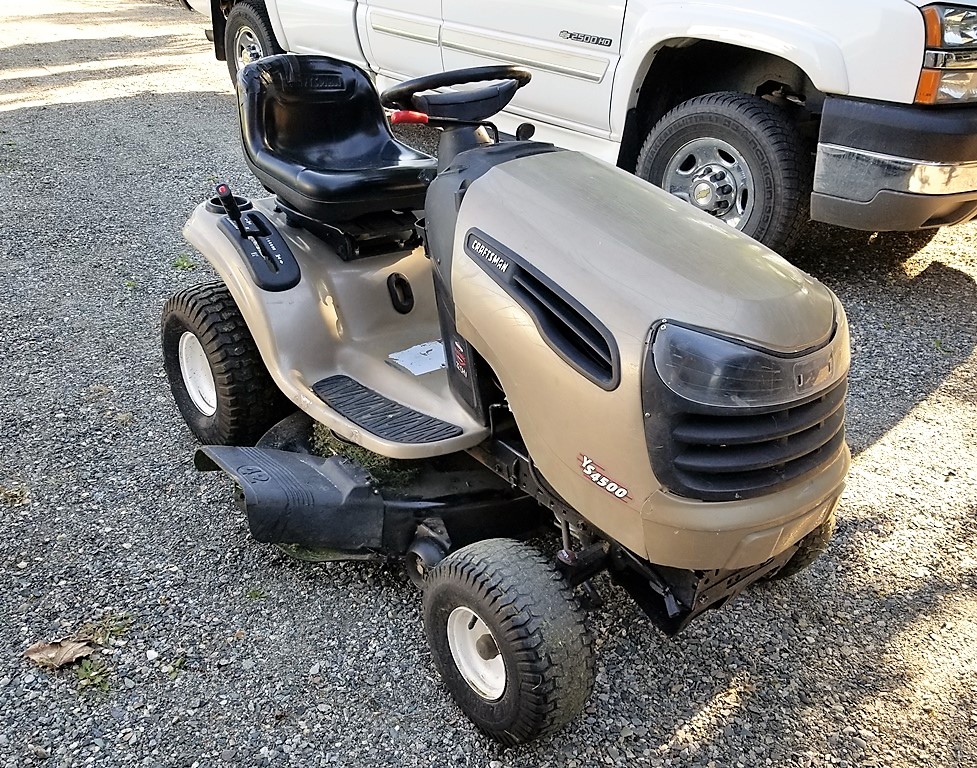
Not broken.. and the good hard bagging system too. This tractor was one of my favourite Craftsman mowers. ( my very favourite has foot pedal controls) But for my needs the leaver control works better. In the past I have had many of this exact tractor go through my shop. So I know all about them. Here’s a photo of one of those.. in better shape ..
Proof ! This photo was taken in May 2018.. And was taken after I worked a little magic on it and now ready to sell. Now fast forward to 2025.. and these are worth much more than the $500 I was asking.. More like $1200. One of the issues that most of these mid 2000’s YT , YS and even the D series had was and weak dash and the metal console that held the steering wheel and other controls. I did a video on the problem and my fix for it. This new YS4500 also has this problem.
Old video from 2016..
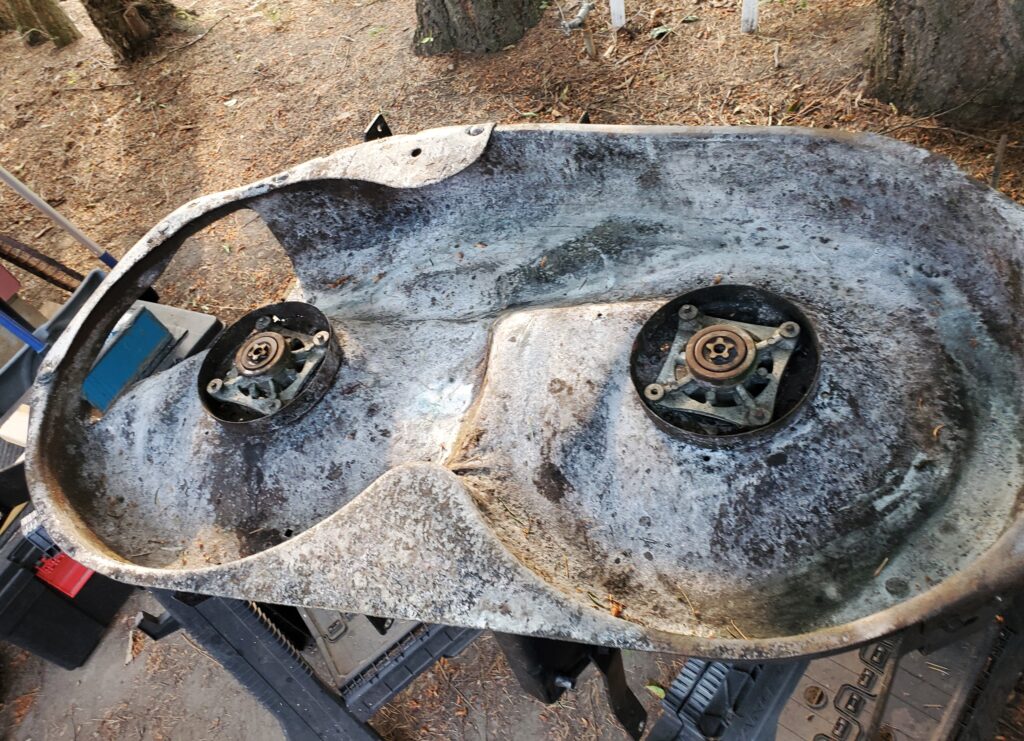
So I have some work to do.. and no shop.. I’m working outside. It’s going to wait till later July after our camping time. However I’m picking away at some things. I’ve cleaned the deck so I can see what’s needed. Blades for sure and the belt that’s missing.. The spindles seem good just need some grease. I’ll need to make a way to mount the deflector back on.. Straighten out a few bent things.. and we are good.
Here’s a short video showing how bad the steering is. The plan is to take that whole dash and tower apart so I can weld some extra support. I’m also working on restoring the deck.. It’s getting a rust treatment with “Krudkutter” as seen in this photo.
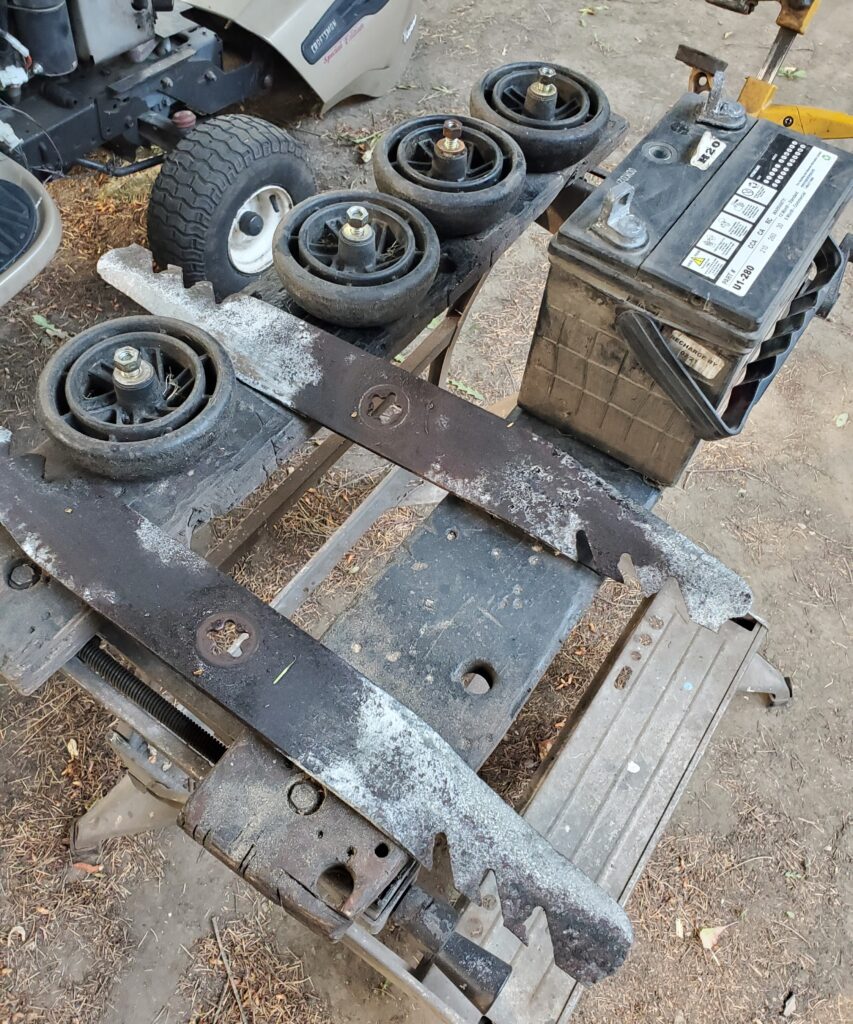
Turns the rust white. And then a coat of paint. The arbours and blade mounts are in very good condition. So are the gauge wheels… Blades not so much.
New blades are on the way. Today I had some spare time so I got to taking the steering and the console / dash apart. A great opportunity to clean some grass and crap out from all the spaces.
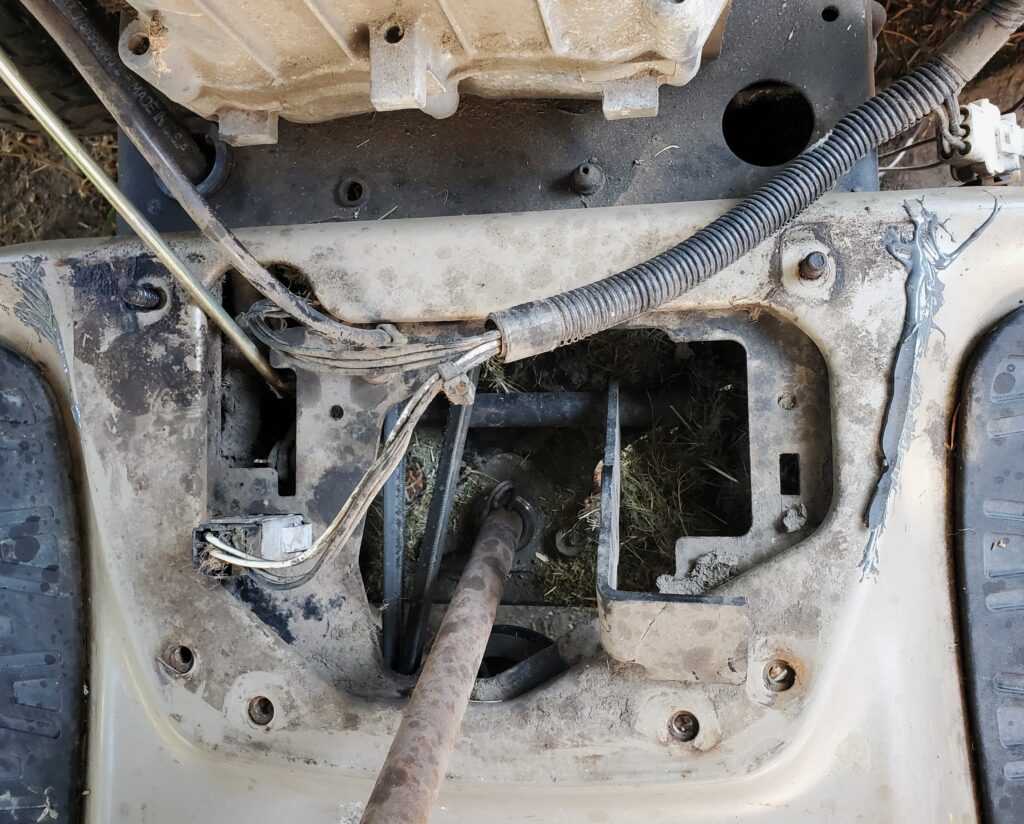
Here’s the bottom of the console. Only one bolt still had the ear to hold it on. And someone used JB weld to “try” and fix it. I will weld new metal, and all six bolts will have something to hold onto.
Here’s where it mounts.. You can do better with wider metal. By the way with the console taken away there is only four more bolts and the fender / foot well comes off for a good cleaning. Which did happen…
There you have it.. I don’t take stuff apart unless I’m going to clean it. And ! The the naked tractor is very easy to clean…
I should have done a before & after photo.. Trust me it was very dirty. Good time to lubricate the moving parts now. Then put the body back on.. And that’s a good place for a new page…
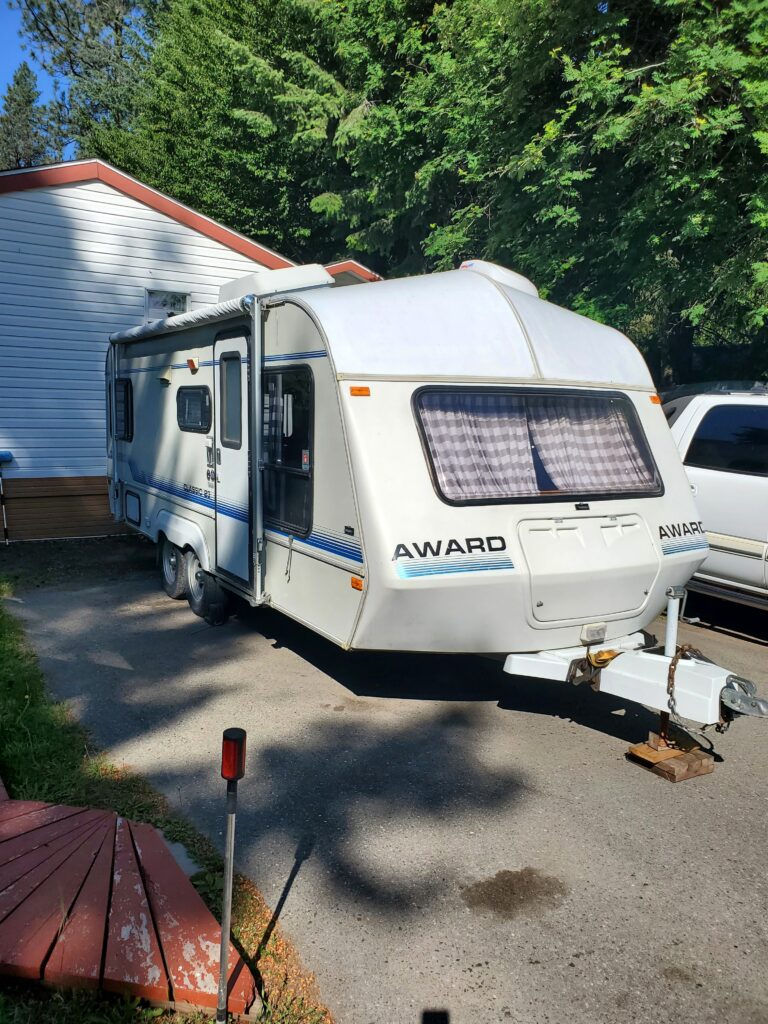
New home … New place to park the Award.. And some work to do.
June 2025 :
And here we are in the driveway of our new home in Grand Forks. Ready to do some work before “Family Camp”. I have a list of things to do and a month to do them. I’ll start by removing the heavy dinette at the front of the trailer.
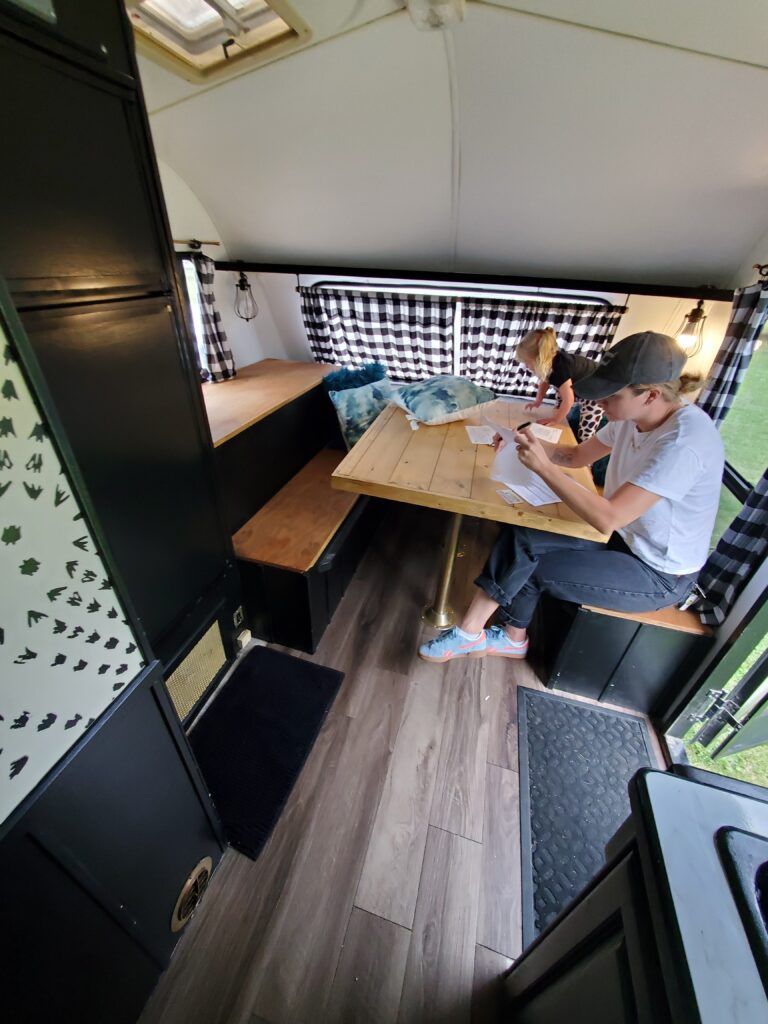
This photo is from when I was buying the Award. That lady is responsible for a black & white decor.. The table was taken out last year… Now to deal with the rest.
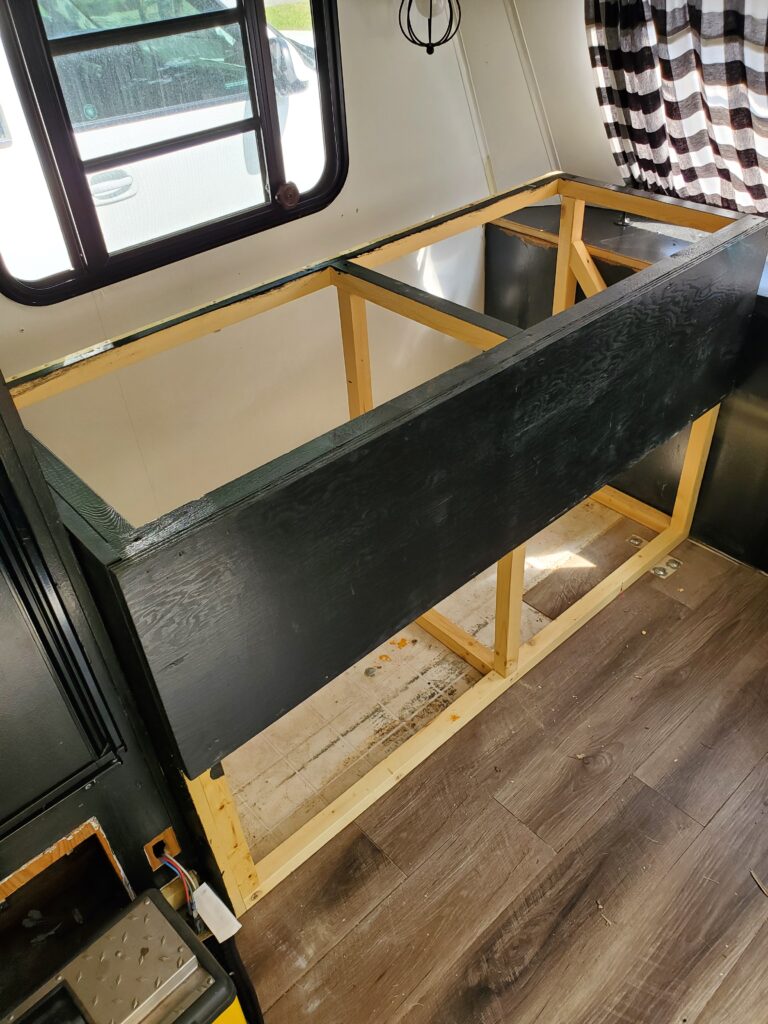
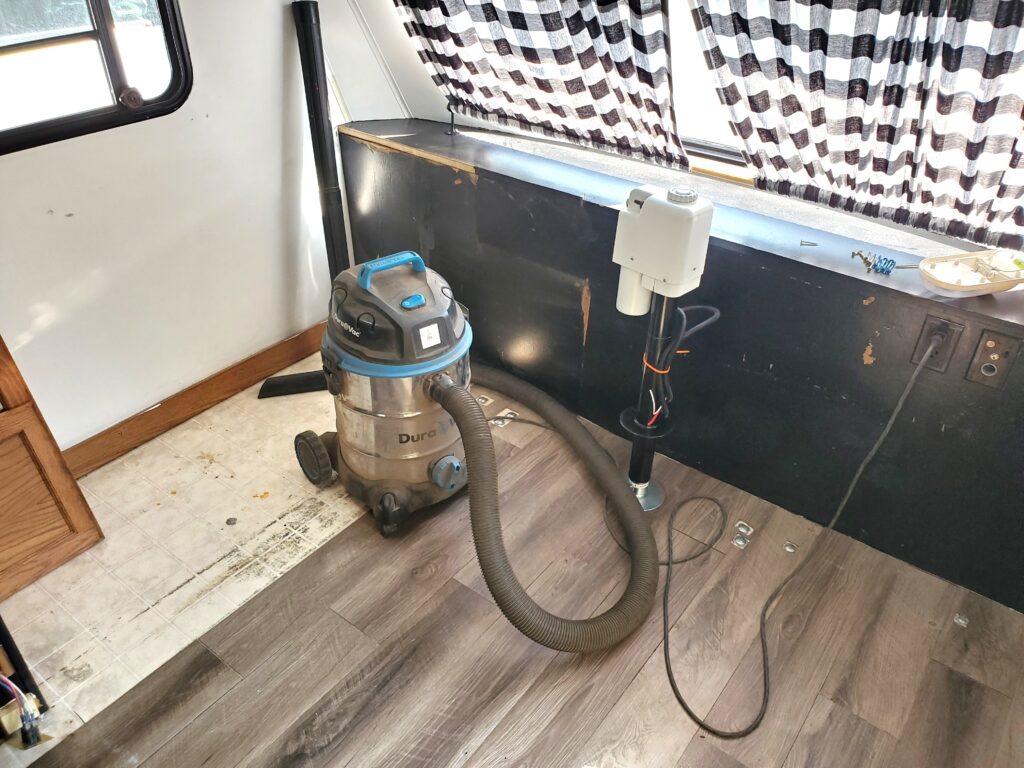
Wasn’t hard to remove the cabinets.. Now we have lots of room . However the flooring did not go under this side of the cabinets.
This one of two dinette seats. Well built ..seams a waste.. Maybe I can “re purpose” them.
We will use some carpet that our friends removed from a bedroom to solve the lack of flooring. At least for this summer. Here’s a video I made today…
Ok.. Let’s make a list of the things I will do this month. Outside stuff first:
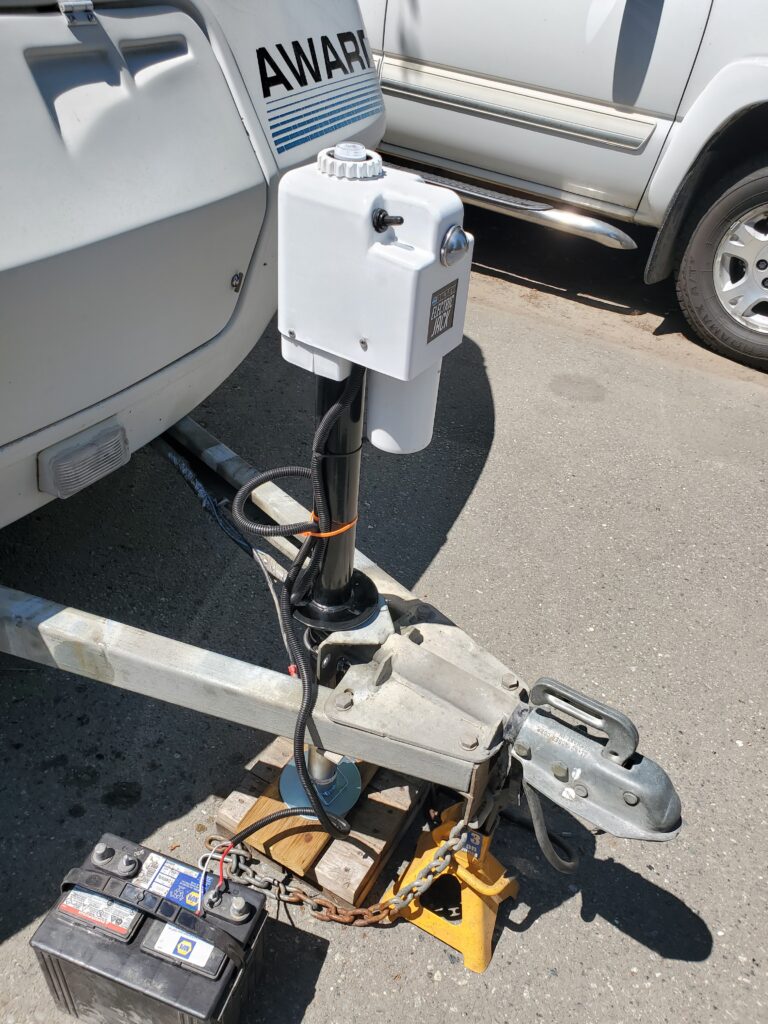
Install the new power tongue jack.
Clean and lubricate the stabizers
Replace the drain valves on the grey and black tanks.
Replacing some light bulbs.
Lifting the wheels and checking the bearings and brakes
Lastly a good bath !
And for the interior….
Touching up the black paint.
Replacing the front room light and fixing the ceiling finish.
Installing a new corner cabinet.
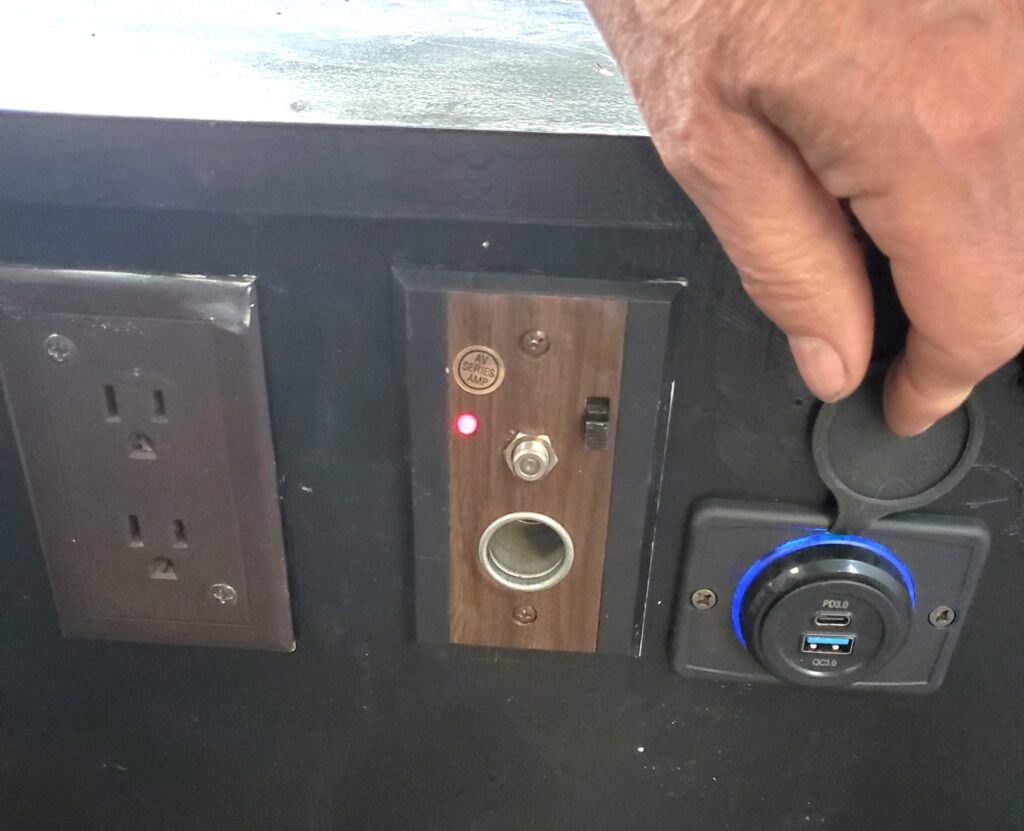
Replacing the TV hook up with a USB charging plate.
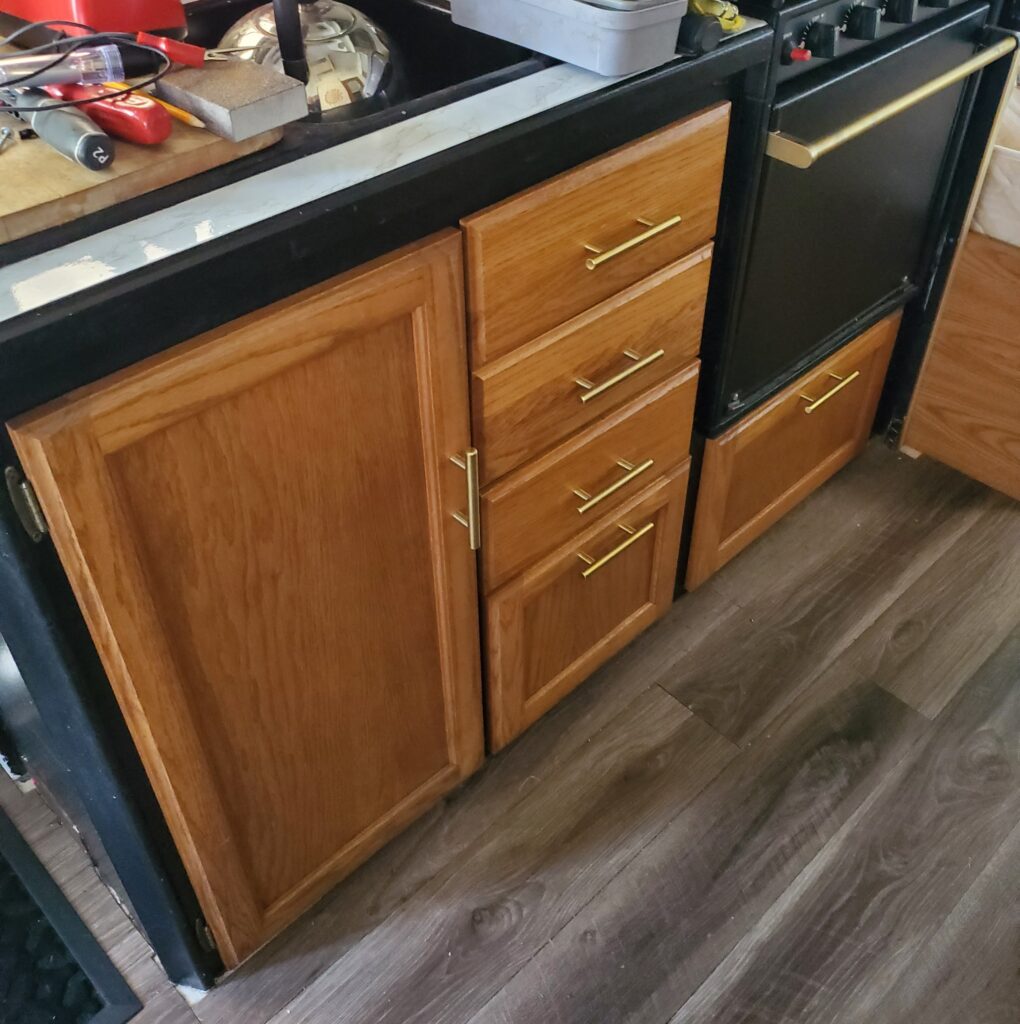
Replacing the newly finished cabinet doors.
Removing the bedroom blinds and installing curtains.
building a night stand.
Install the new hot water tank bypass.
Water up the plumbing and test for leaks
Install carpet in the bedroom and front room.
And of coarse there will be other details.
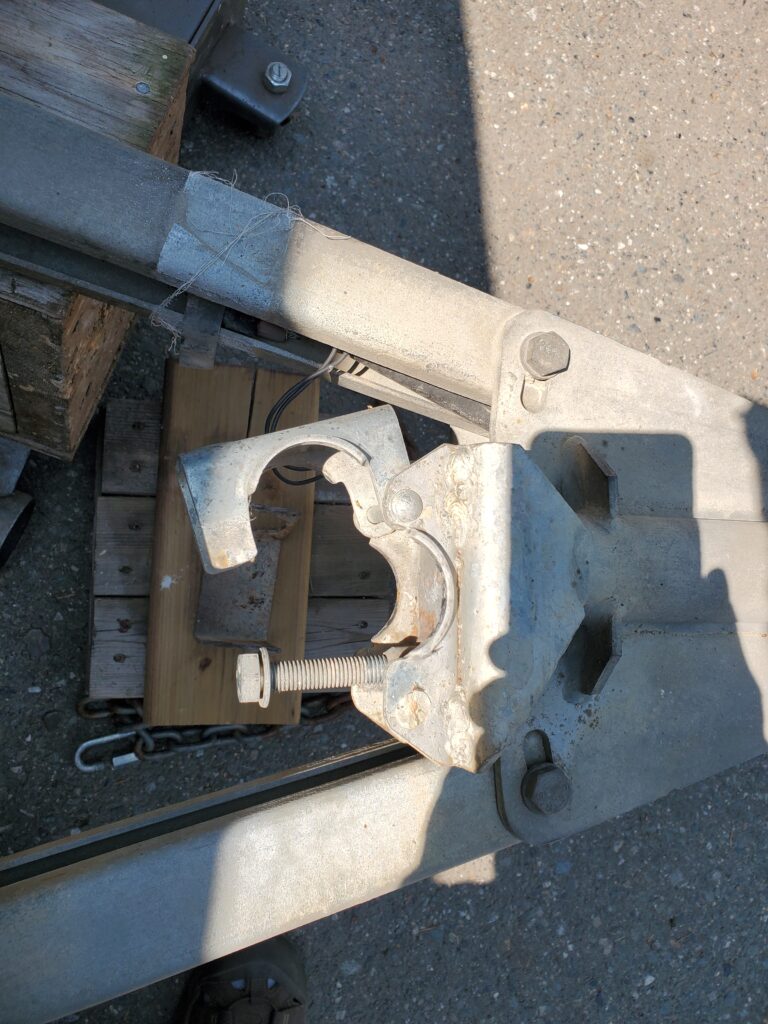
Here’s the first snag.. The jack does not fit the clamp.
That clamp is for a 2 inch diameter jack and the electric ones are all 2-1/4 ” So this needs to be modified. I removed the clamp and there was four holes which fit a 2-1/4″ muffler clamp. Bolted and welded… Not a problem for a cutoff wheel. So two clamps and that worked great.
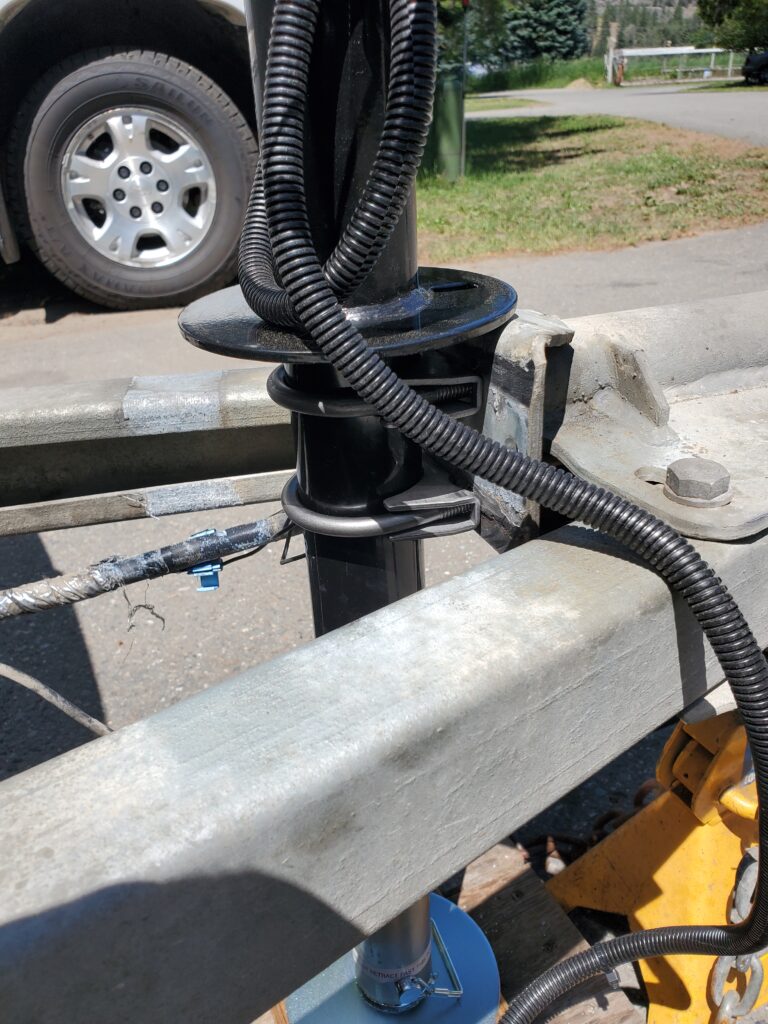
Just need to patch the wires in to the cable (seen on the left) and we are done.
Nice big removable foot and that tucks up high for travel. So with that done I’m going to concentrate on the interior so we can get the out fitting done. The black paint is touched up and cupboard door installed.
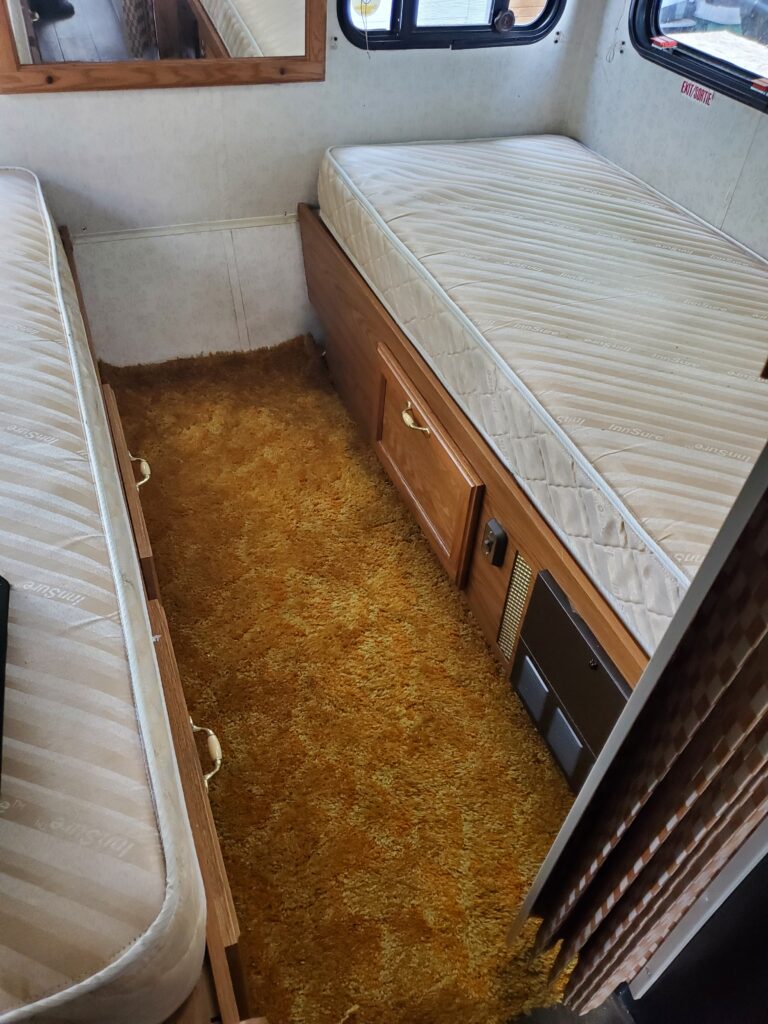
That’s looks better than just black.. I cut a piece of the carpet for the bedroom floor..
That’s a nice soft place now. The accordion door is back too.. Then I did take time to install a USB charging port on the front wall where we will sit..
That will be handy. Next will be the carpet for the front space in the trailer. And the bedroom curtains.
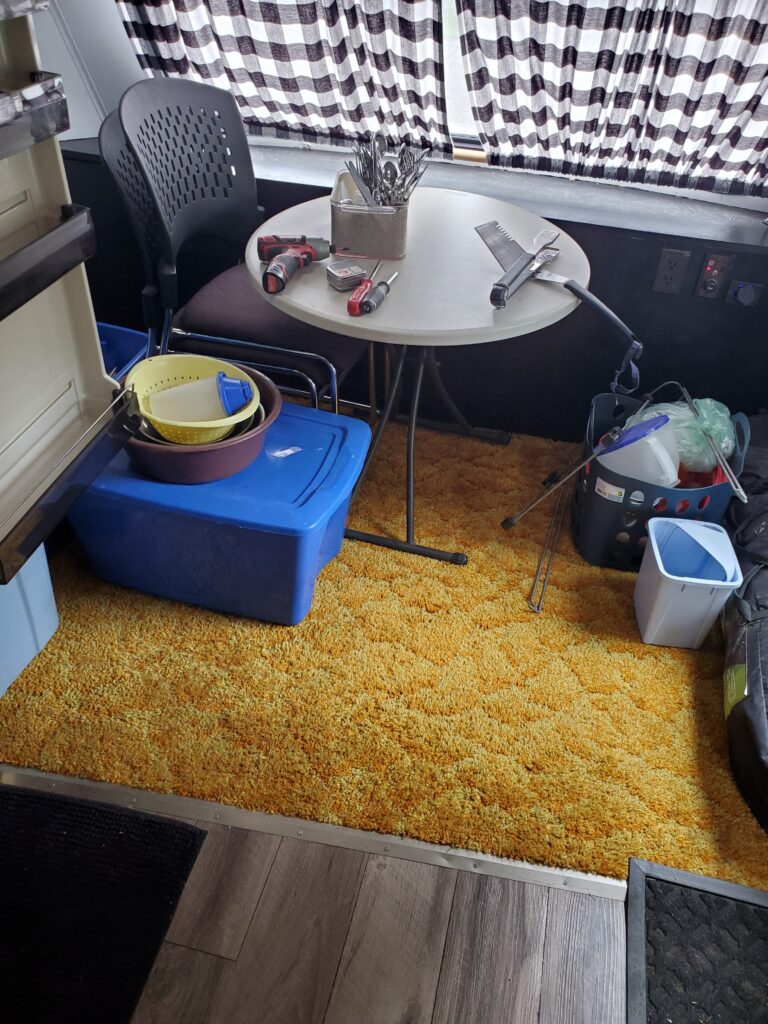
The new carpet.. Hey it’s what we have.. Only for this year.. The table and the two chairs you see are what we will use. Tubs will work as storage for this year too.
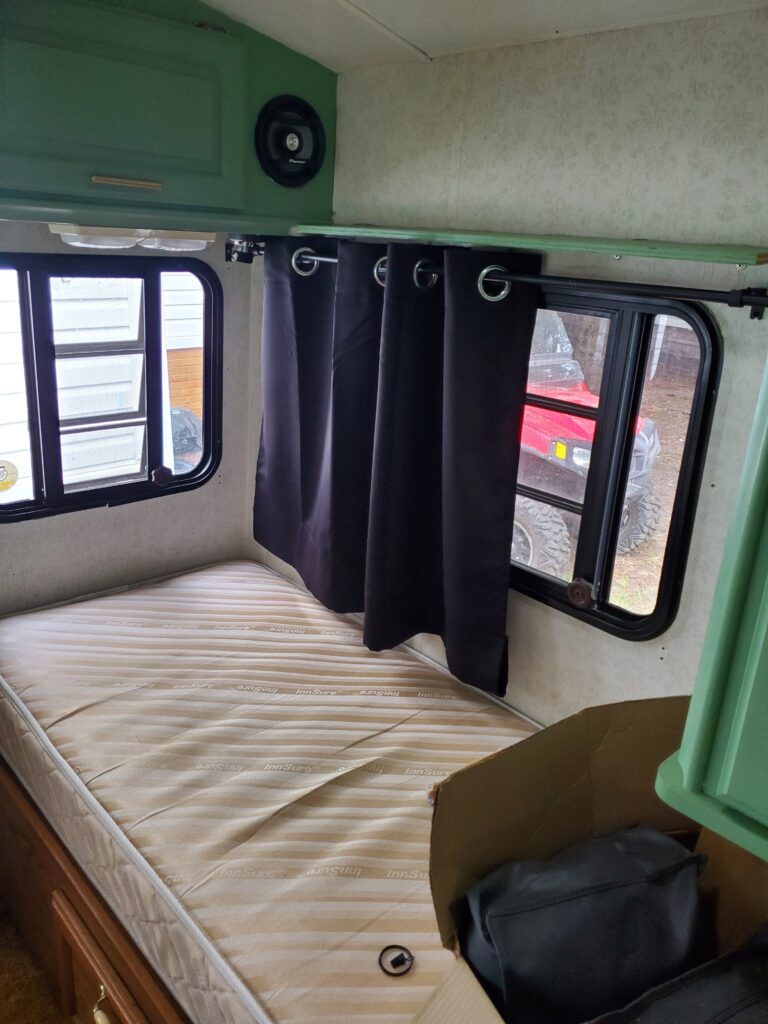
Here’s what the blackout curtains look like. The mini blinds went to the dumpster.
Camping July 2025:
The Award was great . The twin beds worked good for us as well. What did not work was the AC.. Fortunately the weather was not super hot. In fact it was great! We set up our usual cabana with the awnings. I was able to pull out Award in and then jack-knife it into position and get my truck out without leaving the gravel pad. Try that with any other trailer.
It’s nice to have a door that works and only one step up on a new bigger step. Dumping the tanks was super easy, and I have already winterized the Award trailer. And it’s tucked away in the storage yard at the end of our street..
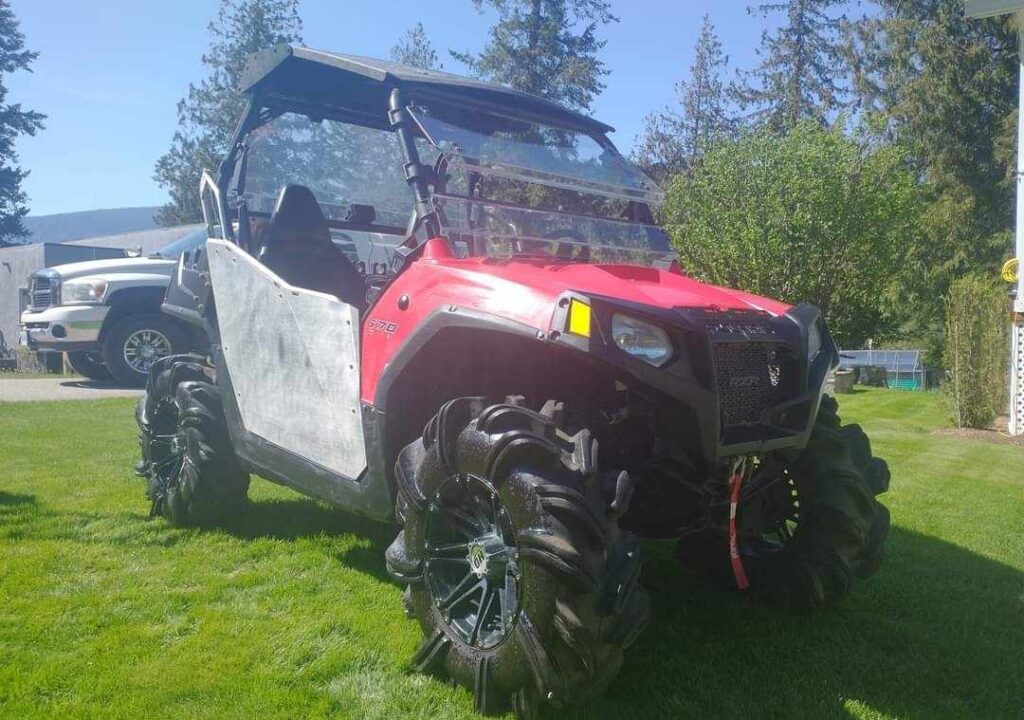
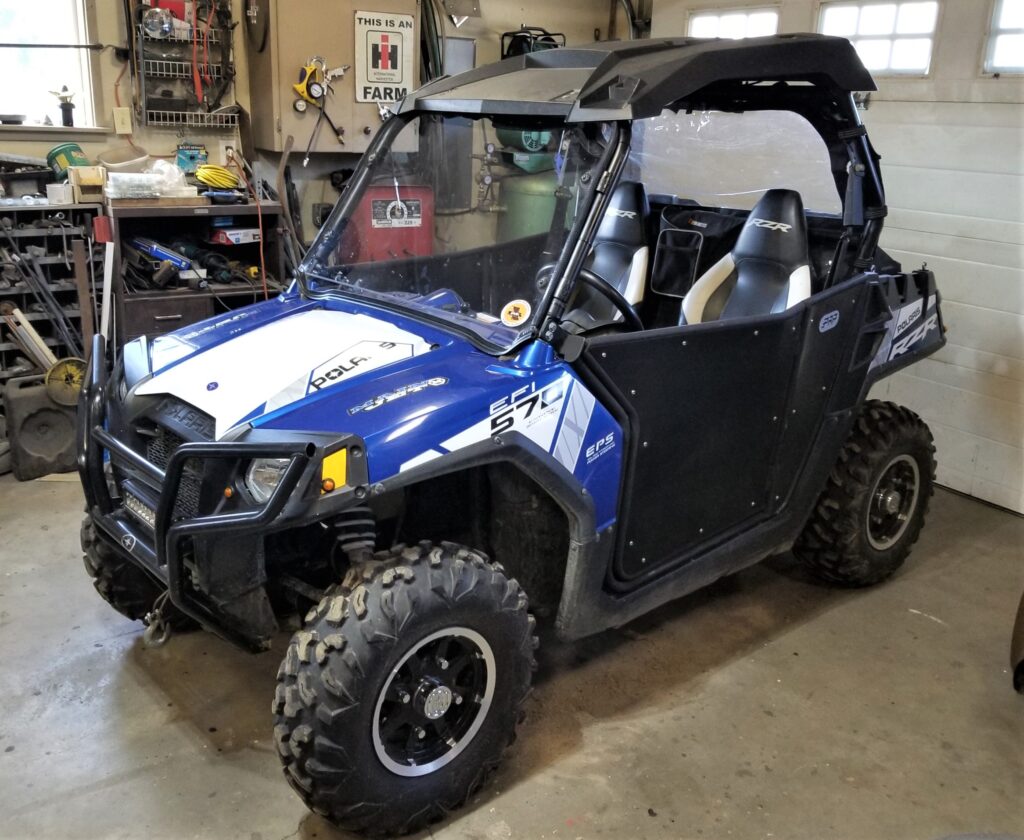
2014 Polaris 570 RZR.. ( like the one I gave up ) But with monster wheels !
The best deal on Marketplace was only an hours drive. With almost all the goodies I like. Plus one thing I did not have..However those HUGE wheels need to go bye bye.. They give the ATV a lumpy ride. I have a set of stock wheels to replace them and I’ll sell the big set. I did have a few extra features on my previous 570 RZR, like power steering, glove box, Here’s a photo from the past..
I also had a bush guard and a LED light bar. And in the back a nice lockable trunk that fit my chainsaw. But you know I will personalize the new RZR.
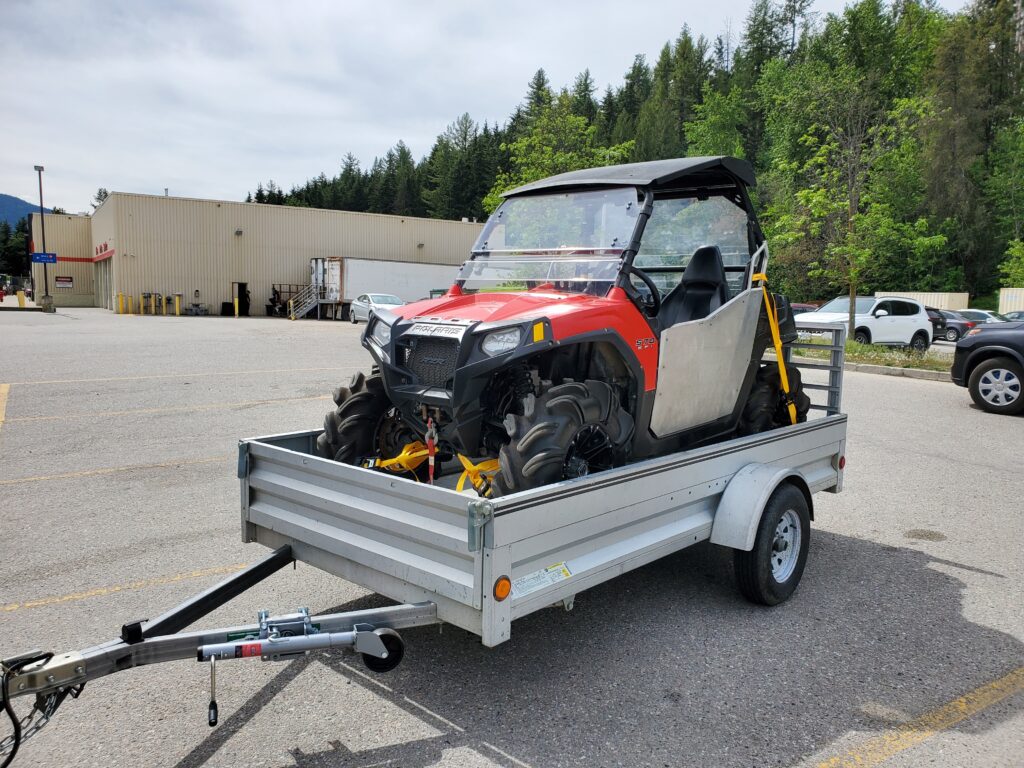
So I had already purchased a good trailer in anticipation of finding a 570 RZR. And it turned out to be the perfect size and tows very nice.
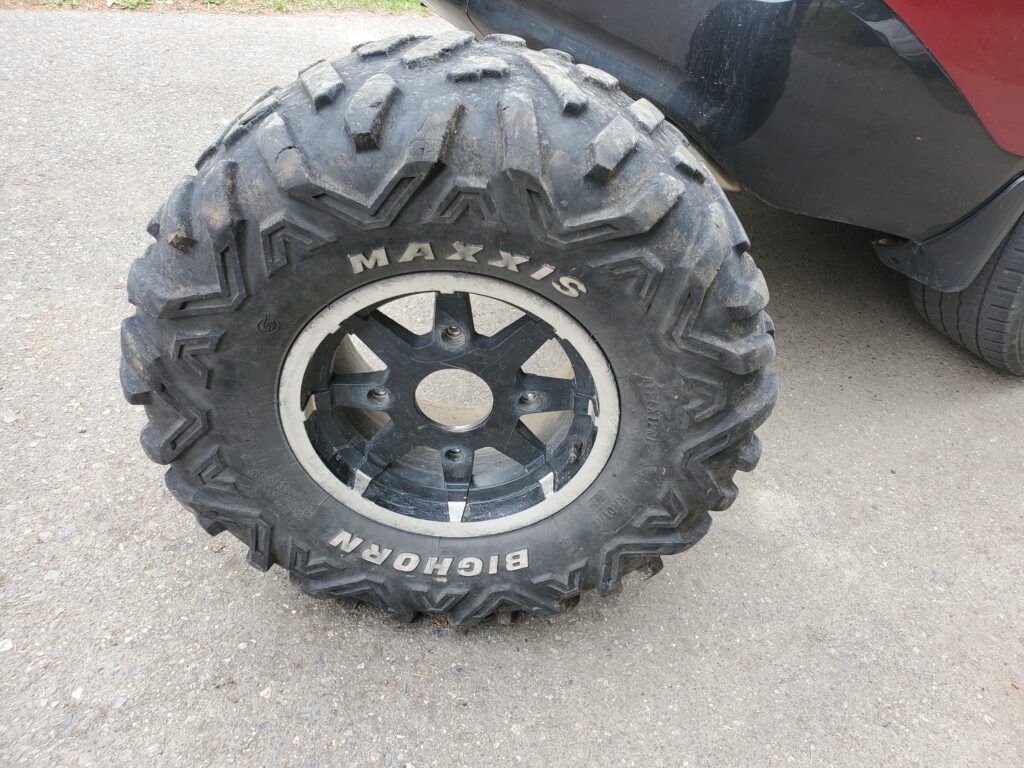
I’ll be storing the RZR in the trailer with a cover (ordered). Remember I bought a set of factory wheels with tires from a local person.. They are the perfect size for the 570 RZR, and look the same as what I had before. However the tires are badly worn. New tires have been ordered.
Missing the centre caps , Oh well . Mechanically the new RZR is good.. I did drive it on a trail for a km, and ran it through the gears.. All good ! But any thoughts of keeping those big wheels disappeared…with a rough ride.. and they rub while steering.
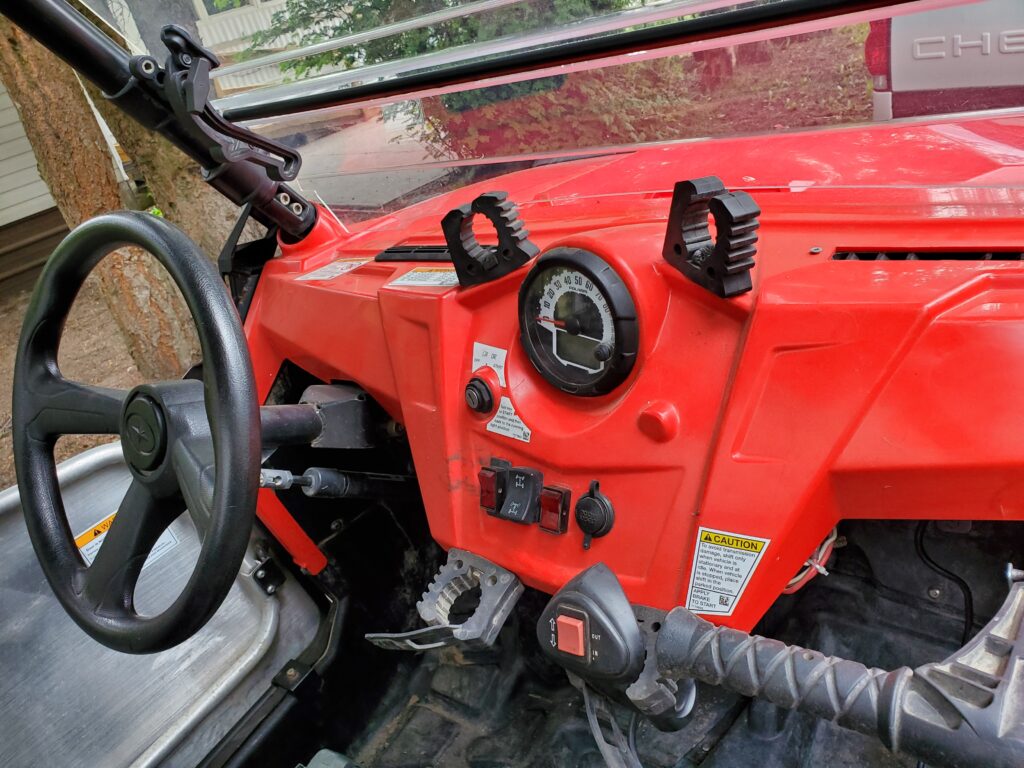
Comes with Polaris aluminum doors. The seats are good , and that bag between the seats is the same bag I had.. Handy! Not sure about those ammo boxes in front of the seats. The dash is a little bit messy. I’ll need more switches when I’m done adding things. Ordered the switch plate that holds five rocker switches.
The far left switch is for the heater fan !!! Yes this RZR has HEAT. You can see the defrost vents. The next switch is of coarse the factory 4 wheel drive switch. The little red switch is an interior light on the roof. I’m thinking of changing that to one with it’s own switch. And of coarse the standard 12 volt outlet. That will get moved to on the top of the dash for a future GPS. And the winch control will change to a wireless one, plus a dash switch.
Here we go !
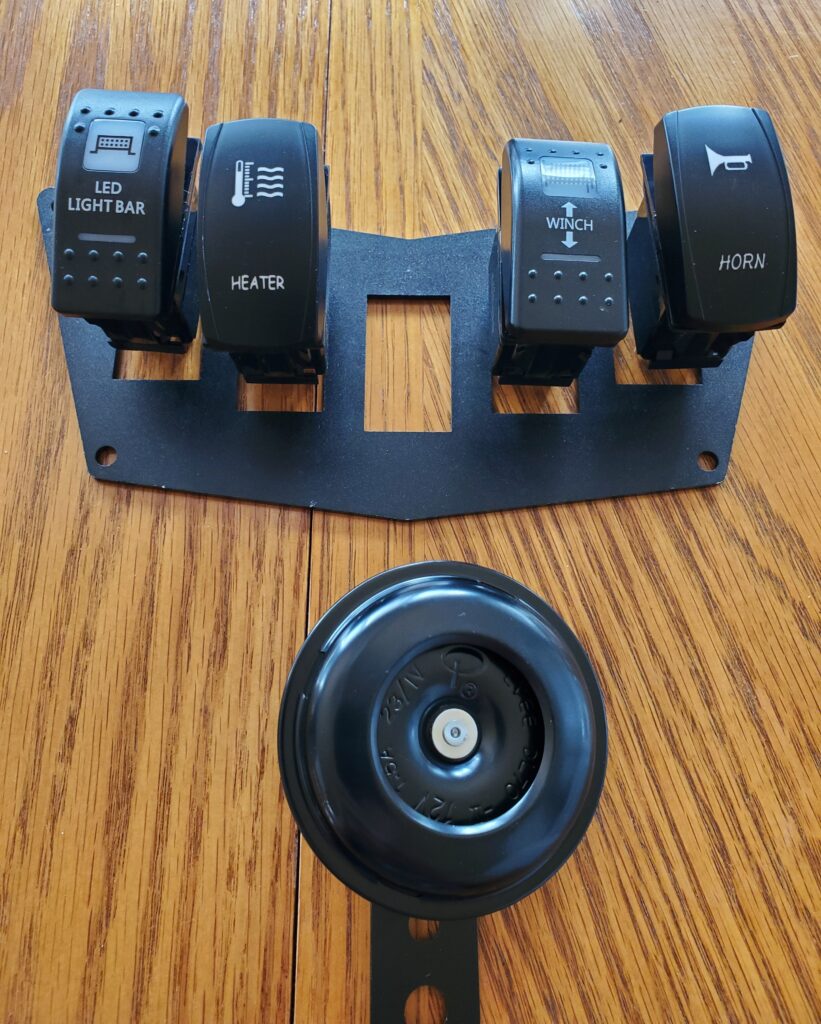
A whole bunch of goodies came this week. That will clean up the dash, give me a horn, and identify themselves. And here they are..
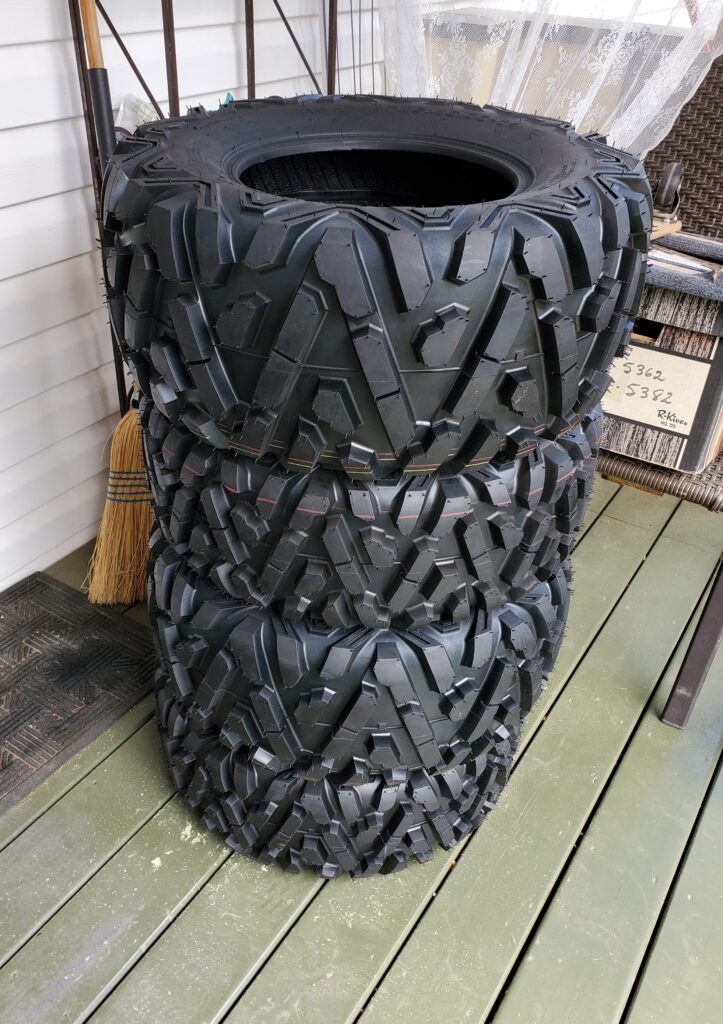
They make a nice lighted rocker switch for everything ! In the middle slot will be the factory 4×4 switch. Not sure about the placement order of the switches yet.. Hey my new tires have arrived.
The proper size and hopefully a smoother ride.
Update.. All serviced now and the new tires installed. Removed a few annoying things..
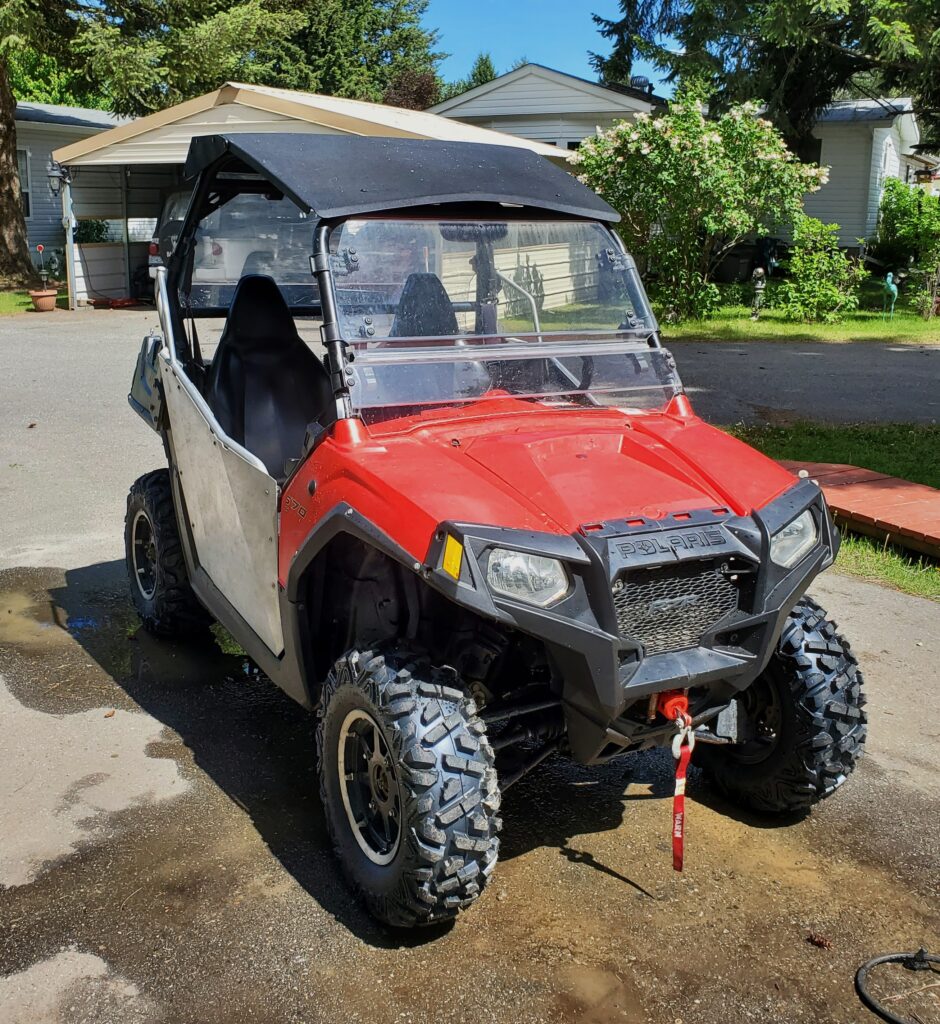
And now introducing my new 570 RZR…
Don’t those wheels look more realistic. There is still a few things to do on the dash.. But for now it’s back on the trailer with the cover on. Maybe a few rides in June . Oh And I did sell those big tires and wheels.. Looking forward to hitting the trails..
Mid June 2025:
Yes I did get to go on a ride. It was great ! Despite the dust I was very happy to be out on the trails again. 71 kms and the Red RZR did just fine.. Only one hiccup with the headlights not working in the tunnel. I just assume they would work ..but nope.. So I’ll have to have a look see what’s going on there. Could just be the switch. Any way I shot a quick video on the rail trail at the first tunnel. The camera adjusted to the lack of light ,but my eye’s didn’t.
Another ride is planned for the end of the month, and I’ll have a better mount for the camera. And I’ll have the headlights working too by then.
Update: July 2025:
Well since that ride I have been on one other group ride up in the Phoenix area. All day with lots of exploring… Dave came along for the ride.
Visited lots of the great places like this hut for the skiers.
Aug 8 2025:
Tomorrow is another club ride. This time up on the top of the Paulson pass. I’m taking a friend on this one too. Today I finished up the new switches !
Ta Da ! Heater, winch, 4X4, LED Light Bar ( later) and the horn… Beep Beep. Also two (yes two) 12 volt power outlets. Only the winch has full time power.. the others are off with the key switch.
The ride up in and all over the Paulson highlands was great.. Most places I have never been.. The trails were great and varied from a road to just through the bush. Also included a part of the rail trail I have never been on.
This was lunch at the bulldog tunnel.. Weather was great!
This was a part of the rail trail going down to Castlegar. With great views of the Arrow lake. Needed a good bath after that ride. And my Light bar came so on it went.
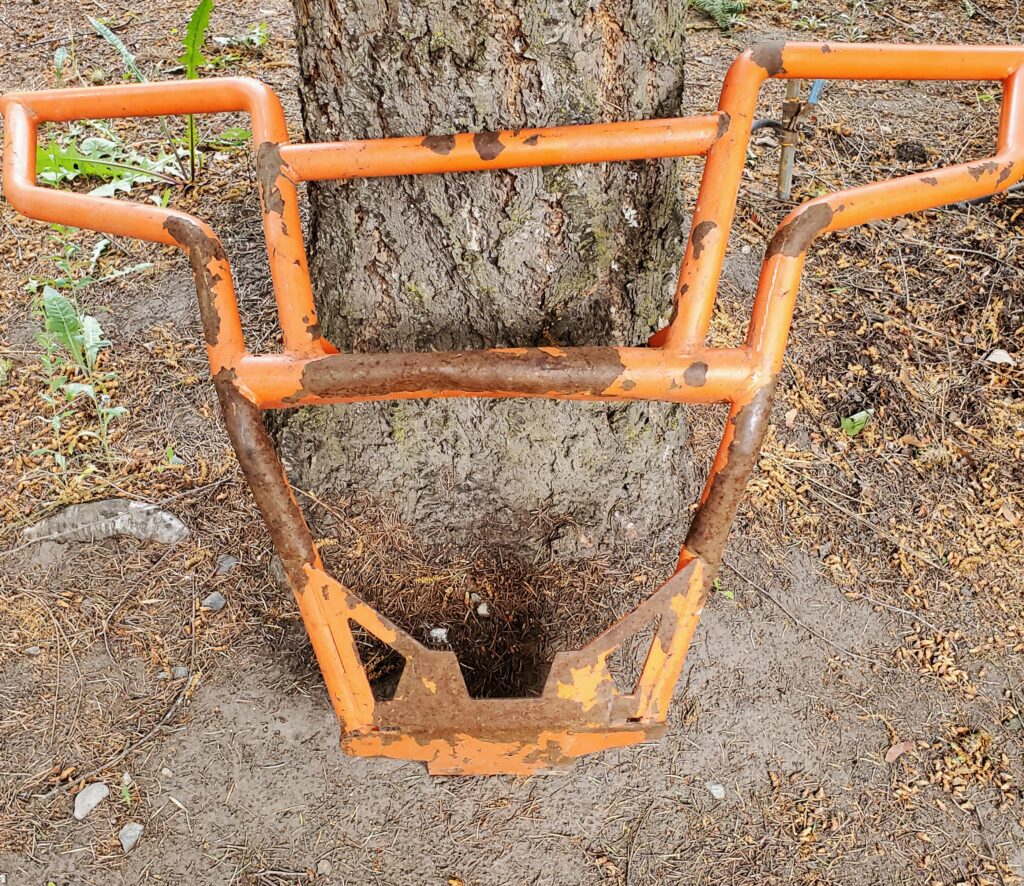
Hoping this is a good place.. Not my first choice but easy to do. Without a bush bar I fear for it’s survival. We drive over a lot of bushes, and if it was out front would take a lot of that abuse.
Update …2026 Season..
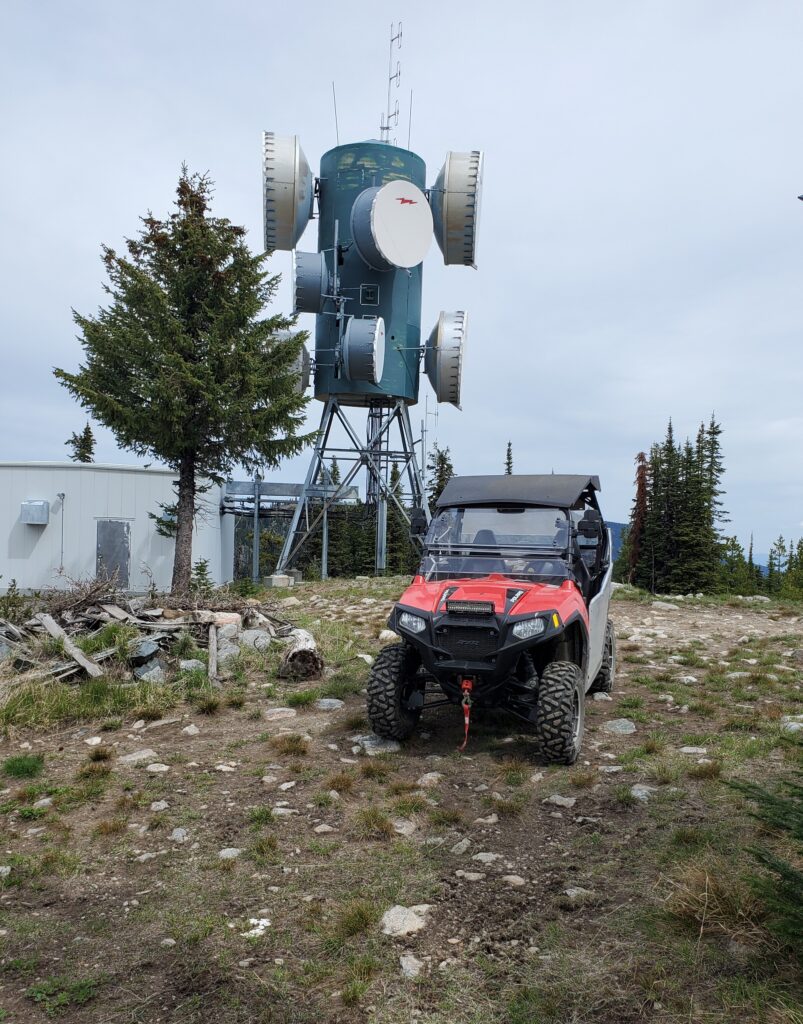
The RZR has been for many rides this year. No problems at all. Climbed some nasty mountains. Crossed rivers. And Drove on lot’s of rocky trails.
Here we are on top of Mount Rodrick Duh. It’s been good to me.. So I’m rewarding the RZR with a new overhead storage bag and I found a rough but good enough bush bar for the front.
I will of coarse straighten it up a bit and paint it red.
This has worked out very well for us.. Buying a place without seeing it ( other that photos) is a bit scary. But we were not disappointed. The house was clean, and all in very good condition. Having to wait a day for our stuff to arrive was ok. Gave me a chance to remove the TV shelve and mount in the livingroom. AND also really look to see where things will go..
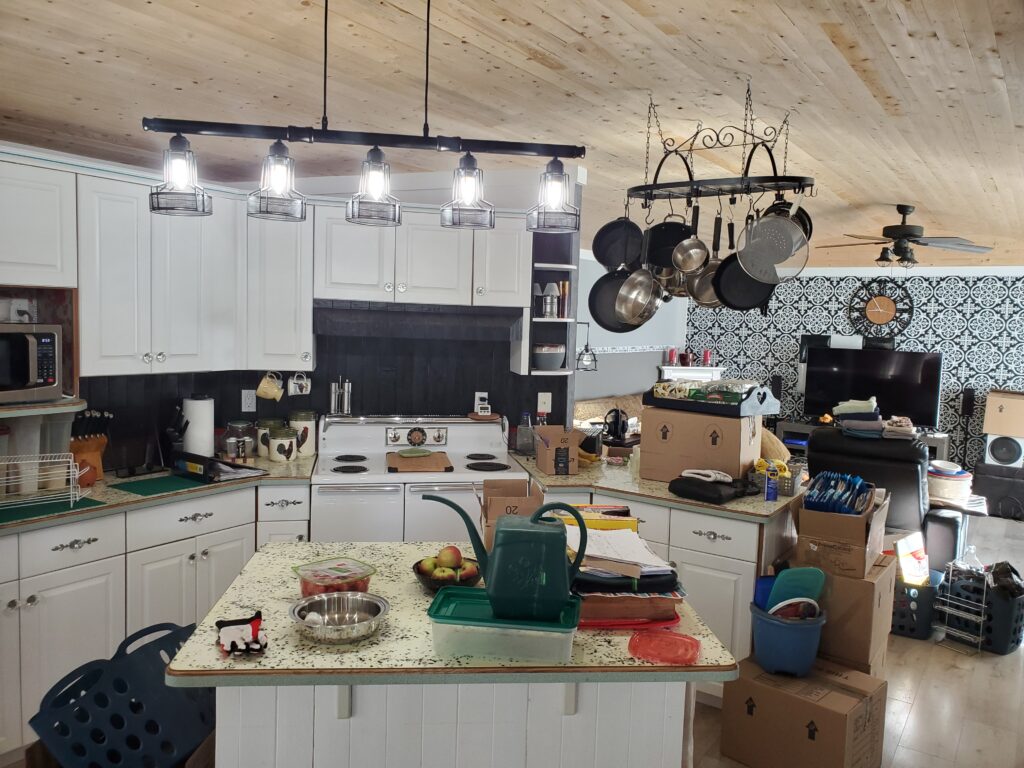
Boxes everywhere ! This photo shows a day later when most of those were gone, and most things found their home. Here we are in a Modular Home.. And the rooms are bigger than in our other houses. We love it ! Yes some decor is not what we like but some of it grows on you..
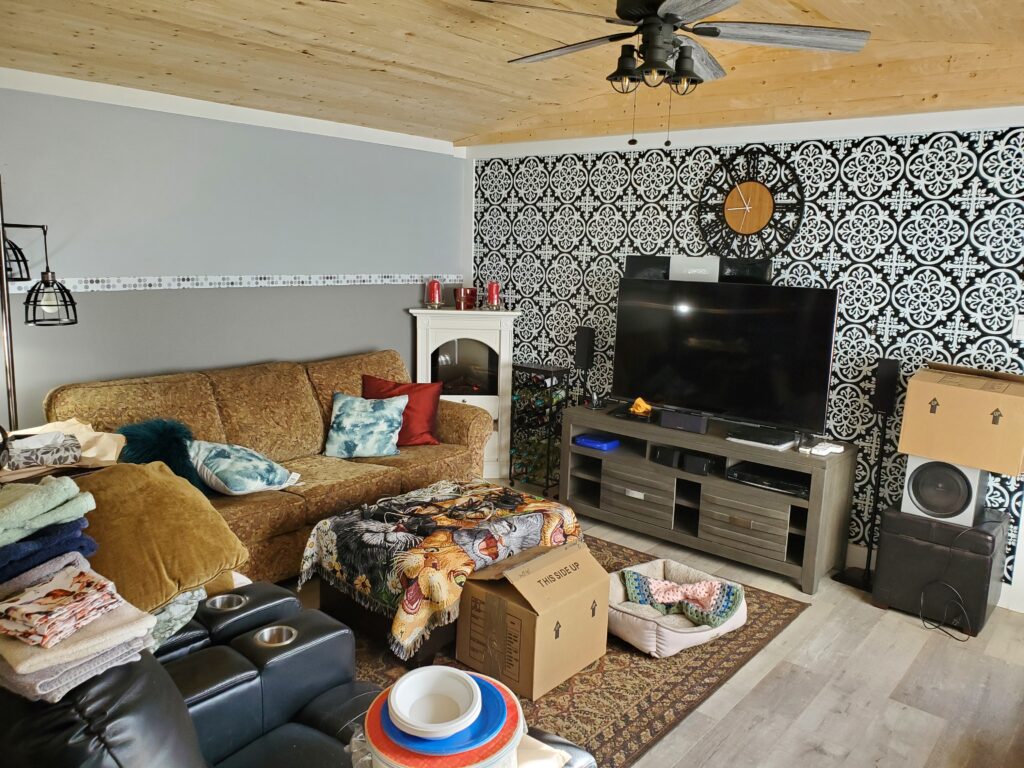
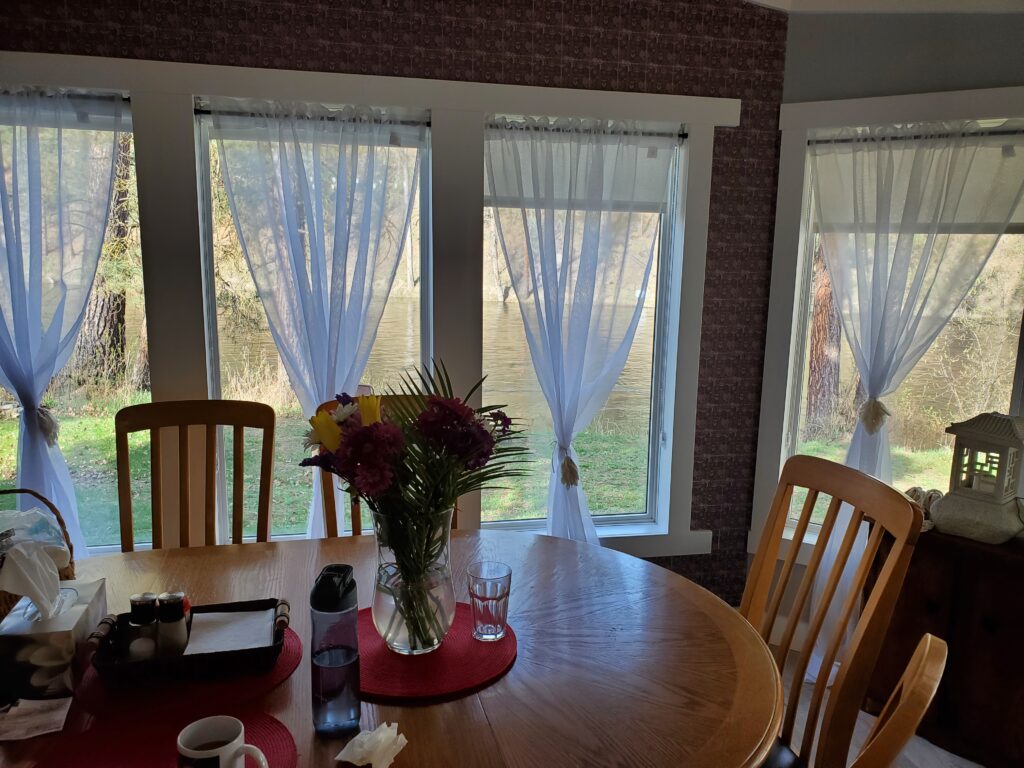
Our furniture fits just fine in this room.. But that wall behind the TV … we all can agree that needs to go. No it’s not wallpaper.. it’s floor tiles ! It would be best just to continue the lighter Gray paint there. There’s more to like about our new home than a bit of questionable decor. Every room has ceiling fans and very nice lighting. Two full size bathrooms, the en-suite has a wonderful large shower. And let’s not forget the view out the dinning room windows.
Yup.. That’s the Kettle River out there. And nothing but a hillside on the other side.
It’s been just over three weeks since we arrived here and we are loving it.. Feel very fortunate to have such a lovely place to live. I made three videos that say it all..
And this next one is a tour of the yard..
And finally an interior tour. All shot with my DJI action 4 camera.
So as you can see it didn’t take long to settle in. Still a few things to do ..but no hurry now. Even the cat is settled in just fine. I’ll close this chapter for now.. Thanks for following.
Welcome to the second page of my moving post. The packing up phase !
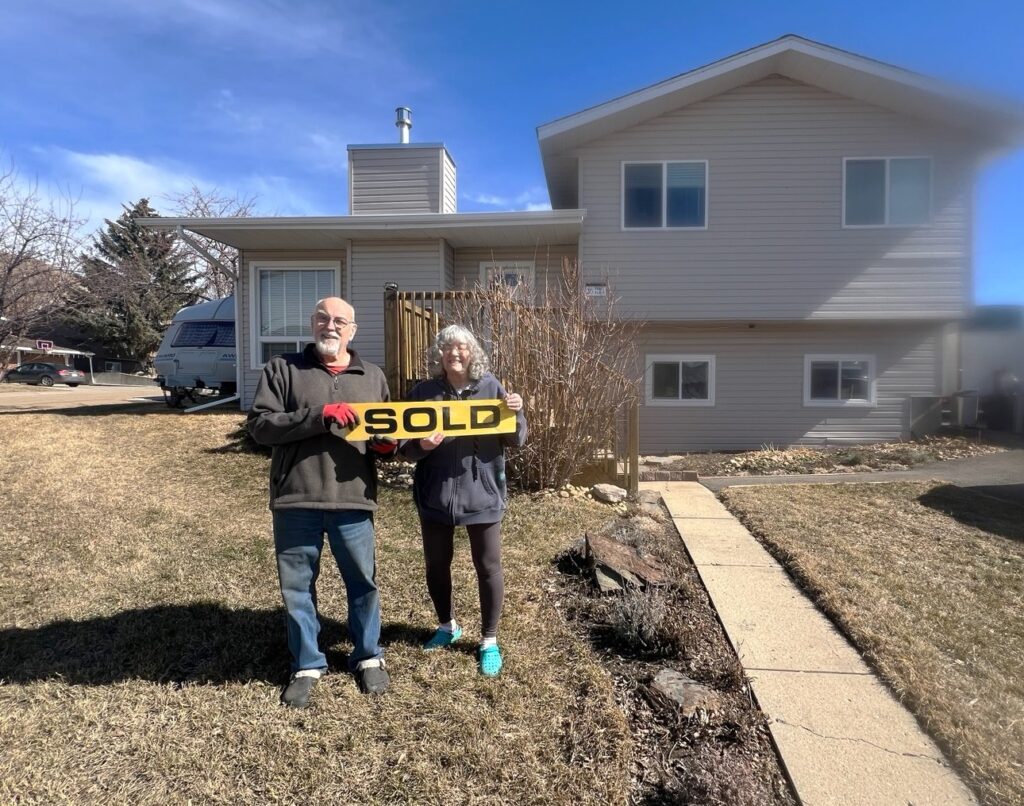
Our agent took this photo when she came to take the sign away.
Lots has been discussed and pondered and decisions made about this whole process. And even then plans can change quickly. It’s all normal for something like this big move. We’ve set up the utilities, House insurance, the park permission ( ya that’s something) , The movers are booked, The Uhaul trailer is booked for the first trip of shop stuff at the end of March. We’ve been selling and giving away truck loads of stuff. We’ve got a new doctor waiting for us in Grand Forks… Feeling lucky on that one ! Lawyers are set up for the selling and buying. The weather is getting better too ! My next step is to load up the two small utility trailers so they are ready to park on the big car hauling trailer for the free ride to Grand Forks ..again at the end of March. But I’m waiting for a warmer day..
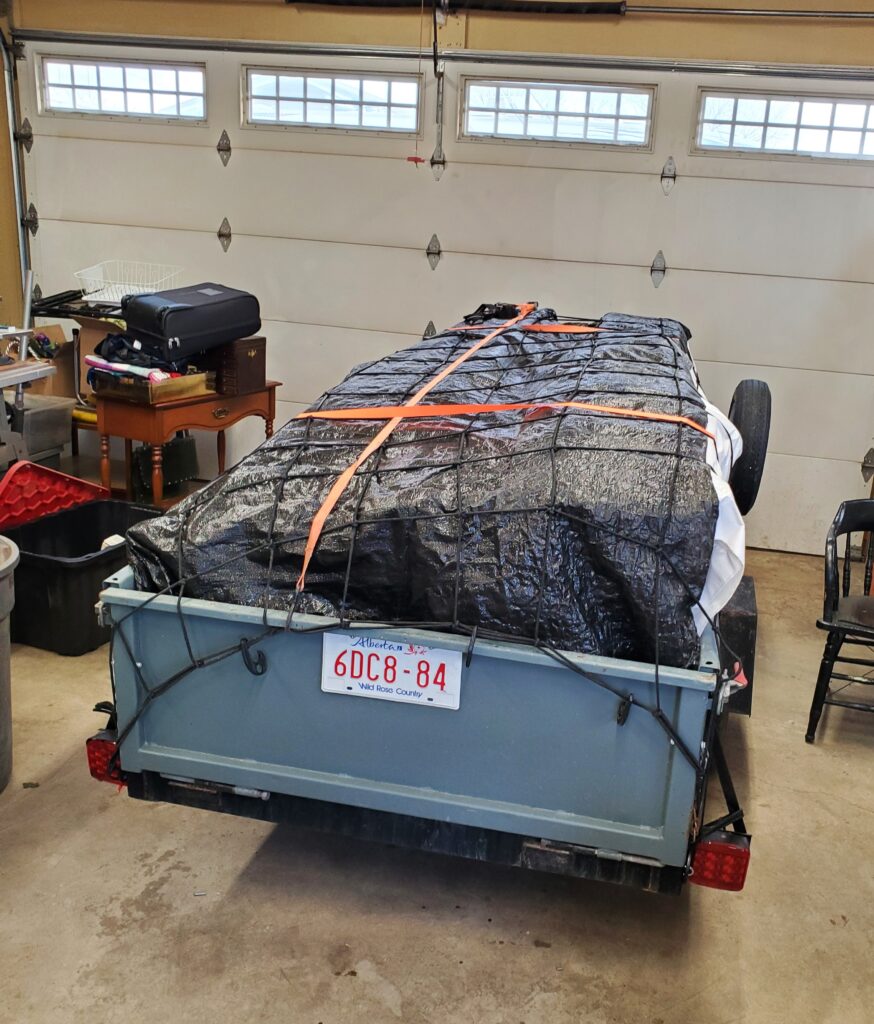
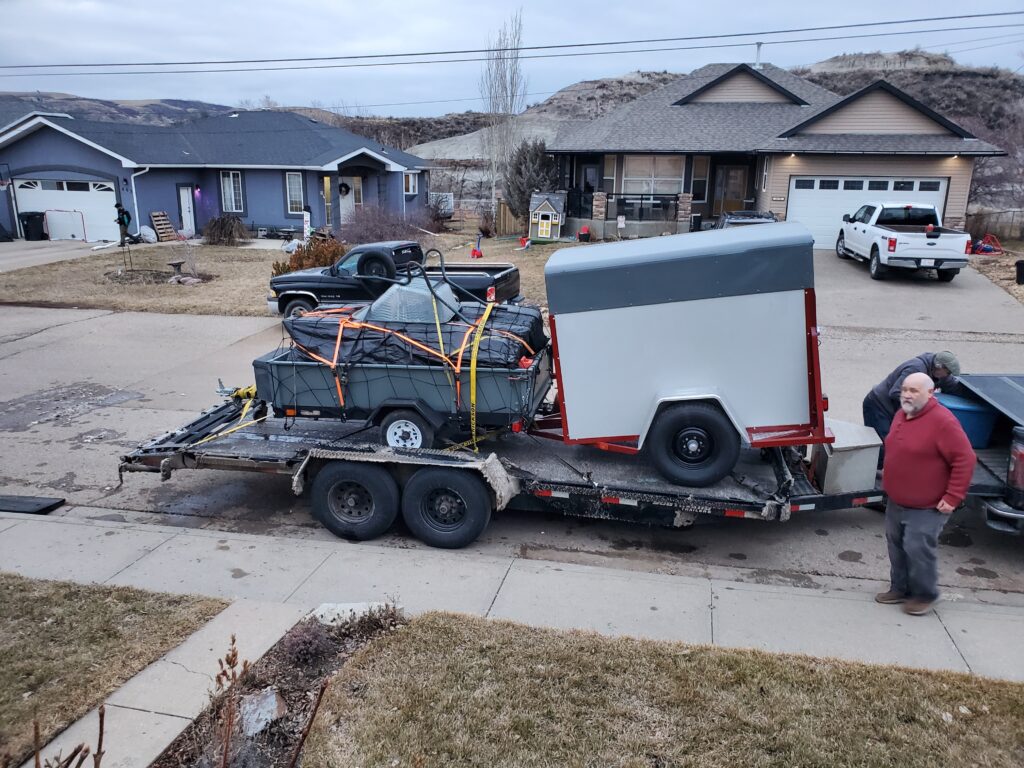
That day has come! The snow is all gone and it was a day of washing dirty things and building the puzzle of stuff in the utility trailer. Here’s my bundle of joy…
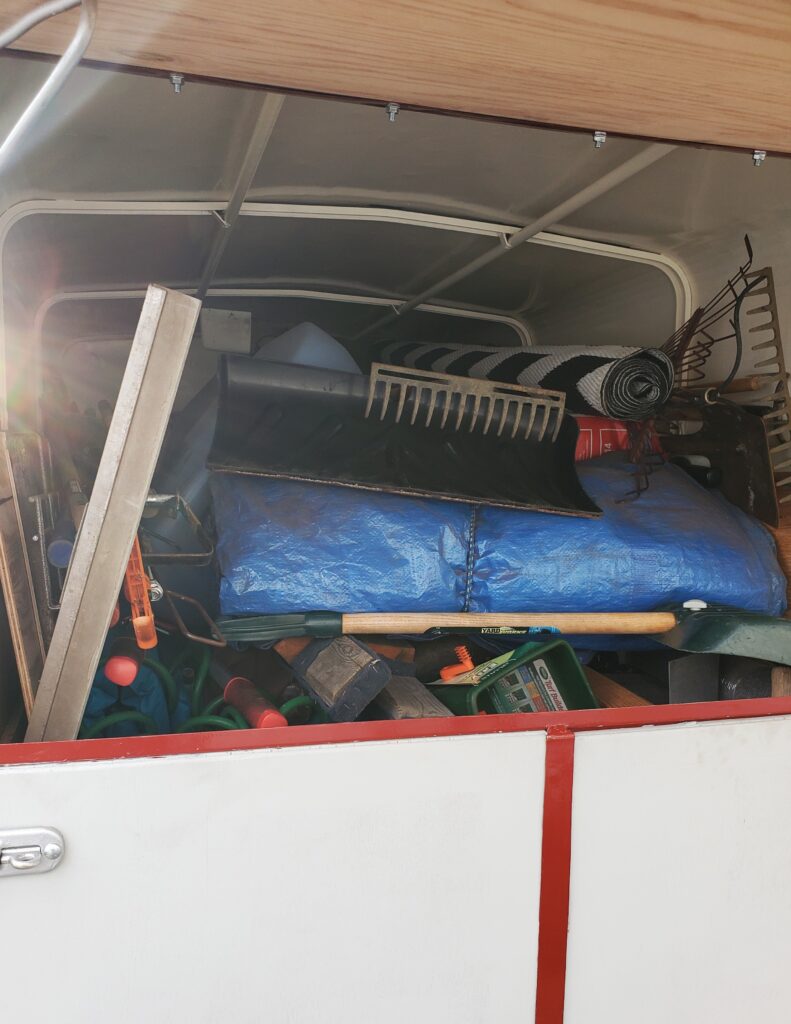
So that’s 3 bikes. Mower , Snowblower, small tiller. Some yard tools , loading rams… It will be topped off with the wheelbarrow. And more straps ! The stretchy net really works great to keep the tarps from flapping . And I topped off the enclosed trailer with more stuff too…
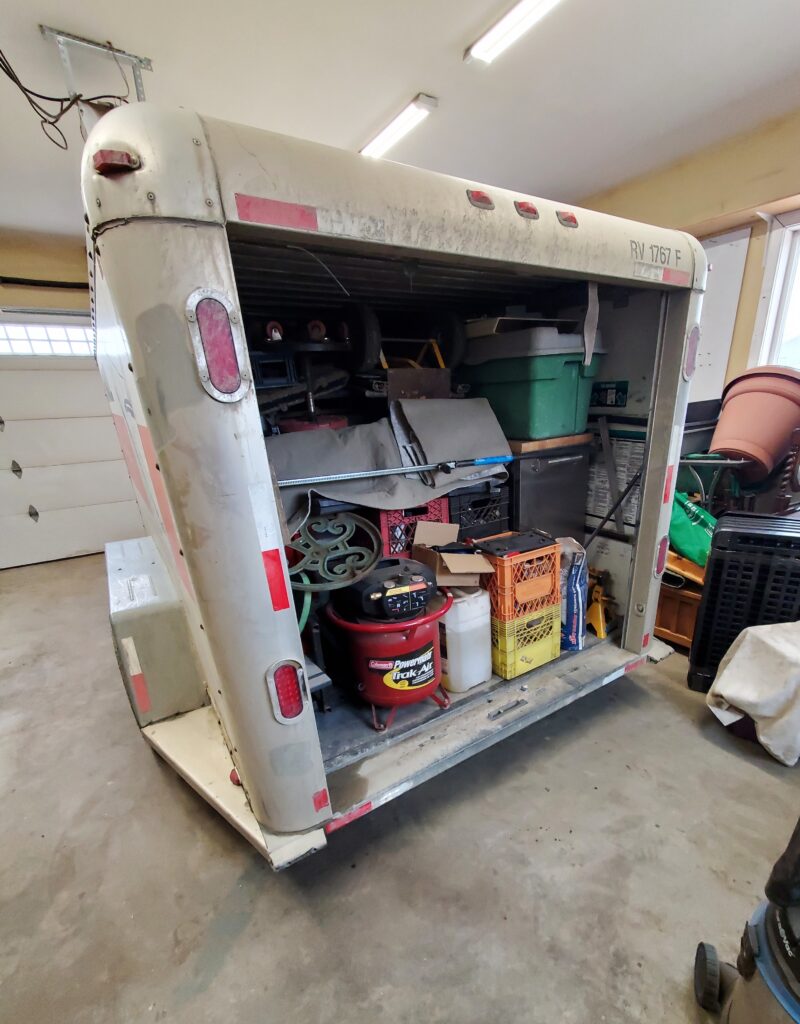
Don’t need to worry about this stuff …Just close the door. And then open it carefully later..
It’s great to have this done a week before we load them up for the free ride to Grand Forks…….. I have emptied the shed and gathered up the hoses. Cleaning up under the deck and getting things through the gate and out of the yard.
Next : It’s Friday and we picked up the Uhaul trailer for the shop stuff. It only took us just 2 hours to load the trailer…
Looks like we could have fit more in there.. But we ran out of stuff ! I allowed two days to load the trailer. There is a few things for the Avalanche to carry like the ladders, pressure washer, Shop vac and the trailer mover… No big deal.. Got all day Saturday to do that.
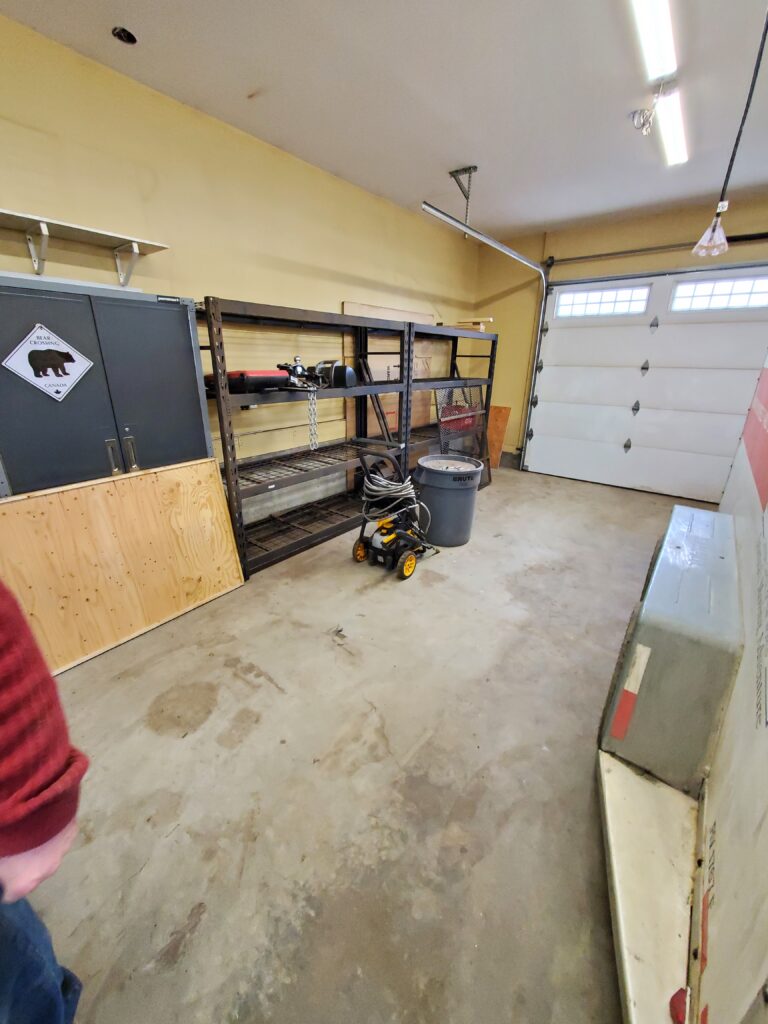
Look how empty the garage is…
March 29 2025:
Tomorrow is driving day ! Trip # 1 to Grand Forks. I was planning to take more photos and maybe a video.. But we were busy and the drive was through the snowy , slushy foothills of southern Alberta. But sunny when we got to BC. Here’s the car trailer with the two utility trailers loaded on and ready for the trip. Notice the caked on ice and snow from the trip here.
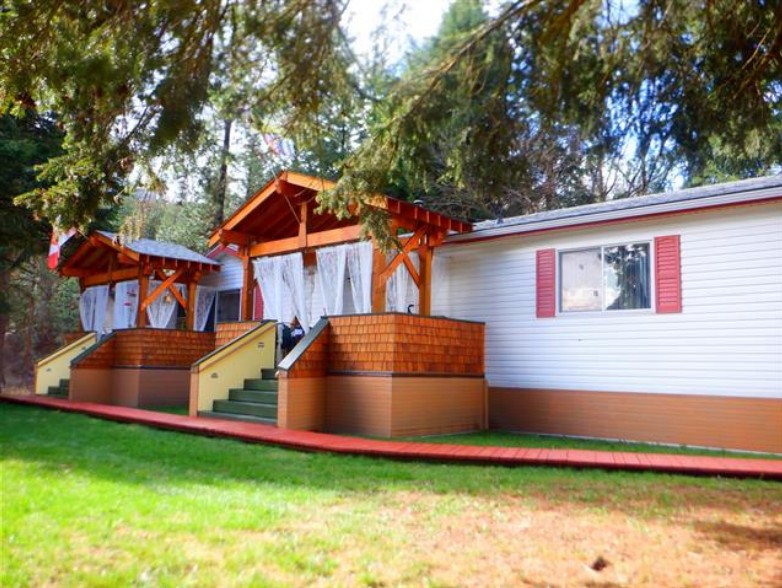
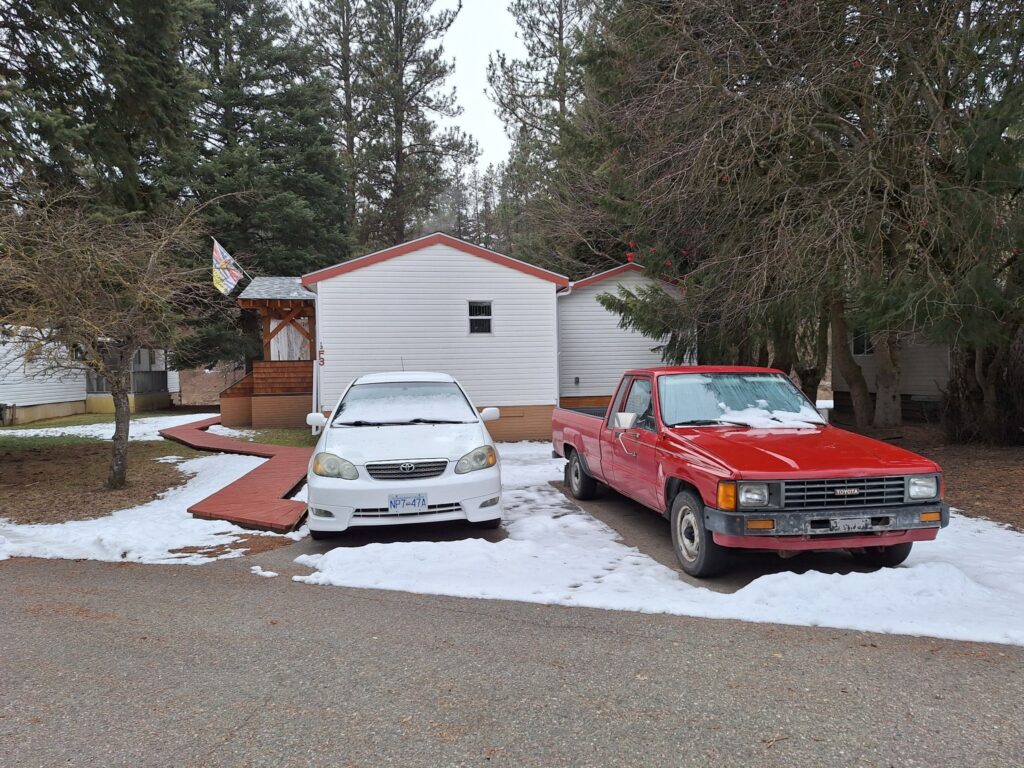
Both loads were heavy… But we got them there and unloaded and the rental trailer returned the next day. Did some running around on the Tuesday and back to Drum on Wednesday. We visited the trailer park twice because I had things to go there for our room mate. That was the first time I got to see our new home. It looks exactly like this photo…
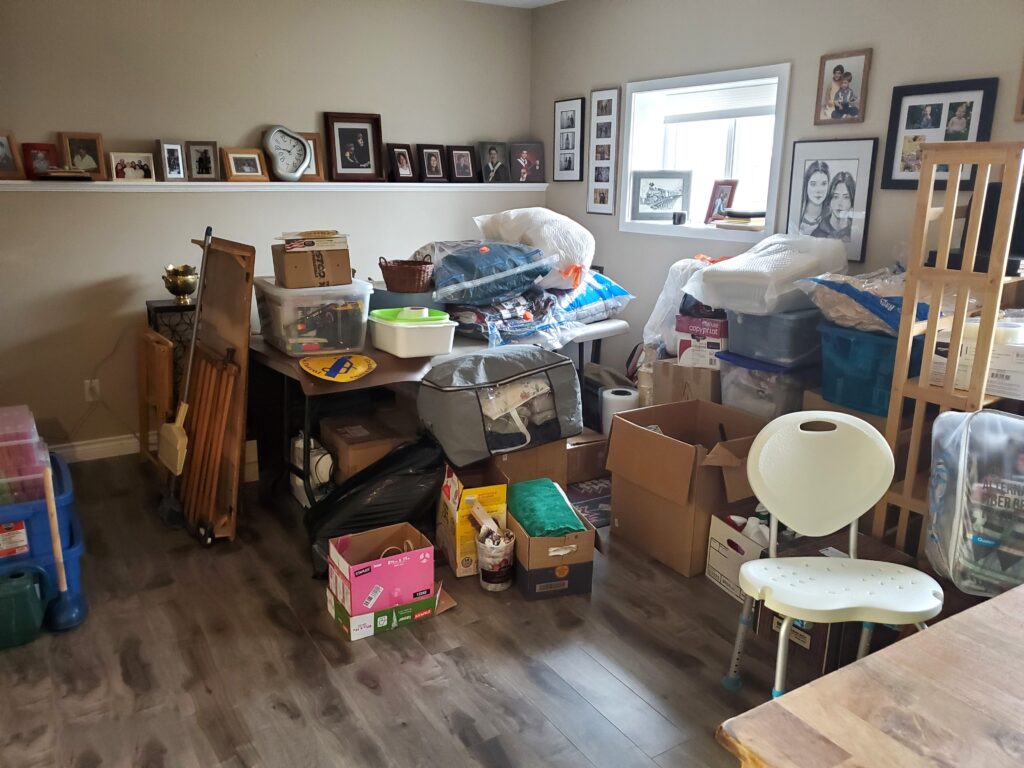
Without the snow.. Even the two vehicles are there. So now we continue packing sorting and tossing stuff with help from Maureen’s Brother & Sister. Even though the movers are going to do the packing …we have to sort through and decide what to let them pack.. The result is a big pile in the family room.
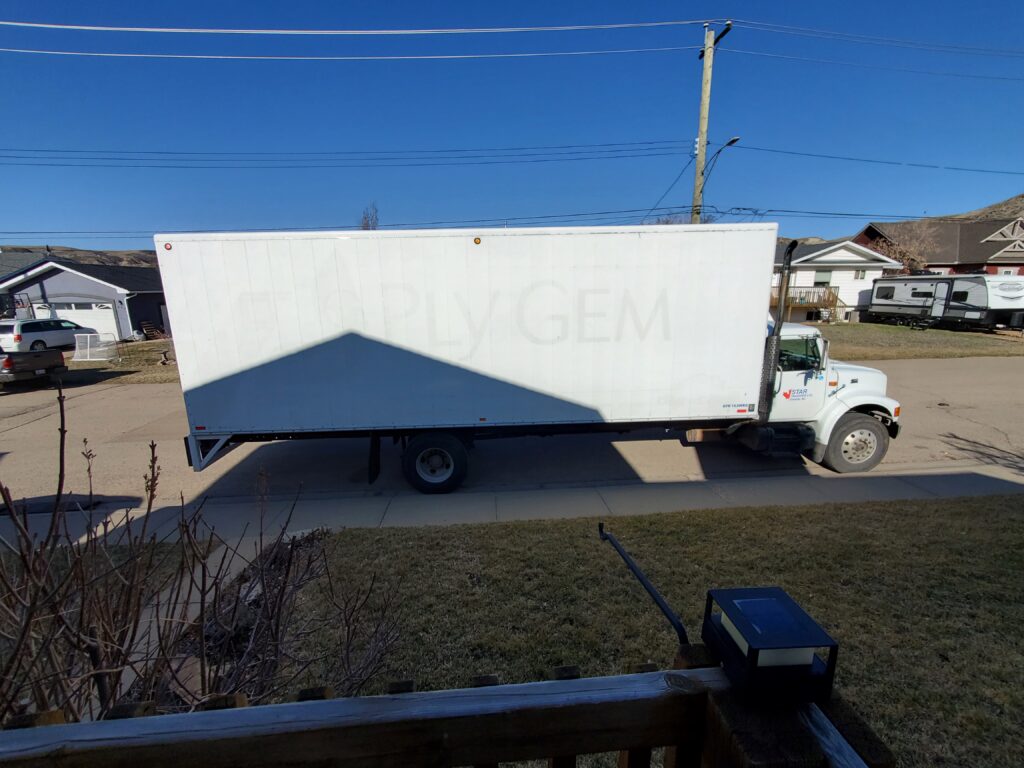
And this is just some of the stuff. However the crawl space storage is empty ! In a few days the movers are coming to do the packing and load the truck ( or trucks) the next day. That leaves us here for two days with an empty house to finish the cleaning .. And that won’t take two days because we have done most of that already. And a big truck showed up to pack the house and the truck..
That should work.. and when it left it was 90% full. And on the 15 th we were ready to roll early in the morning..
Award trailer all hooked up and we just left.. not looking back.. Ten plus hour drive back to Grand forks.. Time to start a new chapter and a new page in this post..