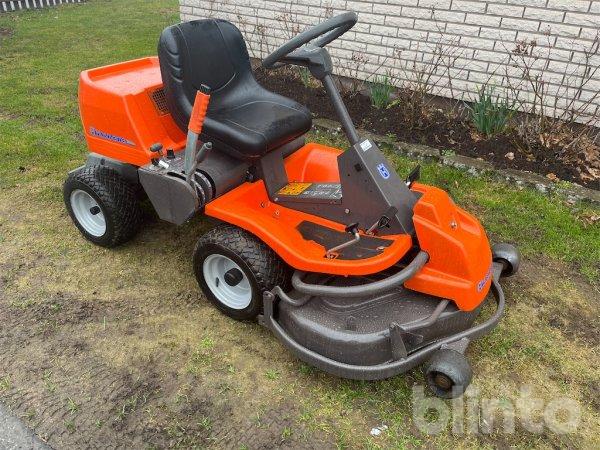
This is to remind me what it could look like..and by the end of this post you will see I’m close !
This page will be about fixing the rear cover..and the nose cover too. I was so curious about what I would find between those white panels.
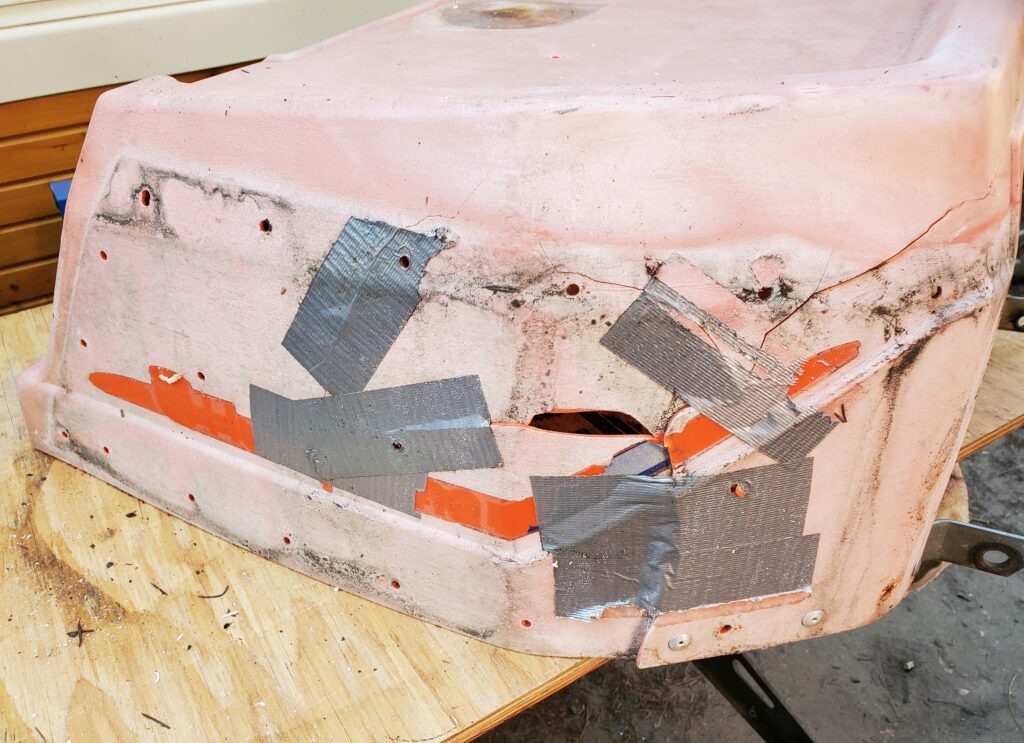
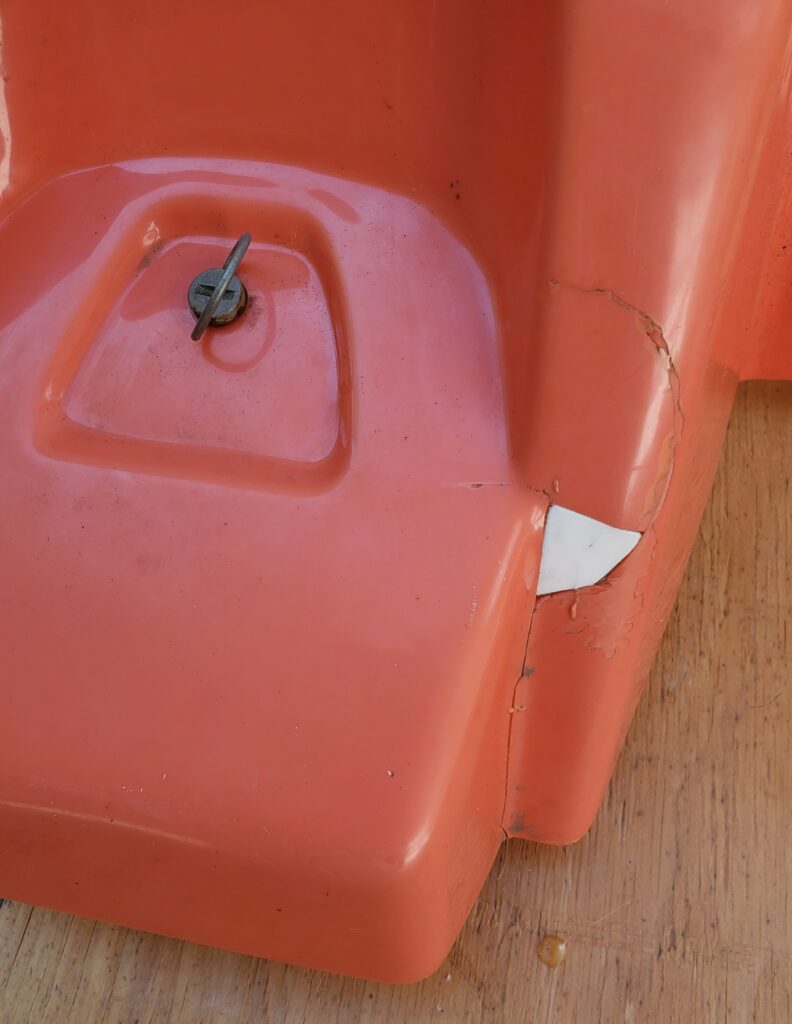
Ok.. Just a small ish piece missing.. And duct tape. Well I know how to deal with this.. I’ve been fixing plastics on ATV’s and other things.. I have a plastic heat stitcher, and I know how to use it..
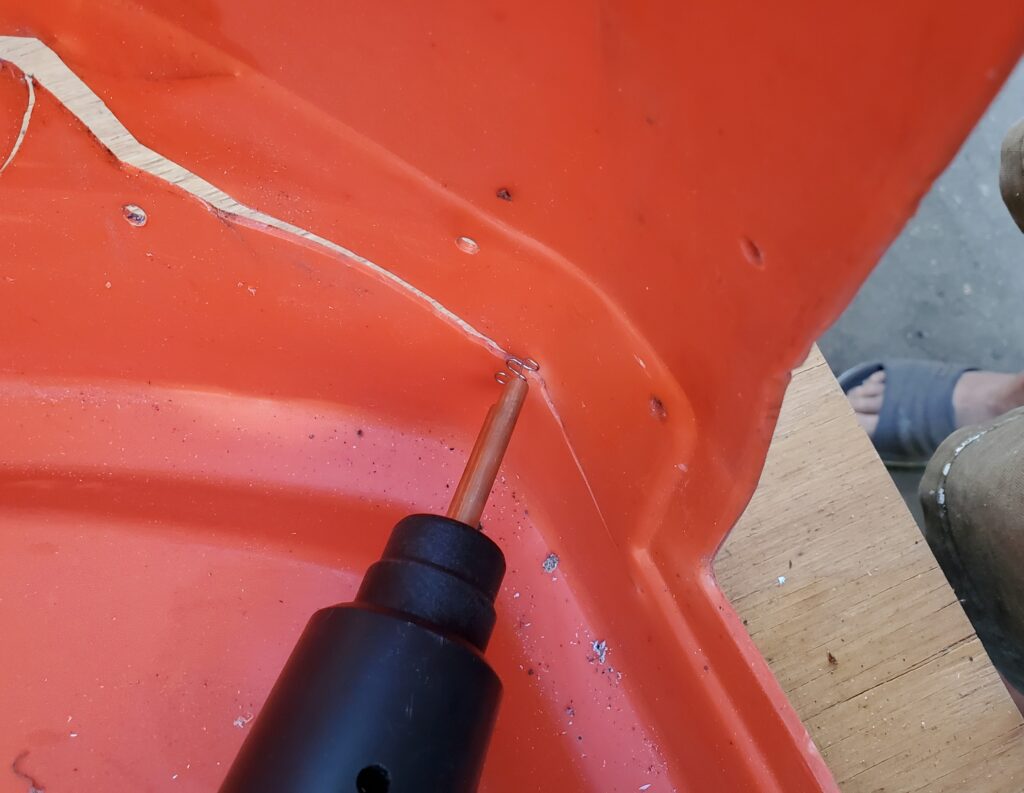
The gun heats up little wire wiggly things and melts them into the plastic. Working on the inside of coarse. The result is a strong hold on the crack.
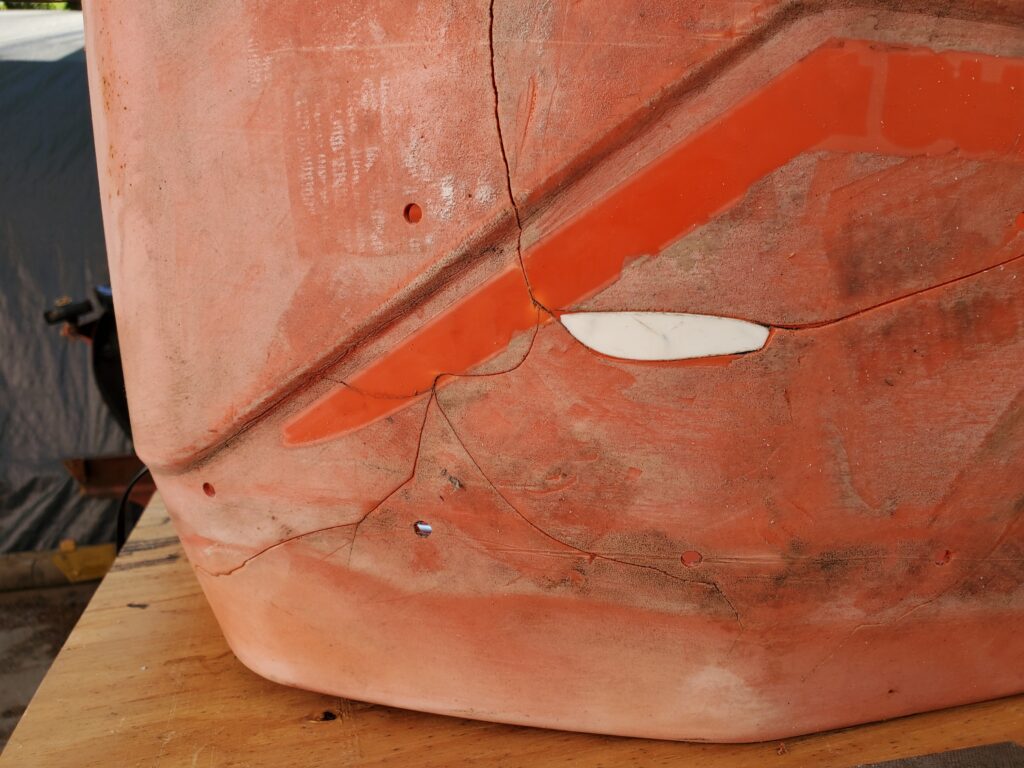
Made a fill piece from the white cover. Now some JB weld to fill in the cracks and sand it all smooth… There is no way that the sun fading and oxidization is going to just sand out. I have resigned myself to having to repaint all the plastics with Kubota orange. I’ll even make some new decals and the stripes with my cricut and vinyl. The nose piece is getting the same done too.
It too was missing a small piece, and cracked on both sides. Got that painted and the hood too. 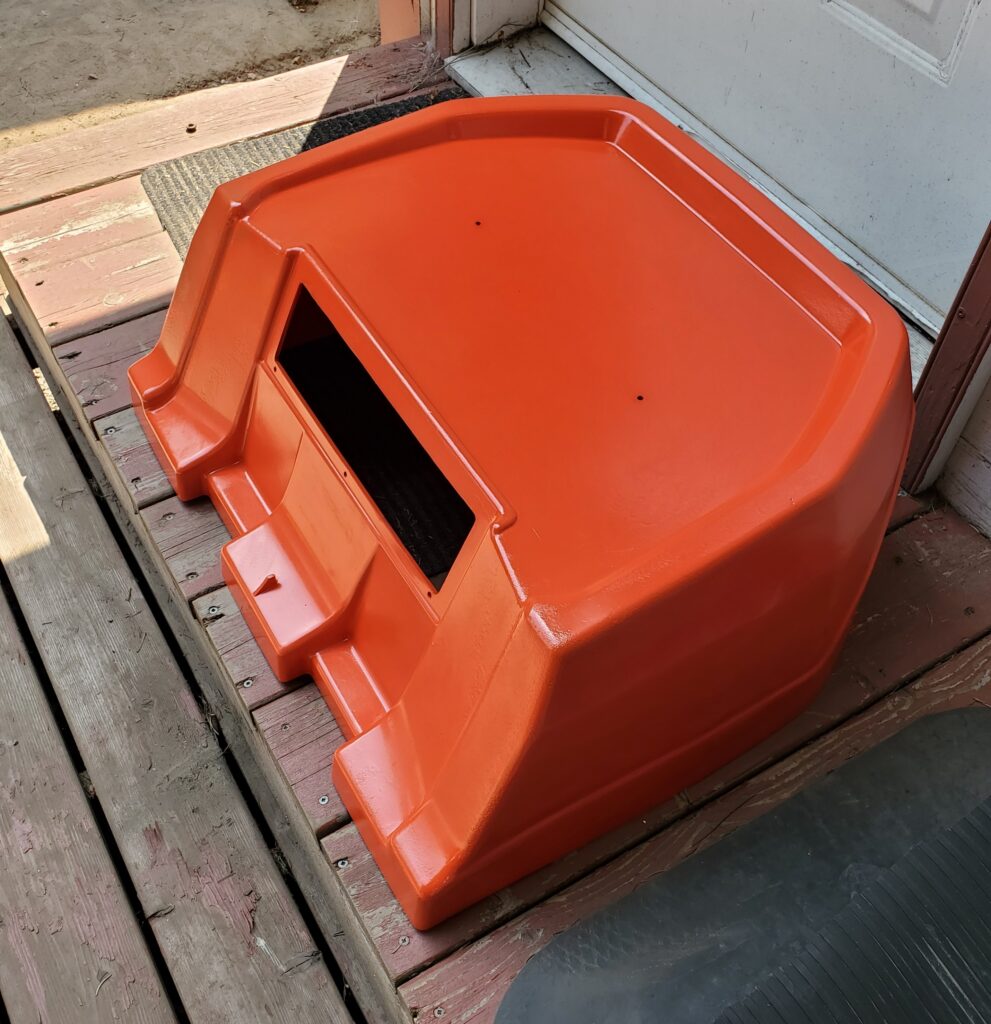
And that’s better… worthy of being re- installed on the Rider 16. And I made a video about this little side project..
Some new decals have been ordered.. we will see how that goes. And let’s just move on to the finished , cosmetically correct Rider 16…
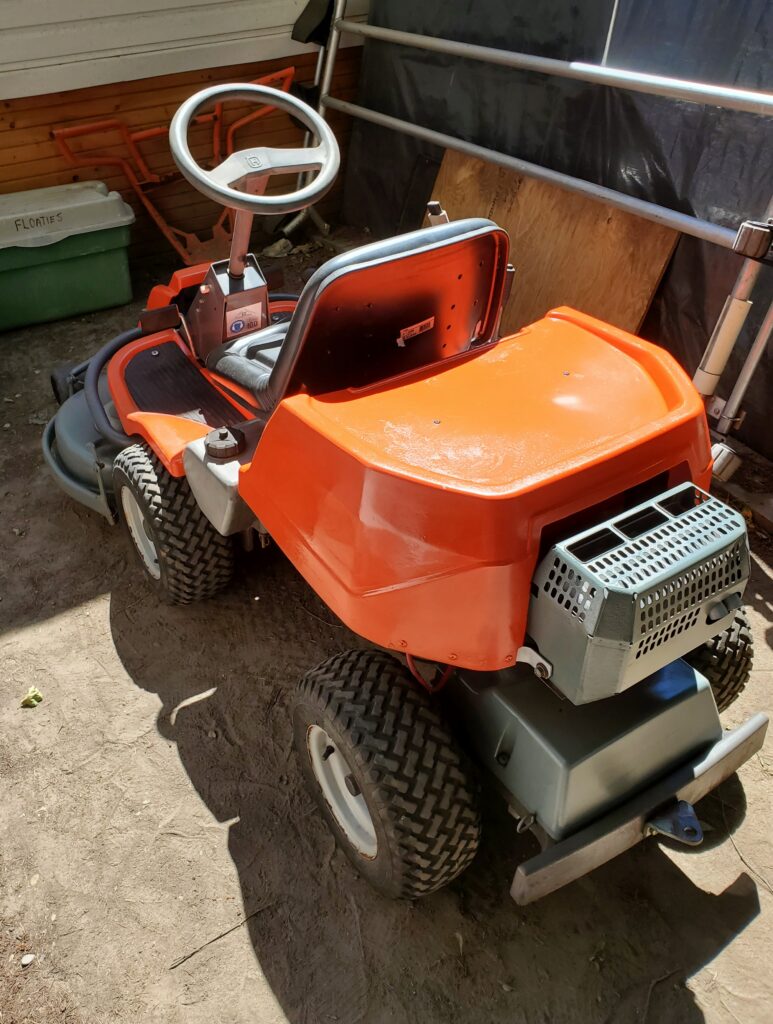
How’s that for taking the ugly away.. My motor hood turned out great.. With some nice blue decals and graphics, we will be the pride of the fleet.
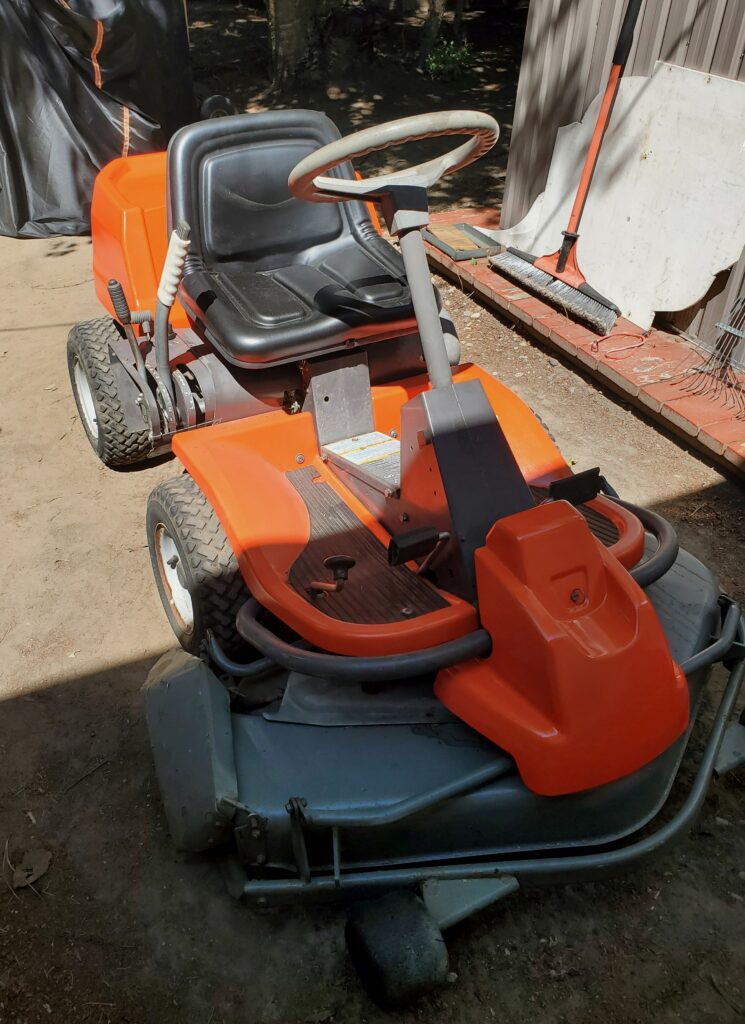
So the new decals arrived and since the paint is well cured let’s finish the spiff up. Starting up front.
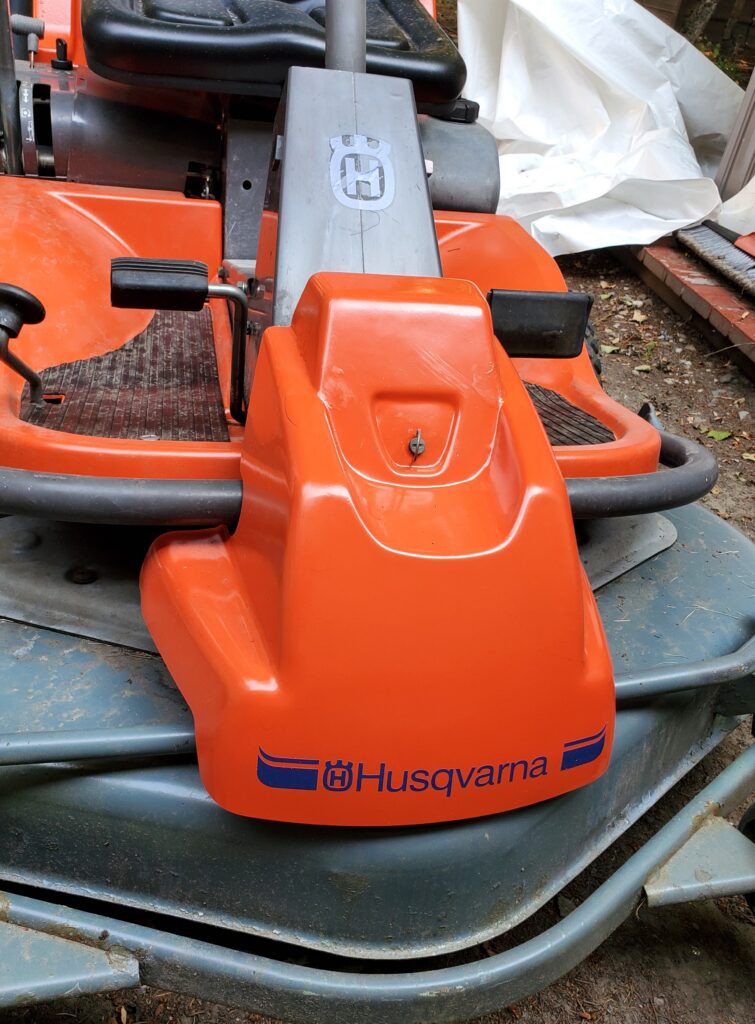
Dark blue is the correct colour.. Not getting to crazy with the set of 11 I got.. Just using three.
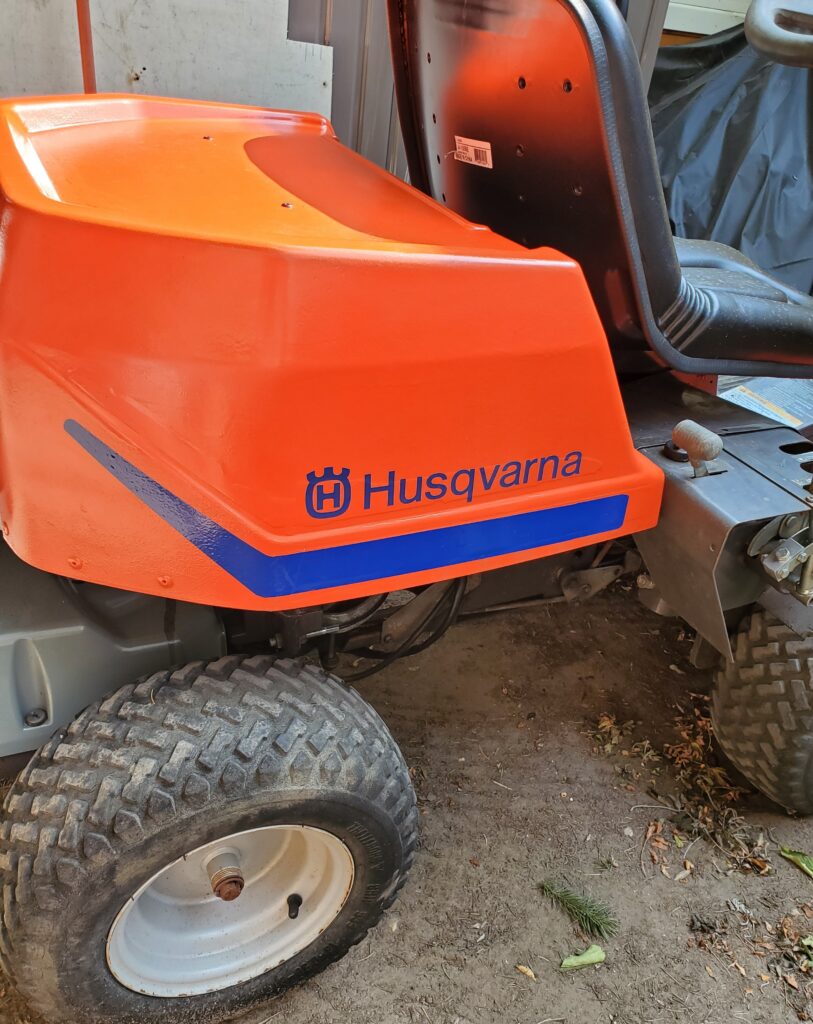
I had the right colour vinyl so I made the stripe. some day I’ll break out the circut and make “Rider 16” in white as the fishing touch.
For now I will just keep a cover on the Rider and end this page.. Will start a new one with the fine tuning of the motor. See you soon.!