Oct 13 2024
And now with the back end to the bench we have a few things to do.
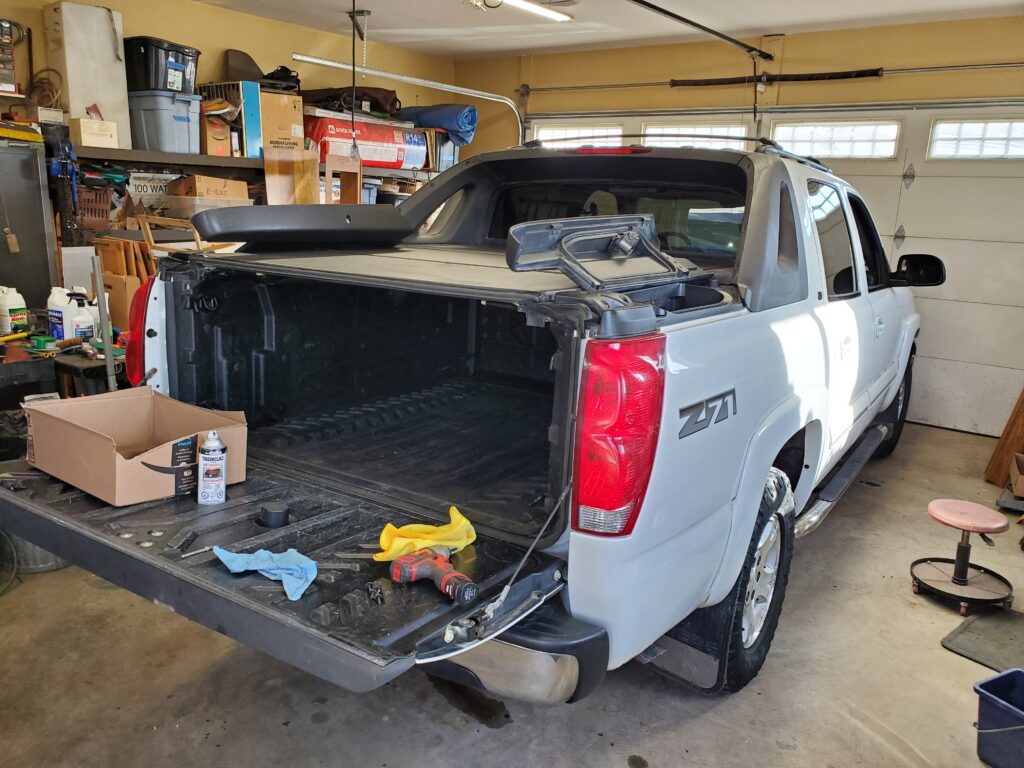
The tailgate makes a nice work place…
Remember the list !
- Remove the seats now that I have the proper tool.
- Clean the carpets. New floor mats are coming.
- Paint the trailer hitch. Can’t have it rusty.
- Repair drivers side rear hatch cable.
- Fix leaking gaskets on the box covers
Ok don’t get upset, but I skipped to #4 on the list. And I decided to replace both. This is what I’m talking about. And we are looking at the driver’s side. In the above photo I have them both open beyond where they would with the cables. The cables hold the hatches just beyond 90 degrees.
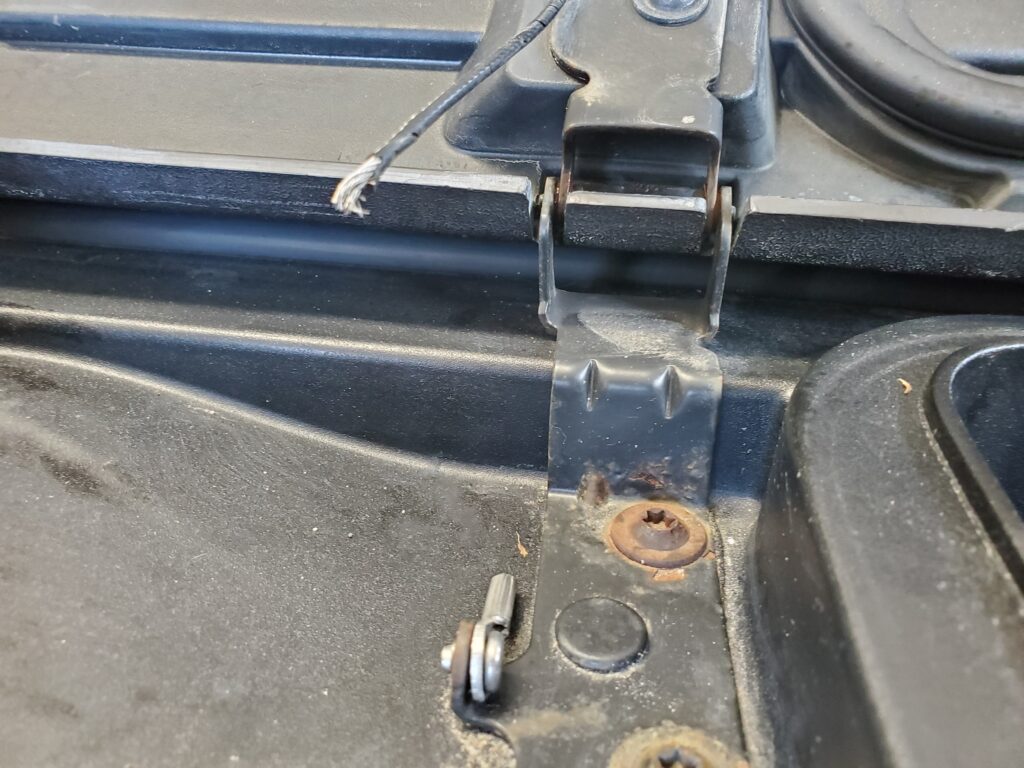
I’m not aware of these being a part you can just buy. So I’ll will be making my own. Mine may not look as scookum as the factory ones.. But then again those broke ! The passenger side is so close to breaking I may as well make two sets.
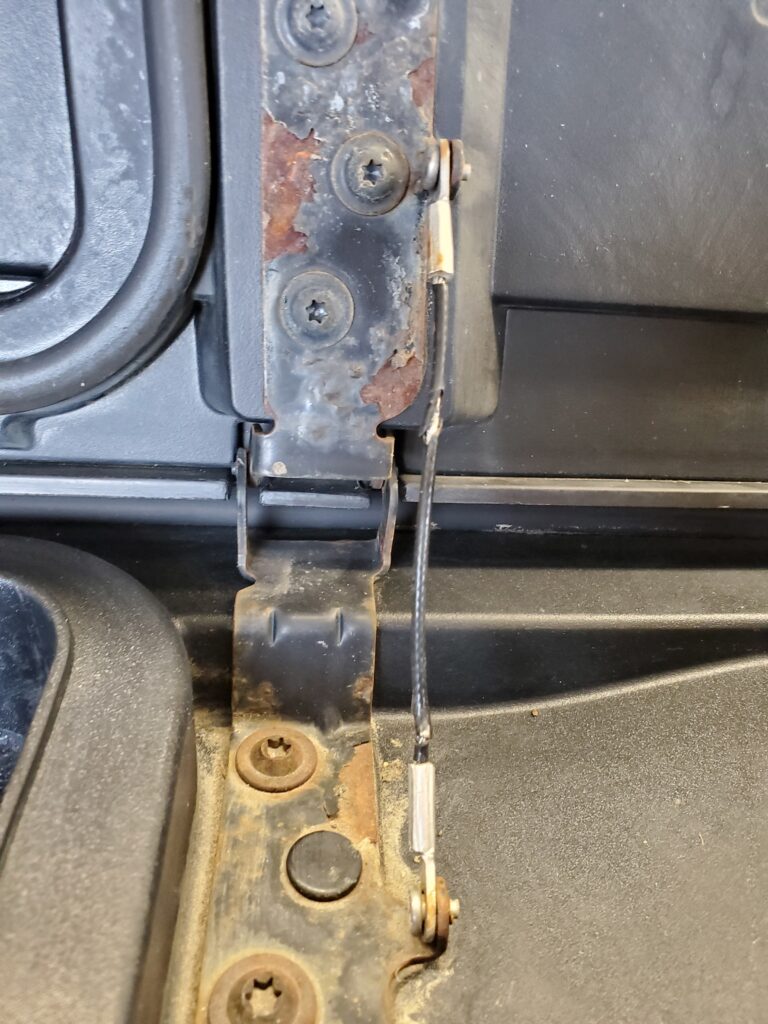
And those hinges are rusty. Nope can’t have that .. As you can see these are riveted on, so not easy to replace. I may use small bolts, or pop rivets just don’t make them tight. And the pop rivet idea works.
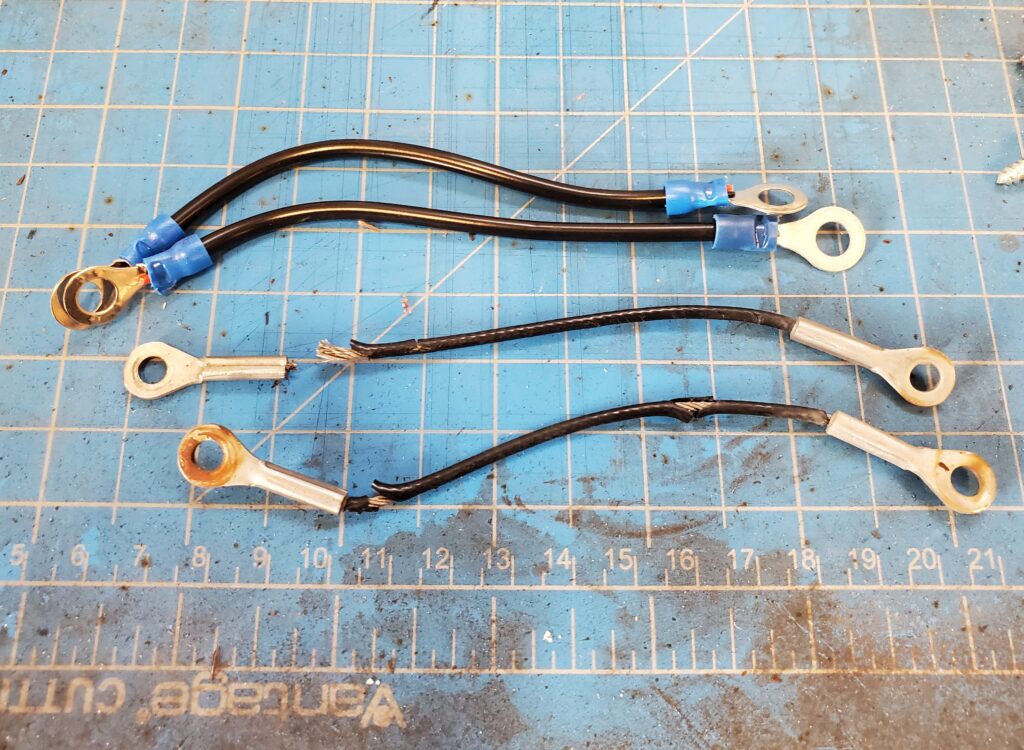
Yup that’s electrical wire and crimp fittings. I’m cleaning the hinges and painting them too. So skip back to #1 on the list. Drivers seat ! Came out easy with the right tools. And I’m $1.75 richer. I wonder what I’ll find under the passenger seat ? A quarter ! Now I have two bucks !
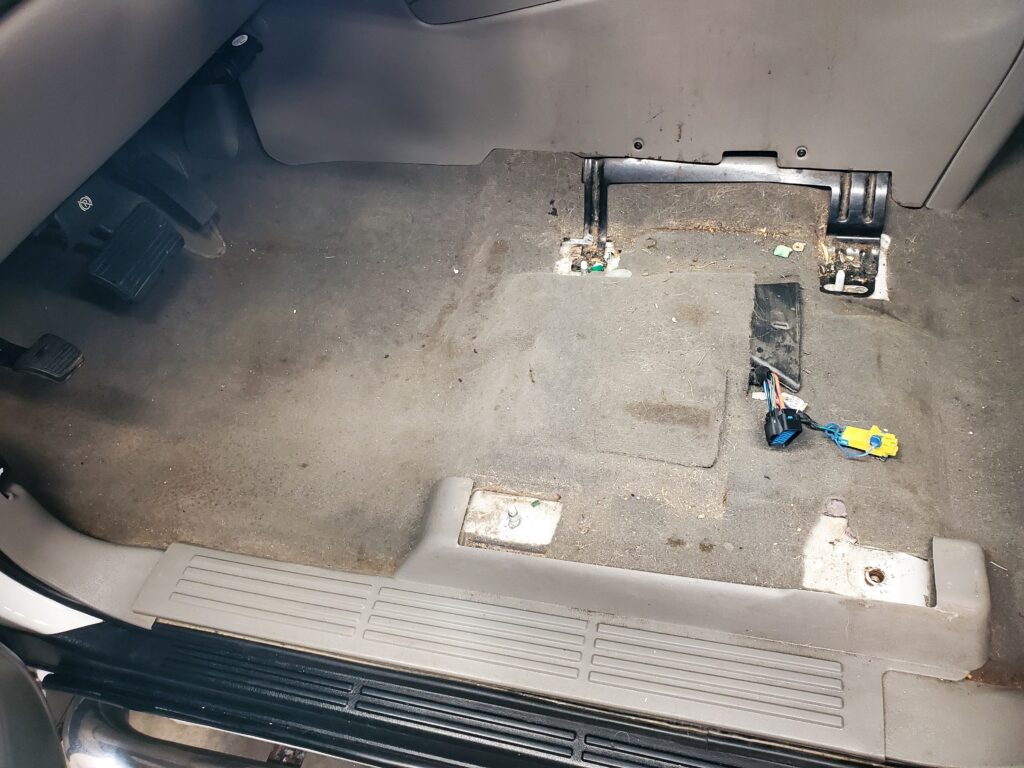
Not near as bad as it could be.. This should clean up real easy.
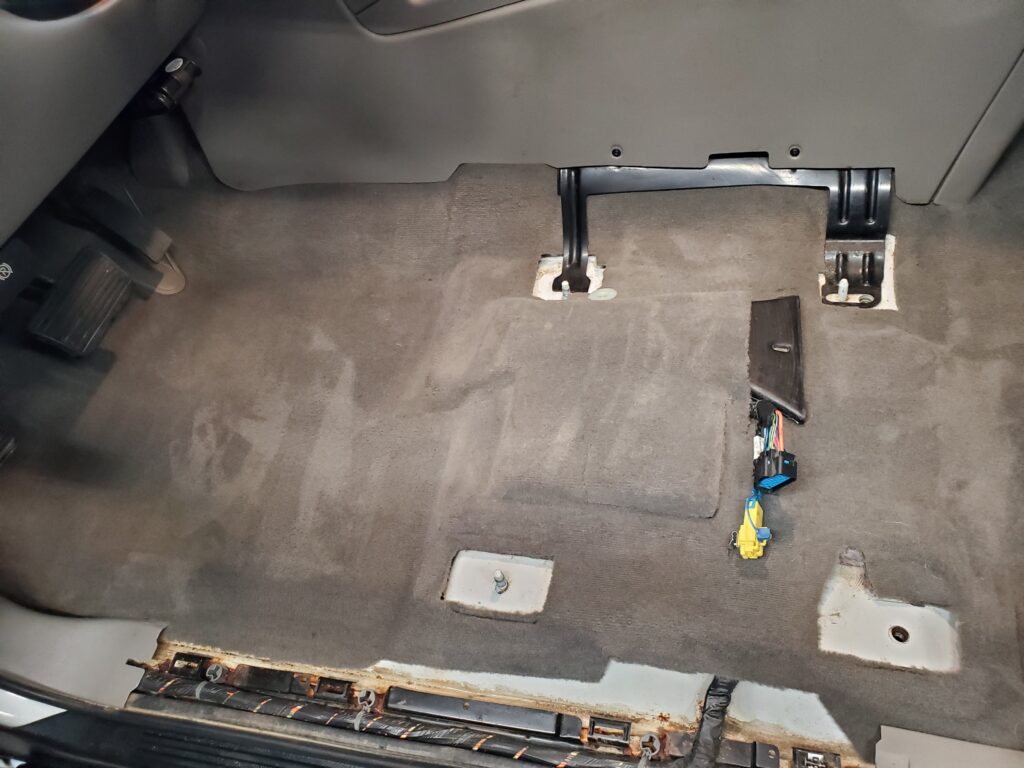
Yes it sure did ! Once it’s dry I’ll put the passenger seat back. The drivers seat will have to wait. Number one and number two are done. Well my fix for the side hatches did not work. The crimp on the wire was not strong enough.. So I’m making new ones with a stronger crimp and better wire. And I’m waiting for some pop rivets to arrive tomorrow. In the meantime I’ll remove the bottom seat cover. I was pleased to see the heater pad to be in perfect condition.
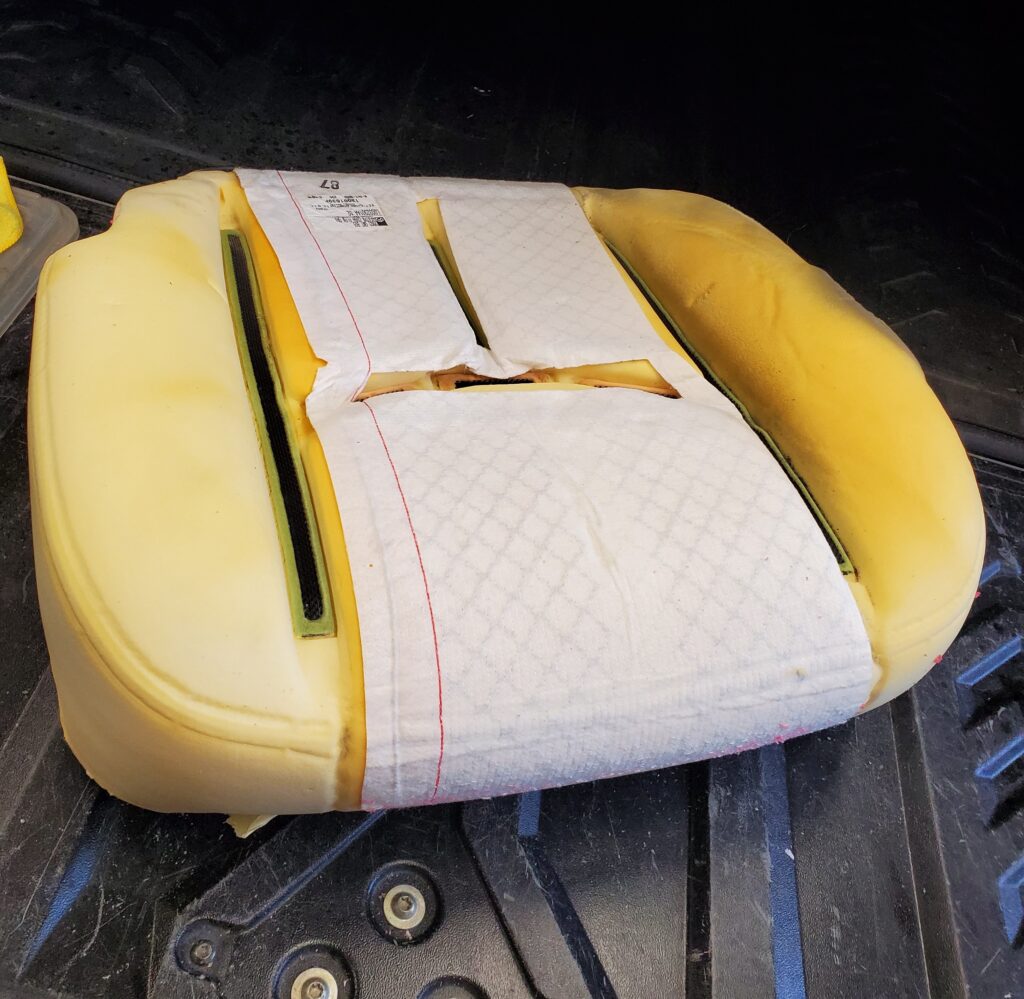
I’ve watched the videos on how to install these covers.. so I should have no problems. Oh my new floor mats came yesterday. The carpets are dry today so here they are.
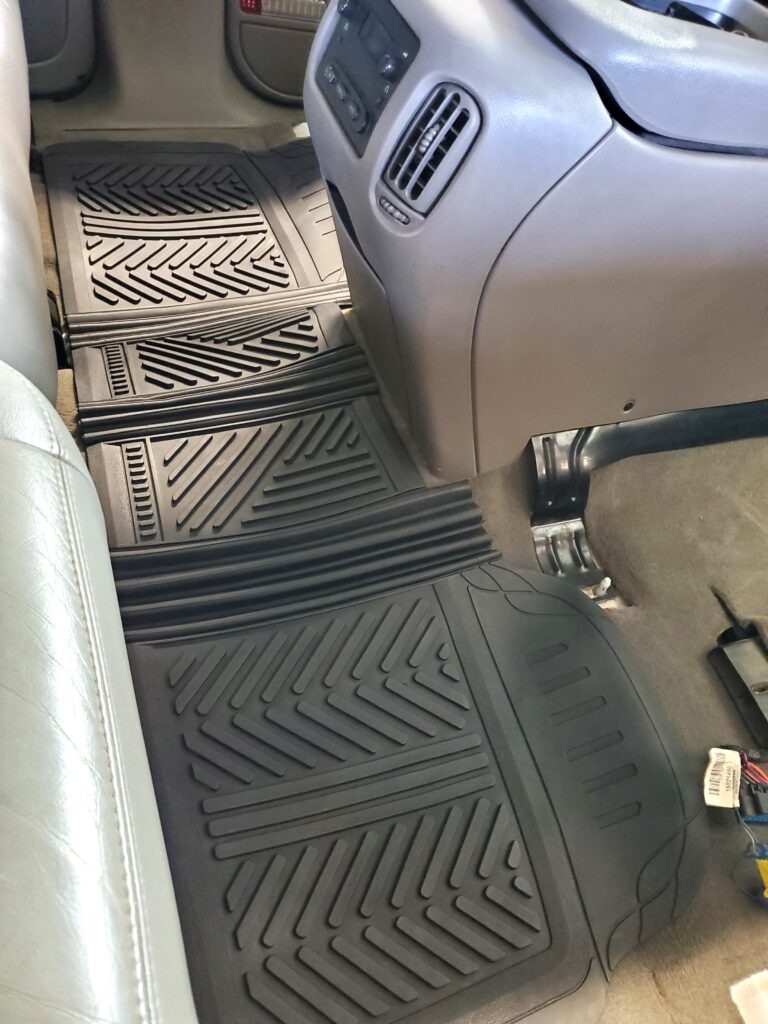
The rear mats even cover the hump! That great…
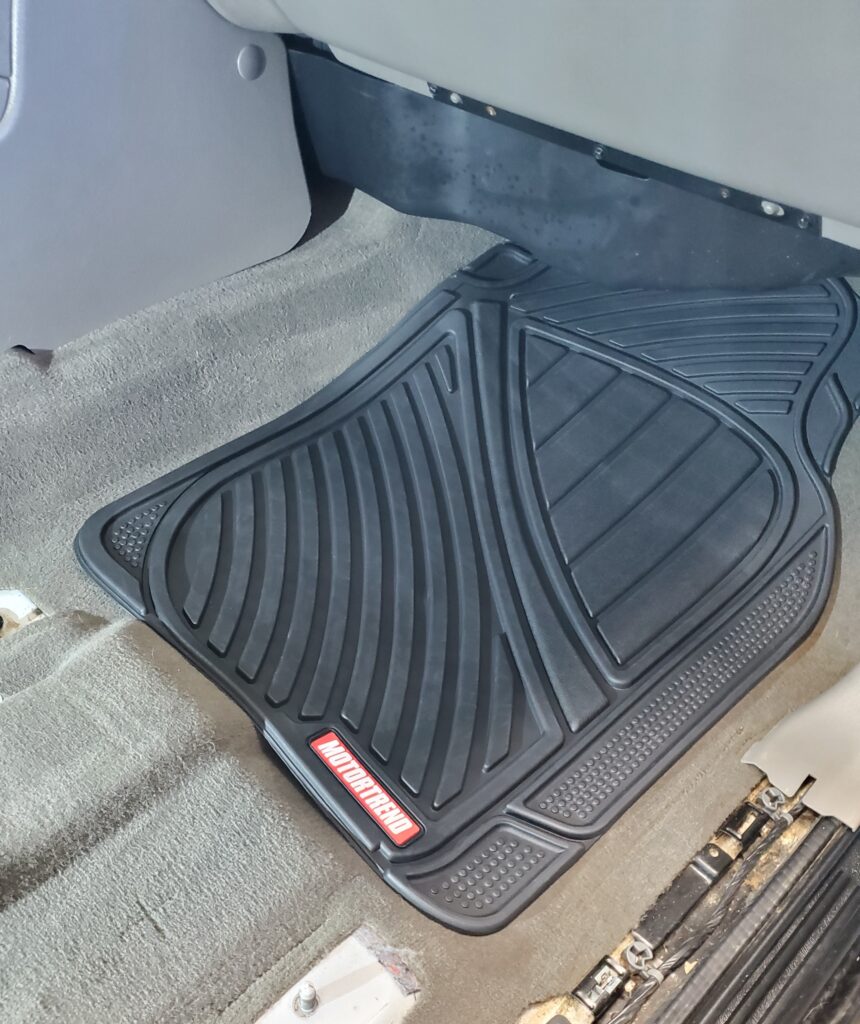
The front’s are very basic but do the job of protecting most of the carpet. Sorry about jumping around from one thing to another. However I’m waiting for things to come, dry… and that’s how I work anyway. Passenger seat is back in, and it’s never going to look this clean again.
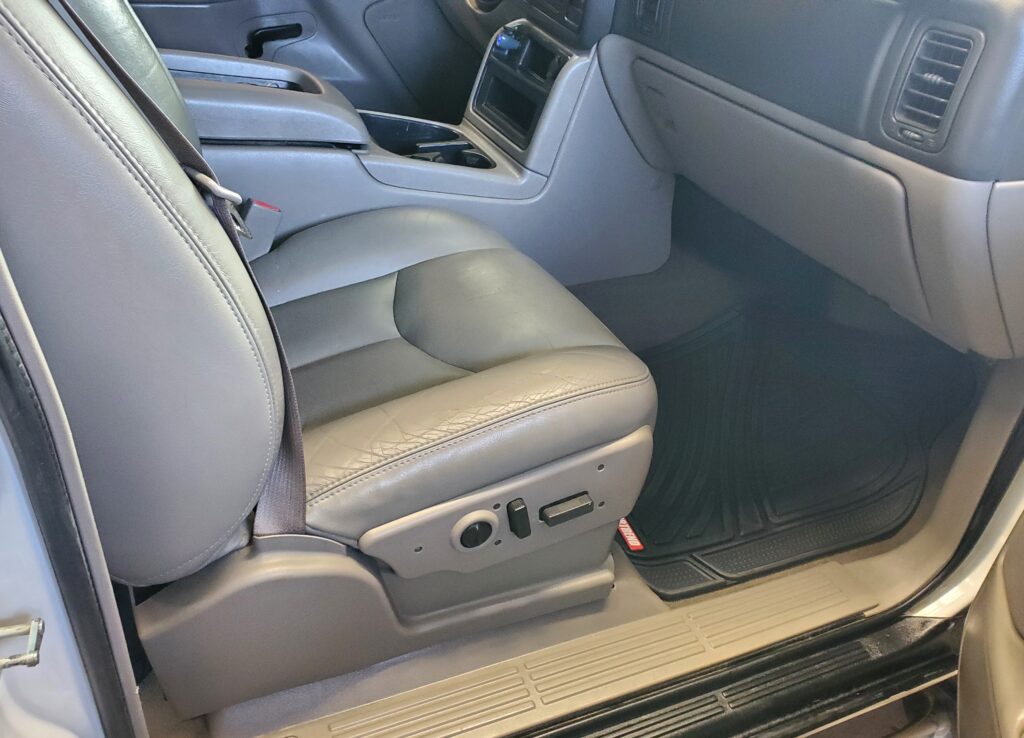
But I will try. There’s still a few things on the list, and I’m finding more… but let’s not rush into it. One more thing I did take the tailgate handle apart ( I know how ). Cleaned and lubricated and it works great. There’s protection product that blackens the plastics on the rear parts. It’s a nice contrast with the white.
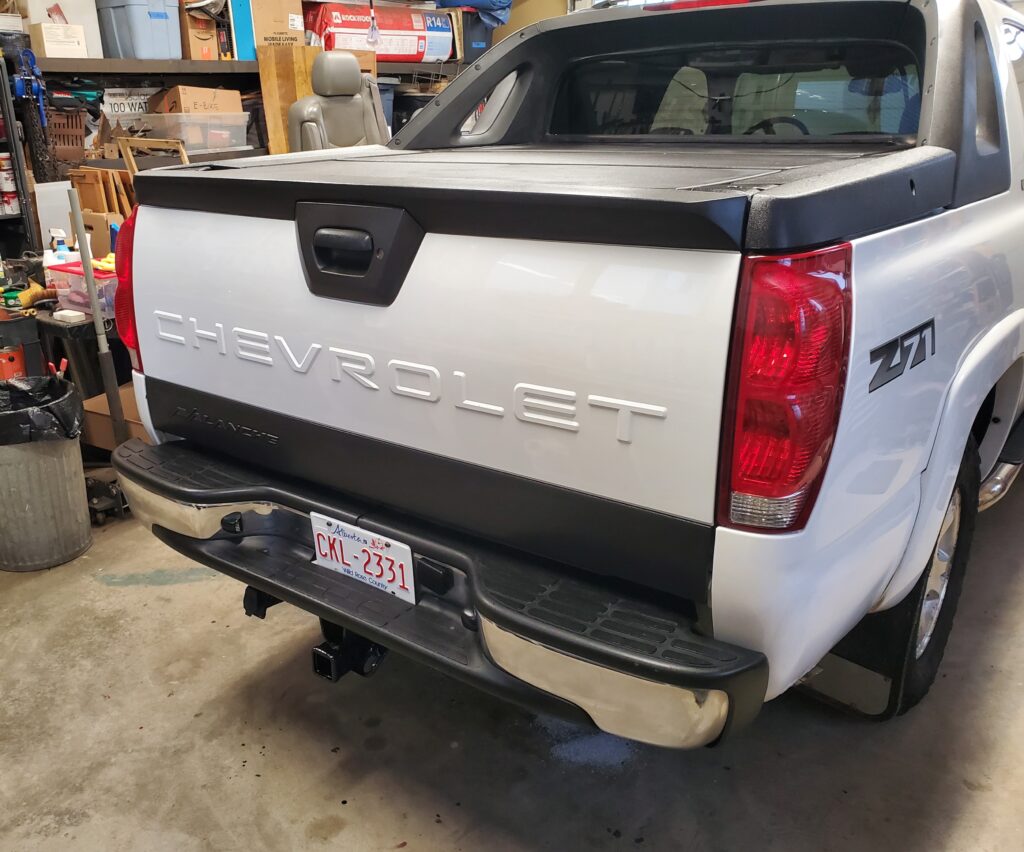
I’ve got two days till the seat cover comes so I’ll work on the hitch and the spare tire mechanism. And the (hopefully) final assembly of the side hatches. Also paint the bottom of the doors.
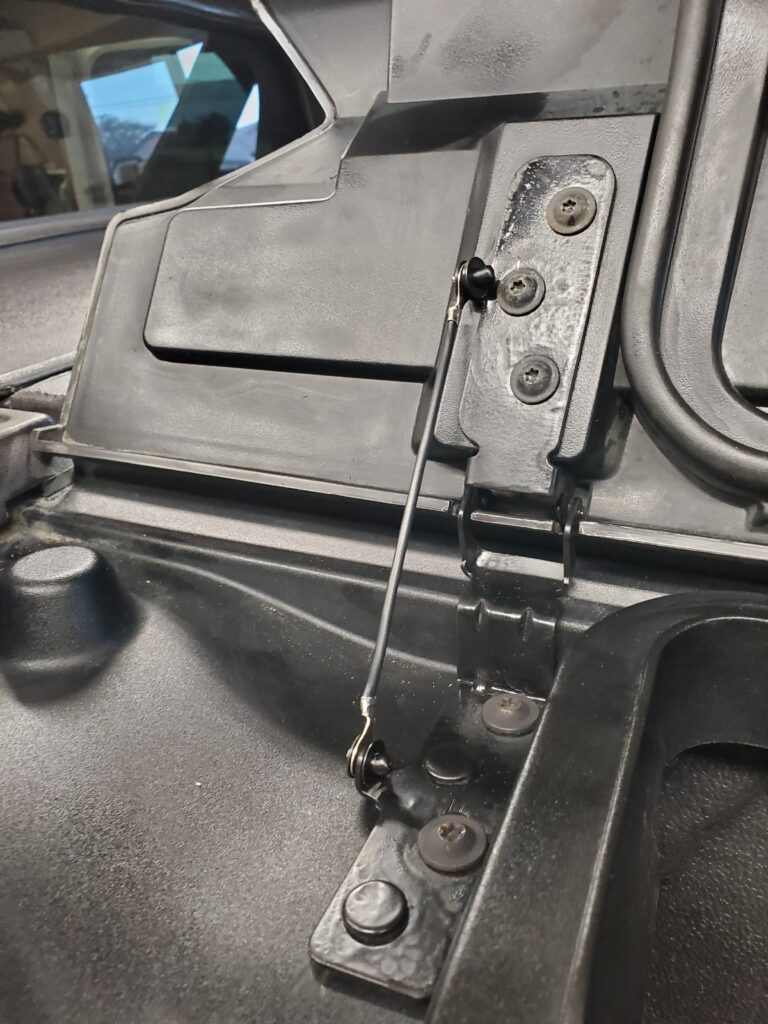
Yeah! This time it works, and looks close to factory.. , So far so good.. Much stronger than my first attempt. As for the spare tire lowering mechanism… I’ll need the tools from an auto wrecker to make that work. That means today is hitch painting day. Done ! And paint the bottom of the doors too. It’s taking a while to work through the list.. Meanwhile the hitch is all painted up nice, and I use some undercoat spray on other bits under the rear.
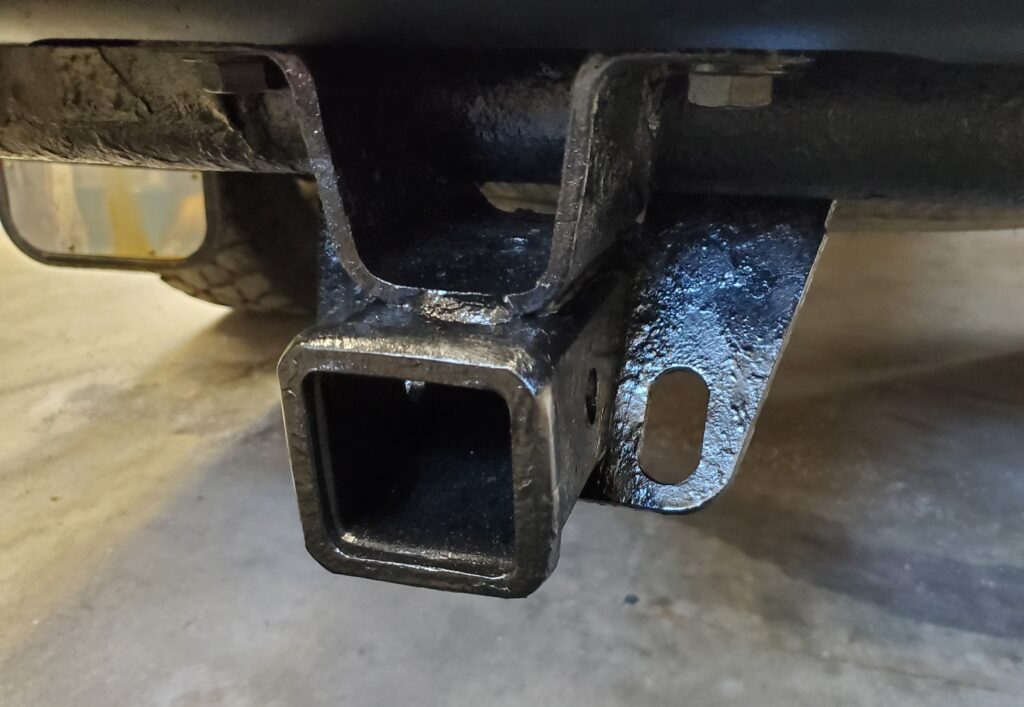
Yes it does not look new that’s for sure.. But it’s got rust sealer under the paint.. should do well.

And with this photo you can see I’ve installed the new seat cover. Was not hard to do.. And that’s the list all done, except for some bodywork. That’s next .. So here’s a new video.
Mechanical stuff is next.. New page for that.
PAGE 4